



An athletic archive audio digitization workflow is the structured sequence of steps a school or athletic department follows to convert legacy audio recordings — cassette tapes, reel-to-reel reels, MiniDiscs, audio CDs, VHS audio tracks, and digital voice recorder files — into preserved digital audio files that are properly formatted, documented, and stored for long-term accessibility. The direct answer: audio digitization is more than connecting a tape deck to a computer. A complete workflow covers collection auditing, condition assessment, playback equipment selection, capture settings, file format decisions, metadata documentation, quality review, archival storage, and integration with the broader institutional archive. For an athletic program holding cassette recordings of championship locker room speeches, reel-to-reel tapes of radio broadcasts, or MiniDisc recordings of retired coach interviews, the difference between a systematic workflow and a casual copy attempt can be the difference between a recoverable oral history and a silent stretch of magnetic degradation. This guide walks through the complete audio digitization workflow in eight stages, with format guidance, equipment considerations, metadata requirements, and a practical FAQ written for athletic directors, archive coordinators, school librarians, and IT staff who are confronting boxes of audio media that have never been formally preserved.
Nothing in this guide constitutes professional audio engineering, data governance, or legal advice. Decisions about media handling, access permissions, and data retention should be reviewed by your institution’s qualified staff before implementation.
Athletic audio collections are among the most underpreserved materials in school archives. Photographs get scanned when someone builds a display. Trophies get photographed when a case is reorganized. But cassette tapes of the coach’s post-game interview from twenty-five years ago, the reel-to-reel of the school’s first state championship radio broadcast, or the MiniDisc recordings of senior athlete oral histories from a decade ago sit in a box somewhere, slowly losing fidelity through magnetic decay and binder deterioration.
Unlike a damaged photograph, a degraded tape gives no visual warning. The tape looks the same whether it plays perfectly or has lost 40 percent of its signal. The only way to discover degradation is to play the tape — and the only way to stop that degradation from becoming permanent loss is to digitize the tape before the signal drops below a recoverable threshold.
The athletic archive audio digitization workflow creates a systematic path from discovery to preservation, ensuring that every audio recording in the collection is captured, documented, and stored before the physical media deteriorates beyond recovery.

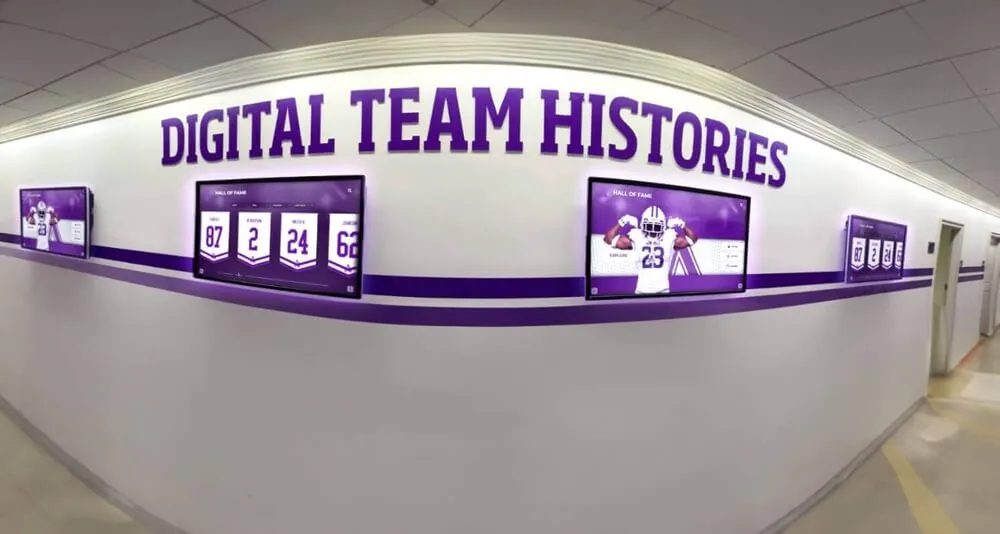
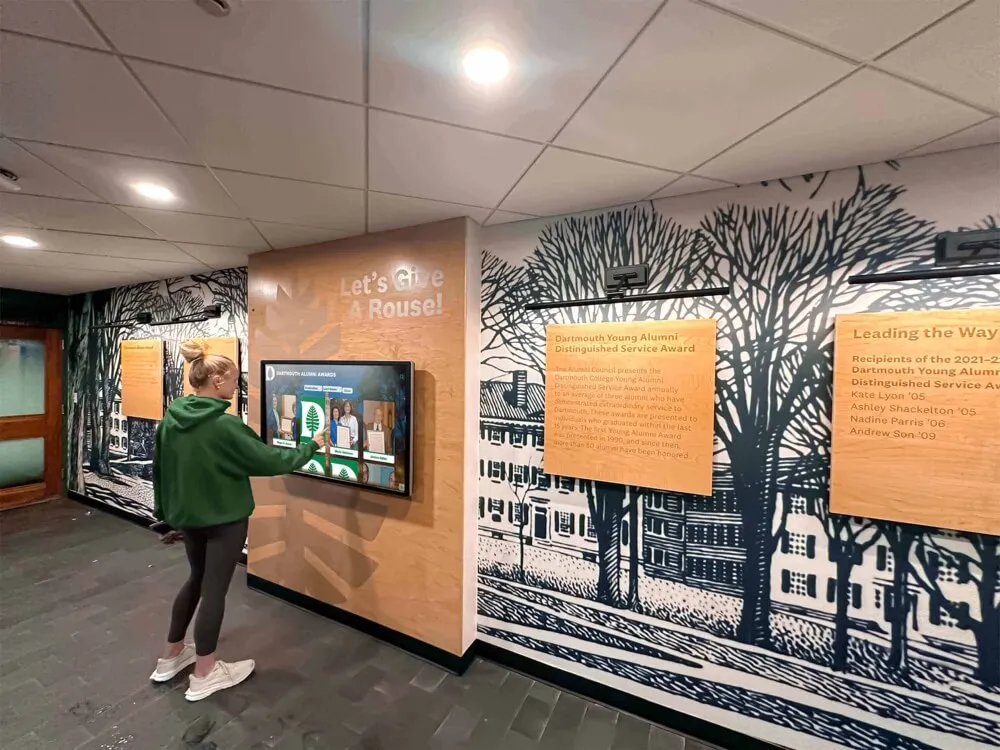
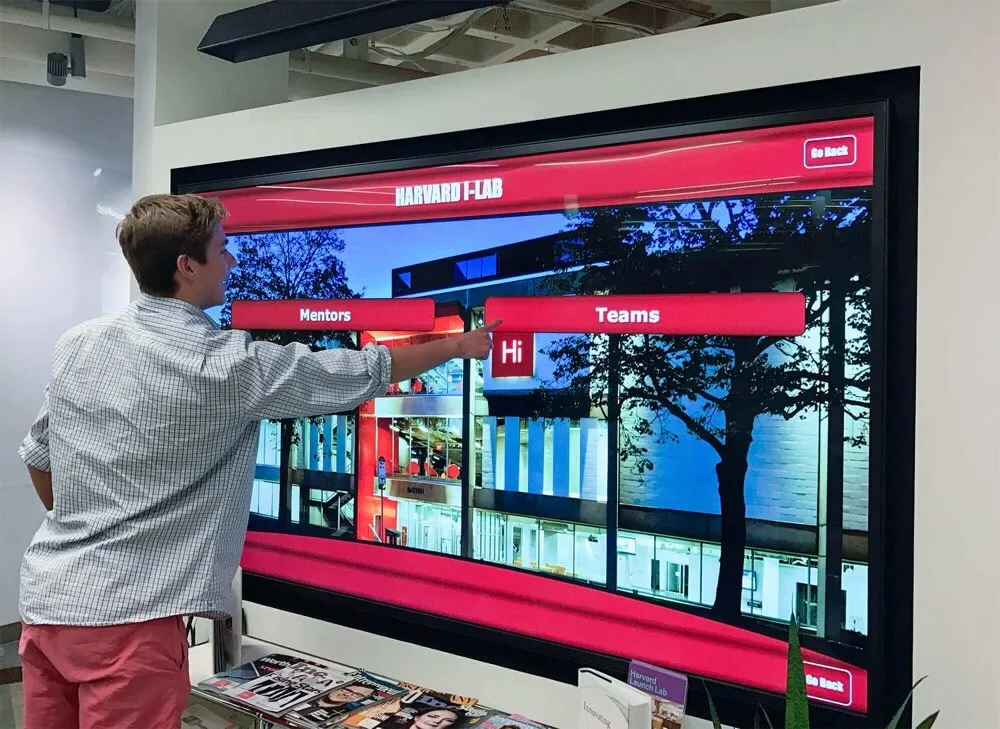
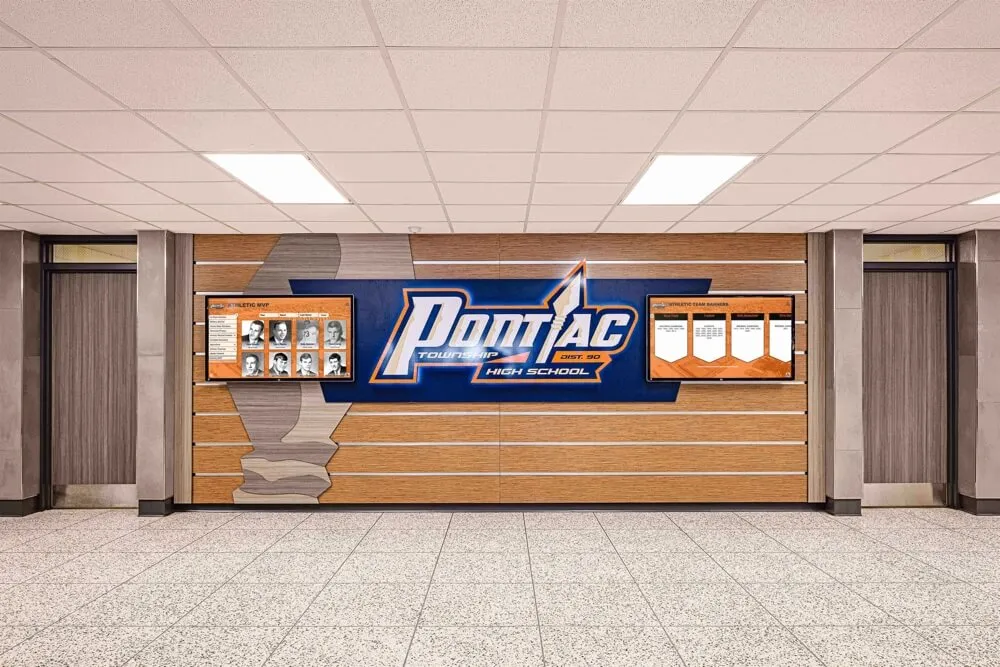
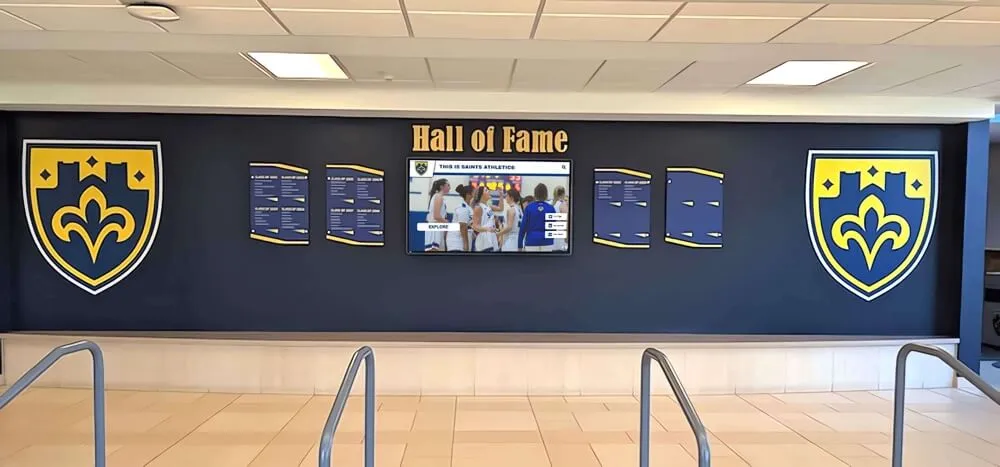
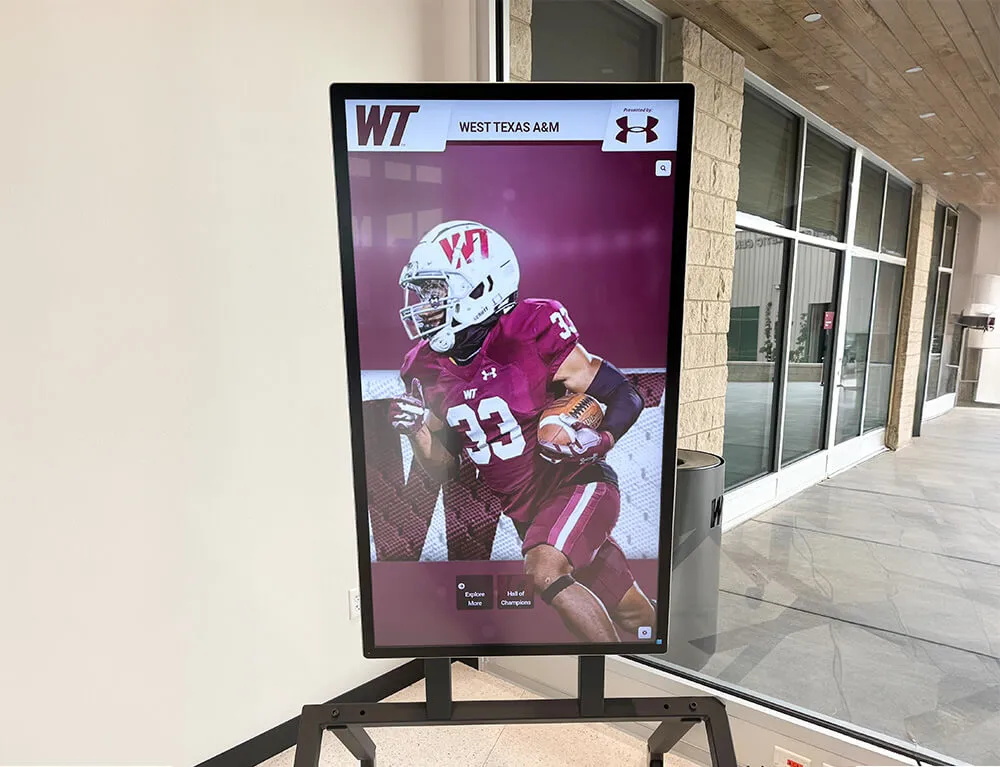
Recognition displays that surface decades of athletic history draw on audio content that was digitized before its physical media failed — the workflow that begins in a storage room ends in an experience students and alumni can explore
Why Audio Is the Hardest Athletic Archive Format to Recover
Schools frequently discover that their athletic photograph collections can be partially reconstructed from yearbooks, newspaper archives, or donated prints — even after original storage media fails. Audio has no equivalent fallback. When a cassette tape deteriorates past the point of playback, the speech, interview, or broadcast it contains is gone. There is no printed copy, no duplicate scan, no alternative source.
The failure modes of common athletic audio formats:
| Format | Typical Lifespan | Primary Failure Mode | Warning Signs |
|---|---|---|---|
| Cassette tape | 10–30 years | Binder hydrolysis (sticky shed syndrome), print-through | Squealing, shedding oxide, audio bleeding between layers |
| Reel-to-reel tape | 15–50 years depending on formulation | Binder hydrolysis, vinegar syndrome | Vinegar odor, brittleness, surface deposits |
| MiniDisc | 15–30 years | Optical layer degradation, laser wear on playback units | Read errors, skipping, playback failures |
| Audio CD | 10–50 years | Disc rot (oxidation of reflective layer), delamination | Pitting visible on disc surface, playback errors |
| DAT tape | 10–20 years | Binder degradation, head clog | Dropouts, error messages, playback failure |
| VHS (audio tracks) | 10–25 years | Oxide shedding, tape warp | Audio dropout during video playback |
| Digital voice recorder files | Variable | Storage device failure, proprietary format lock | Device failure; files unreadable in standard software |
Cassette tapes from the 1980s and 1990s — the era when many athletic departments first began recording interviews, oral histories, and game-day audio — are now approaching or past the end of their recoverable lifespan. Programs that have never digitized those tapes are carrying a quiet preservation emergency.
For schools building a comprehensive approach to athletic history, audio preservation fits within the broader framework described in resources like this academic history archiving guide for schools, which covers how institutions approach institutional memory across media types.
Stage 1: Audit the Audio Collection
Before any digitization begins, build a complete inventory of what exists. Approach the storage room, media cabinet, or donation boxes with a documentation mindset rather than a triage mindset — the goal of the audit is a complete picture, not a quick assessment.
Audio inventory fields:
| Field | What to Record |
|---|---|
| Format | Cassette, reel-to-reel, MiniDisc, CD, DAT, VHS, digital voice recorder file |
| Number of items | Count per format |
| Labels and markings | Exact text on any labels, handwritten annotations, date markings |
| Estimated date | Based on label text, style, or staff recollection |
| Apparent content type | Interview, game broadcast, pep rally, announcement, oral history, music, unknown |
| Physical condition | Grade A (no visible issues), Grade B (minor issues), Grade C (visible damage), Grade D (severe damage) |
| Playback equipment required | Cassette deck, reel-to-reel player, MiniDisc player, CD player, DAT deck |
| Priority tier | Tier 1 (highest historical value or physical risk), Tier 2, Tier 3 |
Assign priority tiers during the audit, not after. Recordings that capture content unavailable in any other format — coach interviews, oral histories from founding-era athletes, championship game broadcasts — are Tier 1 regardless of physical condition. Recordings from eras with high tape degradation risk go to Tier 1 even without confirmed content value.
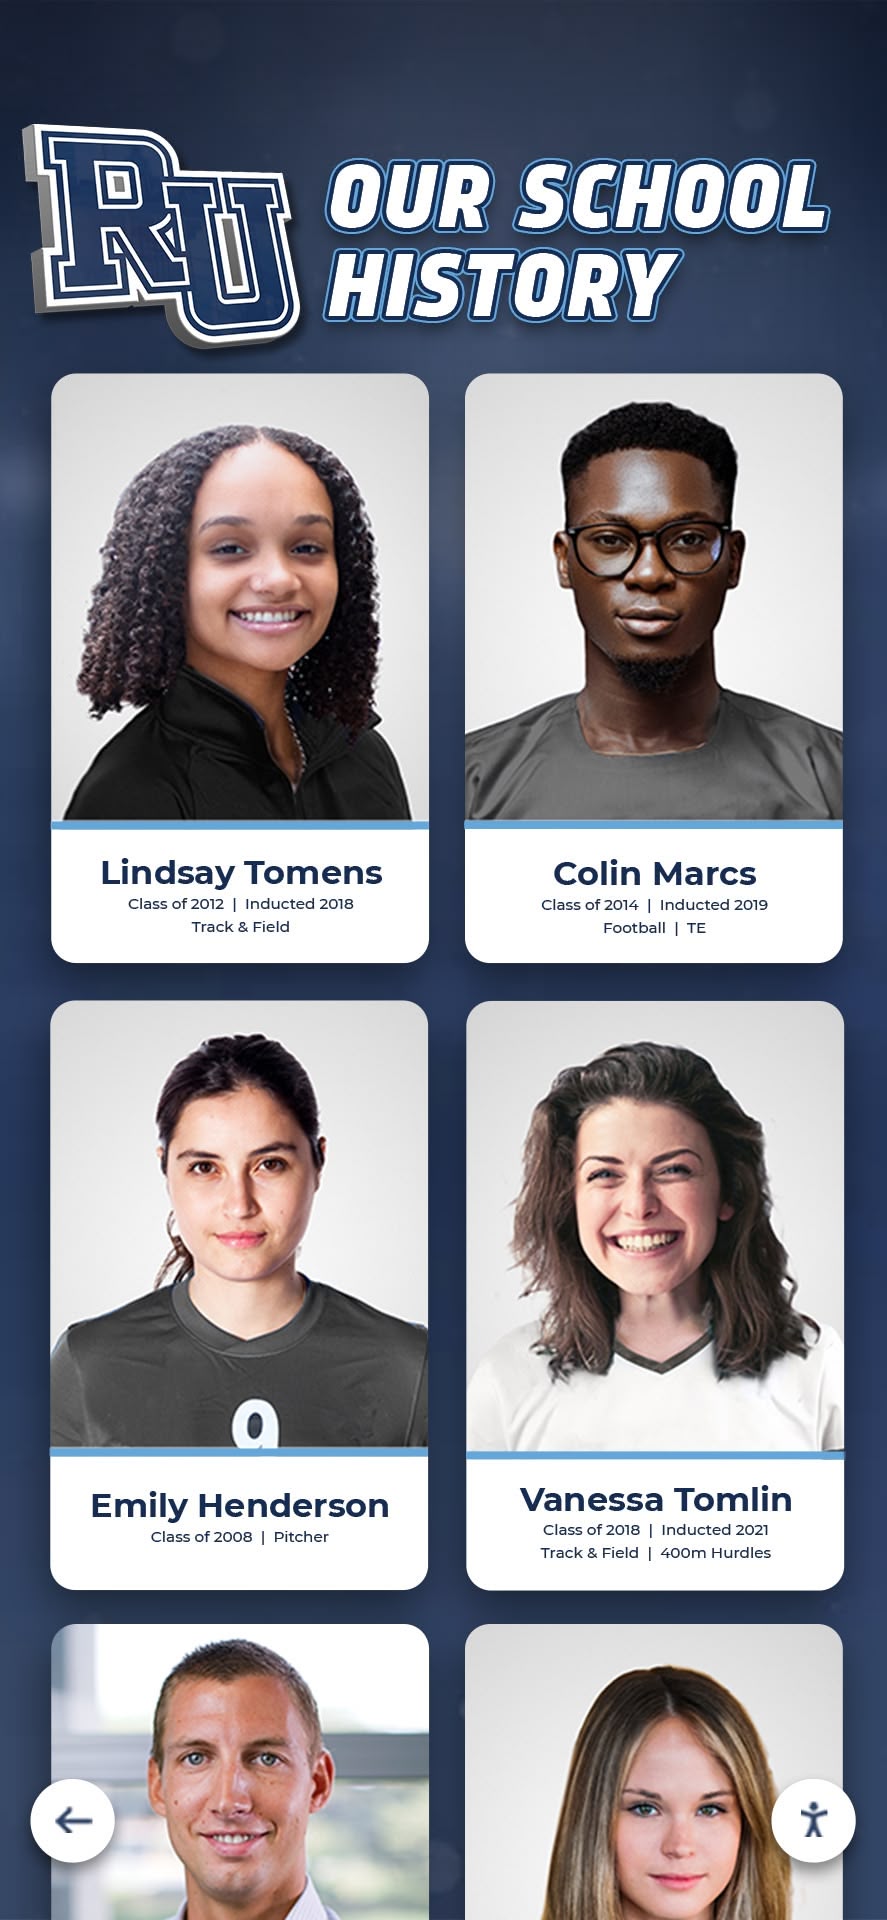
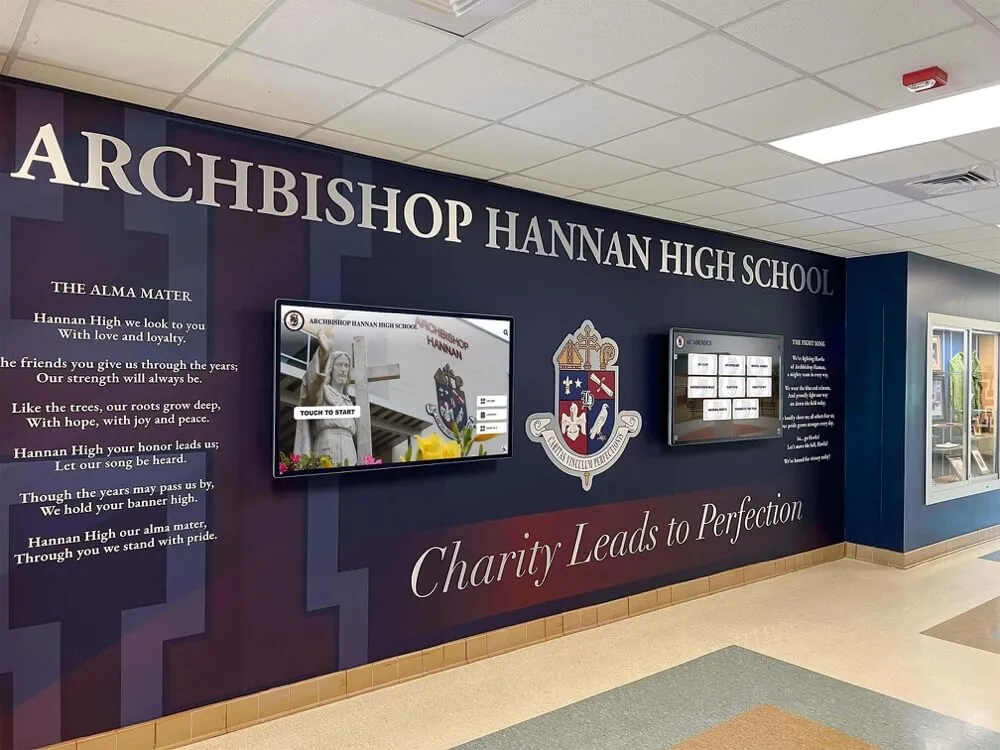
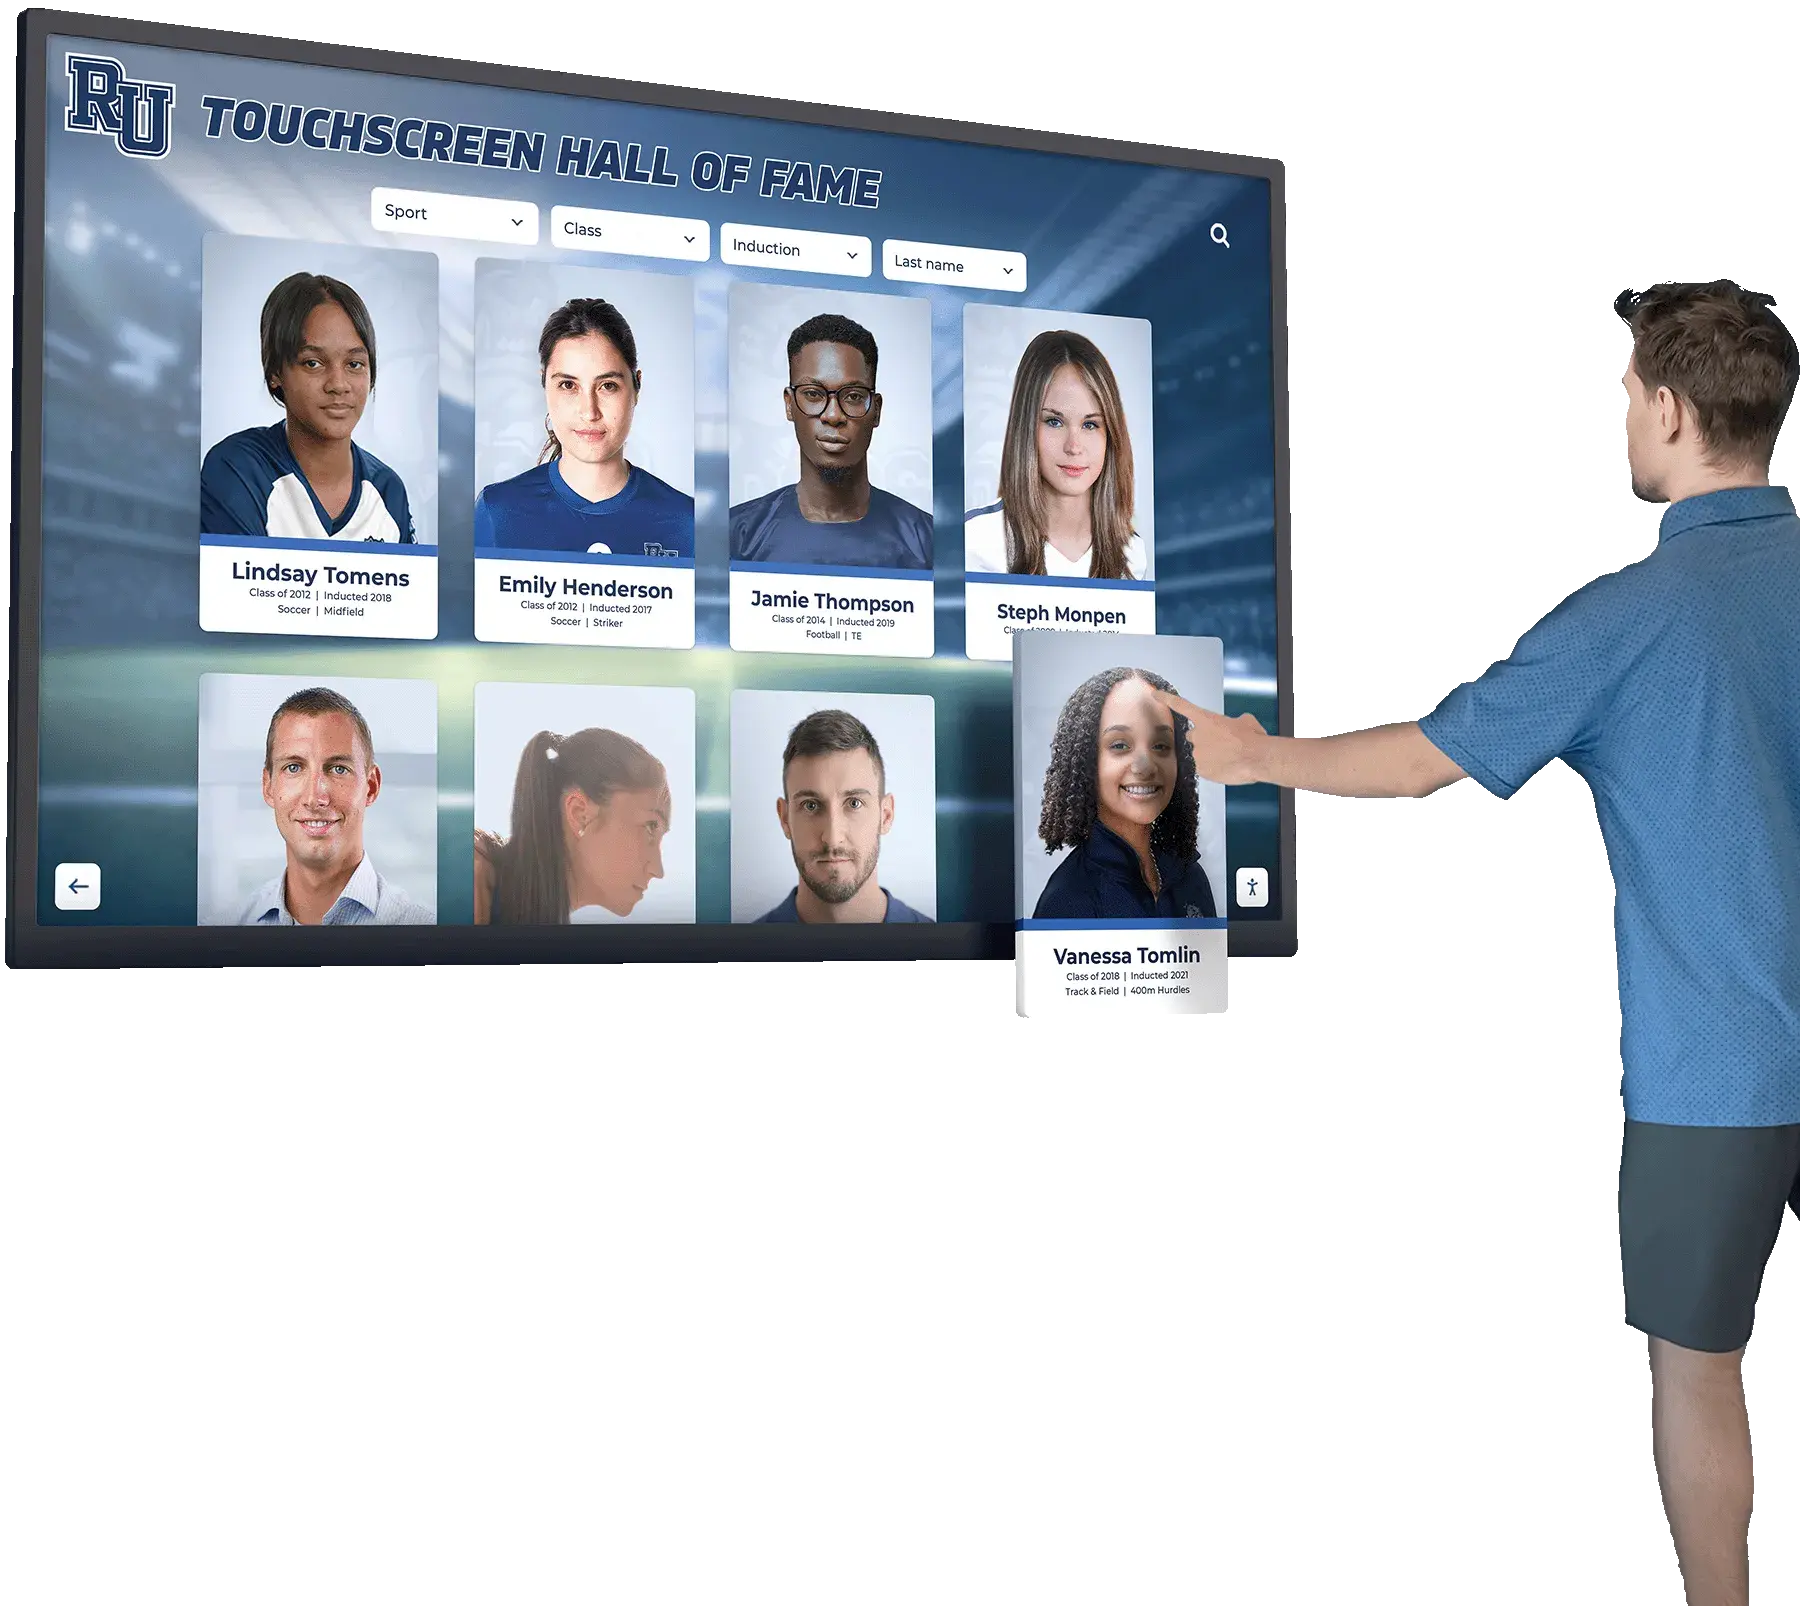
School archives often hold visual records of athletes whose voices were also captured on audio media — preserving both the image and the oral record requires a workflow that addresses each format on its own terms
Stage 2: Assess Format Condition and Triage
After auditing, assess each item’s physical condition more closely to determine whether immediate digitization is possible or whether remediation is required first.
Condition assessment by format:
Cassette tapes:
- Remove from case and inspect the tape pack — look for uneven winding, tape spill, or tape stuck to the reel
- Smell for vinegar odor (acetic acid from acetate tape) or a sweet chemical odor (binder breakdown in polyester formulations)
- Check the label for signs of moisture damage or mold
- Inspect the housing for cracks, broken guides, or missing pressure pad
- Wind the tape to the beginning using a pencil — never fast-forward with the motor until after condition assessment
Reel-to-reel tapes:
- Store vertically (on edge, like a wheel) if they have been stored flat — flat storage deforms the tape pack over time
- Inspect for vinegar odor — strong vinegar smell indicates acetate base degradation and requires baking before playback
- Check the reel for warping, cracks, or damaged flanges
- Assess whether the tape leader is intact at both ends
MiniDiscs and audio CDs:
- Inspect the disc surface under a bright light for pitting, cloudiness, or delamination at the edges
- Check the housing for MiniDiscs — damaged housings can damage the optical head of the player
- Clean both formats gently with a lint-free cloth from the center outward before attempting playback
Triage rule: Tapes that exhibit sticky shed syndrome (squealing during playback, oxide deposits on the playback head after a few seconds) require baking in a food dehydrator at 52°C for 4–8 hours before digitization. Do not attempt to digitize a tape showing sticky shed symptoms without treatment — the tape will shed oxide onto the playback heads and may bond to itself, causing irreversible damage.
Stage 3: Prepare the Digitization Workstation
A digitization workstation for audio consists of three components: a playback device appropriate for the source format, an analog-to-digital converter (ADC) or audio interface, and a computer running digital audio workstation (DAW) software configured for archival capture.
Workstation components:
| Component | Purpose | Key Requirement |
|---|---|---|
| Playback device | Convert stored signal to analog audio | Format-appropriate (cassette deck, reel-to-reel, CD player, MiniDisc player); well-maintained heads and transport |
| Audio interface / ADC | Convert analog signal to digital | At least 24-bit / 48 kHz resolution; low-noise balanced inputs preferred |
| DAW software | Capture, monitor, and save the digital file | Audacity (free), Adobe Audition, Reaper, or equivalent |
| Monitoring headphones or speakers | Verify audio quality during capture | Flat-response monitoring preferred over consumer headphones |
| Computer | Run software and store captured files | Sufficient processing power; at least 1 TB free storage for large collections |
Sample rate and bit depth for archival capture:
| Setting | Standard | Notes |
|---|---|---|
| Sample rate | 48,000 Hz (48 kHz) | CD-standard 44,100 Hz is acceptable; 48 kHz preferred for archival masters |
| Bit depth | 24-bit | 16-bit is CD standard; 24-bit provides additional dynamic range headroom for post-processing |
| Channels | Stereo or mono matching source | Capture in stereo even if source is mono — confirm mono assignment during QC |
| File format for capture | Uncompressed WAV or AIFF | Never capture masters directly to MP3 or other compressed formats |
Set recording levels before beginning capture. The goal is a strong signal that does not clip — peaks should consistently reach -12 to -6 dBFS during normal content, with headroom to accommodate sudden loud passages. A weak signal captured at low levels can be amplified in post-processing; a clipped signal cannot be restored.
Stage 4: Execute the Digitization Capture
With the workstation configured, the source media prepared, and levels set, begin capture. Audio digitization is a real-time process — a ninety-minute tape requires ninety minutes of capture time.
Pre-capture checklist:
- Playback device heads cleaned with isopropyl alcohol on a cotton swab
- Playback device transport mechanisms (capstan, pinch roller for cassettes) cleaned and checked
- DAW software open, input levels confirmed, monitoring active
- Destination folder created and named according to the archive’s file naming convention
- Recording log document open — begin recording each capture session immediately
Capture procedure:
- Start DAW recording before pressing play on the playback device — capture ten seconds of silence before the content begins; this pre-roll becomes the measurement point for noise floor assessment
- Press play on the playback device
- Monitor the capture throughout — do not leave an active capture session unattended; tape jams, level spikes, and dropout events require immediate documentation
- Continue recording through any gaps, silent passages, or low-level content — do not stop and restart mid-tape; a continuous capture file is easier to review and documents the original tape’s complete condition
- Allow ten seconds of post-roll after the content ends before stopping recording
- Stop the DAW recording and immediately save the file
- Record the captured file’s name, duration, playback device used, capture settings, and any anomalies observed during playback in the capture log
During capture, document:
| Event | What to Record |
|---|---|
| Playback anomaly | Timestamp, description (dropout, distortion, oxide shed) |
| Tape issue | Any squealing, slowing, or physical event |
| Content identification | Timestamps for identifiable segments — speaker names, dates, events |
| Level issues | Any clipping or significantly low-level passages with timestamps |
Stage 5: Review, Process, and Create Access Copies
The unedited capture file is the preservation master. Do not modify it. All post-processing happens on a working copy, and access copies are derived from the master.
Processing steps:
| Step | Purpose | Tool |
|---|---|---|
| Noise floor measurement | Assess ambient noise level; establish baseline | Audacity noise profile, Adobe Audition diagnostics |
| Noise reduction (light) | Reduce consistent tape hiss without affecting speech intelligibility | DAW noise reduction at conservative settings |
| DC offset removal | Correct any DC bias introduced by the audio interface | DAW normalize/DC remove function |
| Level normalization | Bring the overall level to a consistent reference | Normalize to -3 dBFS peak or -16 LUFS integrated; apply only to access copy |
| Segment identification | Mark timestamps for distinct content segments | DAW label tracks or exported cue sheet |
File hierarchy:
/audio-archive/
  /[date]-[format]-[content-id]/
    [date]-[content-id]-MASTER.wav       (unprocessed capture; never delete)
    [date]-[content-id]-WORKING.wav      (processing copy; may be deleted after access copy)
    [date]-[content-id]-ACCESS.mp3       (access copy for playback; 320 kbps minimum)
    [date]-[content-id]-metadata.xml     (all metadata fields)
    [date]-[content-id]-capture-log.txt  (capture session notes)
Access copies in MP3 format at 320 kbps are suitable for playback in web browsers, recognition display platforms, and institutional media players. Never distribute the WAV master as an access file — it is the preservation original.
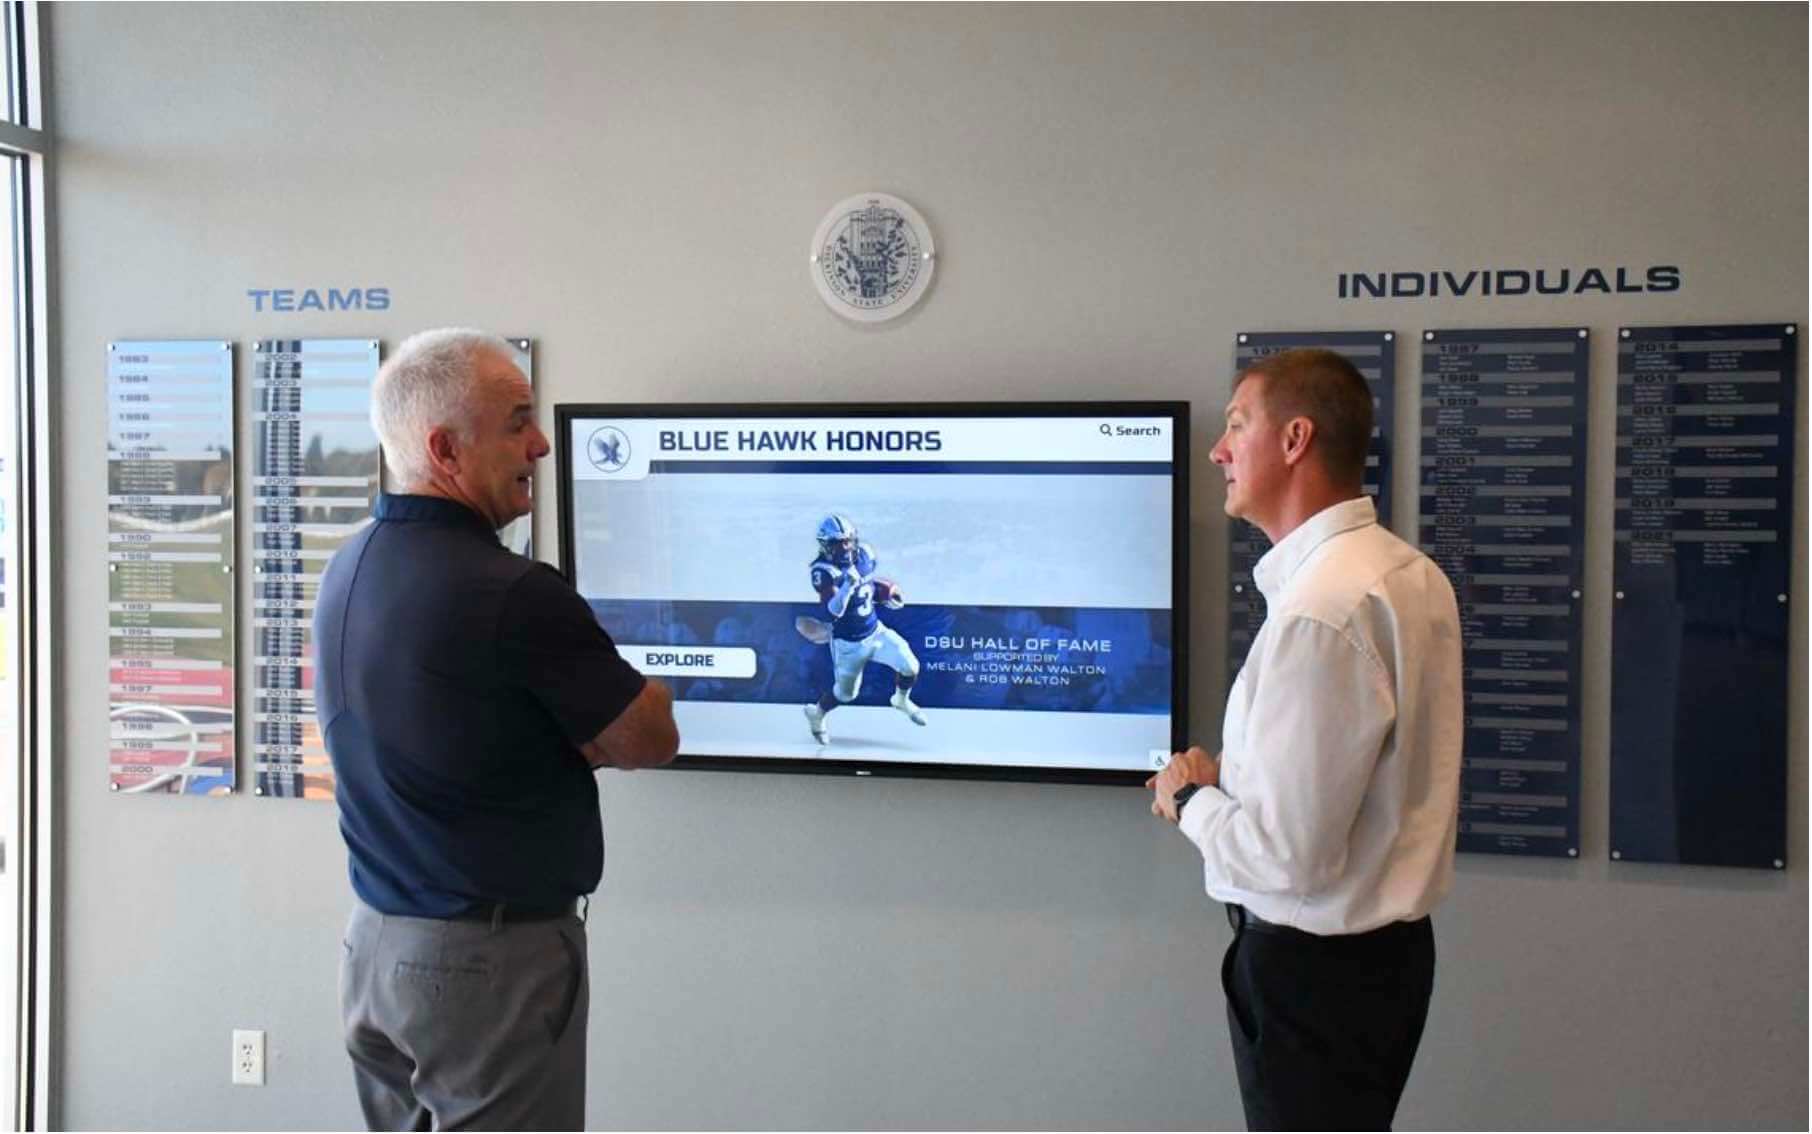
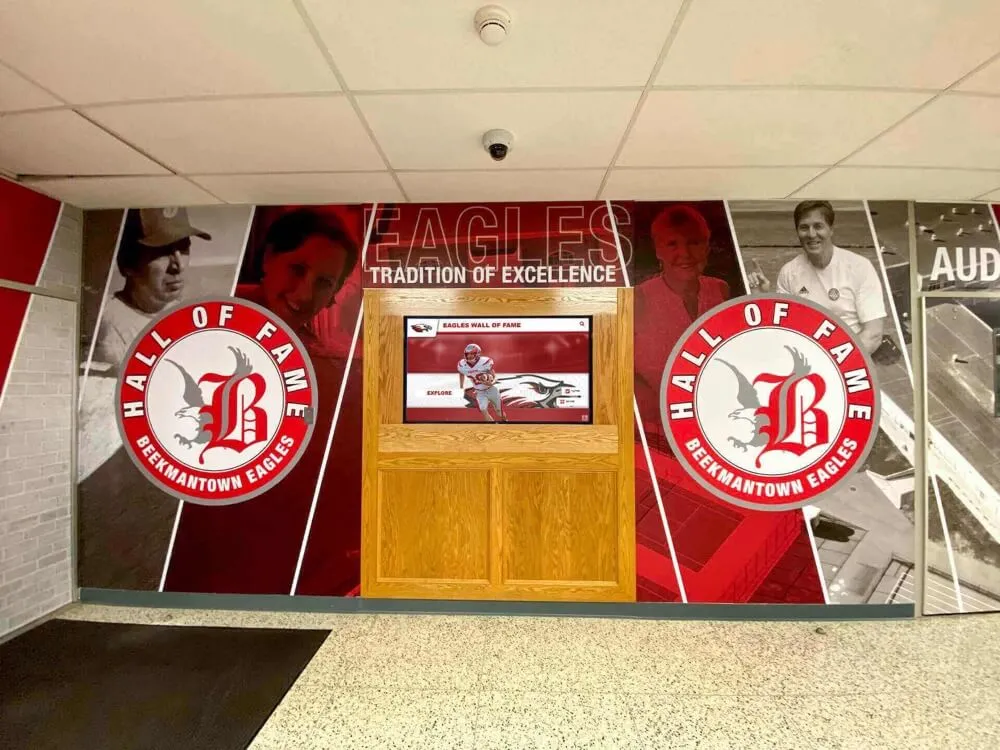
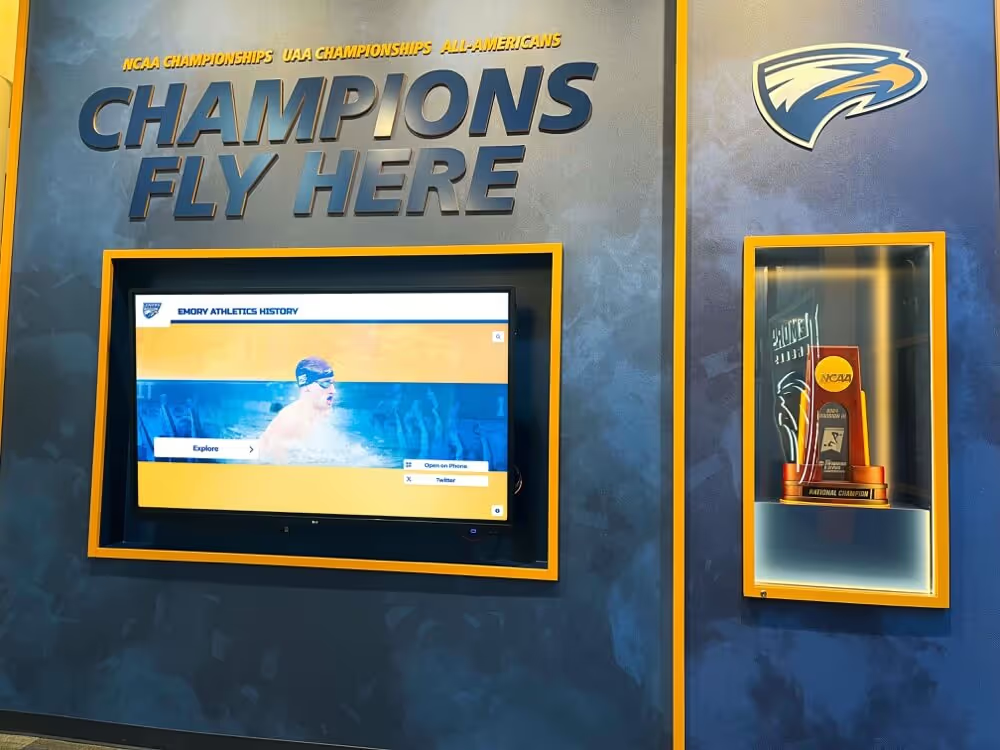
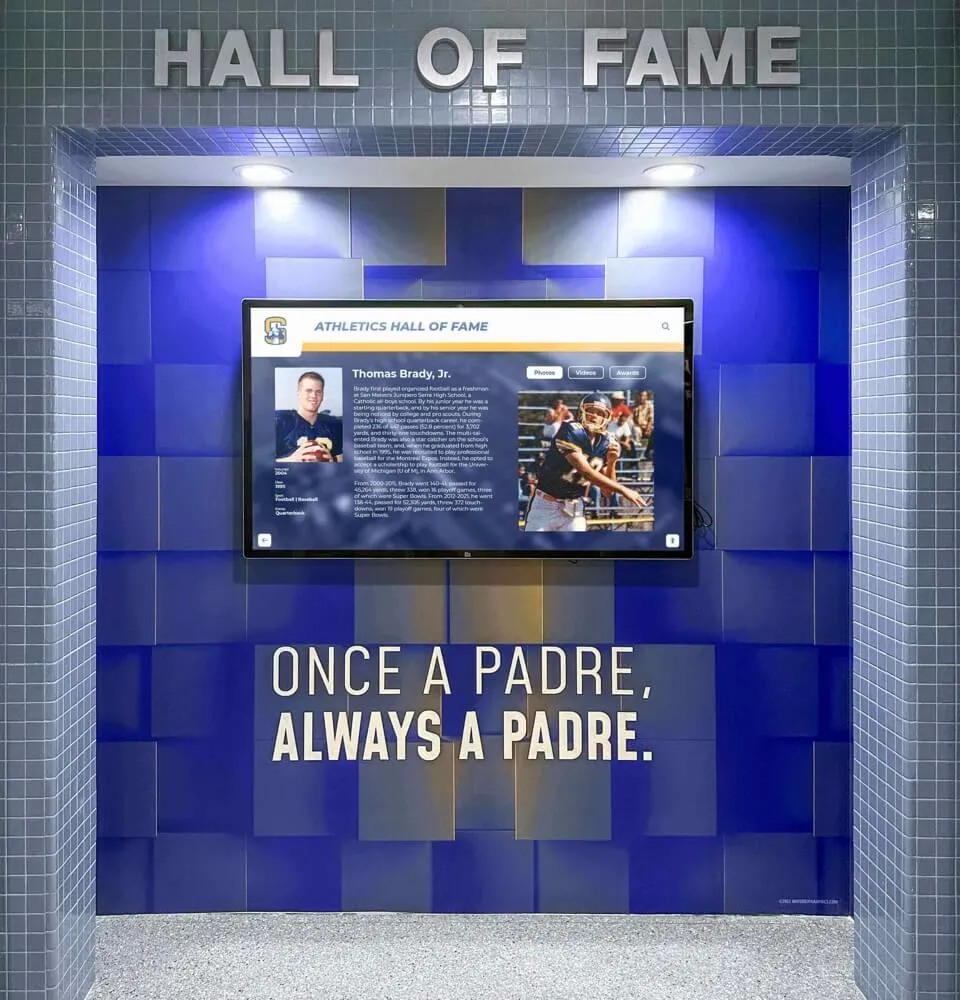
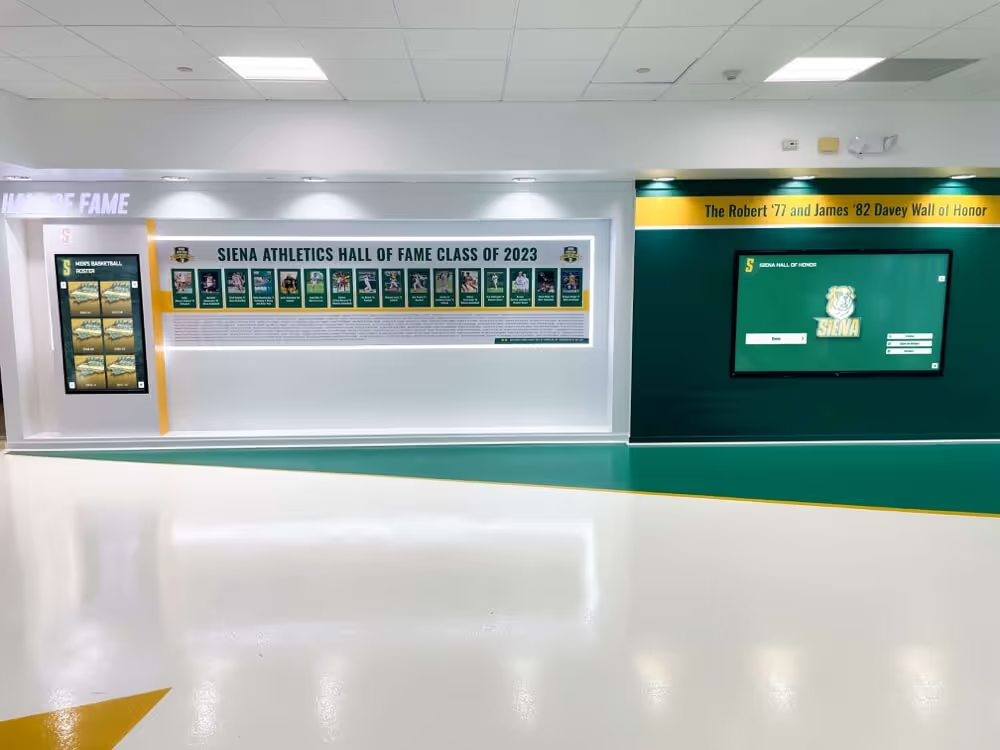
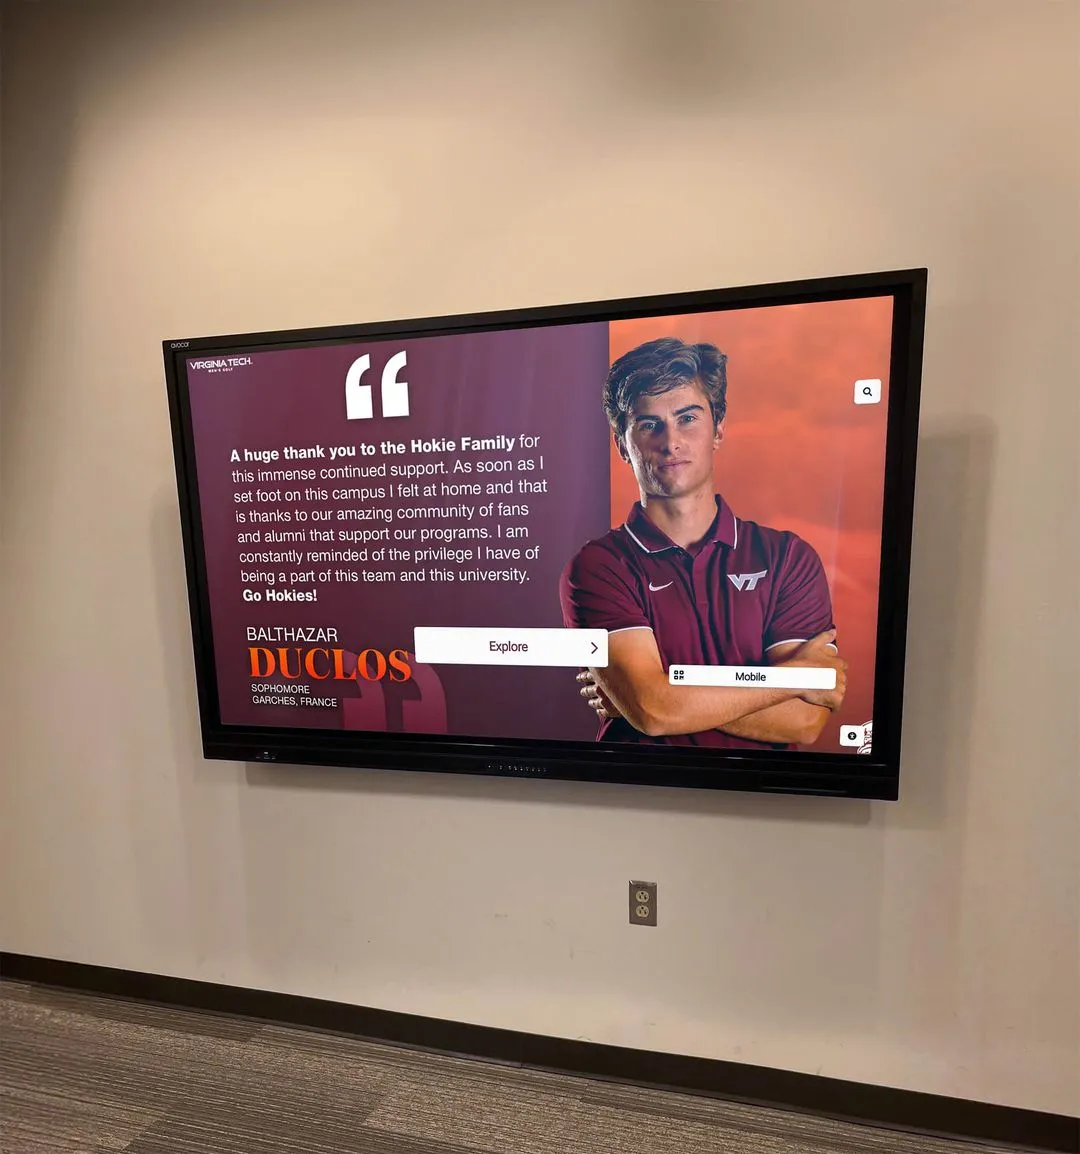
Athletic recognition displays that include audio oral histories and interview clips create a richer connection between current visitors and the program's historical figures than visual content alone can deliver
Stage 6: Assign Metadata and Document Content
Audio archives without metadata are audio files without context. A correctly labeled WAV file sitting in a folder with no associated record is not an archive record — it is a file that will be undiscoverable and unattributable within a few years.
Minimum metadata fields for athletic audio records:
| Field | Description | Example |
|---|---|---|
| Title | Descriptive title for the recording | “Post-game interview — Coach Daniels — Regional Final 1998” |
| Format (original) | Physical format of the source media | Cassette Type I, 60-minute |
| Date (original) | Date the original recording was made | 1998-03-14 (approximate if exact date unknown) |
| Date (digitized) | Date the digitization was performed | 2026-08-09 |
| Duration | Running time of the digital file | 00:22:47 |
| Creator | Who made the original recording | Athletic Department, Jefferson High School |
| Subject | Topics, events, or names mentioned | State championship, basketball, Coach Daniels |
| Rights | Access and use permissions | Internal archive use; access restricted per district policy |
| Digitizer | Staff member or vendor who performed the digitization | J. Martinez, Archive Coordinator |
| Technical notes | Equipment and settings used | Nakamichi BX-300; Focusrite Scarlett 2i2; 24-bit / 48 kHz; Audacity 3.4 |
| Condition notes | Physical condition at time of digitization | Grade B; light binder flaking; two short dropouts at 12:30 and 14:45 |
Embedding metadata directly into the audio file using the BWF (Broadcast Wave Format) description chunk is preferable for WAV masters — the metadata travels with the file rather than existing only in a separate record. Most professional DAW applications support BWF metadata embedding.
For programs developing a consistent metadata vocabulary across format types, the framework used for alumni recognition events and digital collections offers principles for structuring data that can be measured and acted upon as the archive grows.
Stage 7: Store and Redundantly Back Up Audio Masters
Audio master files are large — a ninety-minute WAV capture at 24-bit / 48 kHz produces approximately 1.5 GB. A collection of fifty tapes generates roughly 75 GB of master files before access copies are added. Storage planning must account for this scale from the beginning.
Storage requirements:
- Master files stored on a dedicated volume separate from the workstation operating system
- At least two copies of every master file on separate physical media or storage locations
- Access copies stored in a location accessible to the archive system for search and retrieval
- Storage locations documented in the archive record for each file
- Checksum (SHA-256) generated for each master at the time of creation and stored in the metadata record
Storage options:
| Option | Appropriate For | Considerations |
|---|---|---|
| Dedicated external hard drive | Small collections under 500 GB | Single point of failure; pair with cloud backup |
| Network-attached storage (NAS) | Medium collections; multiple staff access | Requires network infrastructure; built-in RAID provides redundancy |
| Cloud storage (institutional) | Collections of any size; off-site protection | Upload time for large WAV files; ongoing cost; verify retention policy |
| LTO tape (archival) | Very large collections; long-term institutional archives | High upfront cost; requires specialized drive; considered archival gold standard |
| Combination (NAS + cloud) | Most school athletic archive programs | Cost-effective redundancy; addresses both local and off-site risk |
Run a fixity check — a comparison of stored file checksums against the original checksums — at least annually. A checksum mismatch indicates file corruption and prompts investigation before the corruption becomes undetectable data loss.
Stage 8: Integrate Audio Into the Archive and Make It Discoverable
Digitized audio that sits in a folder on a hard drive is not yet an archive record. Archive records are discoverable — they can be searched by content, date, format, subject, or name — and they are connected to the rest of the archive’s records for the same era, event, or individual.
Integration steps:
- Ingest each audio record into the archive management system — create a unique identifier, link the master file, access copy, metadata record, and capture log together as a single record
- Apply controlled vocabulary terms from the archive’s subject taxonomy — sport, season, content type, named individuals — to enable consistent search results
- Connect audio records to related records: a coach interview about a championship season should be linked to the photo records, program records, and roster records from that season
- Make access copies available through the archive’s access system — a player in the catalog interface, a linked file in the recognition display platform, or a QR-accessible audio file for event programming
Where athletic audio content surfaces in recognition programs:
| Context | Audio Content Type | Use |
|---|---|---|
| Hall of fame profiles | Oral history interview with inductee | Audio playback from athlete’s profile in interactive display |
| Record board displays | Broadcast call of a record-setting moment | Audio clip linked to the record entry |
| Championship history | Post-game press conference recording | Audio integrated into season or championship feature |
| Alumni events | Pep rally recording from an alumni’s graduating year | Audio playback at reunion or homecoming events |
| Coach retirement recognition | Career retrospective interview | Audio tribute in retirement ceremony display |
For schools planning alumni events where audio oral histories add depth to the recognition experience, the catalog of alumni event ideas from digitized archive content illustrates how audio and digital content combine to create programming that connects graduates to their athletic history.
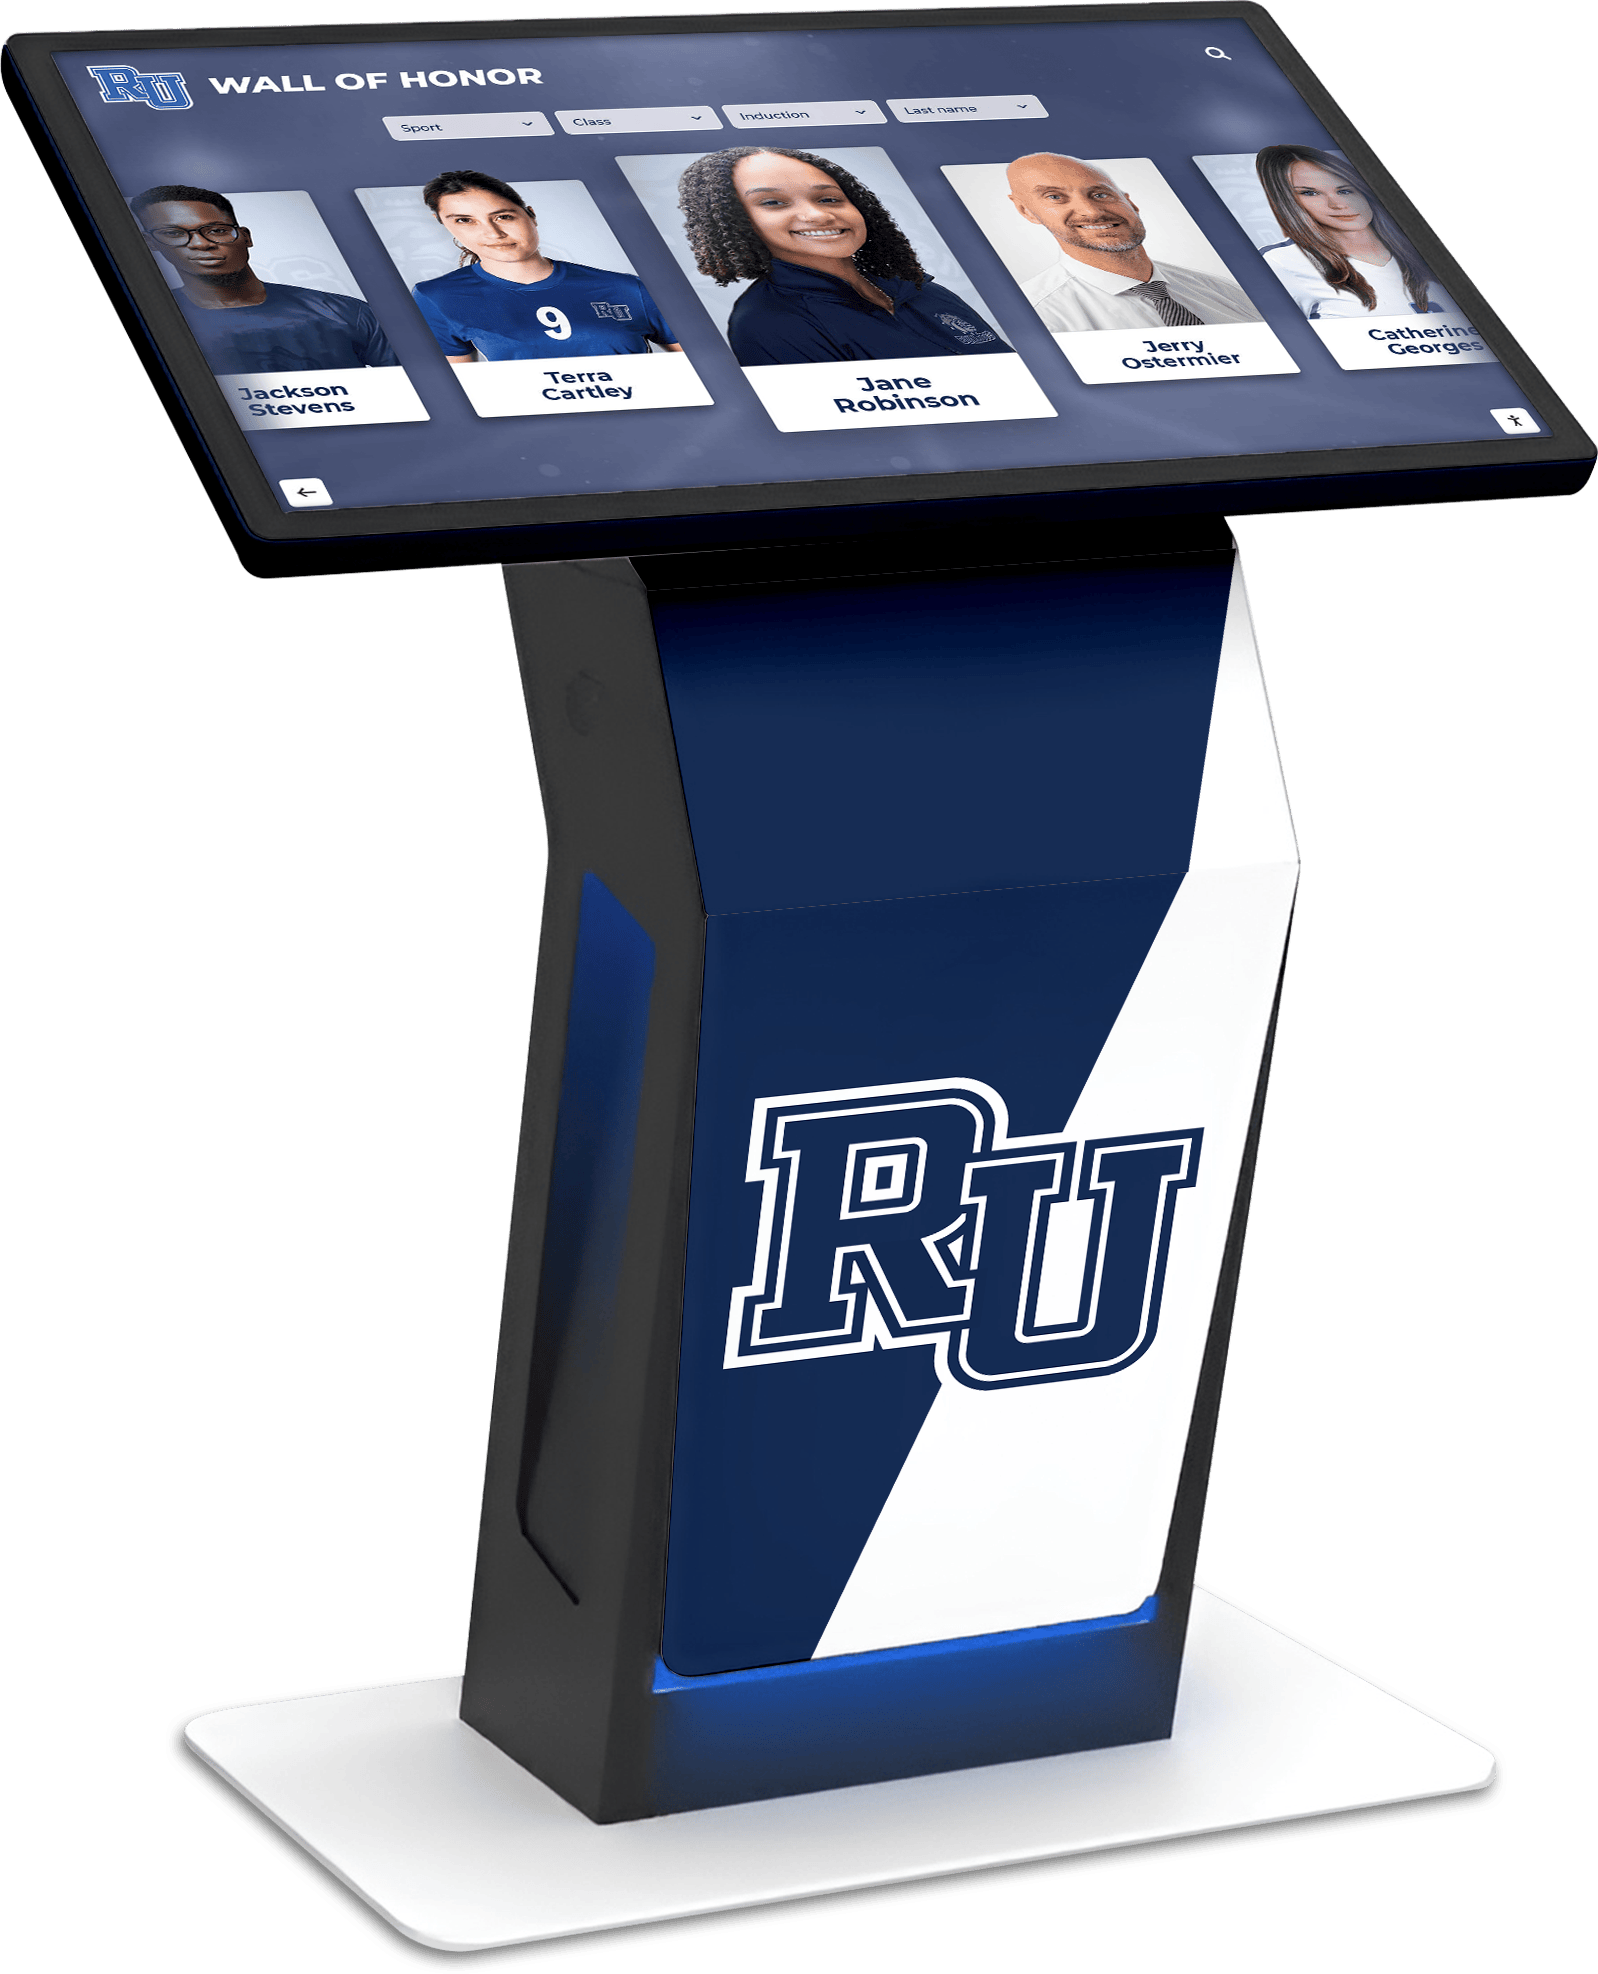
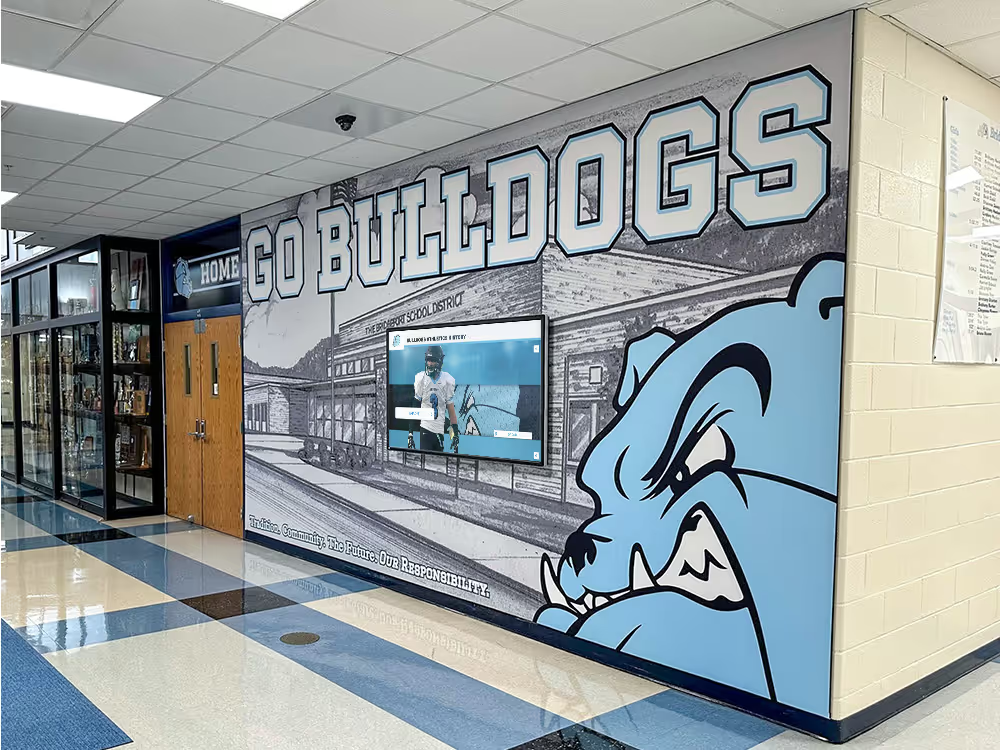
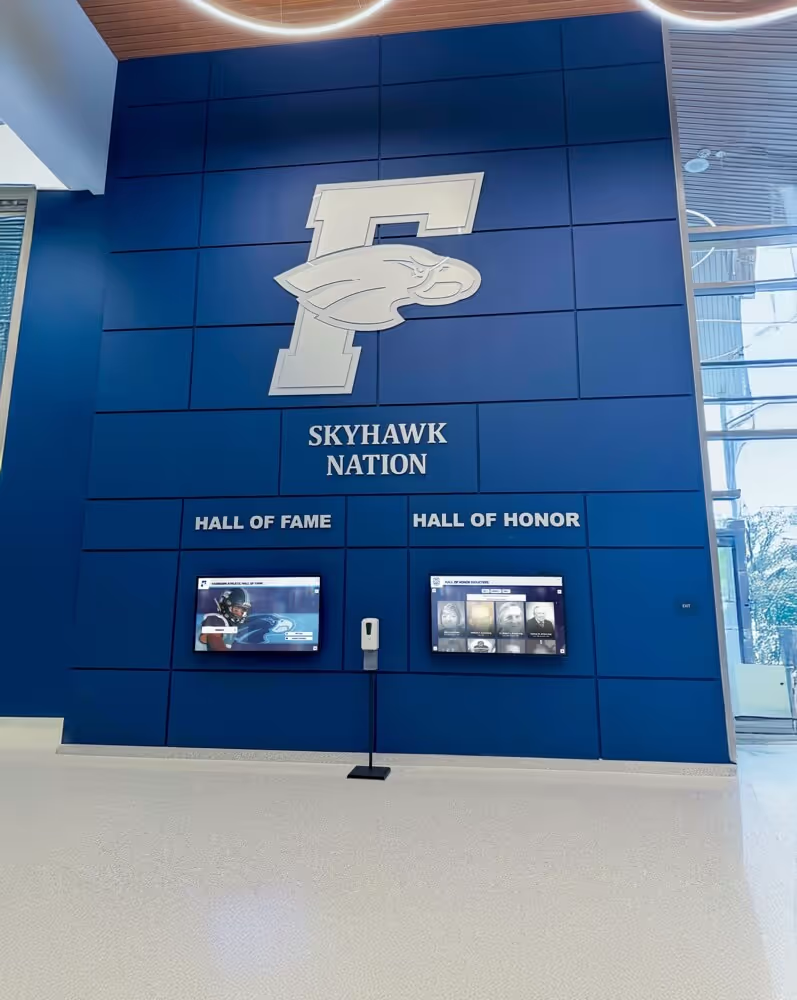
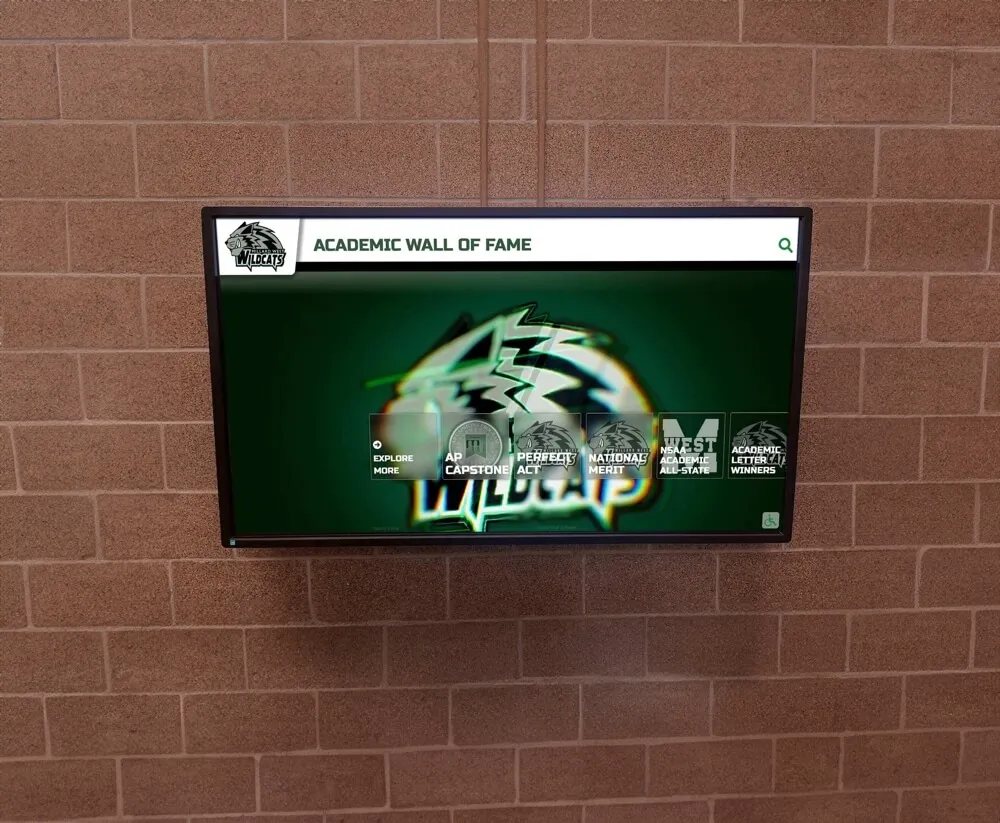
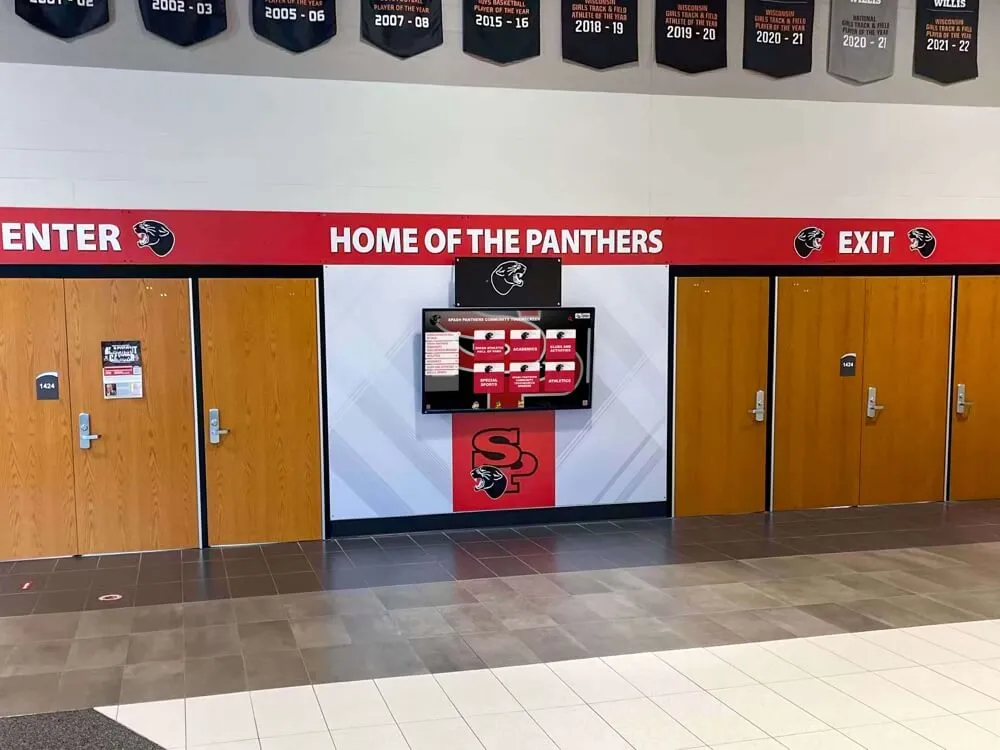
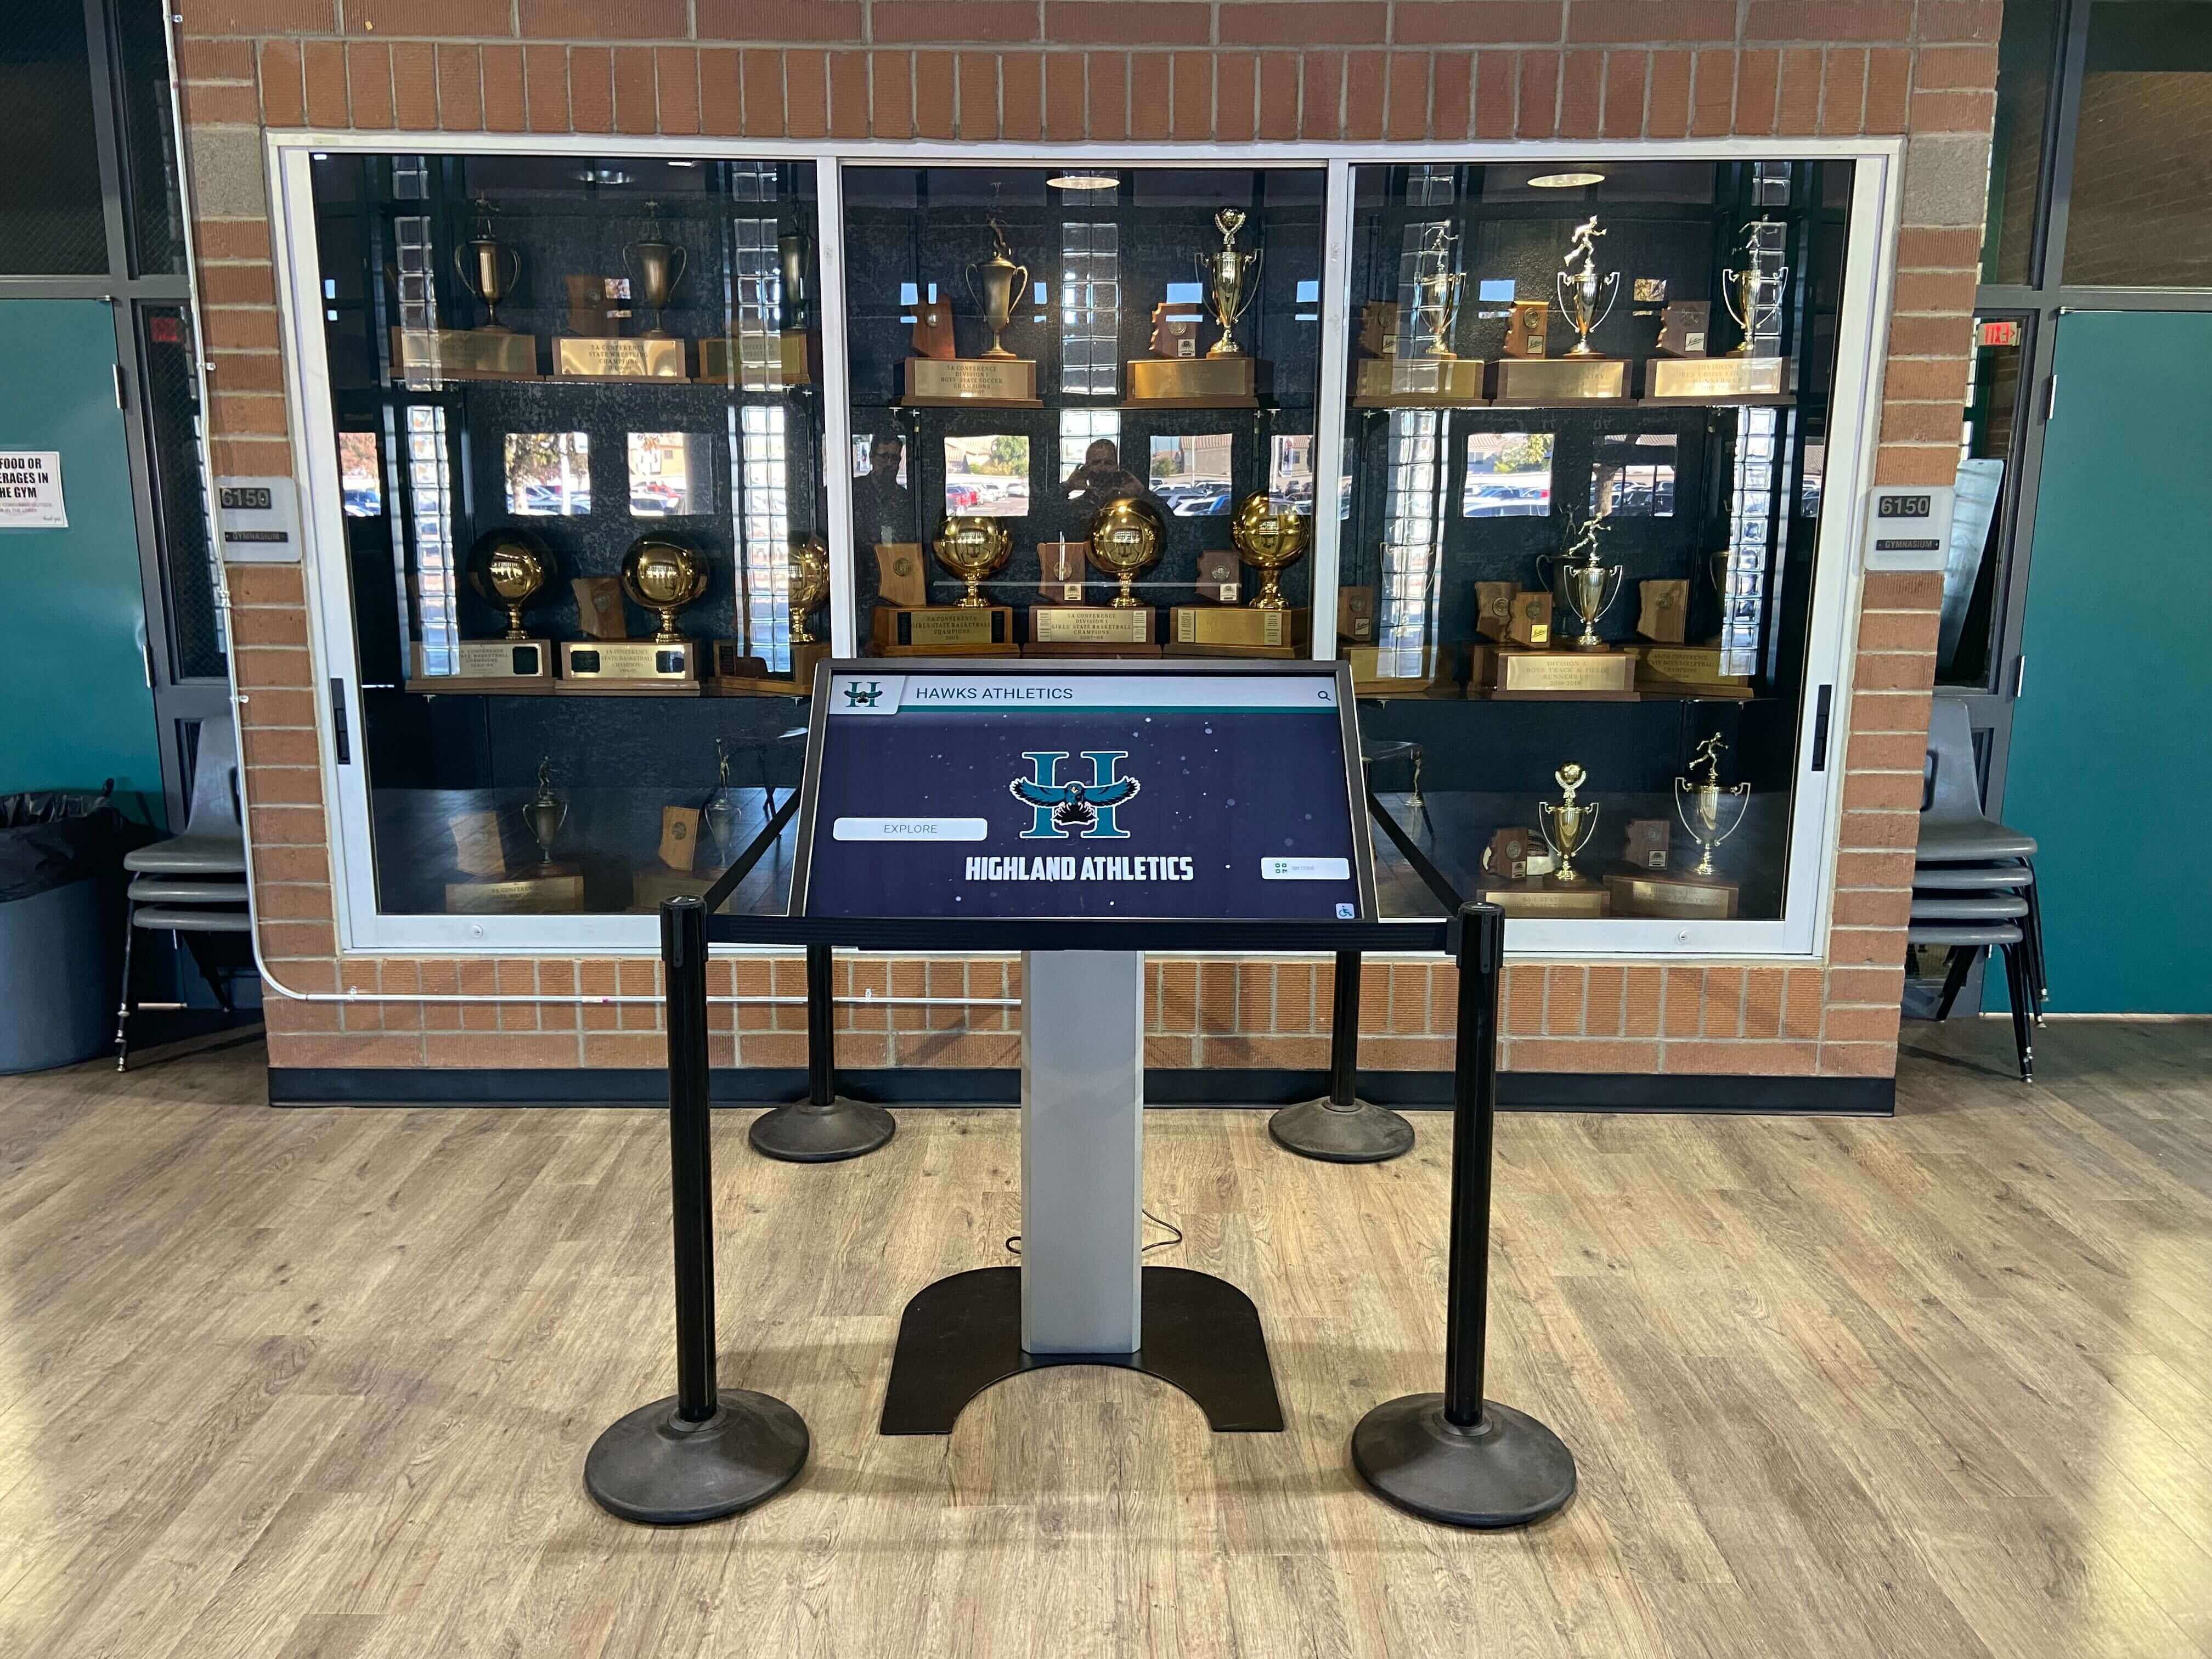
Interactive recognition kiosks become richer experiences when audio from interviews, oral histories, and broadcast recordings is integrated alongside photographs and statistical records — the workflow that makes this possible begins with systematic digitization
Connecting Audio to Athletic Recognition Displays
Digitized audio transforms static recognition displays into experiences that include voice. A hall of fame profile that includes a thirty-second clip from a retired coach’s interview in the athlete’s senior season creates a connection between the visitor and that era of the program that a photograph and a statistics table cannot replicate.
Athletic departments building toward complete all-state record boards and recognition displays will find that audio oral histories from record-holding athletes add the human context that explains why a record mattered — the conditions of the season, the team behind the individual achievement, the story the numbers cannot tell.
For schools developing alumni donor recognition walls and walls of honor, audio testimonials from former athletes and alumni who are also donors add a layer of personal voice to recognition that visual-only displays cannot achieve. A donor wall that includes an audio message from the named individual connects visitors to the person behind the recognition in a way that a nameplate and a photograph do not.
Programs planning alumni reunion events where digitized audio becomes part of the programming draw on the archive as an active participant in the event — playing a pep rally recording from twenty years ago at a reunion creates a moment of shared memory that no slideshow replicates.
For athletic departments exploring how digital recognition platforms handle audio content consistently across display contexts, the principles of design consistency across touchscreen platforms address how audio elements integrate into visual display environments without disrupting the user experience.
Ready to Connect Your Digitized Audio to a Recognition Experience?
Once your audio archive is digitized and documented, Rocket Alumni Solutions helps schools integrate those oral histories, interview clips, and broadcast recordings into interactive recognition displays that students, alumni, and visitors can explore. From hall of fame profiles with embedded audio to searchable record boards with historical context, our platform is built to surface the full depth of athletic history that your archive contains. Request a demo to see how audio and visual content from your archive can power a recognition experience worthy of your program's legacy.
Request a DemoFrequently Asked Questions
What is the difference between audio digitization and audio restoration for an athletic archive?
Digitization is the process of converting a physical audio recording to a digital file — capturing the signal as it exists on the media, including any degradation, noise, or damage. Restoration is a separate, optional process of applying signal processing to reduce noise, correct dropouts, or improve intelligibility. For archival purposes, the goal is to digitize accurately — to capture what is on the tape — before deciding whether restoration processing is warranted. Always preserve the unprocessed master; restoration work is done on a copy.
Do we need professional audio equipment to digitize athletic archive recordings?
A professional setup produces better results, but a functional workstation can be assembled for a modest budget. The most important components are a clean playback device in good working condition, an audio interface that connects to the computer cleanly without introducing noise, and a DAW that records uncompressed files. Many school IT departments already have components that can support basic digitization. For collections with significant historical value or large numbers of recordings in poor condition, professional digitization services may be appropriate.
How do we handle cassette tapes that won’t play without damaging the player or the tape?
Tapes exhibiting sticky shed syndrome — squealing, heavy dropout, or oxide shedding — require baking in a food dehydrator set to approximately 52°C for 4 to 8 hours before playback. This process temporarily reconsolidates the binder and allows a clean playback window, typically within 24 to 48 hours of baking. Do not attempt to play a sticky shed tape without treatment; the oxide it sheds can clog the playback heads and damage subsequent tapes as well. After a successfully baked tape is digitized, re-baking will be required if the tape needs to be played again in the future.
What file format should we use for long-term audio preservation?
The current recommended formats for archival audio masters are uncompressed LPCM WAV or AIFF files, captured at 24-bit / 48 kHz minimum. These formats are widely supported, contain no proprietary encoding, and can be opened and played by any general-purpose audio software decades from now. Compressed formats such as MP3 or AAC are appropriate for access copies and playback delivery, but they discard audio data permanently — they are not suitable as preservation masters.
Can we digitize audio content from old VHS tapes using this workflow?
VHS tapes carry audio on two tracks: the linear audio track recorded at the edge of the tape and the Hi-Fi audio recorded in the video track. Both can be captured during video digitization by connecting the VHS player’s audio outputs to an audio interface. For athletic archives that hold VHS recordings of games, interviews, or events, the audio track should be captured as part of the video digitization process and can be extracted as a standalone audio file afterward. The visual content of a VHS is often as valuable as the audio — digitize the full video signal, then derive audio-only files from the video archive as needed.
How much storage space do we need to plan for an audio digitization project?
A cassette tape digitized at 24-bit / 48 kHz in stereo produces approximately 1.0 to 1.5 GB per hour of content. A reel-to-reel tape at the same settings produces similar file sizes. For a collection of fifty 60-minute cassettes, plan for approximately 50 to 75 GB of master WAV files. Double that estimate for a two-copy storage arrangement, and add space for access copies and metadata documents. For most athletic archive programs, a dedicated 2 TB external drive paired with a cloud backup tier provides adequate capacity at a manageable cost.
How do we know which tapes contain content worth preserving versus blank or redundant recordings?
Auditing labels first is the starting point — labeled tapes with identifiable content go to the digitization queue before unlabeled tapes. For unlabeled or ambiguously labeled tapes, a brief playback assessment — thirty seconds at the beginning and thirty seconds from the middle — gives enough information to assign a priority tier without committing to a full digitization session. Any tape that plays identifiable content involving named individuals, documented events, or rare historical moments is worth digitizing regardless of audio quality. The time to assess a tape is far less than the time to recover a tape after its signal has degraded past the point of use.
What happens to audio content that cannot be digitized because the tape is too damaged?
Tapes with physical damage — broken splices, mold growth, complete binder breakdown — may require professional audio conservation before digitization is possible. For tapes in this condition, document the item in the archive record with a condition note explaining why digitization was not completed, and retain the physical media. Tape conservation techniques, including mold remediation and physical splicing repair, can sometimes recover playability from tapes that appear unrecoverable. Consult a professional audio conservator before discarding any tape with potential historical content.
From Tape Box to Archive Record
The cassette tape in the storage room labeled with a coach’s name and a year is not just an artifact — it is a voice, a story, and a connection to the program’s history that exists nowhere else. Every day it sits undigitized is a day closer to the point where that voice is gone permanently.
The athletic archive audio digitization workflow is the process that turns that risk into preservation. Eight structured stages — audit, assess, prepare, capture, process, document, store, and integrate — convert a box of legacy tapes into a managed, searchable collection of audio records that can power recognition programs for decades.
Schools that execute this workflow systematically, working through their audio inventory by priority tier and connecting digitized content to their broader recognition programs, build archives that honor the full depth of their athletic history. Programs that defer audio preservation until a tape fails quietly in a storage room are betting that no tape is close to its failure threshold. That is not a preservation strategy.
For programs interested in how digitized content — including audio oral histories — connects to comprehensive online recognition, the overview of high school athletic content accessible online covers how digital archives make institutional history accessible to alumni and the public beyond the physical campus.
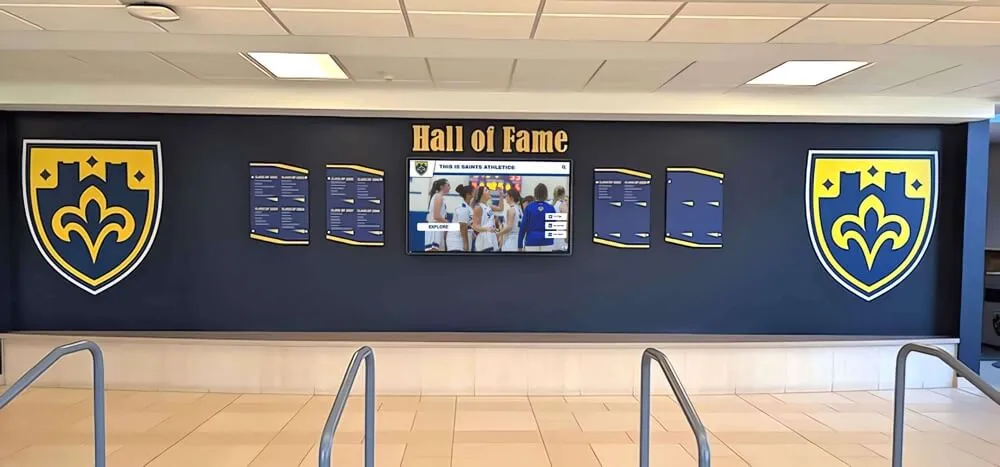
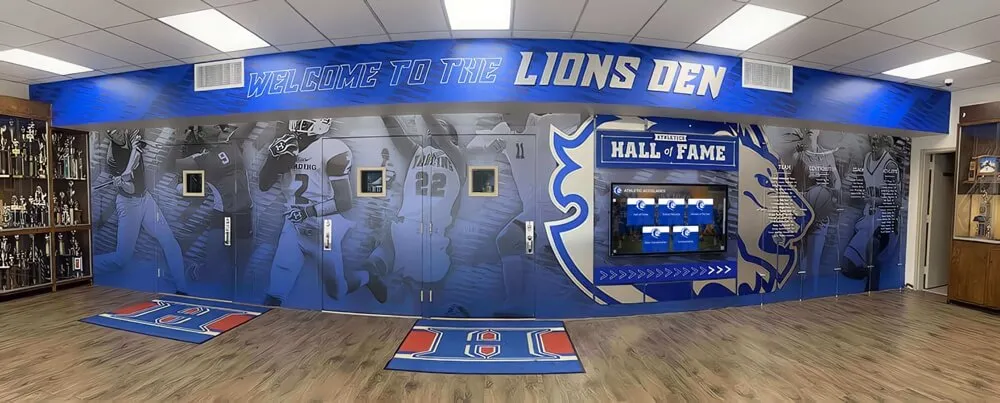
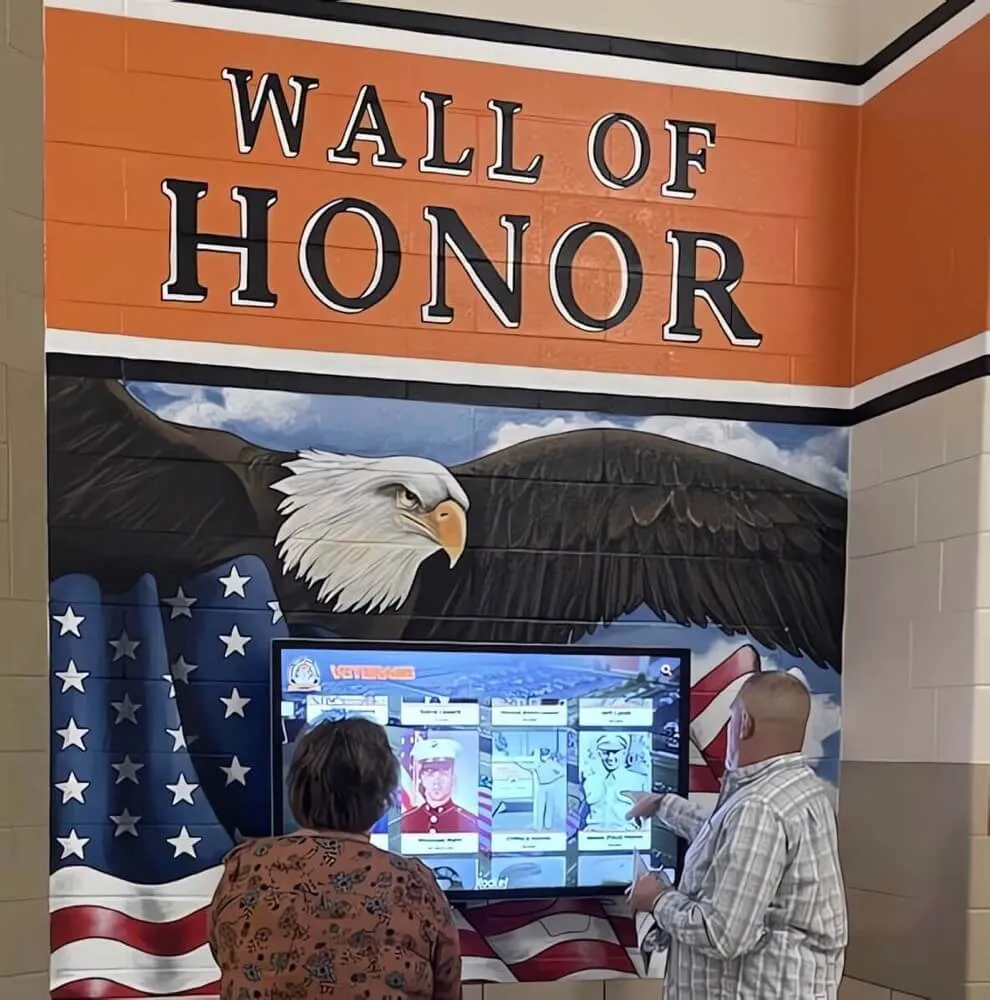
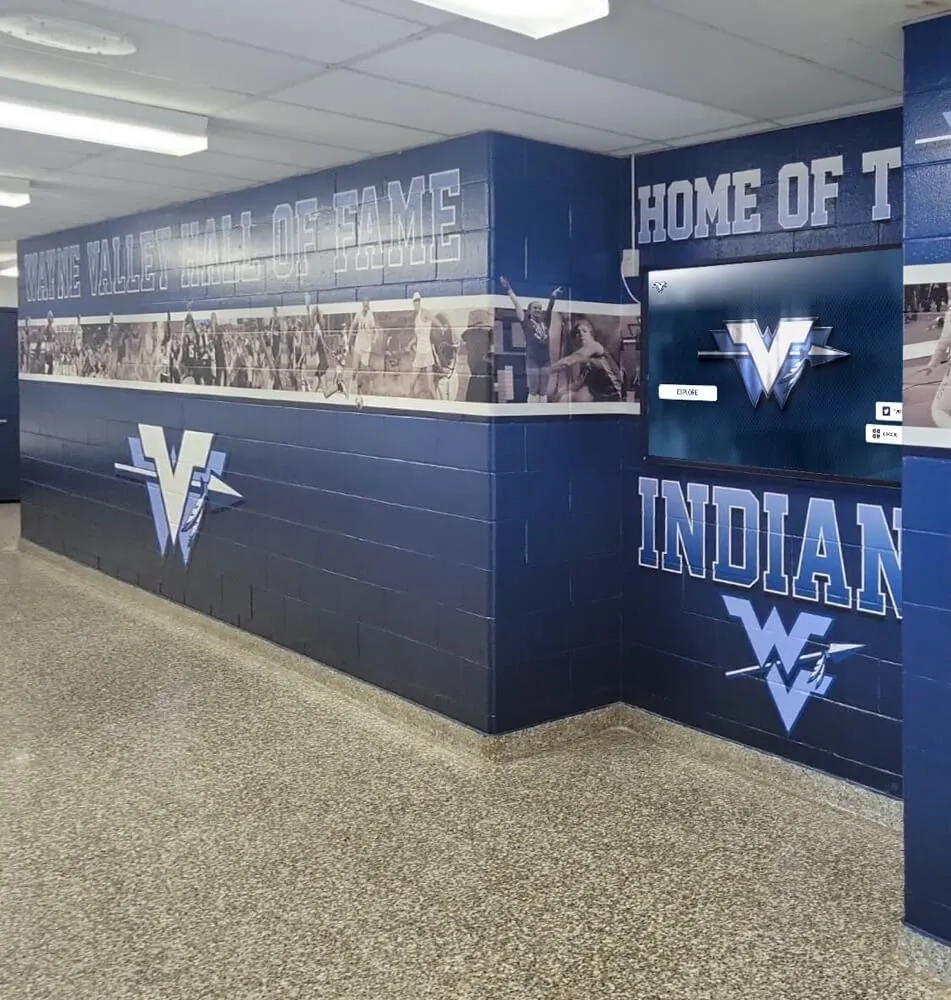
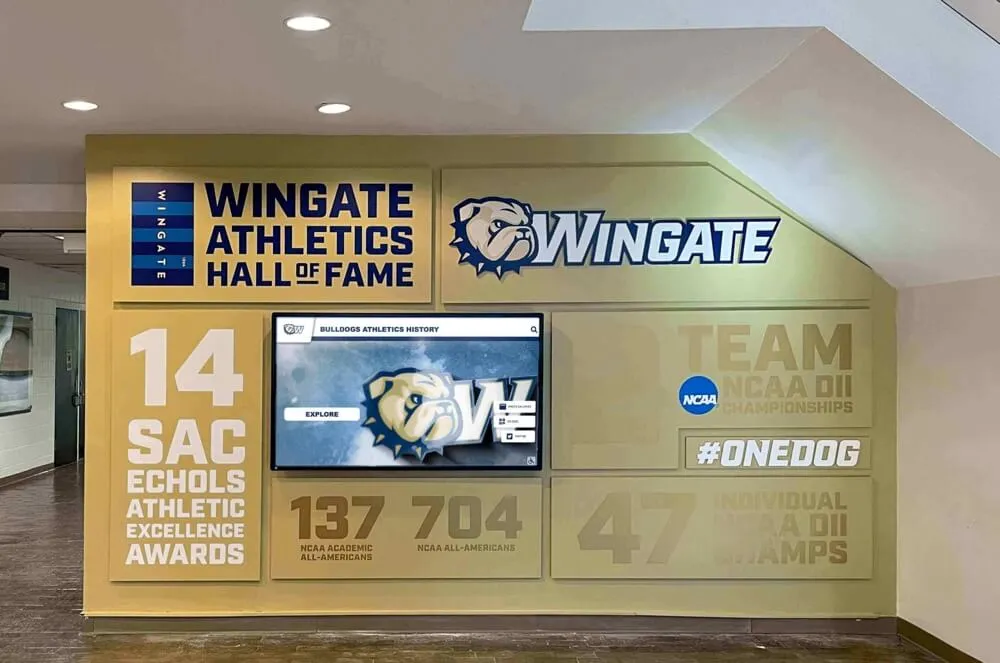
Recognition displays that combine traditional physical elements with digital screens become platforms for audio oral histories when the audio digitization workflow has been completed — each voice preserved becomes a story that visitors can explore