



Athletic archive audio loudness normalization is the process of measuring and adjusting the perceived volume of legacy game recordings, coach interviews, ceremony audio, and other athletic archive content so that every file in the collection plays at a consistent listening level. The direct answer: without loudness normalization, an athletic audio archive becomes difficult to use. A championship game broadcast from 1988 captured on a cassette may play at a fraction of the volume of a 2014 locker room recording made on a smartphone — the difference reflects recording conditions and equipment from different eras, not historical significance. When these files appear on recognition displays, lobby kiosks, digital trophy cases, and hall-of-fame touchscreens, sudden volume differences interrupt the audience experience and make quieter recordings effectively inaccessible to viewers who cannot easily adjust the system volume. This guide walks through the complete audio loudness normalization workflow in nine stages: auditing for volume inconsistency, selecting a loudness standard, measuring integrated loudness, applying normalization, managing dynamic range, reviewing results, creating access copies, documenting the process, and integrating normalized files into recognition and display platforms. It includes measurement reference tables, tool comparison charts, a step-by-step processing checklist, and a practical FAQ written for athletic directors, archive coordinators, IT staff, and facilities teams responsible for maintaining and displaying athletic heritage content.
Nothing in this guide constitutes professional audio engineering, data governance, or legal advice. Decisions about media processing, file handling, and archive standards should be reviewed by qualified staff before implementation.
School athletic archives accumulate audio recordings across decades of equipment changes, recording conditions, and storage formats. A recording made by a student broadcaster in 1979 on reel-to-reel tape, baked out of sticky shed syndrome and digitized at moderate gain, may play at a completely different volume than a professional-quality recording from a school’s 2010 athletic banquet captured on a dedicated digital recorder. A VHS tape where the audio track was recorded at the camera’s automatic gain setting — common for game footage from the 1990s — produces audio that varies in level throughout the recording as the camera’s automatic gain control responds to crowd noise and silence.
None of these inconsistencies represent damage to the recordings or errors in the digitization workflow. They are the normal result of audio content being created across different eras, by different people, with different equipment, under different conditions. The problem they create is a practical one: a collection of recordings with widely varying loudness levels is harder to use in display and recognition contexts than a consistently normalized collection.
The athletic archive audio loudness normalization workflow addresses this problem systematically — not by altering the historical character of the recordings, but by bringing their perceived volume to a common reference point that makes the collection navigable and display-ready.

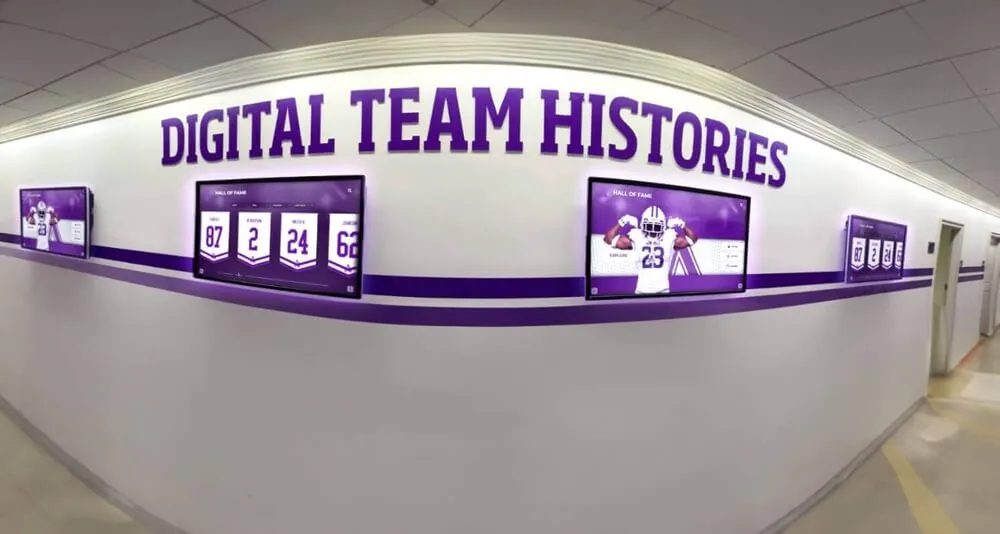
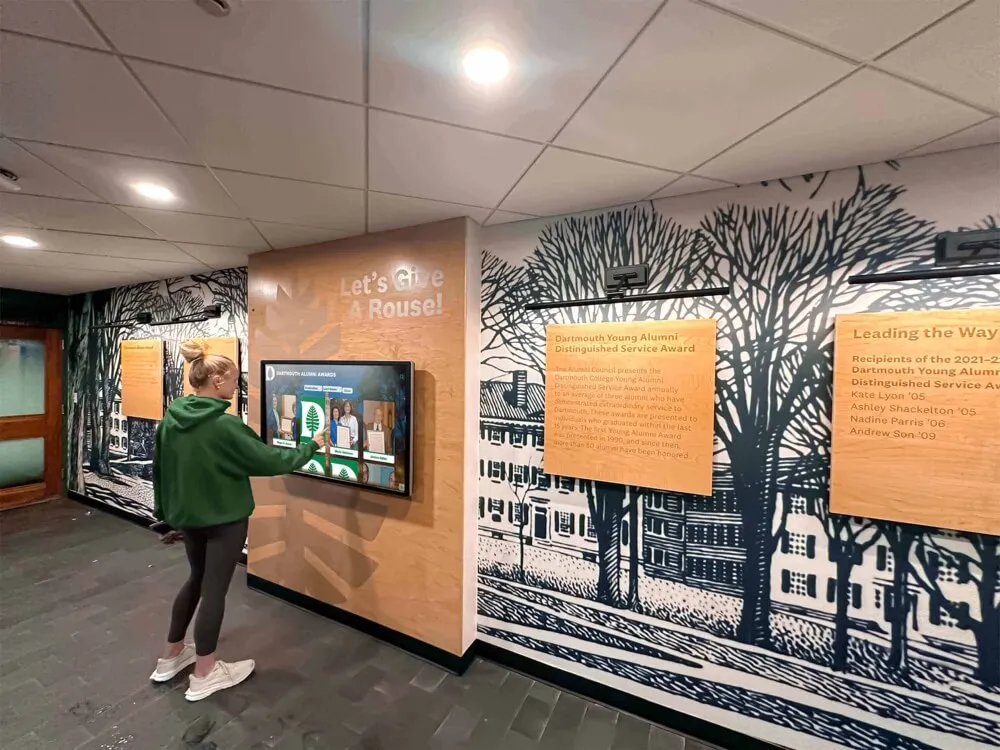
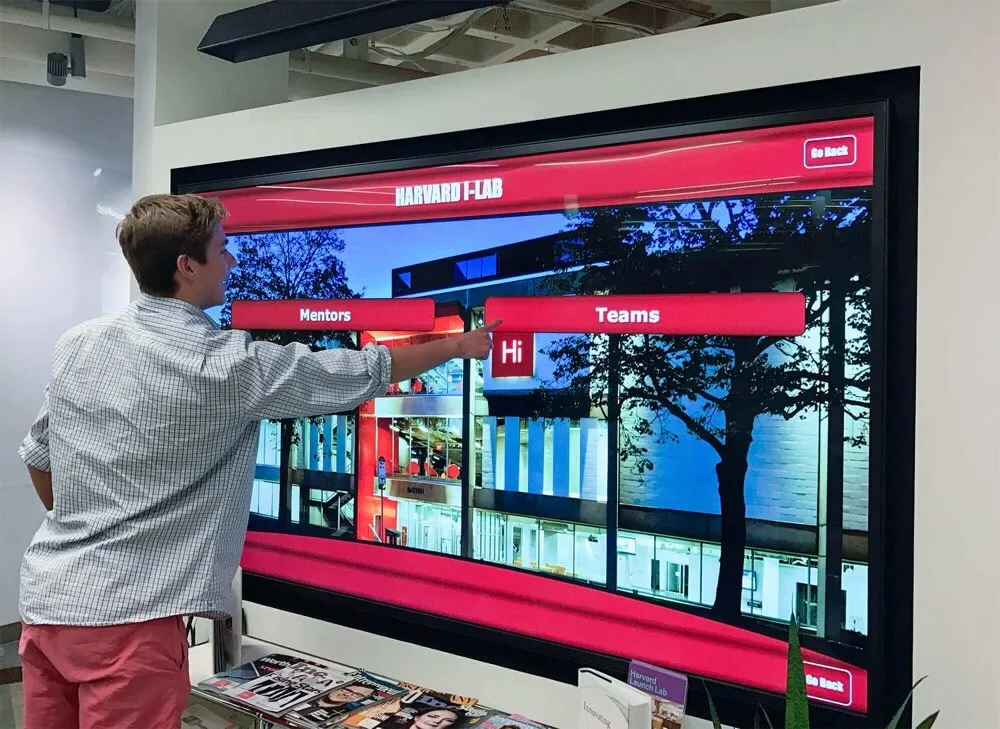
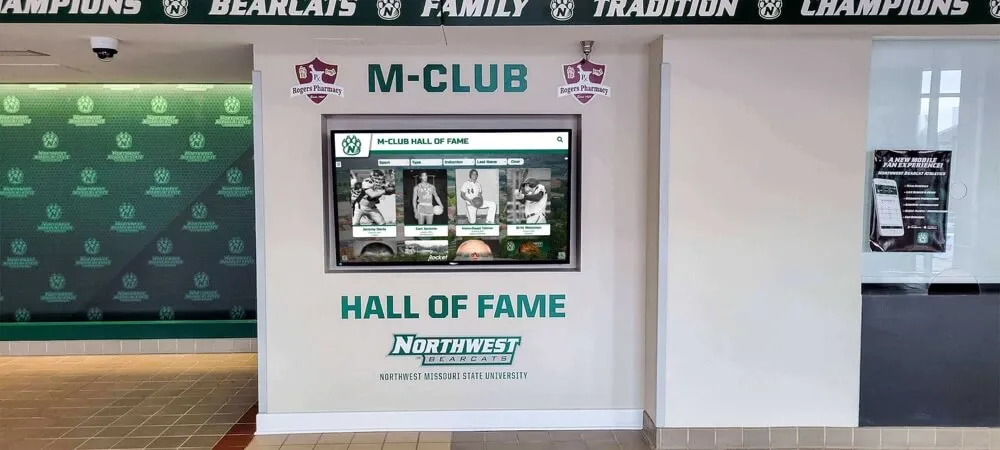
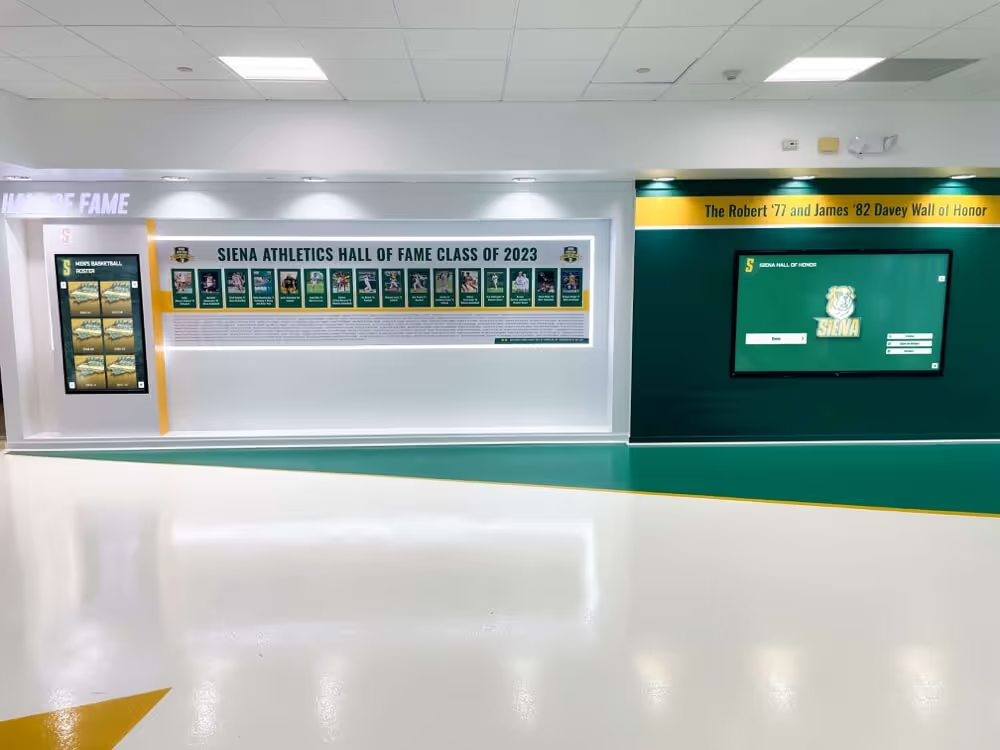
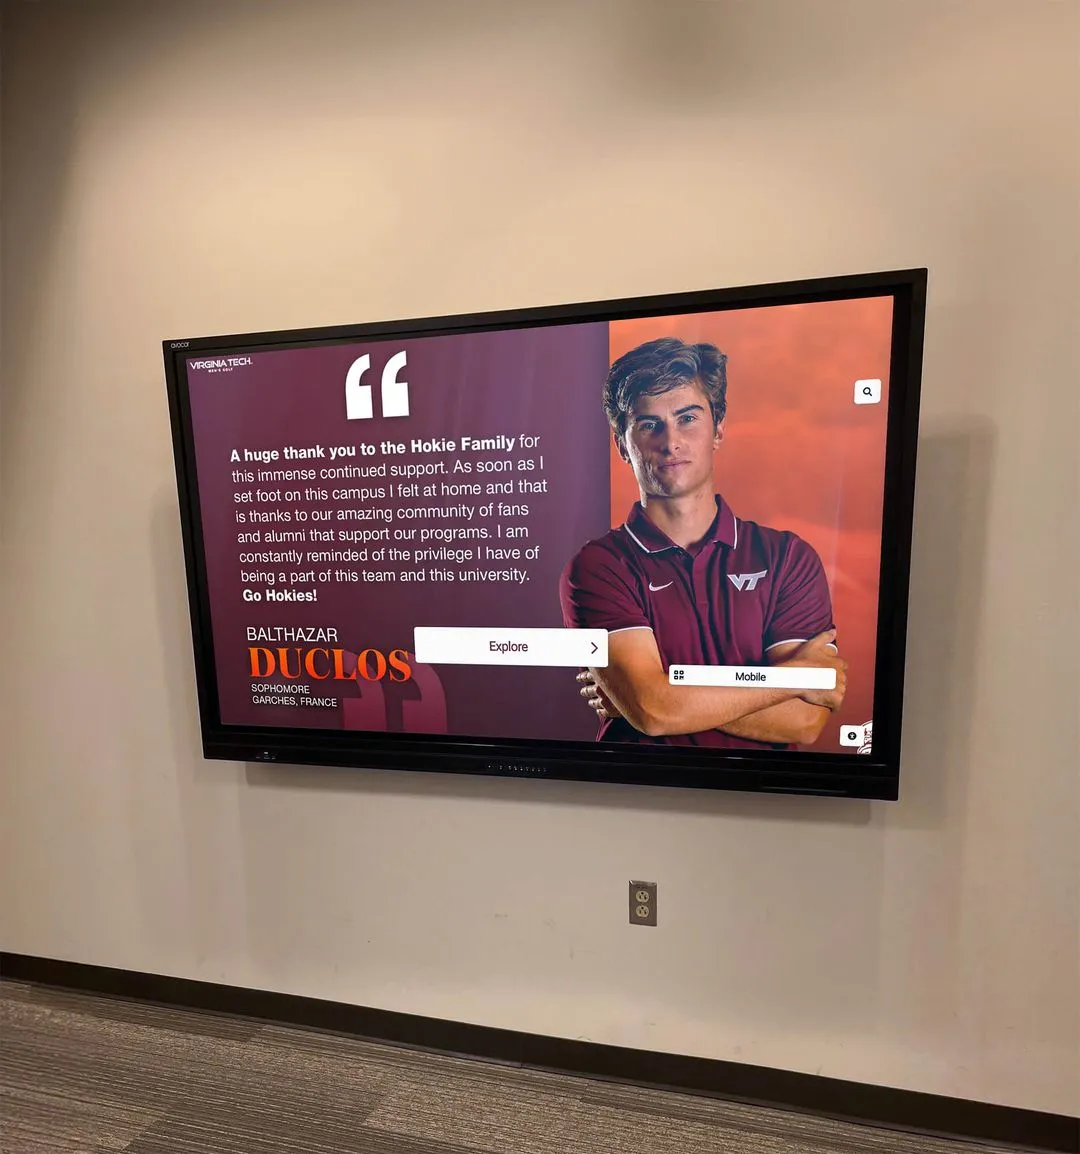
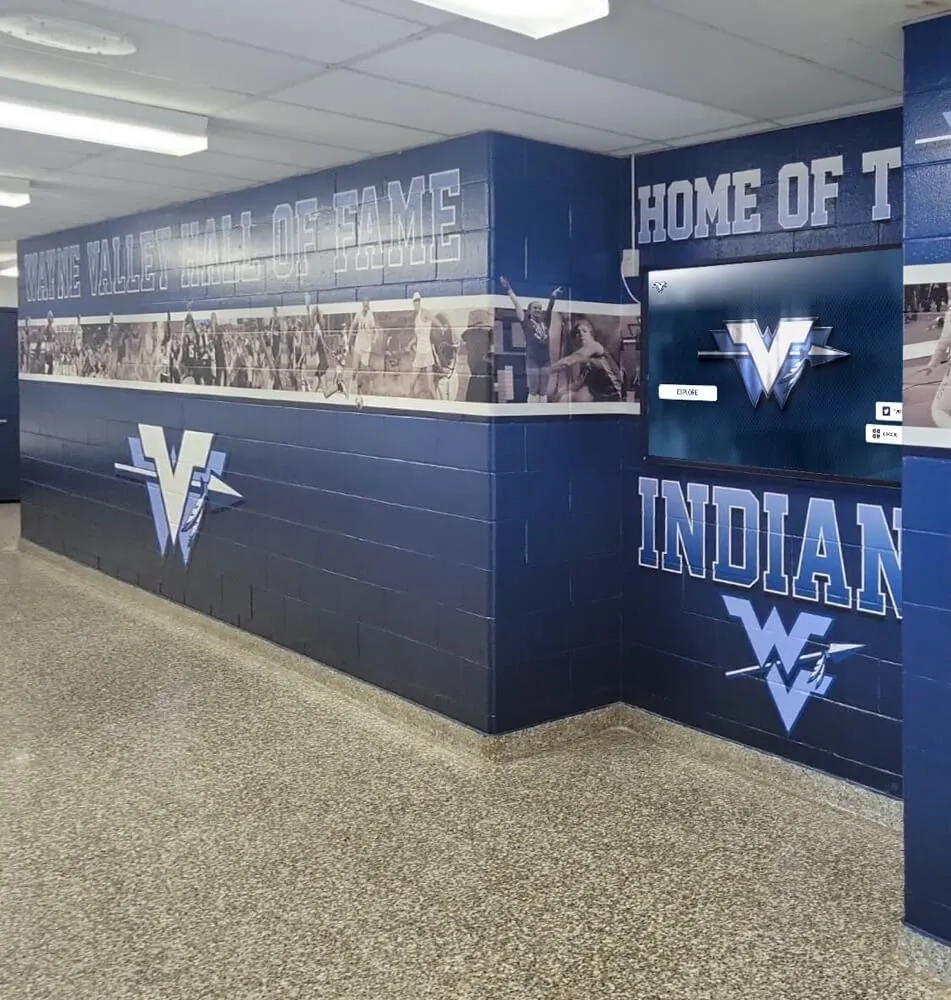
Digital recognition displays draw on audio content from across an archive's full history — consistent loudness normalization ensures that recordings from different eras play at a uniform level and are accessible to every viewer
Why Loudness Normalization Matters for Athletic Archives
Physical volume perception is not a fixed measurement of a sound file. A recording’s peak level — the loudest instantaneous moment in the file — says little about how loud the recording sounds in practice. A recording with a single peak at full amplitude but mostly quiet content may sound much softer than a recording with a moderate peak but consistently loud content throughout.
Loudness normalization addresses perceived loudness, measured in Loudness Units relative to Full Scale (LUFS), a standard defined by the International Telecommunication Union’s ITU-R BS.1770 recommendation and adopted for broadcast by the European Broadcasting Union’s EBU R128 standard. LUFS measurement accounts for the full time-integrated loudness of a recording — how loud it sounds over its entire duration — rather than a single peak or average amplitude measurement.
What loudness inconsistency looks like in practice for athletic archives:
| Archive Scenario | Common Cause | Effect on Display Use |
|---|---|---|
| Game broadcast from the 1980s plays quietly compared to a 2005 recording | Older recordings were often made at conservative levels to leave headroom for analog broadcast; modern digital recorders default to higher levels | Viewers must adjust volume constantly, or the older recording is not heard at all |
| Interview recorded in a gym sounds louder than one recorded in a quiet office | Automatic gain control (AGC) raises gain in quiet environments; crowd and ambient noise in a gym forces lower AGC gain | Inconsistent levels across the interview archive |
| VHS audio track varies in level across the same recording | Camera AGC responding to crowd noise peaks and quieter moments | Uneven listening experience within a single file |
| Cassette transfer is quieter than a direct digital recording | Cassette transfer may not have been gain-staged during digitization; digital recording captured closer to full scale | Older transfers sound significantly quieter than more recent digital content |
| Ceremony recording from a PA microphone sounds compressed and loud | PA systems apply their own compression and drive levels hard; the recording captures the processed output | Ceremony recordings sound louder than game broadcasts |
The goal of loudness normalization is not to make every recording identical in dynamic feel — a game broadcast should still sound different from a quiet oral history interview — but to align their average perceived loudness to a common reference level so that the collection functions as a consistent whole.
For schools building athletic recognition programs that incorporate audio content alongside photographs and historical records, the kind of school memorabilia display context in which this audio typically appears depends on consistency to function effectively as a recognition experience.
Step 1: Audit the Audio Collection for Loudness Inconsistency
Before applying any normalization, build a picture of the actual loudness distribution across the collection. Do not assume that files transferred from the same era will have similar loudness, or that files digitized in the same batch will be consistent — recording conditions, original equipment, and operator decisions during digitization create variation at every level.
Loudness audit procedure:
Measure a representative sample of files from across the collection using a loudness measurement tool. For small collections, measure every file. For large collections, sample at least five files from each format type, decade, and content category (game footage, interview, ceremony, announcement).
Tools for batch loudness measurement:
| Tool | Platform | Measurement Standard | Output Format |
|---|---|---|---|
| ffmpeg + loudnorm filter (two-pass) | Windows, macOS, Linux (free) | ITU-R BS.1770-4 / EBU R128 | Console output (scriptable to CSV) |
| Audacity (Loudness Normalization effect) | Windows, macOS, Linux (free) | EBU R128 / LUFS | Visual meter, manual file-by-file |
| Adobe Audition (Match Loudness panel) | Windows, macOS (subscription) | EBU R128 / LUFS | Batch report with per-file measurements |
| iZotope RX (Loudness Control) | Windows, macOS (commercial) | EBU R128, ATSC A/85, Custom | Batch report, per-file measurements |
| BSL Loudness Analyzer (free) | Windows | EBU R128 | Per-file LUFS, LRA, true peak |
Record the measurement results for each sampled file in a spreadsheet with at minimum these fields:
- Filename
- Content type (game, interview, ceremony, announcement, broadcast)
- Estimated recording year
- Original format (cassette, reel-to-reel, VHS audio, digital voice recorder, direct digital)
- Integrated loudness (LUFS)
- Loudness range (LU)
- True peak (dBTP)
Common loudness distribution patterns in athletic archives:
| Content Type | Typical Integrated Loudness Range | Notes |
|---|---|---|
| Game broadcasts from analog era | -28 to -22 LUFS | Conservative analog recording levels |
| VHS audio tracks (game footage) | -25 to -18 LUFS | Wide variation due to AGC behavior |
| Cassette interviews (1980s–2000s) | -30 to -20 LUFS | Dependent on microphone placement and equipment |
| PA ceremony recordings | -18 to -12 LUFS | Heavily compressed at source |
| Digital voice recorder interviews (post-2005) | -20 to -16 LUFS | Modern recorders target higher levels |
| Direct digital recording (dedicated recorder) | -18 to -14 LUFS | Better gain staging at source |
| Broadcast-quality audio (professional equipment) | -23 to -18 LUFS | Varies by broadcast standard and era |
A spread of 15 to 20 LUFS across a collection — common in athletic archives — means the loudest files are perceived as four to eight times louder than the quietest ones. Normalization closes that gap.
Step 2: Select a Loudness Standard for the Archive
Choose a target integrated loudness level before processing any files. The target should be appropriate for the distribution platform and use context.
Common loudness targets by platform:
| Platform / Context | Target Integrated Loudness | Max True Peak | Standard |
|---|---|---|---|
| Broadcast television | -23 LUFS | -1 dBTP | EBU R128 (Europe) |
| Streaming platforms (Spotify, Apple Music) | -14 LUFS | -1 dBTP | Platform-specific |
| Online video (YouTube) | -14 LUFS | -1 dBTP | YouTube normalization target |
| Podcast delivery | -16 LUFS | -1 dBTP | Podcast industry common practice |
| Digital archive playback (internal) | -18 to -16 LUFS | -1 dBTP | Common archival target |
| Touchscreen recognition display (lobby) | -16 LUFS | -1 dBTP | Recommended for ambient playback environments |
| Recognition display with active viewing | -16 to -14 LUFS | -1 dBTP | More engaging listening context |
Recommended target for most athletic archives: -16 LUFS, true peak -1 dBTP.
This target is loud enough for comfortable playback in a lobby or hallway display environment, avoids the distortion risk associated with peaks at 0 dBFS, and aligns with a target range that does not require excessive gain increases on the quietest material in the collection.
Choose one target and apply it consistently across the entire collection. Mixed targets within a single archive produce the same inconsistency the normalization workflow is designed to eliminate. Document the chosen target in the archive’s processing records so that future additions to the collection can be normalized to the same standard.
Step 3: Measure Integrated Loudness in Source Files
With a target selected, perform a full loudness measurement pass on every file that will be normalized. This is not the same as the sampling pass in Step 1 — this is the measurement that will inform the exact gain adjustment applied to each file.
FFmpeg two-pass loudness measurement (free, scriptable for batch processing):
The loudnorm filter in FFmpeg performs EBU R128-compliant loudness measurement. The first pass measures the file; the second pass applies normalization using the measured values. For measurement only:
ffmpeg -i input.wav -af loudnorm=I=-16:TP=-1:LRA=11:print_format=json -f null -
This outputs a JSON block with the file’s measured integrated loudness, loudness range, true peak, and threshold values. Save this output for each file before processing.
Batch measurement with a shell script (for large collections on macOS/Linux):
for f in *.wav; do
  echo "$f"
  ffmpeg -i "$f" -af loudnorm=I=-16:TP=-1:LRA=11:print_format=json -f null - 2>&1 | grep -A 12 '"input_i"'
done
Pipe the output to a text file and parse with a spreadsheet. For Windows, a batch equivalent using PowerShell can accomplish the same result. If you are not comfortable with command-line tools, Adobe Audition’s Match Loudness panel provides the same measurement in a graphical interface with batch export.
What to look for in measurement results:
Files with integrated loudness below -28 LUFS may require significant gain increases that amplify noise floor as well as program content. Flag these files for individual review before automated batch processing — a recording that was made at very low level may not normalize well without additional cleanup.
Files with loudness range (LRA) above 18 LU have wide dynamic variation and may not normalize cleanly to a single target without dynamic range compression applied before or after the loudness pass. Wide-LRA recordings are common in game broadcasts where crowd noise peaks are followed by moments of near-silence during play stoppages.
Step 4: Apply Two-Pass Loudness Normalization
Loudness normalization is applied as a two-pass process: the first pass measures, the second pass normalizes using the exact values from the first pass. Single-pass normalization using a static gain amount produces less accurate results because it does not account for the actual loudness characteristics of the specific file.
Two-pass normalization with FFmpeg (the most accessible free method):
Pass 1 — measure:
ffmpeg -i input.wav -af loudnorm=I=-16:TP=-1:LRA=11:print_format=json -f null - 2>&1
Record the JSON output values:
input_i— measured integrated loudnessinput_lra— measured loudness rangeinput_tp— measured true peakinput_thresh— measured threshold
Pass 2 — normalize using measured values:
ffmpeg -i input.wav -af loudnorm=I=-16:TP=-1:LRA=11:measured_I=[input_i]:measured_LRA=[input_lra]:measured_tp=[input_tp]:measured_thresh=[input_thresh]:linear=true -ar 48000 output_normalized.wav
Replace [input_i], [input_lra], [input_tp], and [input_thresh] with the actual values from pass 1. The linear=true flag applies simple linear gain correction rather than dynamic range compression — appropriate for the normalization step.
Two-pass normalization with Adobe Audition (graphical interface):
- Open the Match Loudness panel (Window > Match Loudness)
- Add all files to be normalized to the panel
- Set target integrated loudness to -16 LUFS
- Set maximum true peak to -1 dBTP
- Select “Match Loudness” — Audition performs measurement and normalization in a single operation, but applies the two-pass logic internally
- Review the per-file results in the panel before saving
Processing checklist — apply before starting any batch:
- Confirm the target integrated loudness and true peak limit are set correctly in the tool
- Confirm that the output file format and sample rate match the archive’s access copy standard (44.1 kHz or 48 kHz; 16-bit or 24-bit depending on archival tier)
- Confirm that the output directory is separate from the source directory — never overwrite source files with normalized versions
- Process a single test file first and verify the output loudness measurement matches the target before running the full batch
- Confirm that the tool is set to produce linear gain correction, not dynamic compression, for the normalization pass — dynamic compression changes the character of the recording, not just the level
- For files flagged in Step 3 as very low level or wide LRA, process those individually with manual review rather than including them in an automated batch
Step 5: Address Dynamic Range and Peak Limiting
Loudness normalization adjusts overall level — it does not address transient peaks within the recording. After normalization, verify that no file exceeds the maximum true peak limit. True peak limiting prevents intersample clipping that can cause distortion in some playback systems.
When true peak limiting is needed:
If a file’s true peak after normalization exceeds -1 dBTP, apply a true peak limiter as a post-normalization step. This is separate from loudness normalization and should be applied as a distinct pass.
| Scenario | Action | Tool Setting |
|---|---|---|
| True peak below -1 dBTP after normalization | No limiting needed; proceed to quality review | — |
| True peak at -0.5 to 0 dBTP after normalization | Apply a light true peak limiter at -1 dBTP | Limiter ceiling at -1 dBTP; release time 50–100 ms |
| True peak above 0 dBTP after normalization | Apply true peak limiter at -1 dBTP; check for audible distortion | Limiter ceiling at -1 dBTP; longer release if pumping artifacts appear |
Dynamic range compression — a separate tool from limiting — is appropriate only for recordings where the loudness range (LRA) is so wide that the quiet portions are inaudible even at the normalized level. Use dynamic range compression selectively and only after normalization, not as a substitute for it. Audio from era ceremony recordings with a PA compression artifact already applied rarely benefits from additional compression.
For collections where some recordings have particularly challenging dynamics — game broadcasts with extreme crowd peaks — a gentle limiter at -3 dBTP before the loudness normalization pass can make the measurement and normalization more accurate by preventing brief peaks from skewing the integrated loudness calculation.

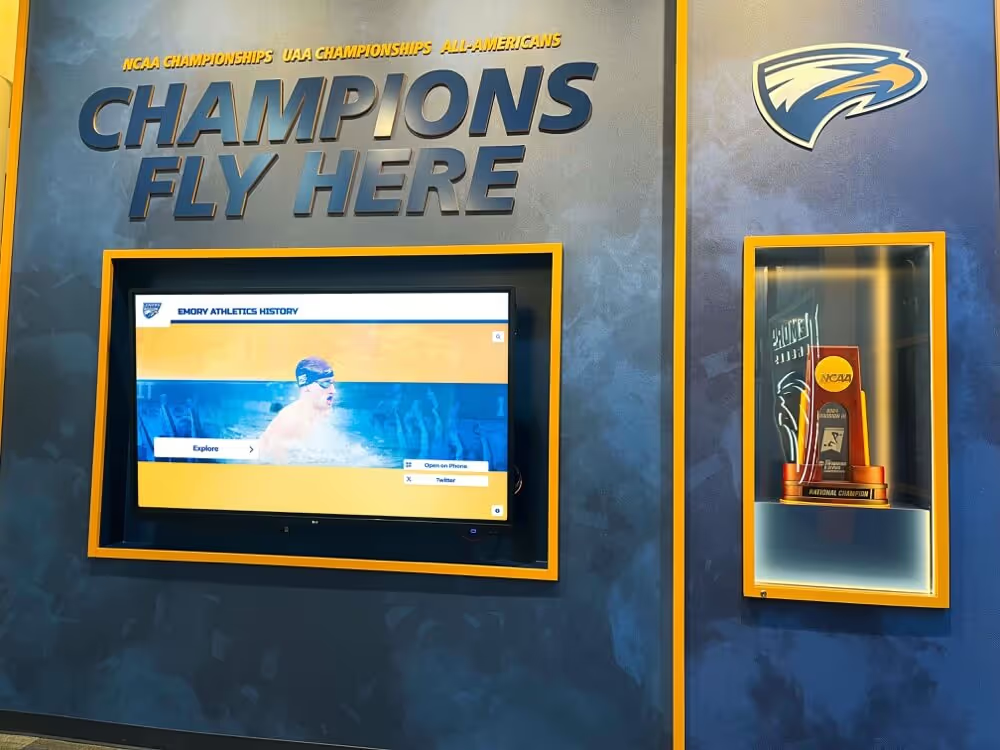
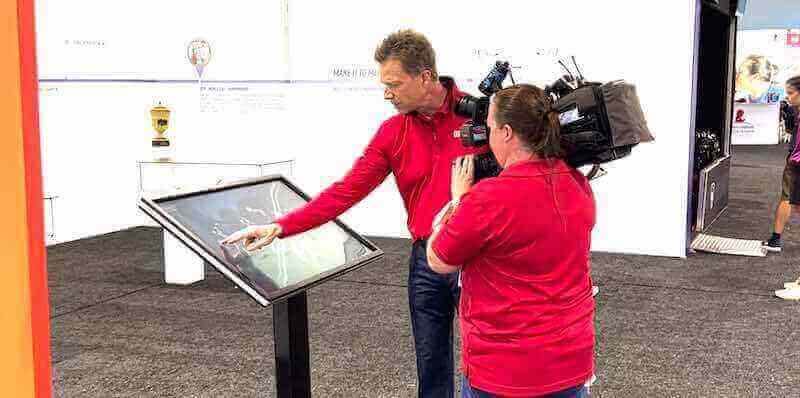
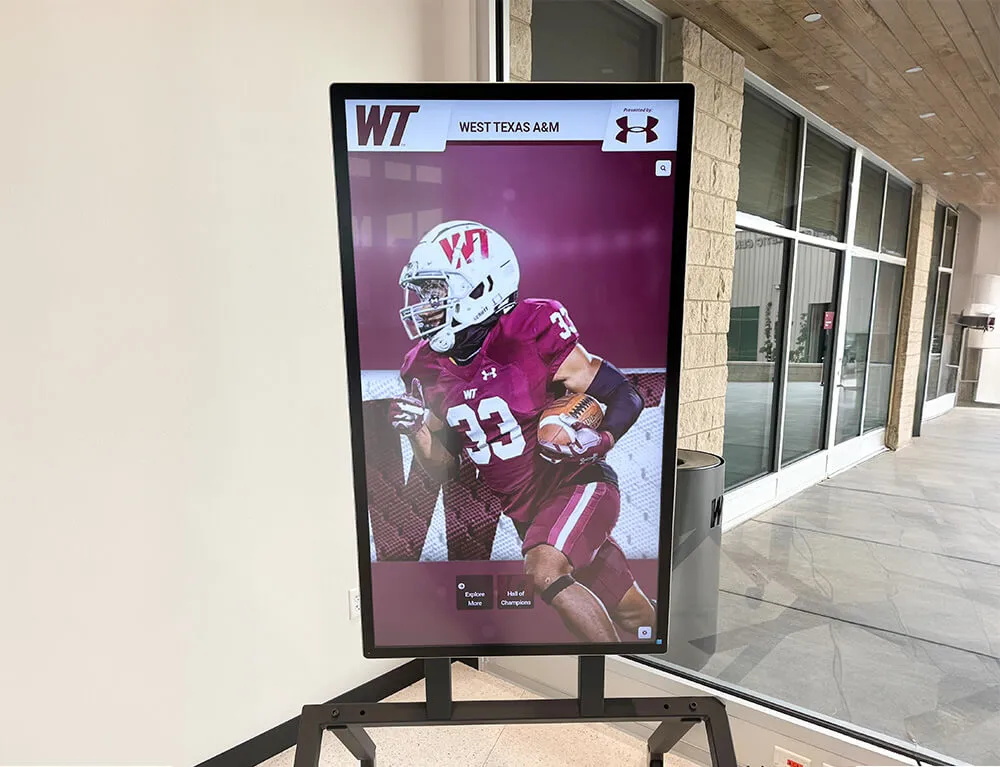
Recognition kiosks present audio content from across decades of athletic history — loudness normalization ensures that a visitor who selects a 1985 game recording and then a 2010 coach interview hears both at the same comfortable level
Step 6: Quality Review
Review a sample of normalized files before committing the batch to the archive. Quality review for audio loudness normalization focuses on three common failure modes: noise floor amplification, dynamic character alteration, and audio artifacts from over-limiting.
Quality review checklist:
- Play each reviewed file in a media player and confirm the perceived loudness matches other normalized files in the collection at the same playback volume setting
- Measure the output file using the same measurement tool used in Step 3 and confirm the integrated loudness is within ±0.5 LUFS of the target
- Confirm the true peak does not exceed -1 dBTP in the output measurement
- Listen for noise floor amplification: if the recording was made at very low level, normalization may raise the background hiss or hum to an audible level; if this is present, note it in the file’s metadata record but do not apply noise reduction as part of this workflow unless the file is being processed separately for restoration
- Listen for pumping or breathing artifacts that indicate over-aggressive limiting was applied; if present, revisit the limiting settings and reprocess the affected file
- Confirm that speech intelligibility is preserved — interview and oral history recordings should be clearly understandable at normal playback volume after normalization; if a recording is still difficult to hear, the source recording may require manual gain staging beyond what the two-pass normalization workflow applies
- For game broadcast recordings, confirm that the crowd noise dynamics still feel natural — crowd peaks should sound appropriately loud relative to announcer speech; if the dynamics sound compressed or unnatural, the LRA target may need to be reviewed
Spot-check measurement verification:
After batch processing, randomly sample at least 10 percent of normalized files and measure their integrated loudness. Create a simple log:
| File | Target LUFS | Measured LUFS | Difference | True Peak | Pass/Fail |
|---|---|---|---|---|---|
| 1988-championship-broadcast.wav | -16 | -16.1 | -0.1 | -1.2 dBTP | Pass |
| 1994-coach-interview.wav | -16 | -15.8 | +0.2 | -1.0 dBTP | Pass |
| 2001-banquet-ceremony.wav | -16 | -16.4 | -0.4 | -1.3 dBTP | Pass |
| 1979-reel-broadcast.wav | -16 | -14.2 | +1.8 | -0.9 dBTP | Review |
Files that measure more than 1 LUFS from the target should be reprocessed manually, as the two-pass measurement may have been affected by an unusual loudness distribution in that specific file.
Step 7: Create Normalized Access Copies
The normalized files are access copies derived from the preservation masters. The preservation masters — whether original tape transfers or unprocessed digital source files — should never be overwritten or replaced with normalized versions. The normalization process is applied to a working copy to produce a derivative access file.
File naming convention for normalized access copies:
Adopt a consistent suffix to distinguish normalized access copies from source files and other derivatives:
[date]-[sport]-[event]-[content-type]-NORMALIZED-16LUFS.wav
For example:
1988-09-17-football-state-championship-broadcast-NORMALIZED-16LUFS.wav
1994-03-12-basketball-coach-interview-NORMALIZED-16LUFS.wav
Recommended format specifications for normalized access copies:
| Use Context | Format | Sample Rate | Bit Depth | Notes |
|---|---|---|---|---|
| Archival access copy (primary) | WAV (PCM) | 48 kHz | 24-bit | Lossless; highest quality access copy |
| Archival access copy (alternate) | FLAC | 48 kHz | 24-bit | Lossless compressed; smaller file size than WAV |
| Touchscreen recognition display delivery | MP3 or AAC | 44.1 kHz | — (lossy) | 256 kbps or higher; check platform requirements |
| Web or streaming delivery | AAC (M4A) | 44.1 kHz | — (lossy) | 192–256 kbps; widely compatible |
Folder structure for normalized access copies:
/audio-archive/
  /masters/
    [date]-[event]-[type]-MASTER.wav        (original transfer; never modify)
  /normalized/
    [date]-[event]-[type]-NORMALIZED-16LUFS.wav   (normalized access copy)
  /delivery/
    [date]-[event]-[type]-DISPLAY.mp3       (display-ready delivery copy)
  /documentation/
    loudness-audit.csv                       (measurement records)
    normalization-log.csv                    (processing records per file)
Separating masters, normalized copies, and delivery copies by folder prevents accidental overwrite and makes the provenance of each file clear to anyone who accesses the archive in the future.
Step 8: Document the Normalization Process
Processing documentation is part of the preservation record. Files that carry no documentation of how they were processed create ambiguity for future archive staff: Was this file normalized? To what standard? With what tool? On what date?
Per-file normalization record (minimum fields):
| Field | Example Value |
|---|---|
| Source filename | 1988-09-17-football-state-championship-broadcast-MASTER.wav |
| Output filename | 1988-09-17-football-state-championship-broadcast-NORMALIZED-16LUFS.wav |
| Processing date | 2026-08-16 |
| Tool used | FFmpeg 6.1 with loudnorm filter |
| Target integrated loudness | -16 LUFS |
| Max true peak | -1 dBTP |
| Measured input loudness | -22.4 LUFS |
| Measured input true peak | -4.1 dBTP |
| Measured output loudness | -16.1 LUFS |
| Measured output true peak | -1.2 dBTP |
| Pass/fail | Pass |
| Notes | Wide LRA (14.2 LU) — crowd noise dynamics preserved; no limiting needed |
Maintain this record in a CSV or spreadsheet alongside the normalized files. If the archive later migrates to a different loudness standard, the log provides the starting point for recalculating what processing was applied and whether re-normalization from the masters is needed.
Document the archive’s chosen loudness standard in the master archive policy document as well as in the processing log — “all access copies normalized to -16 LUFS integrated loudness, -1 dBTP true peak, using ITU-R BS.1770-4 measurement via FFmpeg loudnorm filter, [date].”
For archives approaching the digitization of print and visual materials alongside audio, the guidance in this best DPI for scanning old yearbooks resource illustrates how similar documentation principles apply across different media types — each format benefits from a defined processing standard applied consistently and recorded in the archive.
Step 9: Integrate Normalized Audio with Recognition Display Platforms
Normalized audio files are ready for integration into digital recognition and display systems. The specific steps depend on the platform, but several consistent principles apply regardless of the display technology.
Pre-integration checklist:
- Confirm the display platform’s supported audio formats — most platforms accept MP3 and AAC; some accept WAV; check documentation before transcoding delivery copies
- Confirm whether the platform applies its own loudness adjustment at playback — some digital display systems normalize audio at the player level; if so, delivering already-normalized files may result in double-processing; test with a sample file before committing the full collection
- Confirm the maximum file size per asset allowed by the platform; long game broadcasts may need to be split or transcoded at a lower bitrate for platform compatibility
- Confirm that audio is associated with the correct archive record — a normalized interview file should be tagged to the correct athlete profile or event record in the display platform’s content management system
- Test playback on the actual display hardware (touchscreen kiosk, lobby screen, hallway display) rather than only on a workstation; some display hardware has audio processing built into the output chain that affects perceived loudness
Preparing delivery copies from normalized WAV masters:
Convert the 24-bit WAV normalized access copy to the delivery format required by the display platform:
ffmpeg -i input-NORMALIZED-16LUFS.wav -c:a libmp3lame -b:a 256k output-DISPLAY.mp3
For AAC delivery:
ffmpeg -i input-NORMALIZED-16LUFS.wav -c:a aac -b:a 256k output-DISPLAY.m4a
The conversion from the normalized WAV to the delivery format should not alter the loudness level if the bitrate is sufficient (256 kbps is recommended; 192 kbps is acceptable). Lossy codecs at very low bitrates (64–96 kbps) can introduce level artifacts — use 192 kbps or higher for archive delivery files.
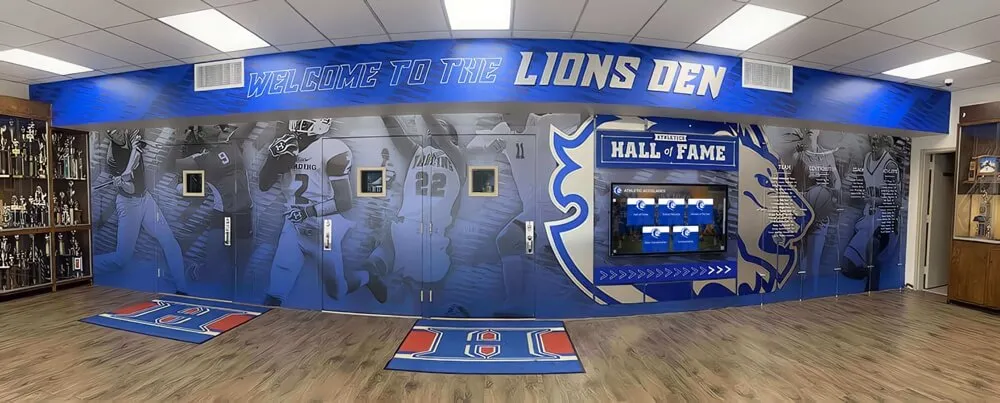
For athletic programs building recognition experiences that incorporate historic audio content, the role of audio consistency in a trophy case display context is significant — a visitor who selects a championship recording should hear it clearly without adjusting the kiosk volume or struggling to understand speech.
The principle of consistent presentation across the archive also applies to visual elements — approaches to design consistency across recognition displays parallel the audio consistency goal that loudness normalization serves: every element of the archive should present at a standard that honors the content it represents regardless of when it was created.
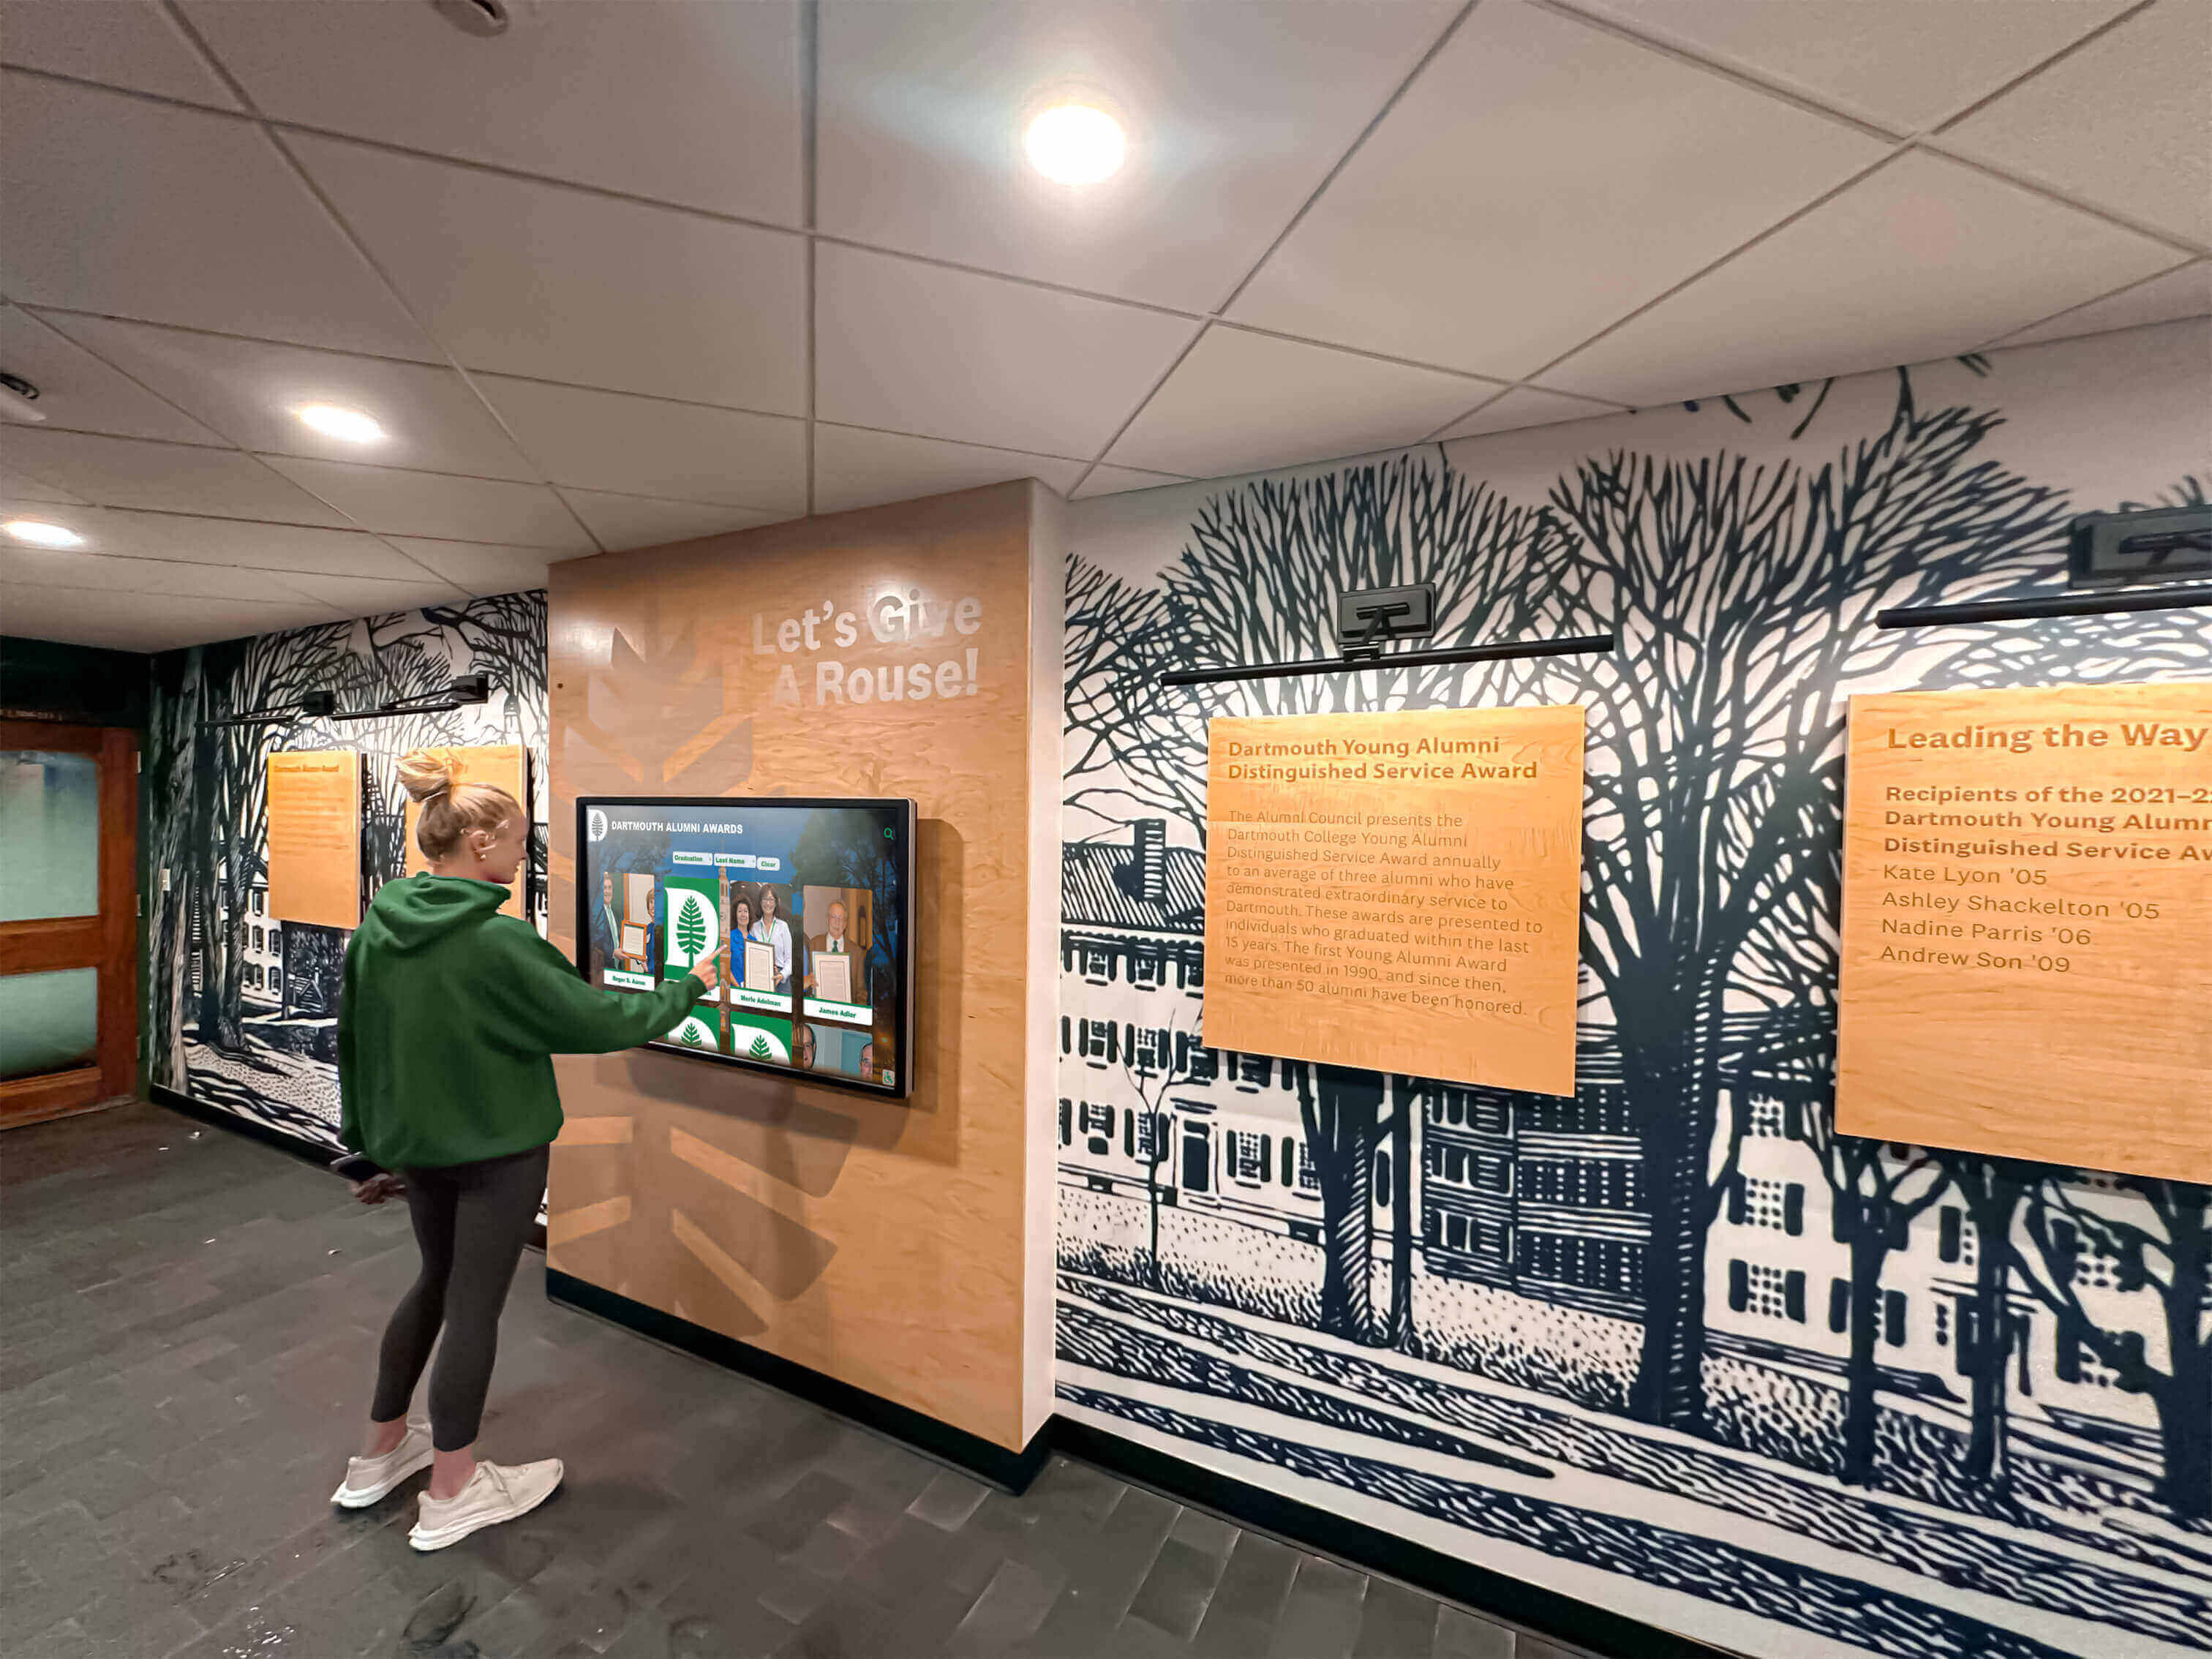
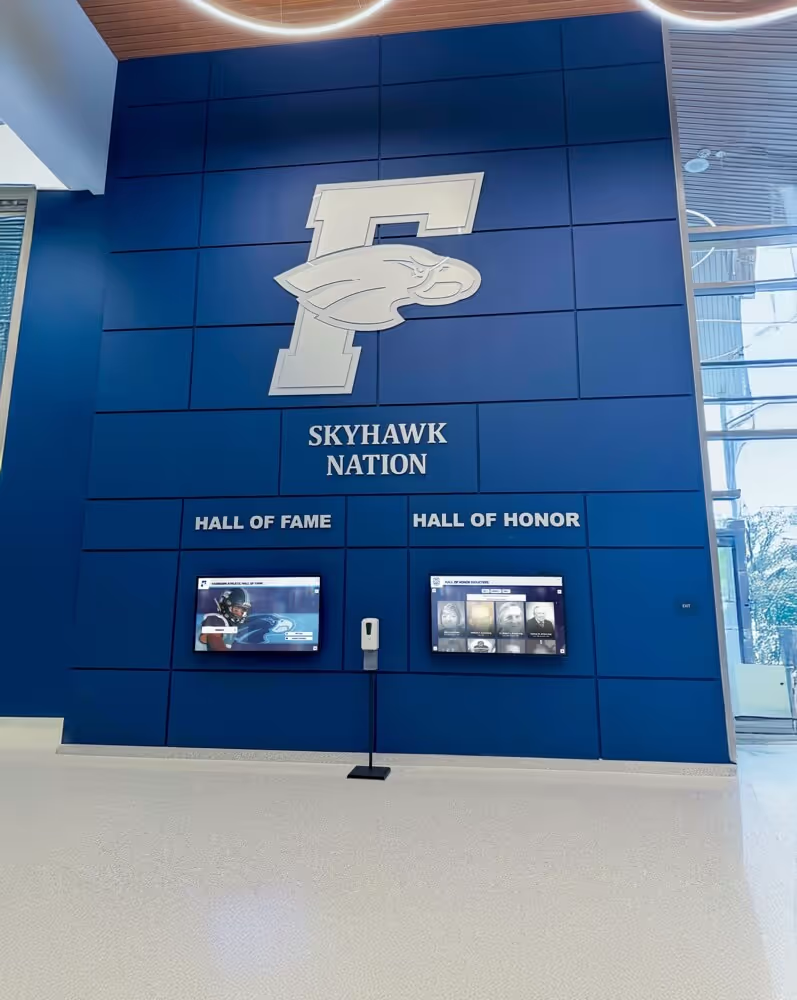
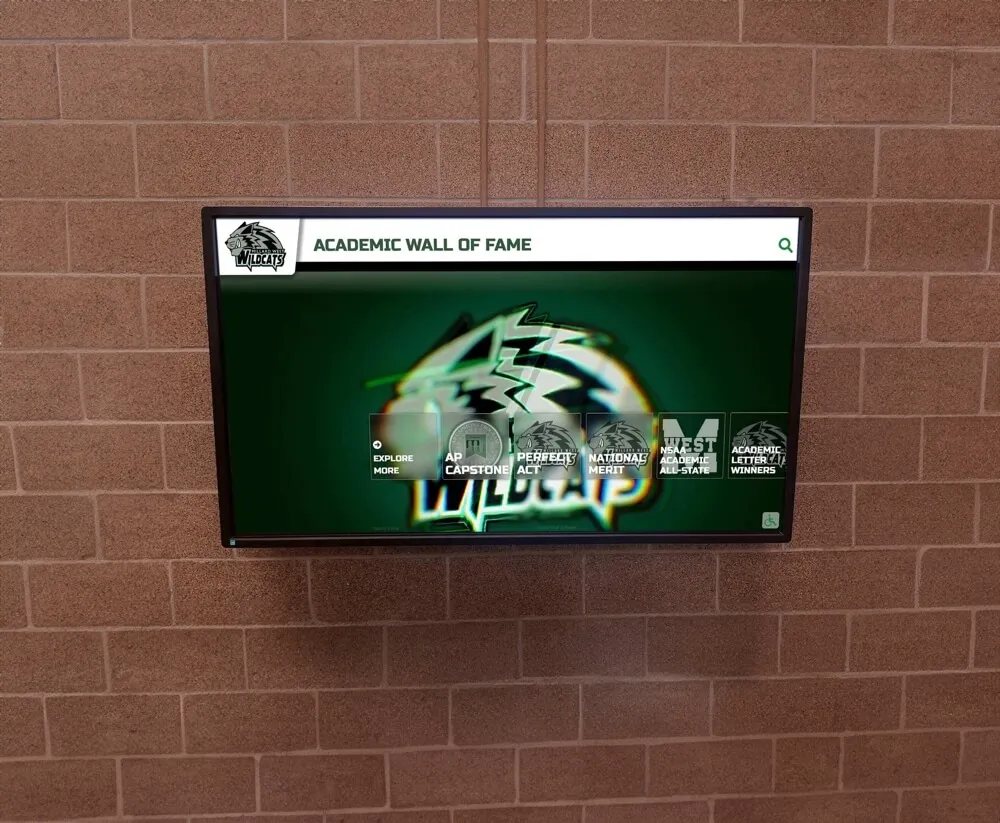
Current students accessing athletic history through recognition displays benefit from audio that plays at a consistent level — loudness normalization bridges the gap between recordings made decades apart under different conditions
Loudness Normalization Tools for Athletic Archive Teams
Tool comparison for common athletic archive scenarios:
| Tool | Cost | Best For | Batch Processing | Measurement Standard | Learning Curve |
|---|---|---|---|---|---|
| FFmpeg (loudnorm filter) | Free | Large collections; scriptable batch workflows; technical staff | Yes (scripted) | ITU-R BS.1770-4 / EBU R128 | High — command-line only |
| Audacity | Free | Small collections; individual file review; non-technical staff | No (file-by-file) | EBU R128 | Low |
| Adobe Audition | Subscription | Mid-to-large collections; graphical batch workflow | Yes (Match Loudness panel) | EBU R128 | Medium |
| iZotope RX | Commercial (one-time or subscription) | Collections with audio quality issues requiring additional restoration | Yes | EBU R128 + platform-specific | Medium-High |
| Nugen Audio VisLM | Commercial | Measurement and monitoring only; integrates with DAWs | Measurement batch | EBU R128, ATSC A/85, custom | Medium |
| BSL Loudness Analyzer | Free | Measurement only; no processing; useful for audit stage | Batch measurement | EBU R128 | Low |
Recommended setup for a typical school athletic archive team:
For a team with no dedicated audio engineering staff, Audacity plus FFmpeg provides complete loudness normalization capability at no cost. Use Audacity for individual file review, quality checking, and any files that require manual attention. Use FFmpeg scripting for batch normalization of collections with consistent source material — once the FFmpeg command is established and tested on a single file, running it across 200 files requires only a simple loop.
For an IT or archive coordinator comfortable with the command line, a fully scriptable FFmpeg workflow is more efficient for large batches than any graphical interface. The additional time investment in setting up the two-pass batch script pays off quickly at scale.
For teams that are also addressing audio restoration needs — removing noise, repairing dropout, reducing hiss from cassette transfers — iZotope RX combines restoration and loudness normalization in a single platform and may justify its cost if both tasks are needed. The recognition program context for some of this audio — ceremony recordings, award announcements, athlete interviews — makes intelligibility as important as loudness consistency, and restoration tools address intelligibility where normalization alone cannot.
Frequently Asked Questions
What is the difference between audio normalization and loudness normalization?
Traditional normalization raises a file’s gain until the loudest peak reaches a target ceiling (typically 0 dBFS). This is called peak normalization. Loudness normalization uses a perceptual measure of integrated loudness (LUFS) as the target, which corresponds much more closely to how loud the recording actually sounds in practice. Two files with the same peak level can sound dramatically different in perceived loudness. For athletic archives used in recognition displays, loudness normalization consistently produces better results than peak normalization because it aligns actual listening experience rather than technical peak values.
Will loudness normalization damage the quality of historic recordings?
Applied correctly, loudness normalization using linear gain — a single gain adjustment applied equally to the entire file — does not alter the audio quality of the recording in any perceptible way. It is mathematically equivalent to turning a volume knob. The recording’s dynamic character, frequency response, and any artifacts from the original source or digitization process are preserved unchanged. The only case where quality concern arises is if the required gain increase is so large that the noise floor — ambient hiss, hum, or background noise in the original recording — is amplified to an audible level. This is a characteristic of the source recording, not a product of the normalization process, and should be noted in the file’s metadata.
What should I do with recordings that measured very low — below -28 LUFS?
Process these files individually rather than in the automated batch. Very low integrated loudness usually indicates one of three situations: the recording was made at a very conservative level (common for older professional broadcast sources), the content is mostly silence with brief audio (common for recordings that were started before the event and capture long lead-in silence), or the file has significant degradation that affected overall signal level. For silence-padded files, trim the leading and trailing silence before normalizing, then measure and process the active content. For very low level recordings from active content, apply the normalization but review the noise floor in the output carefully before including the file in the archive.
Should I normalize the preservation master files or only the access copies?
Normalize only access copies derived from the masters. The preservation master is the archival record of the original digitization output — it should not be altered. Normalization is a processing step applied to produce display-ready access copies. If the archive’s loudness standard changes in the future, or if better normalization tools become available, the unaltered masters are the starting point for reprocessing. Never overwrite a preservation master with a normalized derivative.
How do I handle recordings with extreme dynamic range — game broadcasts where crowd roars are much louder than speech?
Wide dynamic range recordings present a normalization tradeoff: normalizing to a single integrated loudness target brings the average level up, but the peaks (crowd roars) may still be much louder than the sustained speech content. For most athletic display use cases, this is acceptable — the dynamic feel of a game broadcast is part of its historical character and should be preserved. If the display context requires more consistent speech intelligibility — for example, an interview audio clip playing in a quiet kiosk environment — light dynamic range compression before or after normalization can reduce the LRA to a more usable range. Apply this only when the use case requires it, and only to access copies, never to masters.
My display platform says it normalizes audio automatically — should I still normalize the files before uploading?
Test this carefully before deciding. Some platforms apply loudness normalization consistently and accurately to every file on upload; others describe the feature but apply it inconsistently or only to certain content types. Upload a test file that you have already measured and listen to it through the display hardware to confirm the platform is normalizing it to the expected level. If the platform normalizes reliably, delivering pre-normalized files at the platform’s own target level will produce the same result; delivering pre-normalized files at a different target may cause the platform’s normalization to re-process them. Contact the platform’s support team for documentation on its loudness management behavior before committing a large batch.
Athletic archive audio loudness normalization is the step that bridges the gap between a collection of files digitized from different eras and formats and a display-ready archive where every recording can be heard at a consistent level by every visitor. The workflow — audit, measure, normalize, review, deliver — is repeatable, documentable, and achievable with free tools available to any archive team regardless of budget.
For schools ready to make their audio archive part of an interactive digital recognition experience — putting decades of game broadcasts, coach interviews, and ceremony recordings in front of students, alumni, and visitors through touchscreen displays — Rocket Alumni Solutions builds the platforms where that content lives. Request a demo to see how archived audio integrates with interactive hall-of-fame displays, digital trophy cases, and recognition kiosks that bring athletic heritage to life in school lobbies and hallways.