



An athletic archive disk imaging procedure is the structured process a school or athletic department follows to create a complete, sector-by-sector copy of a legacy storage device — an aging hard drive, USB flash drive, CD-ROM, or DVD — before that device fails or becomes unreadable, capturing every file, folder, and deleted-but-recoverable item in a single protected image file that can be safely explored without risk to the original media. The direct answer: disk imaging is not the same as copying files. A file copy transfers only the files the operating system currently sees and considers intact. A disk image captures everything on the storage surface, including partially overwritten files, directory structures, and metadata that a standard file browser never displays. For an athletic archive holding decades of championship photographs, game-day programs, roster spreadsheets, and record documentation, the difference between a file copy and a verified disk image can be the difference between recovering a complete historical record and losing content that cannot be replaced. This guide walks through the full disk imaging procedure in eight stages, with tool recommendations, drive-type considerations, verification steps, and a practical FAQ written for athletic directors, archive coordinators, school IT staff, and facilities managers who are confronting a storage room full of legacy media.
Nothing in this guide constitutes IT security, data recovery, or legal advice. Storage device handling, data governance, and media disposal decisions should be reviewed by your institution’s qualified technology and administrative staff before implementation.
Legacy athletic drives fail quietly. A hard drive purchased to store championship photographs from fifteen years ago may still appear to function when connected — files open, folders browse — right up to the week it stops spinning entirely. By then, the photographs from three state championship seasons, two decades of roster records, and the only digital copies of founding-era game programs may be gone with no recovery path.
Disk imaging addresses this risk by creating a complete, verified copy of a drive’s entire surface before failure occurs. Once a drive has been imaged, the original can be stored safely, and all recovery and extraction work happens against the image — a file that cannot wear out, cannot be accidentally erased, and can be transferred to new hardware whenever needed.

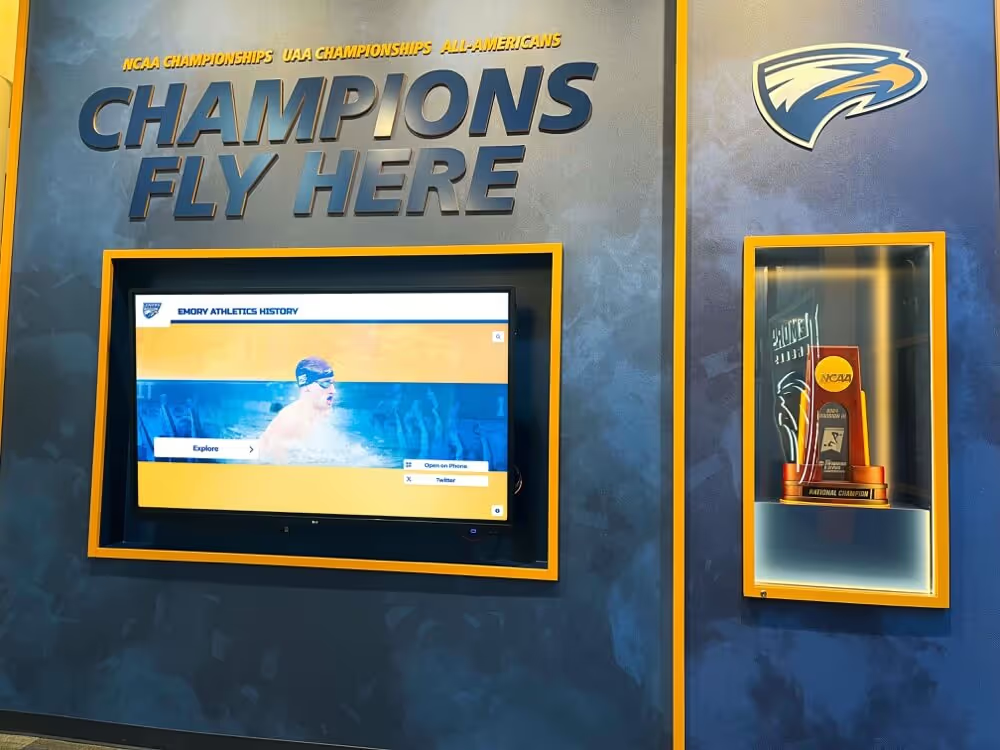
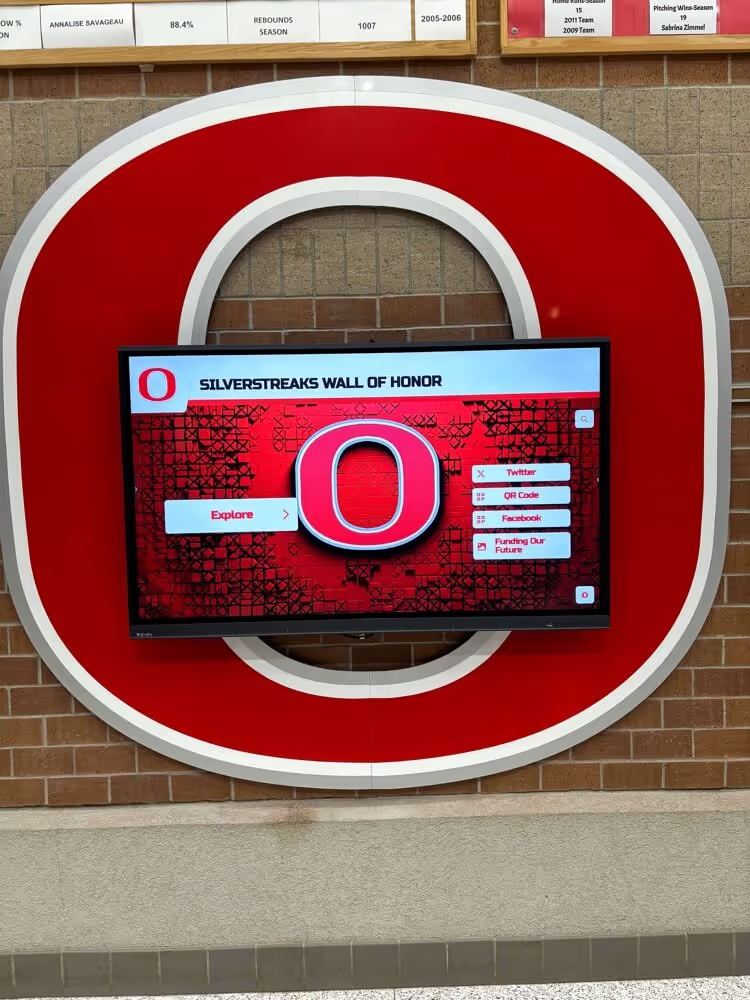
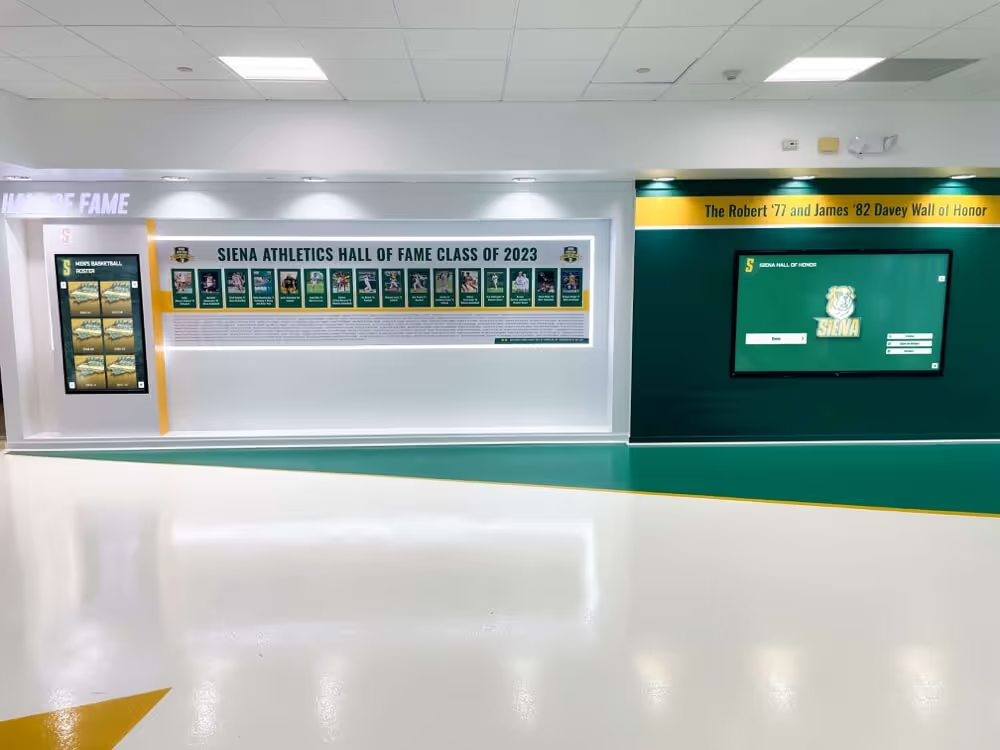
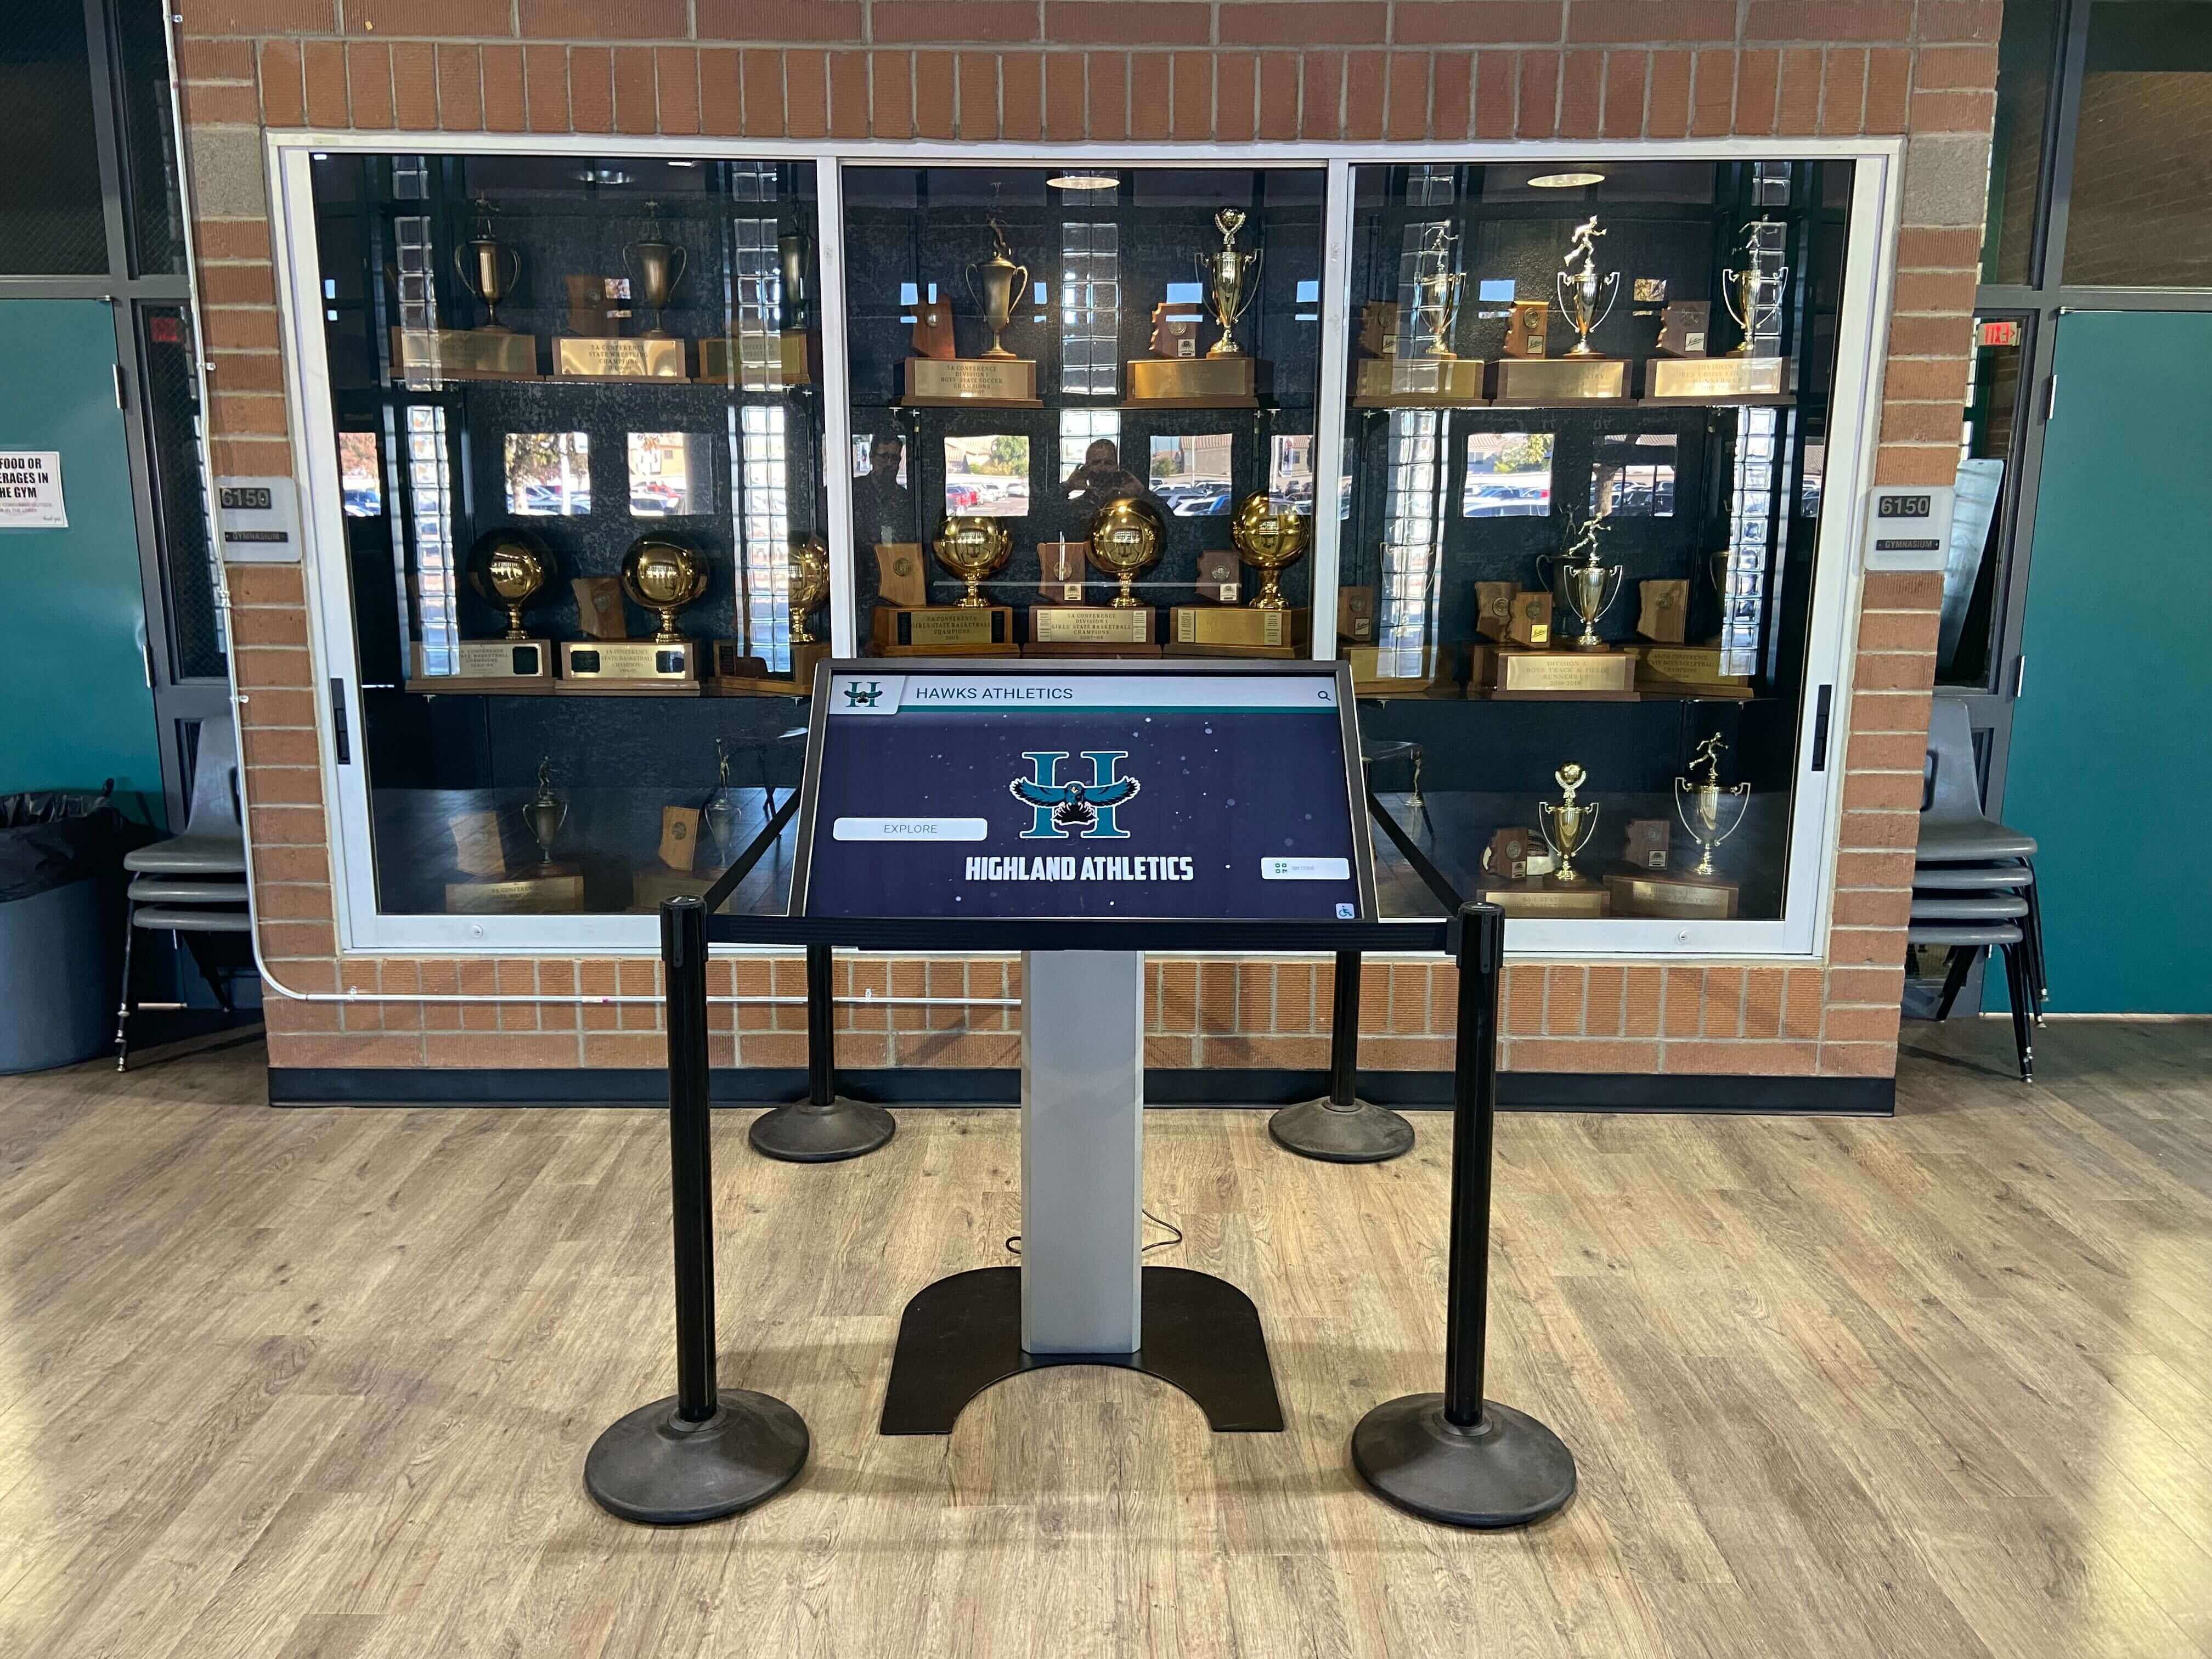
Every recognition display that surfaces decades of athletic history relies on content that was preserved before legacy drives failed — disk imaging is the first step that makes that history recoverable
Why Disk Imaging Comes Before Any Other Archive Step
Schools frequently discover legacy athletic drives in storage rooms, donated in boxes by retiring staff members, or discovered in equipment that is being decommissioned. The instinct is to plug in the drive, copy whatever opens, and move on. That instinct will lose content.
What standard file copying misses:
| Content Type | Visible to File Browser | Recoverable via Disk Image |
|---|---|---|
| Files in intact folders | Yes | Yes |
| Files with corrupted directory entries | No | Often yes |
| Partially overwritten deleted files | No | Sometimes yes |
| Files in bad-sector regions | No (skipped silently) | Yes, with imaging tool logging |
| Folder structure and file dates | Yes (usually) | Yes, exactly preserved |
| File system metadata and volume label | Partial | Complete |
The lost content column is not hypothetical. Files with corrupted directory entries are common on drives that were improperly ejected, stored in poor conditions, or are simply old. A standard file copy skips those files without warning. A disk imaging tool logs every sector it encounters, flags problem regions, and preserves whatever is recoverable before the drive gets any worse.
For drives flagged under an athletic archive legal hold procedure, disk imaging is especially important — a sector-level image provides evidence that the drive content was captured completely and without modification, which a file copy cannot document.
Stage 1: Inventory and Triage Legacy Drives
Before touching any drive, document what exists. Walk the storage room, collect the drives, and build an inventory.
Drive inventory fields:
| Field | What to Record |
|---|---|
| Device type | External hard drive, internal hard drive, USB flash drive, CD-ROM, DVD, Zip disk |
| Manufacturer and model | From the drive label |
| Estimated capacity | GB or TB from the label |
| Approximate age or era | Based on equipment style, label dates, or staff recollection |
| Physical condition | Any visible damage, corrosion, odor, clicking sound when handled |
| Connector type | USB-A, USB-C, FireWire 400/800, SATA, IDE/PATA, Lightning, proprietary |
| Apparent content | Based on labels, handwritten notes, or brief initial connection if safe |
| Priority tier | Tier 1 (highest historical value or failure risk), Tier 2, Tier 3 |
Assign priority before imaging begins. Drives that show physical symptoms of impending failure — clicking, grinding, slow access times, repeated read errors — go to Tier 1. Drives holding content from founding eras or state championship seasons go to Tier 1 regardless of apparent physical health. Image Tier 1 drives first.
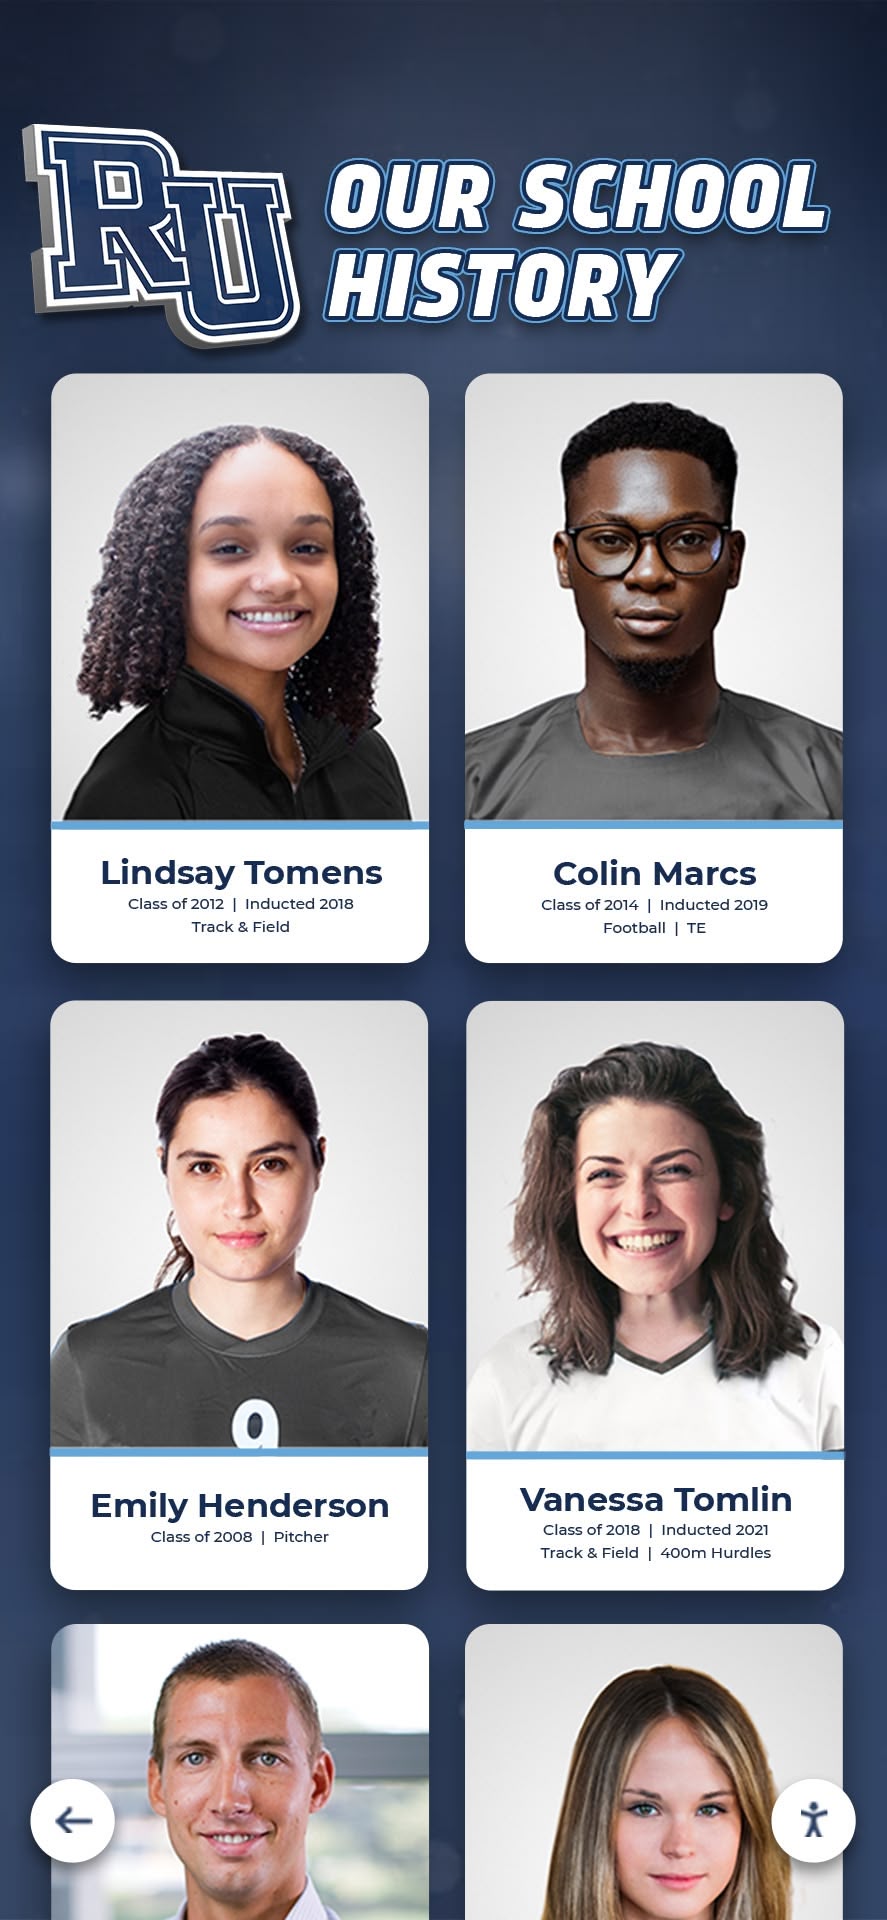
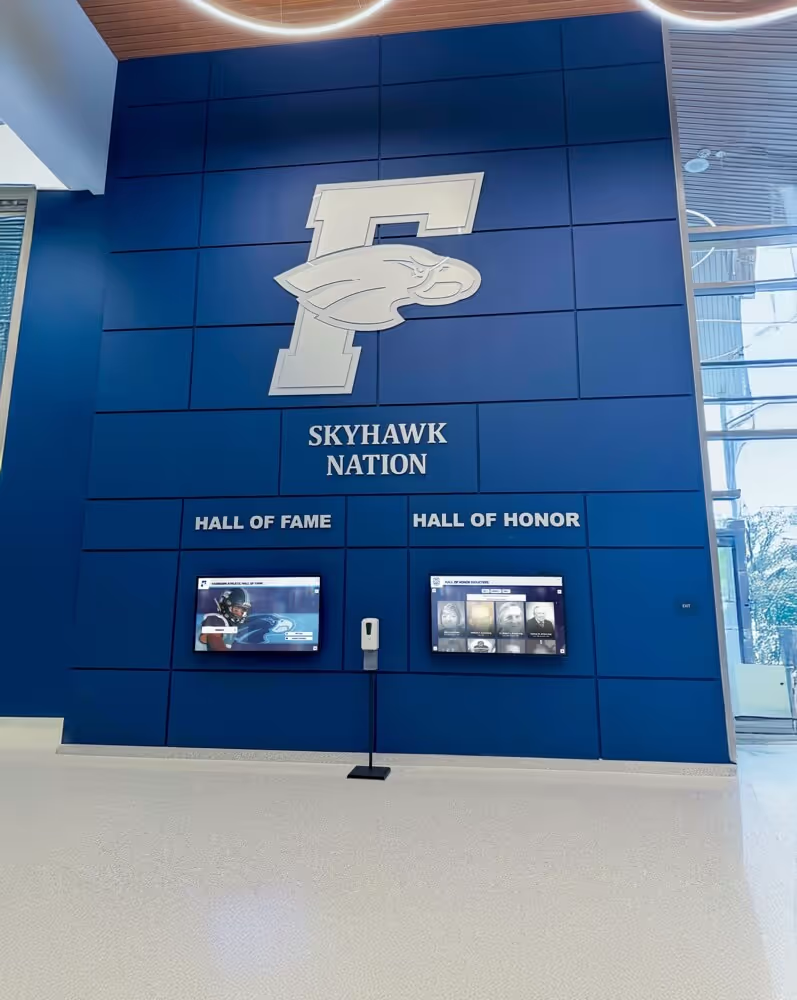
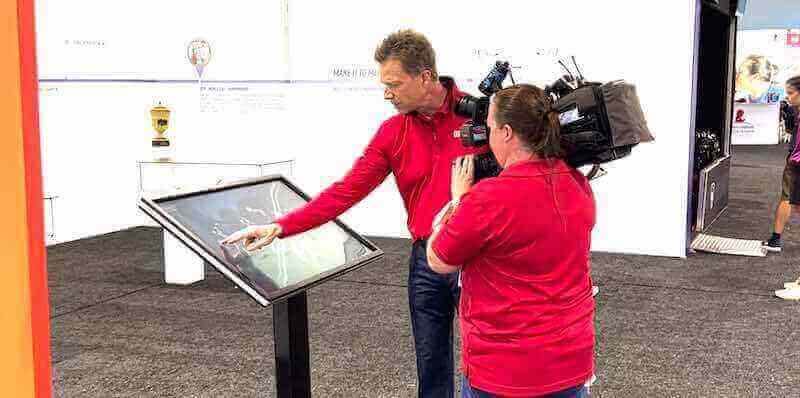
Decades of athletic portrait records often live on a single aging drive — disk imaging creates a protected copy before that drive reaches the end of its usable life
Stage 2: Prepare the Imaging Workstation
A disk imaging workstation is a dedicated computer configured to connect to source drives without modifying them. Using a standard office computer without preparation risks writing to a source drive — a mistake that is difficult to detect and impossible to reverse.
Imaging workstation checklist:
- Hardware write blocker acquired and tested — either a physical device that sits between the source drive and the computer, or a software write blocker installed and confirmed active
- Imaging software installed and version documented
- Destination storage device prepared: a separate external hard drive or NAS volume with at least twice the capacity of the largest source drive being imaged
- Destination storage formatted and confirmed writable
- Destination storage confirmed free of any content that should not be overwritten
- Checksum tool installed (sha256sum on macOS/Linux; CertUtil or HashCheck on Windows)
- Imaging log document open and ready to record
Write blockers — the non-negotiable step:
A write blocker prevents the imaging workstation from writing anything to the source drive during connection, browsing, or imaging. Without a write blocker, simply connecting a drive to a Windows computer will update file access timestamps, which modifies the drive. For Tier 1 drives or any drive with potential legal hold relevance, a hardware write blocker is required. For Tier 2 and Tier 3 drives at non-legally-sensitive schools, a verified software write blocker is acceptable.
Common hardware write blockers:
| Device | Compatible Drive Types | Platform |
|---|---|---|
| Tableau T35u | SATA, USB, SAS | Windows, macOS, Linux |
| CRU WiebeTech Forensic UltraDock | SATA, IDE, USB | Windows, macOS |
| UFED 4PC Write Blocker | USB, SD card | Windows |
| Digital Intelligence FRED | Multiple; standalone forensic unit | Windows |
Stage 3: Select the Imaging Tool and Output Format
Different imaging tools produce different output formats. Selecting the correct tool and format before beginning ensures the image is usable for both extraction and long-term storage.
Imaging tool comparison:
| Tool | Platform | Output Format | Best For |
|---|---|---|---|
| FTK Imager (free) | Windows | .E01, .AD1, raw .dd | IT-managed school environments |
| dd / ddrescue | Linux, macOS | Raw .img or .dd | Technical staff; failing drives |
| Disk Utility (Restore) | macOS | .dmg | Mac-formatted source drives |
| Guymager | Linux | .EWF, raw | Forensic-grade imaging with verification |
| OSFClone (free) | Bootable (any) | .dd, AFF4 | Schools without dedicated imaging OS |
Format guidance:
- Raw (.dd or .img): The most universal format — any tool can work with it, and it requires no additional software to mount or explore. The tradeoff is that raw images contain no embedded metadata. Document all imaging parameters in the log file rather than inside the image.
- .E01 (Expert Witness Format): Embeds metadata, supports compression, and includes an internal verification hash. Preferred when the image may be used for forensic or legal purposes or when storage space is limited.
- .dmg: Native to macOS. Suitable only when the destination and all future workstations will be macOS. Avoid for cross-platform archives.
For most school athletic archive programs, raw .dd format or .E01 are the appropriate choices. Use raw .dd when you want universal compatibility and will store all metadata externally. Use .E01 when storage space is limited or when the imaging log needs to travel with the image file.
Stage 4: Execute the Disk Imaging Process
With the workstation prepared, the write blocker active, and the imaging tool selected, connect the source drive and begin imaging.
Pre-imaging verification steps:
- Connect the source drive through the write blocker — never directly to the computer’s port
- Confirm the write blocker is active and showing source-drive detection
- Open the imaging tool and confirm it sees the source drive at the expected capacity
- Confirm the destination drive has sufficient free space — the image will be at least as large as the source drive’s capacity, not just its used space
- Record the source drive’s serial number, capacity as reported by the tool, and sector count in the imaging log before starting
Executing the image:
| Imaging Software | Command or Menu Path | Key Options to Set |
|---|---|---|
| FTK Imager | File → Create Disk Image → Physical Drive | Select E01; set segment size; enable SHA-256 hash |
| ddrescue (Linux/macOS terminal) | ddrescue -n /dev/sdX image.dd image.log | -n for no-scrape first pass; keep the log for retry passes |
| Guymager | Right-click source drive → Acquire | Select EWF format; enable SHA-256; set case and examiner notes |
| OSFClone | GUI wizard | Select physical source; set raw or AFF4 output |
During imaging:
- Do not remove the source drive or close the imaging tool until imaging and verification are both complete
- Record the start time in the imaging log
- Monitor for errors or read failures — the imaging tool will log bad sectors; document their count and location in the imaging log
- Expect imaging to take 30 minutes to several hours depending on drive capacity and health — a failing drive may take significantly longer or may require multiple imaging passes
For failing drives where the imaging process encounters repeated read errors on specific sectors, ddrescue’s two-pass approach is the most effective recovery strategy: the first pass images all readable sectors quickly; the second pass retries only the problem sectors repeatedly, extracting whatever can be recovered without wasting time on sectors that are cleanly readable.
Stage 5: Verify the Disk Image
An unverified disk image is a disk image that cannot be trusted. Verification confirms that the image file was written correctly and that it matches the source drive.
Verification methods:
| Method | Tool | What It Confirms |
|---|---|---|
| Hash comparison | SHA-256 run against source, then against image | Image is a byte-for-byte match of the source |
| Internal verification | FTK Imager, Guymager (built-in) | Image file is internally consistent |
| Mount and browse | Loop mount (Linux) or FTK Imager mount | Image is browsable; expected files are visible |
| Sector count comparison | Imaging tool output | Image contains the same sector count as the source |
Hash comparison procedure (command line):
For macOS/Linux:
shasum -a 256 /path/to/image.dd
For Windows (CertUtil):
CertUtil -hashfile C:\path\to\image.dd SHA256
Run the hash on the image immediately after imaging completes, before the source drive is disconnected. Record the hash value in the imaging log. If the imaging tool generated a hash during imaging (as FTK Imager and Guymager do), compare the post-imaging hash against the tool’s recorded hash. A match confirms the image is complete and uncorrupted.
Document in the imaging log:
- Hash algorithm used
- Hash value of the source (if generated)
- Hash value of the image
- Whether the values matched
- Tool and version used for verification
- Date and time of verification
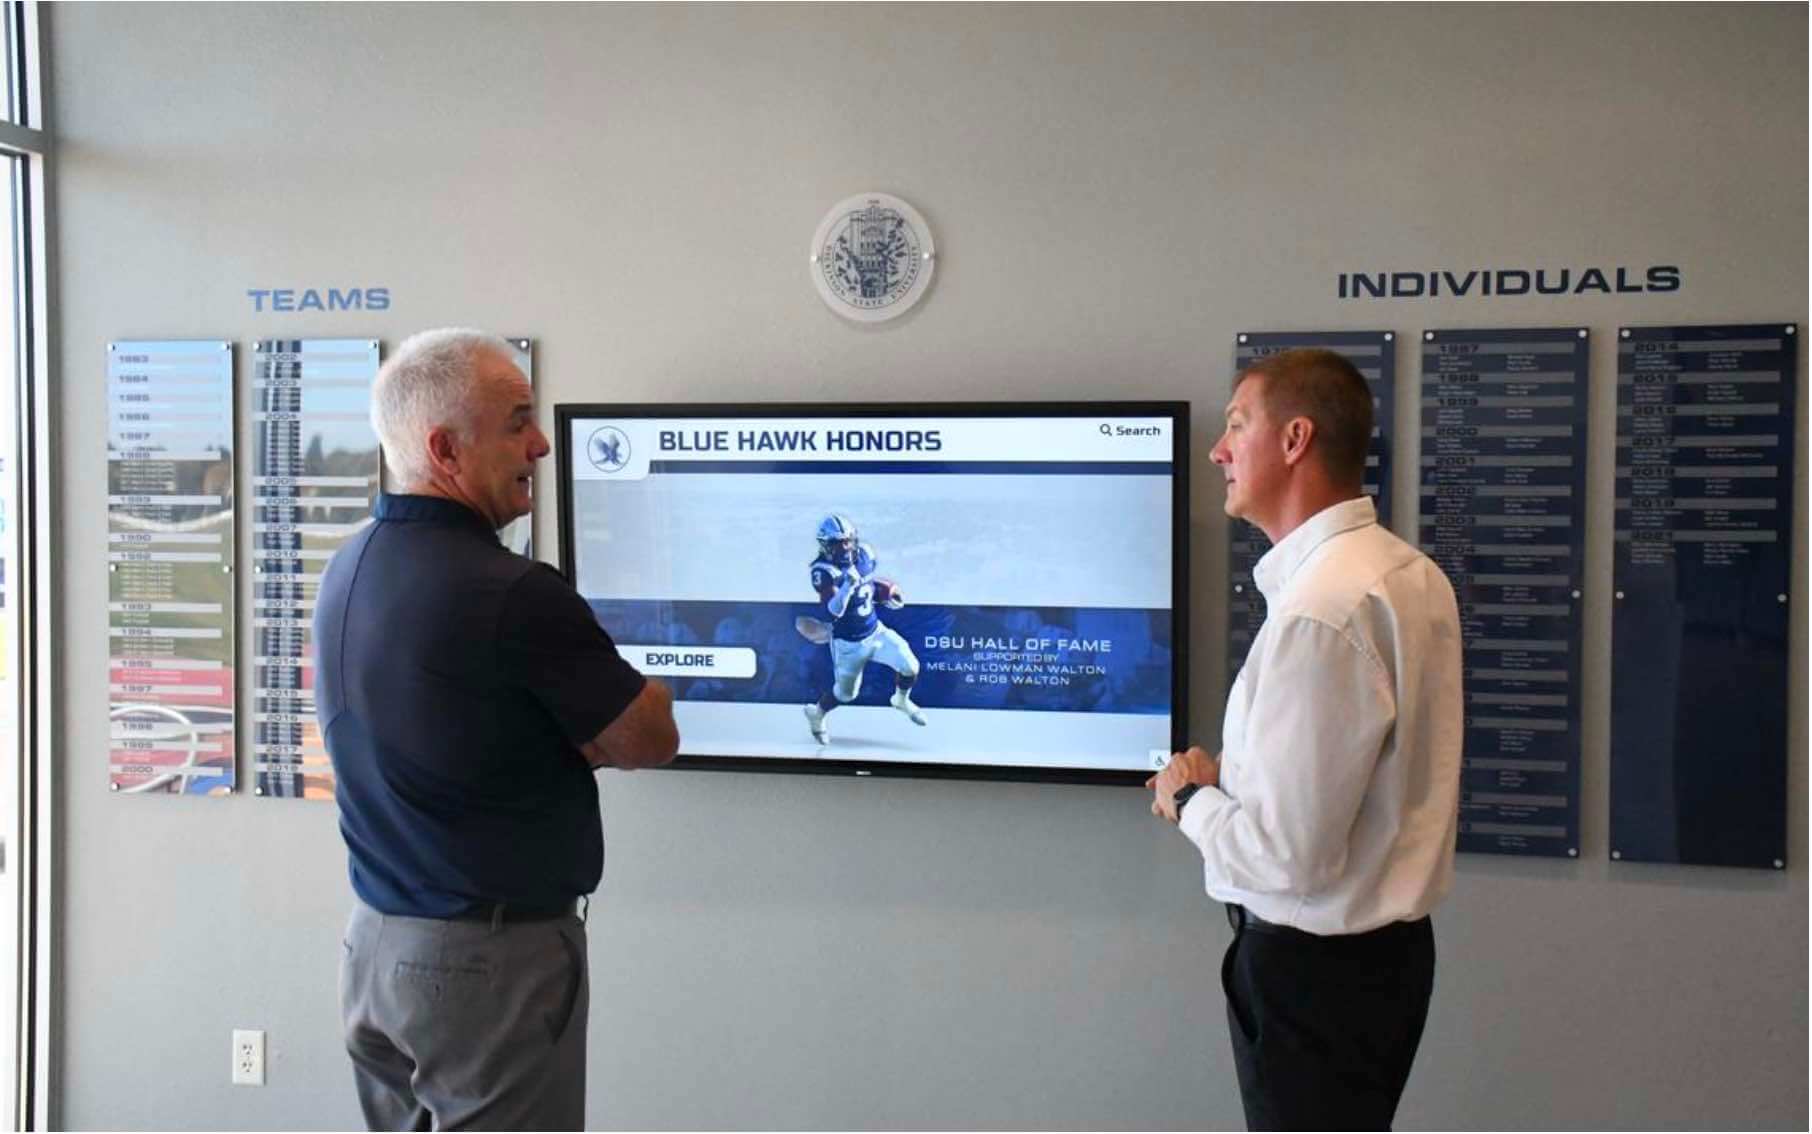
The historical records powering recognition displays begin as files on aging drives — a verified disk image ensures that every byte is preserved before extraction and display can begin
Stage 6: Store and Protect the Disk Image
After verification, the disk image becomes the preservation master — the protected original from which all future extraction and recovery work will be performed.
Image storage requirements:
- Store the image on a separate physical device from the imaging workstation — not on the same hard drive as the workstation’s operating system
- Maintain at least two copies of every image on separate physical media or storage locations
- Store the imaging log alongside the image — the log is part of the record
- Confirm that the storage location has sufficient long-term capacity, including room for images from all remaining drives in the inventory
- Apply an access control structure that prevents accidental deletion or modification of image files — read-only permissions for non-administrator accounts
Storage location options:
| Location | Advantages | Considerations |
|---|---|---|
| External hard drive (dedicated) | Low cost; easy to transport | Single point of failure; susceptible to physical damage |
| Network-attached storage (NAS) | Redundant drives within the unit; centrally accessible | Requires network infrastructure; ongoing maintenance |
| Cloud storage (institutional) | Geographically separate; off-site by default | Upload time for large images; ongoing cost |
| Combination (NAS primary + cloud backup) | Redundancy across physical and cloud storage | Higher cost; two systems to maintain |
For a collection of fewer than twenty drives producing images under 10 TB total, a combination of a dedicated external NAS and a cloud backup tier is practical for most school budgets. Schools managing larger collections — those with dozens of drives from multiple eras — should review software tools athletic administrators need for managing digital archives at scale to determine whether institutional storage infrastructure is the appropriate path.
Stage 7: Extract Files from the Image
With a verified image stored safely, all file extraction work happens against the image — not the original drive. The original drive is now an archival artifact to be stored, not an active working device.
Mounting and browsing the image:
| Tool | Platform | Method |
|---|---|---|
| FTK Imager | Windows | Image Mounting → Add Image → Browse |
| Arsenal Image Mounter | Windows | Mount as physical disk or logical drive |
| hdiutil | macOS | hdiutil attach image.dd |
| mount (loop device) | Linux | mount -o loop,ro image.dd /mnt/point |
Always mount the image as read-only. A read-only mount confirms that browsing the image cannot modify it. Some tools enforce this automatically; others require explicitly selecting a read-only option.
During extraction:
- Browse the mounted image and document the folder structure in the imaging log
- Identify content categories: photographs, video, documents, structured data, web captures, and any file types that require format identification
- Export files to a designated extraction staging area — a separate folder on the workstation or NAS, not on the image’s mounted volume
- Begin the formal archive ingest workflow for each extracted batch — transfer manifest, format validation, metadata capture, checksum generation, and acceptance recording
Extraction from a disk image is not the same as archiving. Extracted files that go into an informal staging folder without a documented ingest process are not archive records — they are copies waiting to become records. Connect every extraction batch to a documented ingest workflow.
For programs unfamiliar with how records extracted from legacy drives are confirmed accurate before being published in recognition programs, the athletic record verification form process is the step that follows successful extraction — confirming that the data extracted from an old drive is accurate before it appears in a public-facing display or hall-of-fame nomination.
File types commonly found on legacy athletic drives:
| File Type | Common Source | Archive Priority |
|---|---|---|
| JPEG photographs (.jpg) | Digital cameras from 2000s–2010s | High — game and portrait photography |
| TIFF photographs (.tif) | Higher-end cameras; scanning output | High — typically master-quality content |
| Microsoft Word documents (.doc, .docx) | Program records, letters, citations | Medium — convert to PDF/A for archival |
| Excel spreadsheets (.xls, .xlsx) | Rosters, statistics, records | High — export companion CSV at ingest |
| PowerPoint files (.ppt, .pptx) | Presentation materials, banquet slideshows | Low to medium — extract embedded images |
| Video files (.wmv, .avi, .mpg, .mp4) | Game recordings, highlight reels | High — assess format and create ProRes masters |
| PDF files (.pdf) | Programs, awards, policies, newsletters | Medium — validate PDF/A compliance at ingest |
| Database files (.mdb, .accdb) | Older record-keeping systems | High — extract to CSV; document schema |
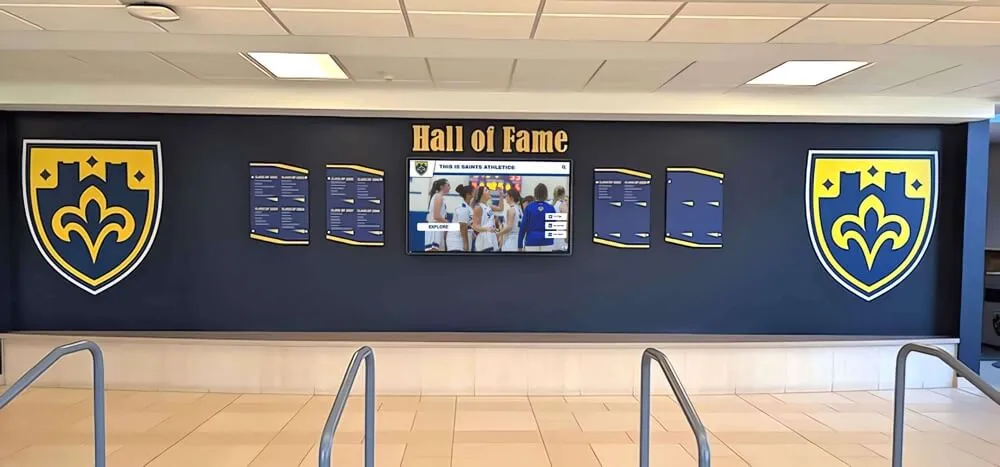
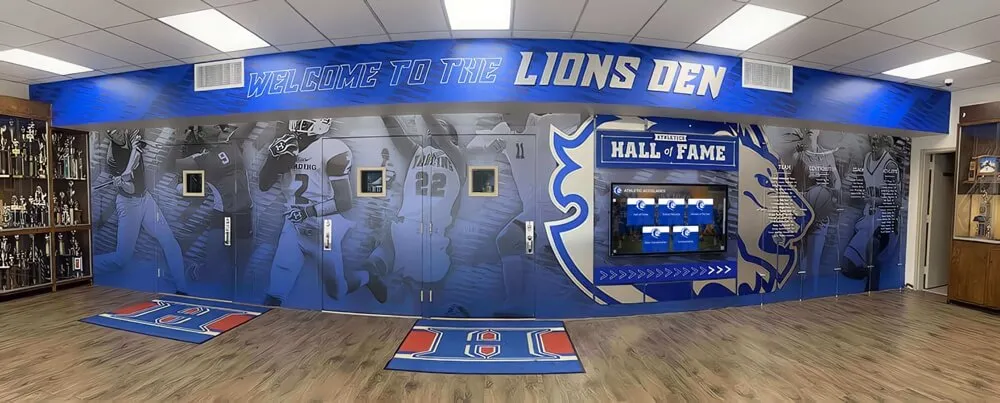
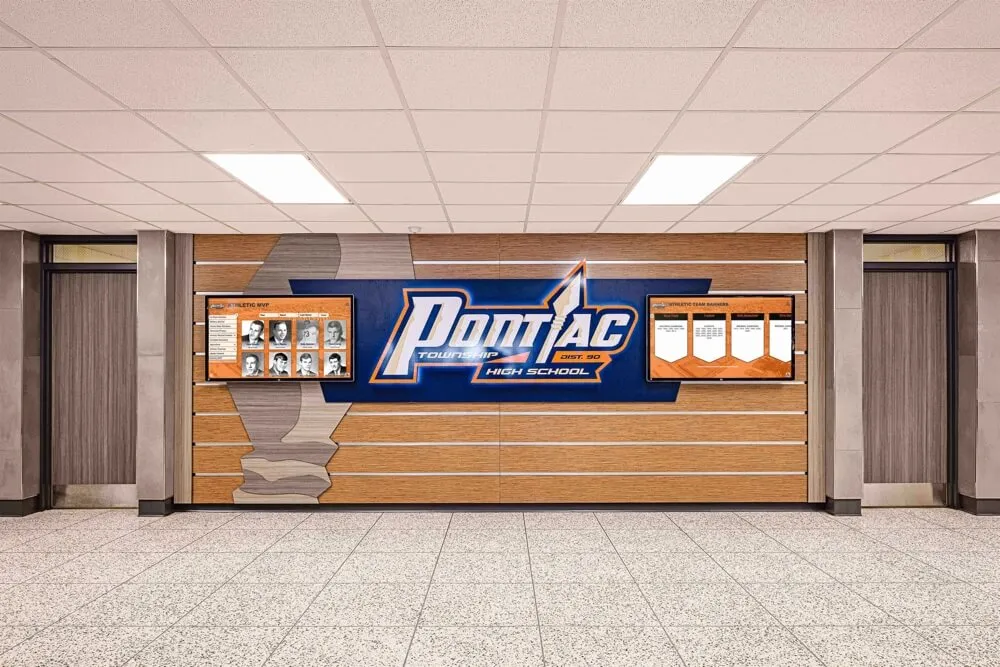
Recognition displays that blend traditional and digital elements draw on historical content extracted from legacy drives — content that is only complete when the drive was imaged before extraction began
Stage 8: Retire or Store the Source Drive
After imaging, verification, and a confirmed extraction of accessible content, the source drive’s active role in the archive workflow is complete. Handle it intentionally rather than leaving it in a gray zone.
Options for source drives after imaging:
| Option | When Appropriate | Process |
|---|---|---|
| Retain in climate-controlled storage | High institutional value; may contain content not yet recovered from bad sectors | Label clearly; document in the imaging log; store with other archival media |
| Secure disposal | Low institutional value; all accessible content extracted and ingested | Follow your district’s data destruction and electronic waste policy; document destruction date |
| Return to original custodian | Drive was loaned for imaging, not donated | Return with a written record confirming that imaging was completed and what content was found |
Do not reuse source drives for new content storage after imaging — a drive that was old enough to require imaging is not reliable enough to be trusted with new content. The risk of failure is the reason you imaged it, and that risk does not decrease after imaging.
Retain the imaging log and the verified image indefinitely, even if the source drive is disposed of. The log and the image are the provenance record for every piece of content extracted from that drive — disposing of the log eliminates the chain of custody documentation.
Connecting Disk Imaging to Recognition and Display Programs
The disk imaging procedure is the first step in a longer archive workflow, not a standalone preservation activity. Its value to the school’s recognition programs is realized downstream — when the content extracted from those images is ingested into a managed archive and surfaced through display platforms that students, alumni, and visitors can explore.
Programs building toward a digital trophy case or recognition display will find that the content quality of their display depends directly on how thoroughly legacy drives were imaged. A hall-of-fame display that spans forty years of athletic history needs content from forty years of storage media — most of which is now legacy hardware sitting on shelves somewhere in the school.
Connecting archived content to a digital hall of fame display platform is significantly faster when the content arrives from a documented, organized ingest process built on verified disk images. Programs that hand off an unorganized folder of recovered files to a display platform encounter the same remediation work — metadata entry, format conversion, naming cleanup — that a proper disk imaging and ingest workflow would have handled before the handoff.
For athletic programs that honor legacy athletes through retired jersey ceremonies and legacy recognition events, the photographs, game programs, and records that make those events meaningful often live on legacy drives that have never been formally preserved. The planning and execution of a retired jersey ceremony is far easier when the archive already contains verified, well-described records from the athlete’s era — content that a disk imaging procedure made available before the drives failed.
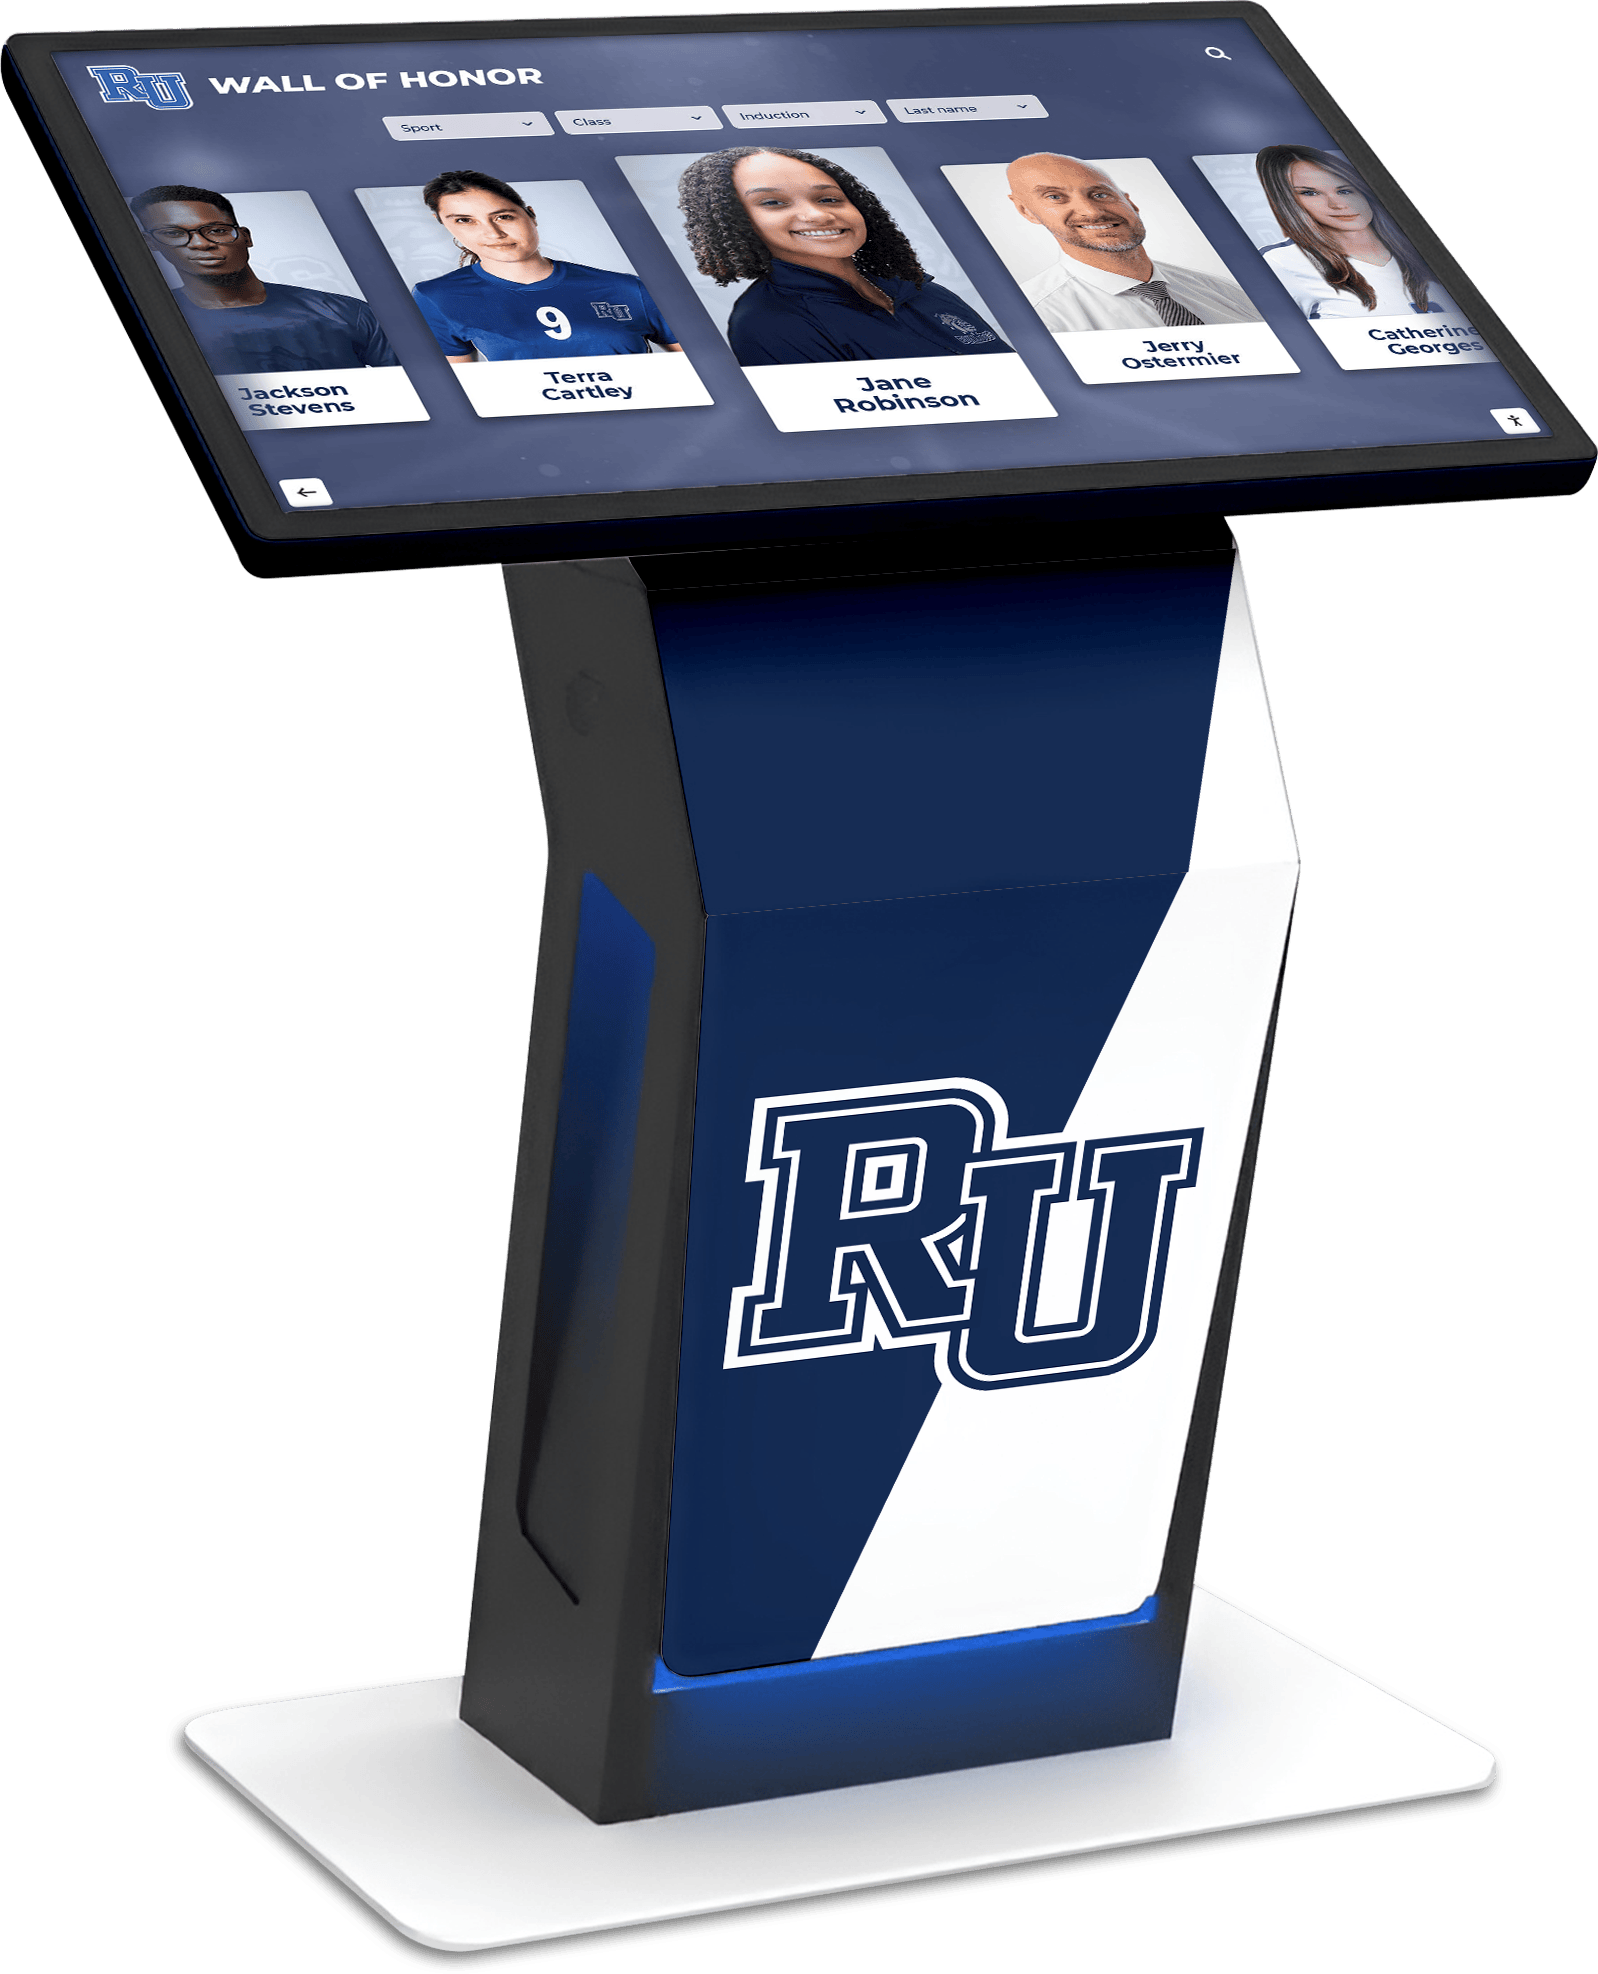
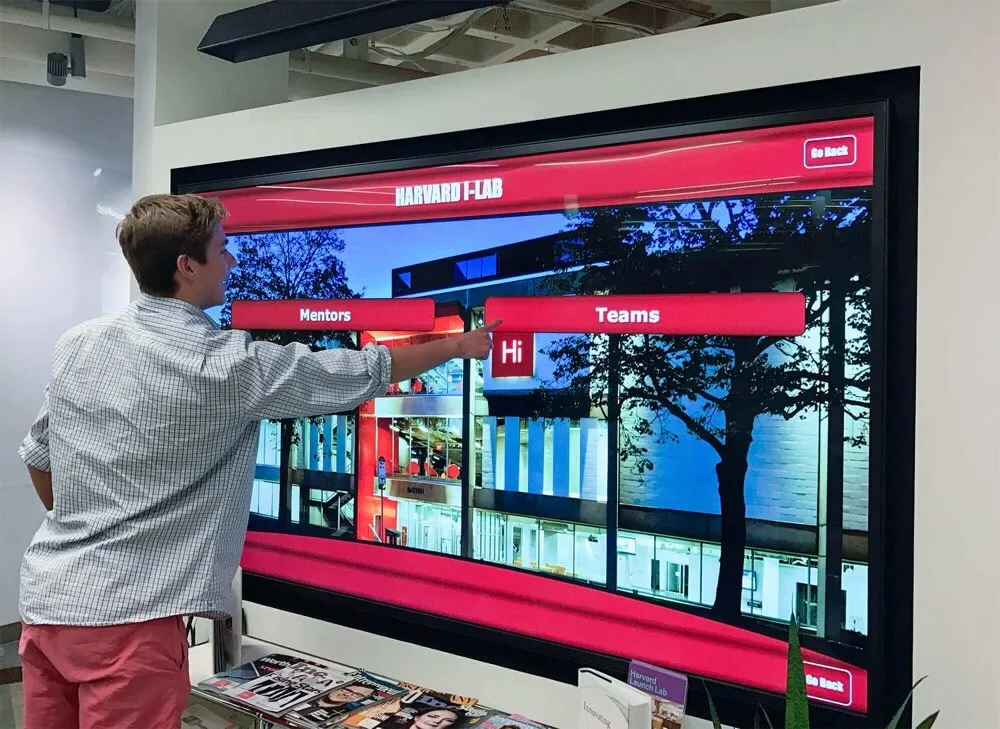
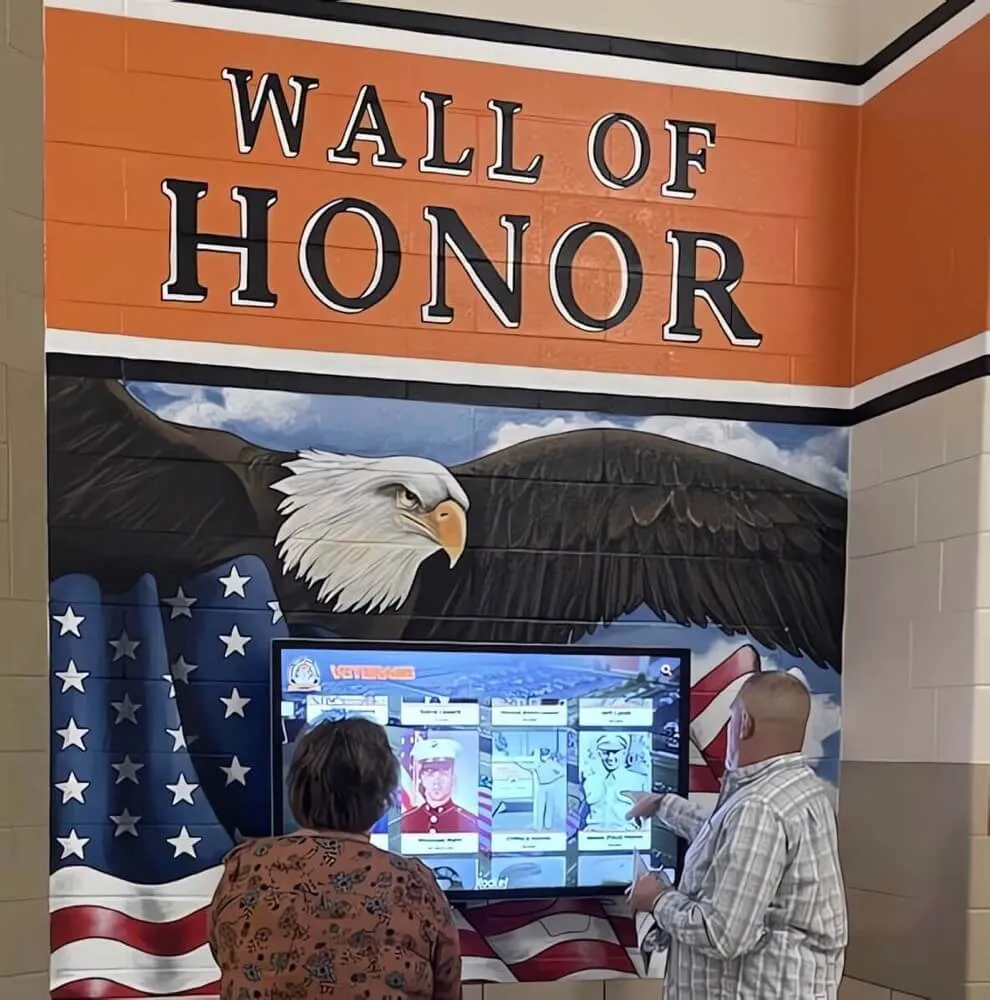
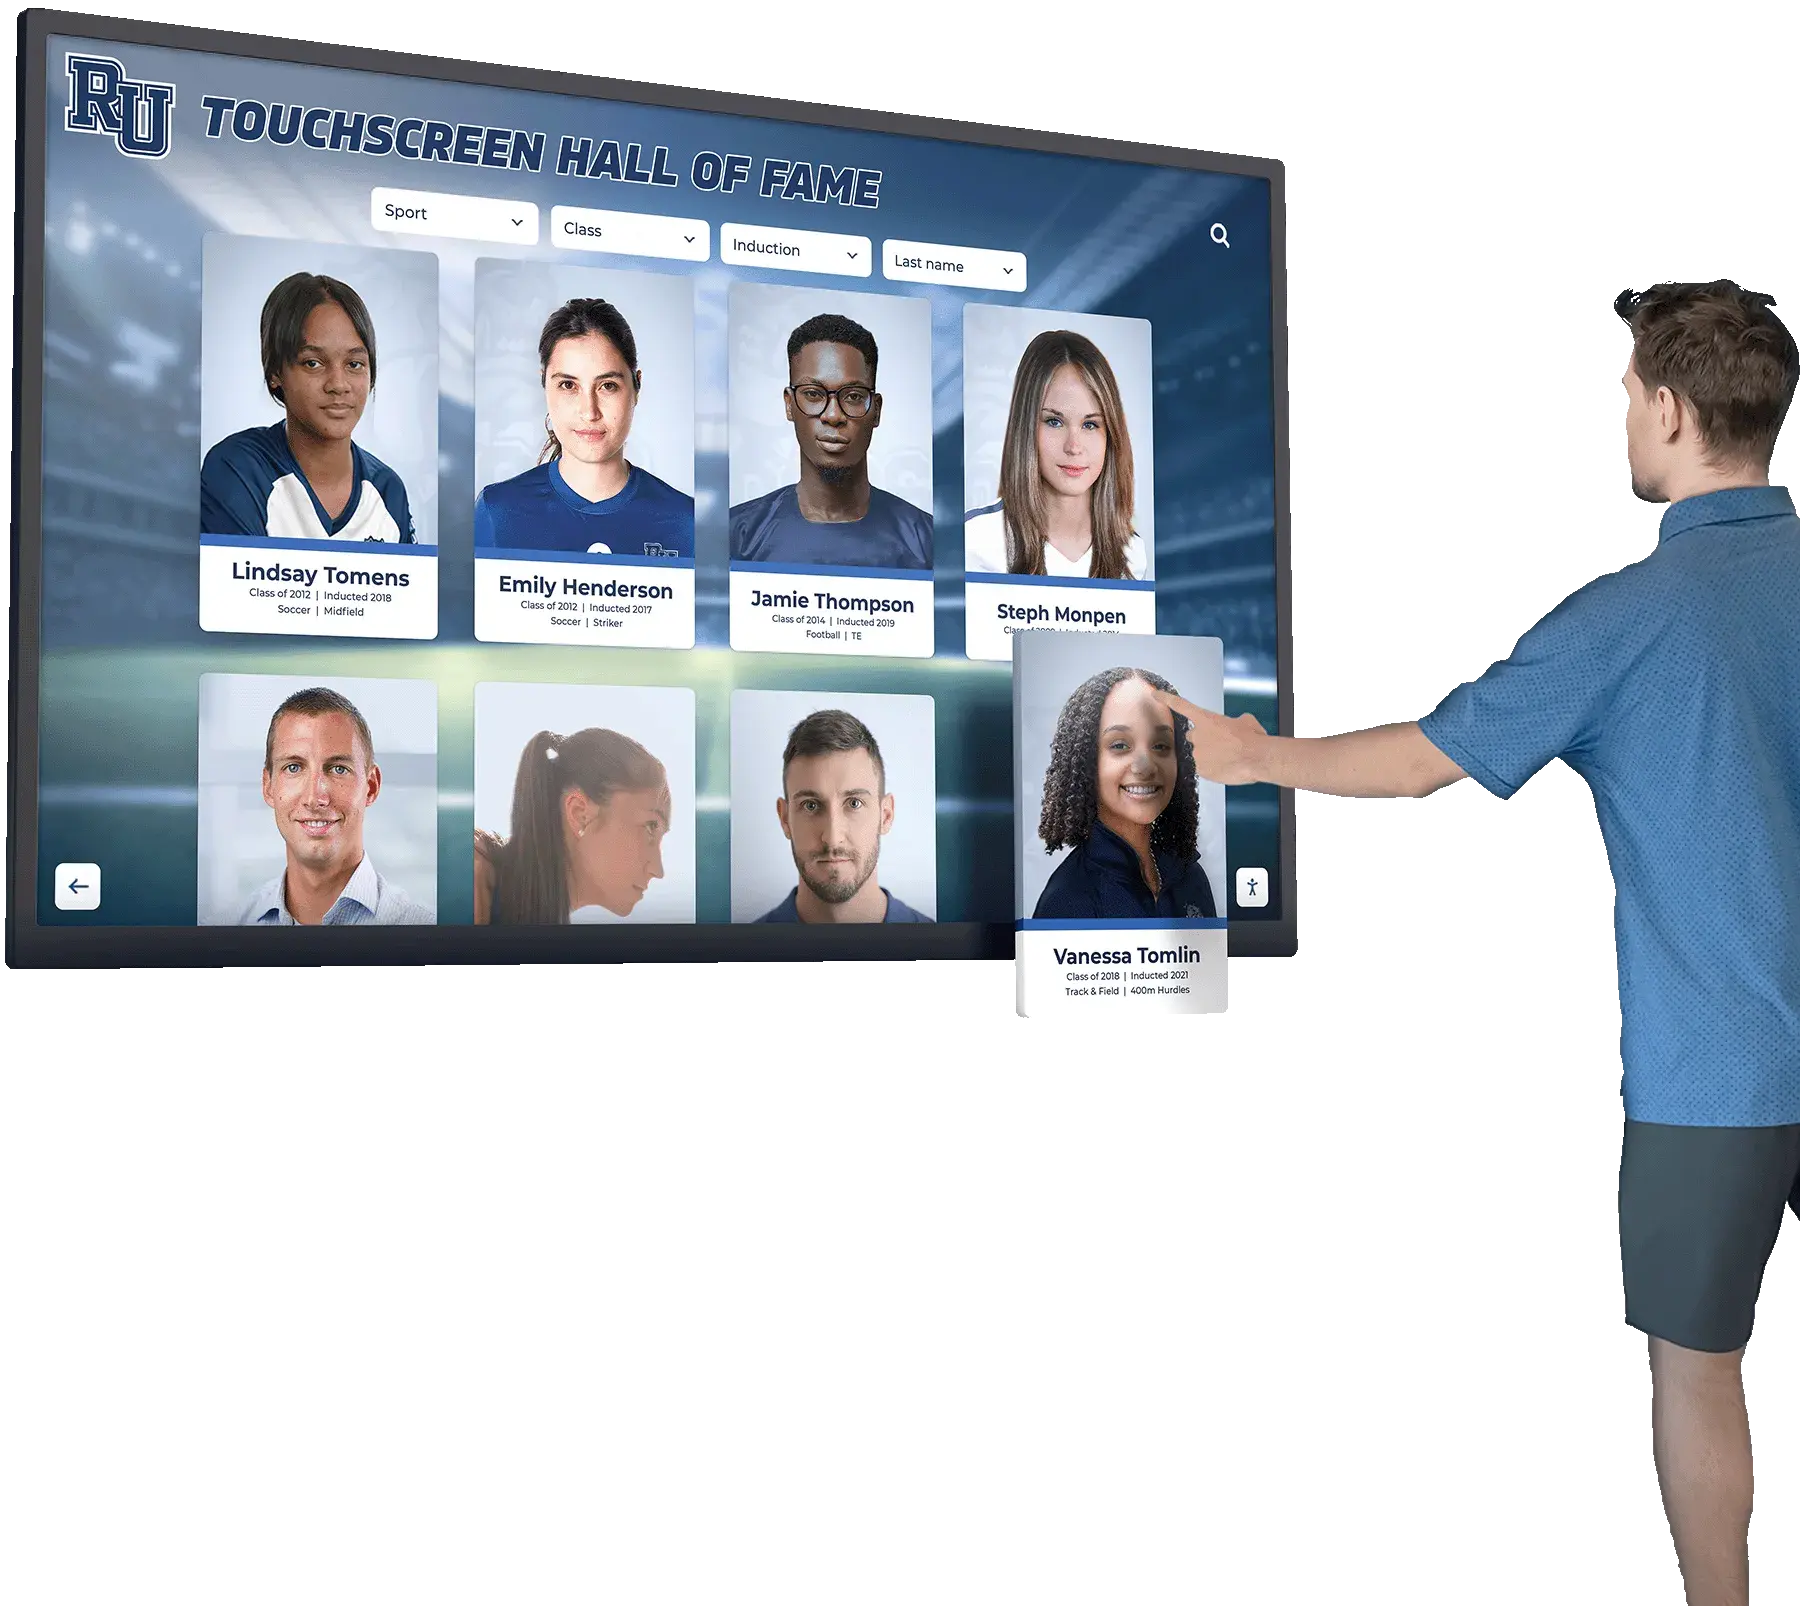
Interactive recognition kiosks display the full depth of a school's athletic history when legacy drives were imaged before their content was lost — disk imaging is the foundation that makes decades-deep recognition displays possible
For programs developing the metadata vocabulary that will organize recovered content after extraction, the athletic archive controlled vocabulary guide provides the framework for assigning consistent sport, season, and content-type terms to the files recovered from legacy drives — the step that transforms a folder of extracted files into a retrievable archive.
Frequently Asked Questions
What is the difference between disk imaging and file copying for an athletic archive?
A file copy transfers the files the operating system currently sees and marks as intact. A disk image captures every sector on the storage surface — including files with corrupted directory entries, partially recovered deleted files, and the file system metadata that records original creation and modification dates. For an athletic archive recovering historical content, the files that a copy would skip are often exactly the files from the most fragile eras of the collection. Disk imaging preserves everything recoverable; file copying preserves only what is currently accessible.
Do we need special equipment to image a USB flash drive?
USB flash drives can be imaged with the same tools used for hard drives, but they require a write blocker appropriate for USB connections. Most hardware write blockers support USB drives alongside SATA drives. The imaging process is identical: connect through the write blocker, run the imaging tool against the physical device, verify the resulting image with a SHA-256 hash, and document in the imaging log. Flash drives from the early 2000s — common sources of early digital athletic photography — are particularly at risk of quiet failure and should be imaged as a priority.
What should we do with CDs and DVDs in the archive?
Optical media requires a different imaging approach than hard drives. For CDs and DVDs, use tools like IsoBuster (Windows) or ddrescue running against the optical drive device to create .iso or raw images of each disc. Optical media from the early 2000s is approaching or past its expected lifespan — discs that appear clean may have internal layer delamination that causes read errors before they are visible on the disc surface. Prioritize any disc that shows rainbow patterns, clouding, or any surface irregularity.
How long does disk imaging take for a typical external hard drive?
Imaging time depends on drive capacity, drive health, and the interface used. A healthy 500 GB drive connected via USB 3.0 images in roughly 30 to 60 minutes. A failing drive of the same size may take several hours if the imaging tool needs multiple retry passes on problem sectors. Budget imaging time conservatively — assume failing drives will take three to five times longer than their capacity would suggest. For a storage room with twenty drives of mixed age and health, plan imaging work across several days, not a single session.
Can we image a drive that is still in use by another staff member?
Imaging a drive that is actively being written to will produce an inconsistent image — the image will capture the drive in a state partway between two different file system configurations. Disconnect all active drives from their workstations before imaging. For drives still in regular use by staff, arrange a window where the drive is disconnected and available for imaging — returning it after the image is verified. The source drive can return to use after imaging; the image is the preserved copy.
What if the imaging tool reports bad sectors?
Bad sectors are regions of the drive surface where data cannot be read reliably. Every disk imaging tool logs bad sectors encountered during imaging. Document the count and location of bad sectors in the imaging log — this information characterizes the drive’s condition and may be needed if future recovery efforts target those regions. Bad sectors in the image appear as unreadable regions or zeroed-out blocks, depending on the tool’s behavior. Files stored entirely within readable sectors are fully recovered. Files that overlap a bad-sector region may be partially corrupted. Use a file carving tool on the image after imaging to attempt recovery of partially damaged files.
How does disk imaging connect to a school’s overall digital preservation plan?
Disk imaging is one component of a complete digital preservation program. It addresses the specific risk posed by legacy physical media — aging drives, optical discs, and flash storage at the end of their expected lifespan. After imaging, the extracted content follows the same ingest workflow as any other archive content: transfer verification, format validation, metadata capture, checksum generation, and documented acceptance. Disk imaging creates the raw material; the ingest workflow turns that material into managed archive records; the recognition display platform makes those records accessible to students, alumni, and visitors.
From Legacy Drive to Live Recognition Display
An aging hard drive in a storage room represents a risk and an opportunity simultaneously. The risk is obvious: every day the drive operates without an image is a day its entire content could be lost to mechanical failure. The opportunity is equally clear: the photographs, records, game programs, and highlight reels on that drive are the raw material for recognition programs that will honor athletes, celebrate team history, and connect current students to the legacy of their school.
The disk imaging procedure is the act that turns risk into opportunity. Once a drive is imaged and verified, its content is protected from hardware failure, available for careful extraction, and ready to begin the journey toward a recognition display that students can explore and alumni can share.
Programs that execute this procedure systematically — working through their drive inventory by priority tier, imaging before extracting, verifying before storing — build archives that can power recognition programs for decades. Programs that defer legacy drive imaging until a drive fails are betting that no drive in the storage room will fail before someone finds time. That is not a preservation strategy.
Turn Preserved Athletic History into a Recognition Experience
When your legacy drives have been imaged, your files extracted, and your archive organized, Rocket Alumni Solutions helps schools connect that verified, managed content to interactive touchscreen displays that students and alumni can explore every day. From searchable hall-of-fame profiles to digital record boards and photo timelines, our platform is built to showcase the depth of athletic history that careful preservation makes possible. Request a demo to see how your school's archive can power a recognition experience worthy of your program's legacy.
Request a Demo