Athletic Archive Fixity Check Schedule: Verify Files Before They Fail
- Home /
- Touch Archive Blog /
- Athletic Archive Fixity Check Schedule: Verify Files Before They Fail

The Easiest Touchscreen Solution




Live Example: Rocket Alumni Solutions Touchscreen Display
Interact with a live example (16:9 scaled 1920x1080 display). All content is automatically responsive to all screen sizes and orientations.
An athletic archive fixity check schedule is the structured, recurring plan that tells archive staff exactly when to run checksum verification on every photograph, video, roster, and record in a school’s digital athletic archive — confirming that files have not changed, been corrupted, or been silently damaged since the last verified baseline. The direct answer: generate a baseline checksum manifest for all archive masters before anything else, run fixity verification on primary master files at least monthly, check backup copies quarterly, and treat any mismatch as an active incident requiring immediate investigation and restoration from a verified backup. This guide provides a step-by-step setup process, a tiered verification schedule with tables, a tool comparison, and a full FAQ — all oriented toward athletic directors, archive coordinators, school IT staff, and recognition program managers who need to protect institutional history without dedicated preservation staff.
Nothing in this guide constitutes legal or data compliance advice. Align all records retention and archive policies with your school or district’s written guidelines and qualified counsel.
A school’s digital athletic archive is only as reliable as its most recent verified fixity check. Every photograph from a 1999 state championship, every roster from a program that predates current staff, every video of a record-setting performance — all of it exists as bit sequences on storage media that can change silently: no warning, no visible corruption indicator, no error message. A file damaged by a partial write, a storage sector fault, a ransomware event, or gradual bit rot may still appear in a folder with its original filename and file size displayed correctly while the data inside is unreadable. An athletic archive fixity check schedule transforms that hidden risk into a managed, detectable, and recoverable condition.

A school athletic archive's photographs, rosters, and records are irreplaceable — fixity checks are the only way to confirm that each file remains unaltered since the last verified point in time
What a Fixity Check Is — and What It Is Not
A fixity check is the process of generating a checksum — a mathematical fingerprint — for each file in a collection, then comparing that checksum against a stored baseline to confirm the file is bit-for-bit identical to what was there when the baseline was created. If the checksum matches, the file is unchanged. If it does not match, the file has been modified, damaged, or corrupted since the baseline was recorded.
A checksum is not a description of a file’s content. It is a compact representation of the exact bit sequence of the entire file. A single changed bit — anywhere in a 40-megabyte TIFF photograph — produces a completely different checksum. This sensitivity is what makes fixity checks effective: they detect changes that no visual inspection can see.
Common checksum algorithms used in archival practice:
- MD5: Fast; widely supported; produces a 32-character hexadecimal string. Not recommended for security-sensitive applications but entirely appropriate for archive integrity checking where the goal is detecting accidental corruption rather than cryptographic authentication.
- SHA-256: More computationally intensive than MD5; produces a 64-character string; preferred by institutional archives following current Library of Congress digital preservation guidance. Recommended when choosing an algorithm for a program starting fresh.
- SHA-1: An older algorithm still encountered in legacy archive systems; acceptable for existing manifests but not recommended for new implementations.
Fixity Checks vs. SMART Diagnostics: Not the Same Layer
Schools implementing a storage maintenance program often have SMART diagnostics already in place. SMART monitors drive hardware health — bearing wear, sector reallocations, temperature trends. Fixity checks verify the integrity of individual files stored on that hardware. Both are necessary; neither substitutes for the other.
| Protection Layer | What It Monitors | What It Detects | What It Cannot Detect |
|---|---|---|---|
| SMART diagnostics | Drive hardware health | Mechanical failure, sector errors, firmware issues | File-level corruption on a healthy drive |
| Fixity checks | Individual file bit sequences | Silent corruption, ransomware-altered files, accidental overwrite | Drive hardware health or imminent physical failure |
| Backup procedures | Completeness of copies | Whether a copy exists | Whether that copy is uncorrupted |
A school with healthy SMART readings and a current backup schedule may still hold a collection of silently corrupted archive files — because file corruption and drive failure are independent events. Fixity checks are the layer that detects file-level integrity problems regardless of whether the hardware appears healthy.
Collection Tiers: What to Check, How Often
Not every file in an athletic archive carries equal risk if lost and equal cost to verify. A tiered framework makes the fixity schedule practical without demanding the same verification intensity for working thumbnails as for original photographic masters.
| Tier | Content | Examples | Recommended Fixity Frequency |
|---|---|---|---|
| Tier 1 — Master files | Original digitization scans, camera-original captures, uncompressed or losslessly compressed files, original documents | State championship TIFFs, original game film (ProRes/MXF), PDF/A record scans, WAV audio originals | Monthly |
| Tier 2 — Key access copies and primary records | Working high-resolution JPEGs, primary roster spreadsheets, active display content, award documentation | Portrait JPEGs used in hall-of-fame displays, current-use CSV exports, scholarship documentation, award certificates | Quarterly |
| Tier 3 — Redundant copies and working files | Thumbnail exports, duplicate sets, working drafts, secondary cloud backups | Thumbnail folders, low-resolution preview sets, working-copy spreadsheets | Annually |
| New ingests | Any files added after the baseline date | Newly digitized photos, current-season rosters, video exports from the current year | Immediately at ingest; added to manifest before any other action |
| Post-event verification | Any file on media that experienced an unexpected event | Files on a drive that was dropped, powered down mid-write, or exposed to a power failure | Immediately; do not wait for the scheduled interval |
The tier assignment is a judgment call for each program, but the principle is consistent: the higher the irreplaceability of the original and the longer the institutional memory it represents, the higher its verification tier.
Your Athletic Archive Fixity Check Schedule: 8 Steps
Step 1: Audit the Collection and Document Your File Inventory
Before generating any checksums, map what you have. A fixity schedule without an inventory cannot confirm that all files are being checked — it can only confirm the files it knows about.
Create a spreadsheet or use your existing archive management tool to document:
- Collection name or folder path
- File count and total storage size
- Content type (photographs, video, rosters, documents, audio)
- Date range covered by the collection
- Digitization or creation date
- Storage location (local drive, NAS, cloud)
- Current tier assignment
This inventory is the scope document for the fixity schedule. If a folder is not in the inventory, it will not be included in fixity checks. An undocumented folder on an archive storage volume is a hidden liability.
During the audit, apply a consistent controlled vocabulary for sports, seasons, and collection identifiers — this ensures that when a fixity report lists a failed file by path, the path is interpretable by any staff member consulting the manifest. Pair this with persistent identifiers for each record in the collection so that the identifier referenced in the checksum manifest maps unambiguously to a specific athlete, season, or event in the archive.
Step 2: Generate the Baseline Checksum Manifest
The baseline manifest is the reference document against which all future fixity checks are compared. Generating it is a one-time setup action that must happen before the schedule begins — without a baseline, there is nothing to compare against.
The baseline generation process:
- Select all Tier 1 and Tier 2 files in the collection inventory.
- Open your chosen fixity tool (see Step 3 and the tool comparison table below).
- Point the tool at the root archive folder and instruct it to generate checksums for all files recursively.
- Save the resulting manifest file — a text document or database record listing every file path and its checksum — in a separate, protected location from the files themselves. The manifest must not be stored inside the folder it describes; a ransomware event that encrypts the archive will also encrypt a co-located baseline.
- Record the manifest generation date, the tool used, the algorithm selected (SHA-256 recommended for new manifests), and the staff member who ran the process.
- Store a copy of the manifest in at least two locations: one local (on a drive separate from the archive), one offsite or cloud-based.
For programs that have recently completed a digitization project converting physical team photographs into a digital archive, the best time to generate the baseline is at the moment digitization is complete — before those files are moved, renamed, or accessed again. A baseline generated at ingest time captures the files in their intended, verified state.
A well-structured baseline also supports a born-digital records policy by providing documentary evidence that files were checked and verified at a known point in time — a chain-of-custody record essential for any program tracking records documentation, award eligibility evidence, or scholarship-related archive materials.
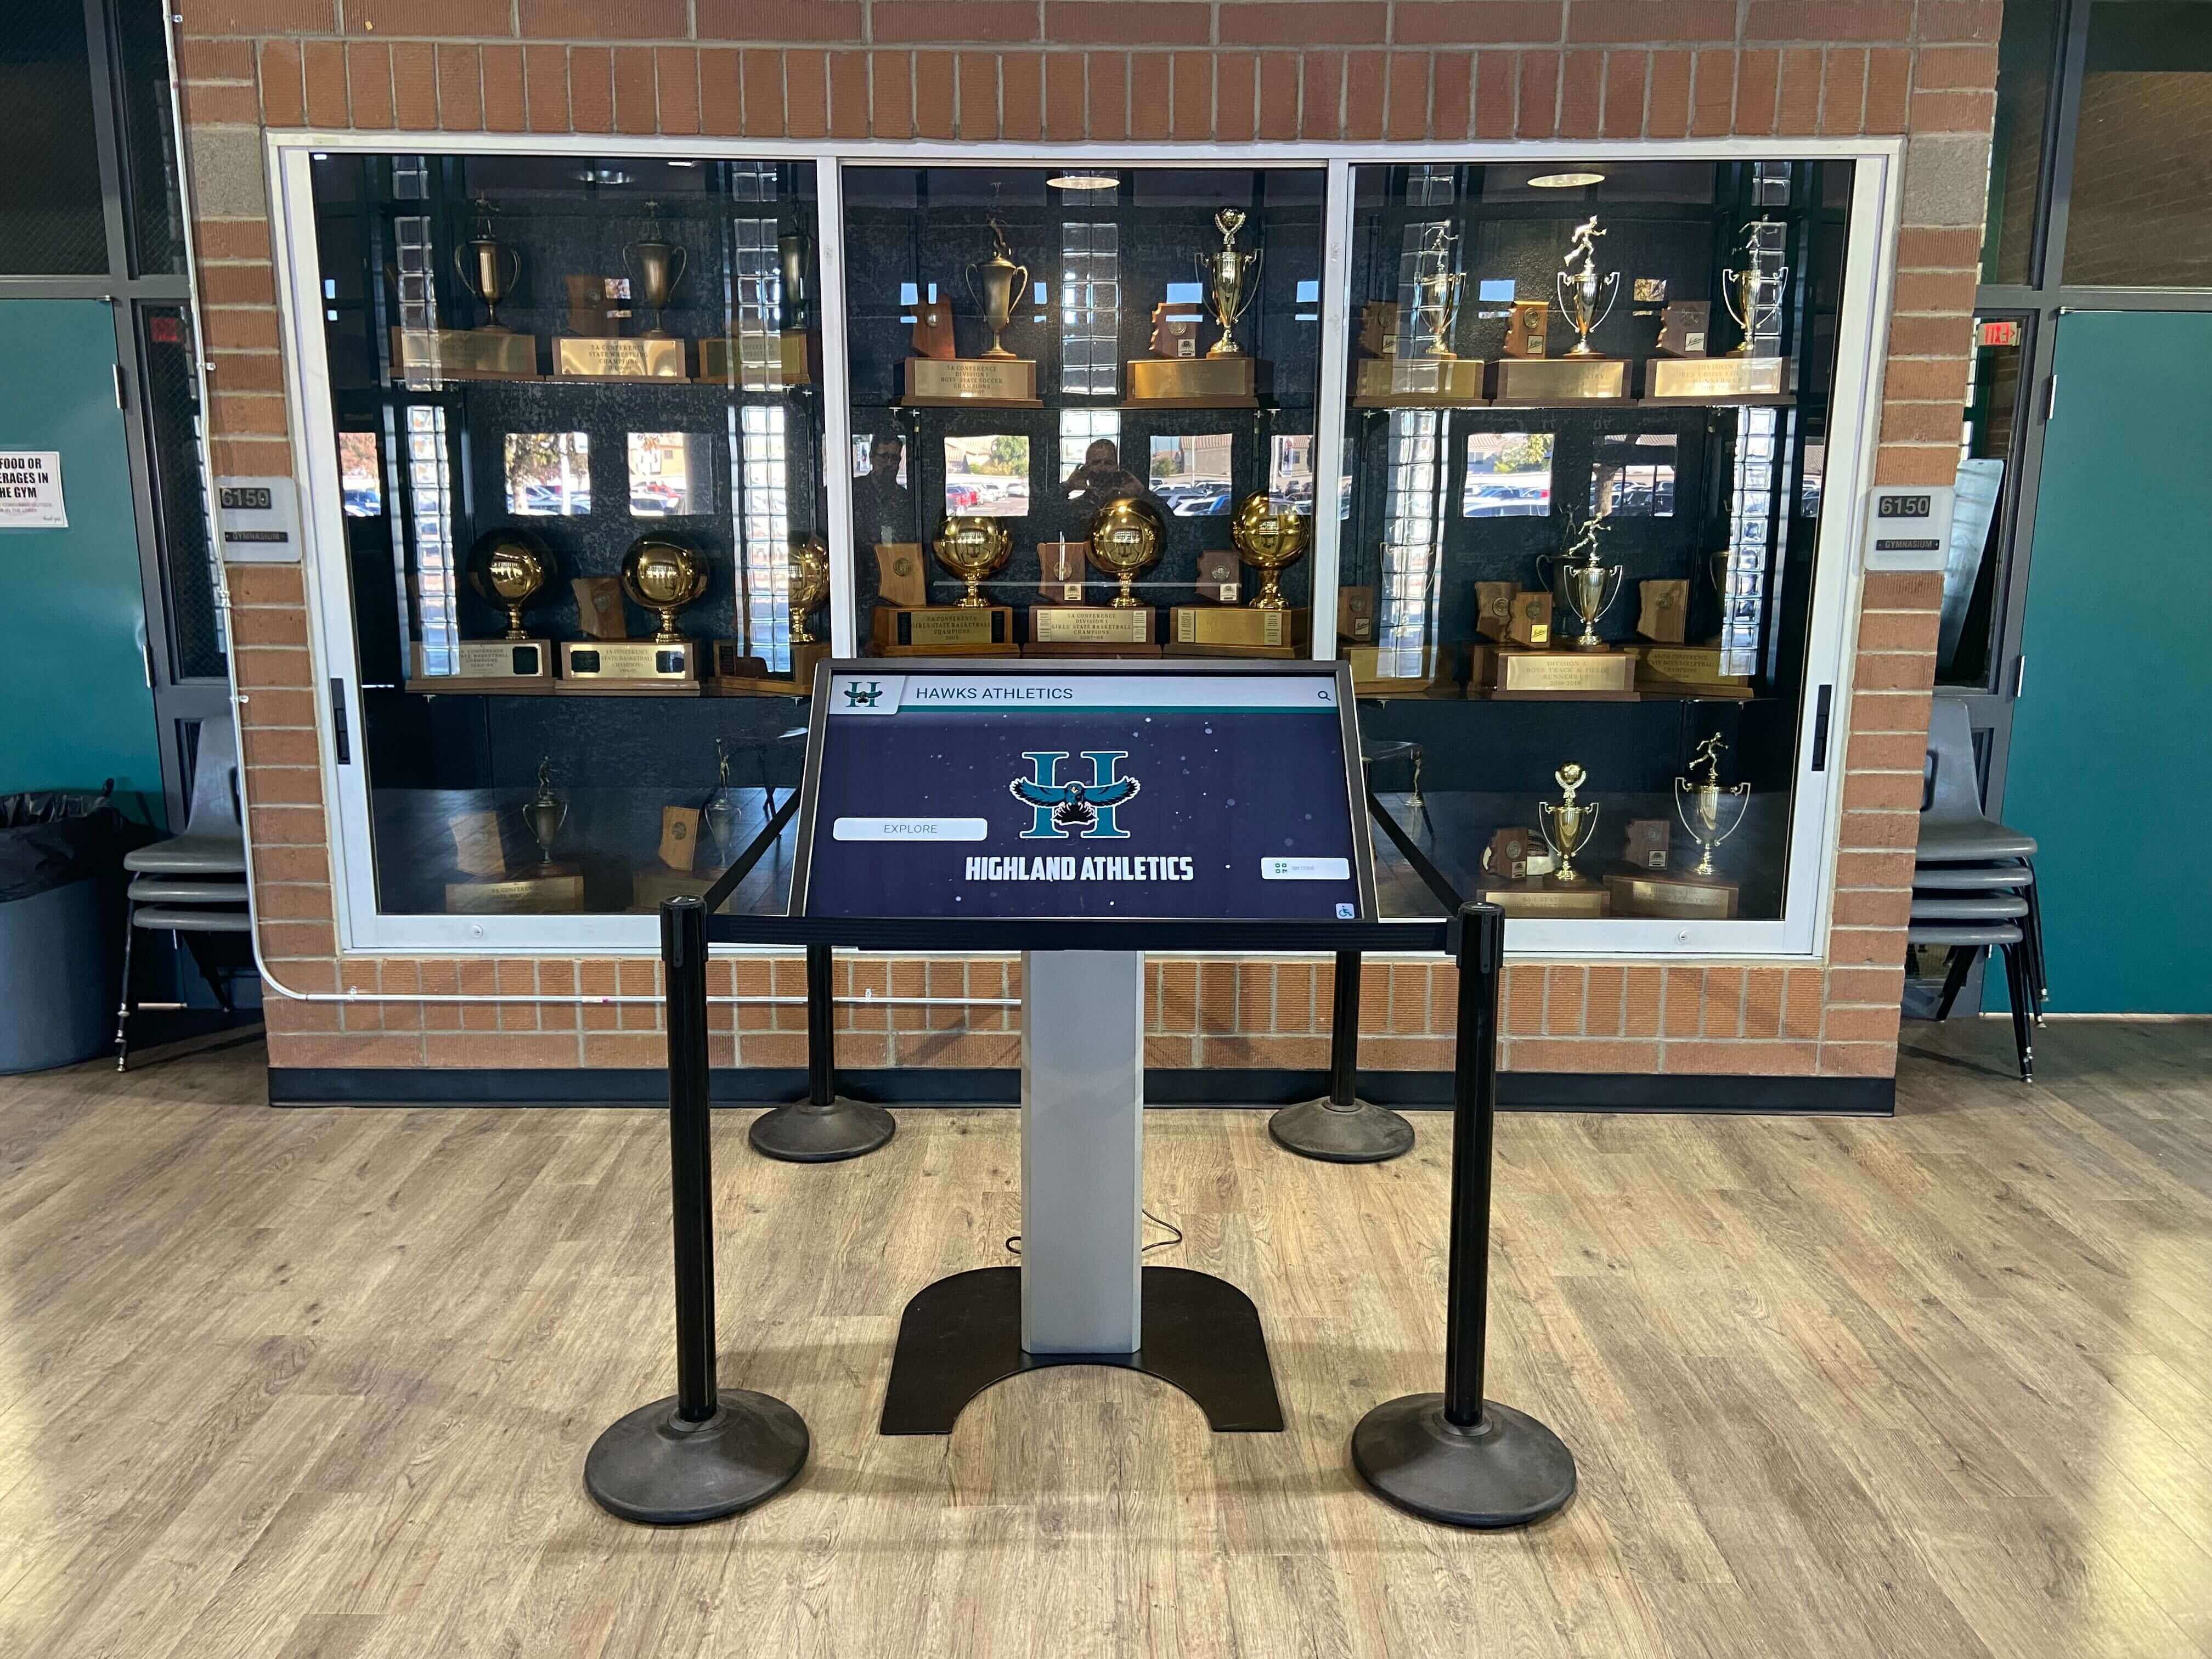
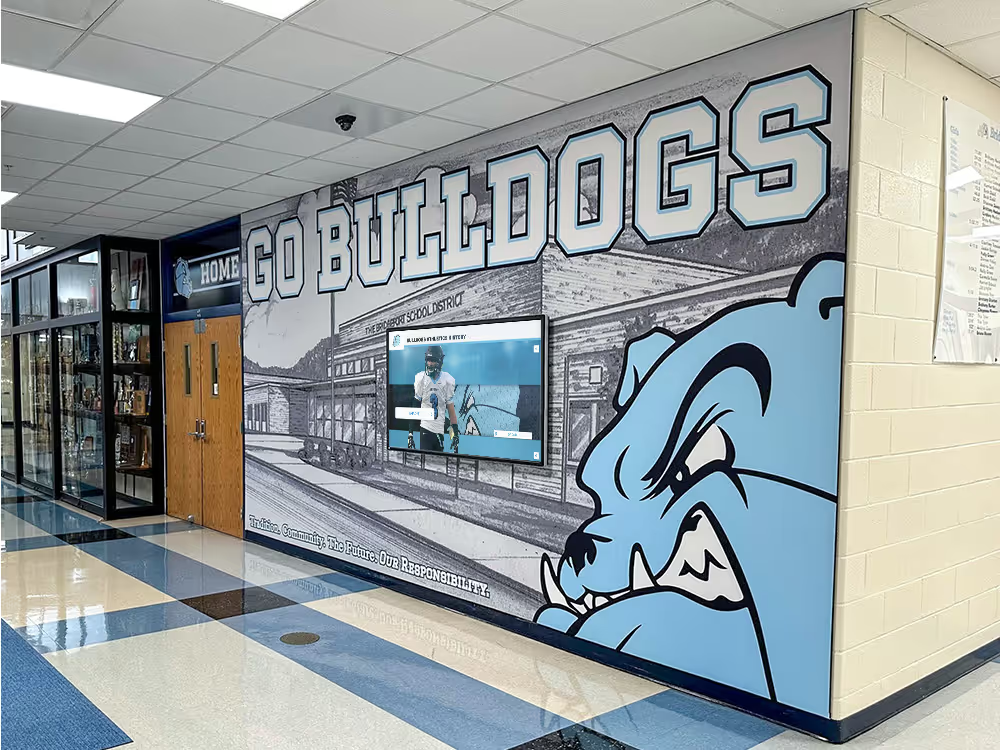
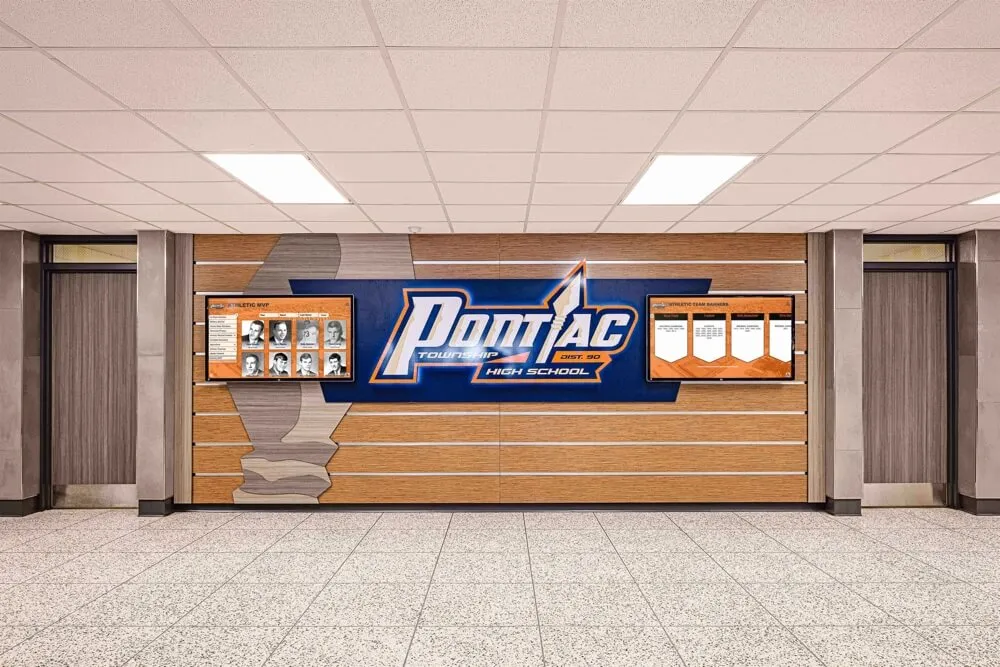
Touchscreen kiosks in school trophy cases draw content from archive files — without regular fixity verification, the records powering these displays may be silently corrupted without staff ever knowing
Step 3: Choose Your Fixity Verification Tool
The right tool depends on collection size, the technical background of the staff running checks, and whether automated scheduling is needed.
| Tool | Platform | Interface | Best For | Cost |
|---|---|---|---|---|
| Fixity (AVPreserve / Artefactual) | Windows, macOS, Linux | GUI | Non-technical archivists; visual mismatch reports; email alerts on failure | Free |
| Bagger (Library of Congress) | Windows, macOS, Linux | GUI | Creating BagIt-standard packages with embedded manifests; institutional archive standards | Free |
| hashdeep / md5deep | Windows, macOS, Linux | Command line | Technical users; batch processing; scriptable scheduling | Free |
| md5sum / shasum | macOS, Linux (built-in) | Command line | Quick spot-checks; server-based archives; scripting | Free (built-in) |
| TeraCopy | Windows | GUI | Verifying integrity during file copy and migration operations | Free / Pro |
| rclone | Windows, macOS, Linux | Command line | Verifying files synced to or stored in cloud storage | Free |
For most school athletic archive programs without dedicated IT staff, Fixity (from AVPreserve) is the recommended starting point: it provides a graphical interface, generates SHA-256 or MD5 manifests, runs verification against a saved baseline, highlights any mismatches in a clear report, and can be configured to send email alerts when a check fails. No command-line experience is required.
For programs with staff comfortable using command-line tools or that want to automate checks on a server-based NAS, hashdeep or the native shasum command provides more flexibility and can be incorporated into scheduled tasks or cron jobs.
Step 4: Set the Verification Frequency Calendar
The fixity check calendar translates the tier framework into scheduled dates. Add these to the department calendar as recurring events — not optional tasks — and assign a responsible role (not a named individual, since staff change).
| Interval | Applies To | Action |
|---|---|---|
| Monthly | All Tier 1 master files | Full manifest verification; document any mismatches; restore from backup if needed |
| Quarterly | All Tier 2 key access copies | Full manifest verification; update manifest if files were legitimately updated or added |
| Annually | All Tier 3 redundant copies; full collection review | Full collection verification; review and retire manifests for obsolete content |
| At every ingest | Newly added files | Generate checksums immediately; add to manifest before any other action |
| After any hardware event | All files on affected media | Immediate full verification; do not defer to the scheduled interval |
| After migration | All files on destination media | Verify destination checksums match source manifest before retiring source media |
The “at every ingest” rule is operationally the most important: checksums generated at the moment of ingest capture the file in its intended state, before any chance of post-ingest corruption. A checksum added retroactively — months after a file was archived — may have been generated against a file that has already been silently corrupted, and will not catch that initial damage.
Step 5: Run the First Full Verification
After the baseline manifest exists and the calendar is set, run the first full verification pass against Tier 1 files. This first check validates the baseline itself — confirming that manifest generation was successful and that the files it describes are currently intact.
Procedure for the first full verification:
- Open the fixity tool and load the saved manifest.
- Point the tool at the same root folder used during baseline generation.
- Run the verification. For a collection of tens of thousands of files, this may take hours — schedule it overnight or over a weekend if file count or drive speed makes a workday run impractical.
- Review the results report. Any mismatch at this stage — before any scheduled change could have occurred — indicates either a problem that existed at baseline generation time or a change that occurred between baseline generation and this first check. Investigate every mismatch before proceeding.
- Record the results in the archive log: date, files checked, mismatches found, and actions taken.
If the first verification is entirely clean, record it as the confirmed baseline verification and proceed with the recurring schedule.
Step 6: Investigate and Remediate Every Mismatch
A checksum mismatch means the file’s content has changed since the baseline was recorded. The task is to determine whether the change was authorized or indicates damage.
Authorized changes: A file may have been legitimately updated — a metadata edit, a format conversion, an access copy regeneration. If the change was intentional and authorized, update the manifest to record the new checksum as the new baseline for that file, document the reason, and continue.
Unintended changes: If the file was not intentionally modified, a checksum mismatch indicates corruption, partial overwrite, ransomware modification, or storage sector damage. The response:
- Do not overwrite the affected file. Isolate it by copying to a quarantine folder; do not delete the original location until investigation is complete.
- Check all backup copies of the same file using the same checksum comparison. If any backup copy matches the original baseline, restore from that copy.
- If all copies show mismatches and restoration is not possible from a verified backup, the file may be permanently lost. Document this in the archive loss log.
- Investigate the cause: run SMART diagnostics on the storage media involved; check for ransomware indicators across the broader collection; review access logs if available.
- Report the incident to IT and, where appropriate, school administration, in accordance with your district’s incident reporting procedures.
Prompt response to mismatches is essential. Conditions that caused one file to corrupt may affect neighboring files during a delay. Do not defer remediation after a mismatch is detected.

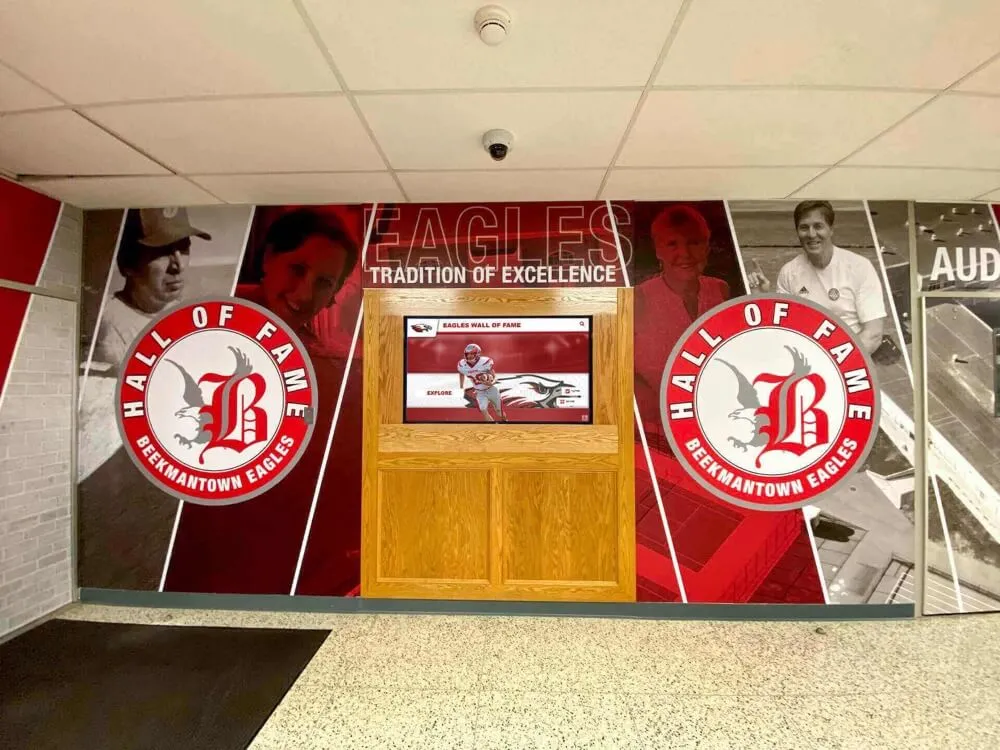
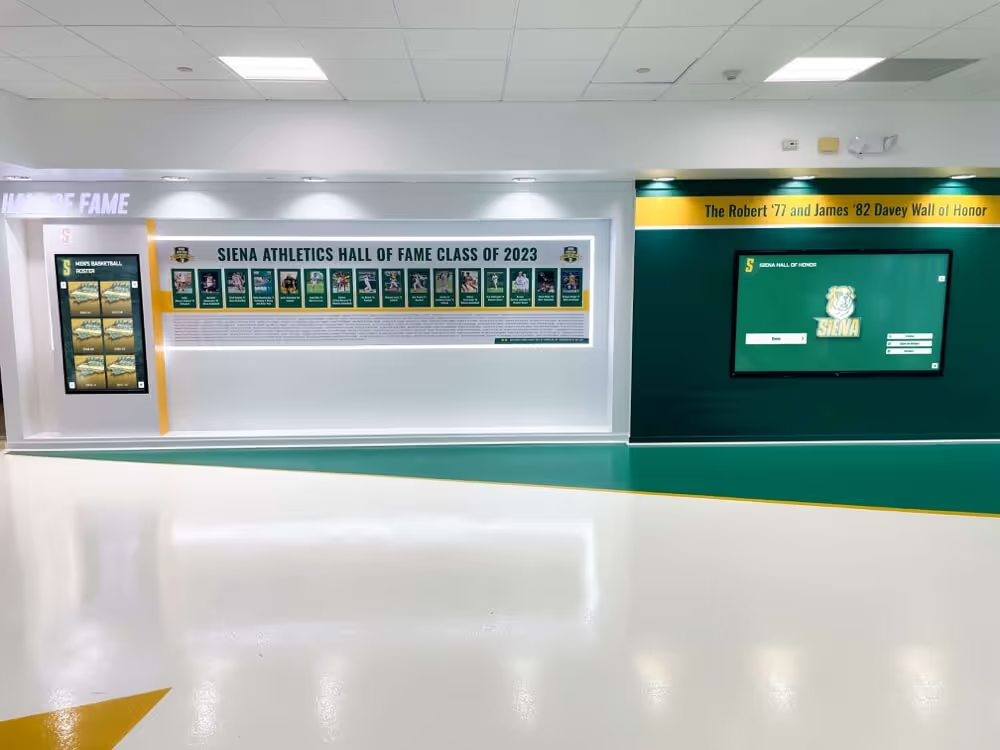
Every record surfaced through a touchscreen recognition display is only as reliable as the archive file behind it — fixity verification confirms those files remain authentic and intact
Step 7: Automate Recurring Checks Where Possible
Manual fixity checks depend on staff remembering to run them. Automation converts the schedule from a recurring task into a reliable system.
Windows Task Scheduler can run a batch script that calls hashdeep or md5sum on a schedule and saves the output to a log file. A staff member reviews the log monthly rather than manually running the tool.
NAS platforms (Synology DSM, QNAP QTS, TrueNAS) include built-in data scrubbing and integrity check functions that can be scheduled automatically. On TrueNAS, ZFS integrity checks run at user-defined intervals and report any corrupted blocks. These operate at the filesystem level and complement, but do not replace, file-level fixity checks using a named manifest.
Fixity (AVPreserve) includes a scheduling function that can run verification at defined intervals and send email reports — functional automation without command-line or scripting experience.
Cloud storage (Amazon S3, Backblaze B2, Google Cloud Storage) calculates and stores checksums for every object uploaded and verifies them on demand. Using rclone, a staff member can run rclone check against a cloud bucket to compare remote checksums against a local manifest, providing fixity verification for the cloud copy without downloading every file.
For programs managing audio transcription materials from broadcast recordings or oral history projects, audio master files and their associated transcription text files should be included in the fixity schedule as paired groups — a transcript that has been silently modified may no longer match the audio it describes, and both require integrity verification.
Step 8: Log Every Run in the Archive Record
The fixity schedule is only as defensible as the documentation it generates. Every fixity check run must be logged, whether the result was clean or not.
The log should record at minimum:
- Date and time of the check
- Collection scope (folder path or collection identifier)
- Number of files checked
- Tool and algorithm used
- Result: clean (all files matched baseline), warning (mismatches found), or error (tool failure or incomplete run)
- Any mismatches: file paths, mismatch type, action taken
- Staff member who ran or reviewed the check
- Date of next scheduled check
Keep the log in a protected location separate from the archive being checked. A log stored inside the archive collection will be encrypted or destroyed alongside the archive if a ransomware event occurs. Store at least one copy of the log in a system archive staff can access independently — cloud document storage, a separate NAS, or a standalone workstation.
The fixity log serves as the institution’s chain-of-custody record for the archive: evidence that the collection was actively maintained, regularly verified, and protected against silent corruption. For programs that will eventually transfer archive materials to a successor institution or transition to a new recognition platform, a clean fixity log is among the most valuable documentation the incoming stewards can receive.
Suggested Annual Fixity Check Calendar
The following calendar applies the tier framework and frequency schedule to a standard academic year. Adjust to fit your specific staffing cycle and collection characteristics.
| Month | Action |
|---|---|
| August (start of year) | Generate updated baseline manifest for any new content added over summer; verify all Tier 1 masters; confirm manifest storage locations are current |
| September | Monthly Tier 1 fixity check |
| October | Monthly Tier 1 fixity check; Tier 2 quarterly check; review log from summer for any outstanding issues |
| November | Monthly Tier 1 fixity check |
| December (semester end) | Monthly Tier 1 fixity check; ingest current-season materials; generate checksums immediately at ingest; update manifest |
| January | Monthly Tier 1 fixity check; Tier 2 quarterly check |
| February | Monthly Tier 1 fixity check |
| March | Monthly Tier 1 fixity check; Tier 2 quarterly check |
| April | Monthly Tier 1 fixity check |
| May (end of year) | Monthly Tier 1 fixity check; Tier 2 quarterly check; annual Tier 3 check; full collection review; verify manifest is current and stored in at least two locations; review and update automation settings |
| June / July | Annual review of tool versions and updates; confirm cloud storage checksums via rclone or equivalent; archive log review |
| Anytime | Post-hardware event check; post-migration verification; new ingest checksum generation |
This calendar places the highest verification load at the start and end of the academic year, when archive activity — new content ingestion, end-of-year recognition events, and summer maintenance — is typically highest. Programs with continuous archive activity should treat this calendar as a minimum and increase Tier 1 check frequency if the volume of new ingests warrants it.
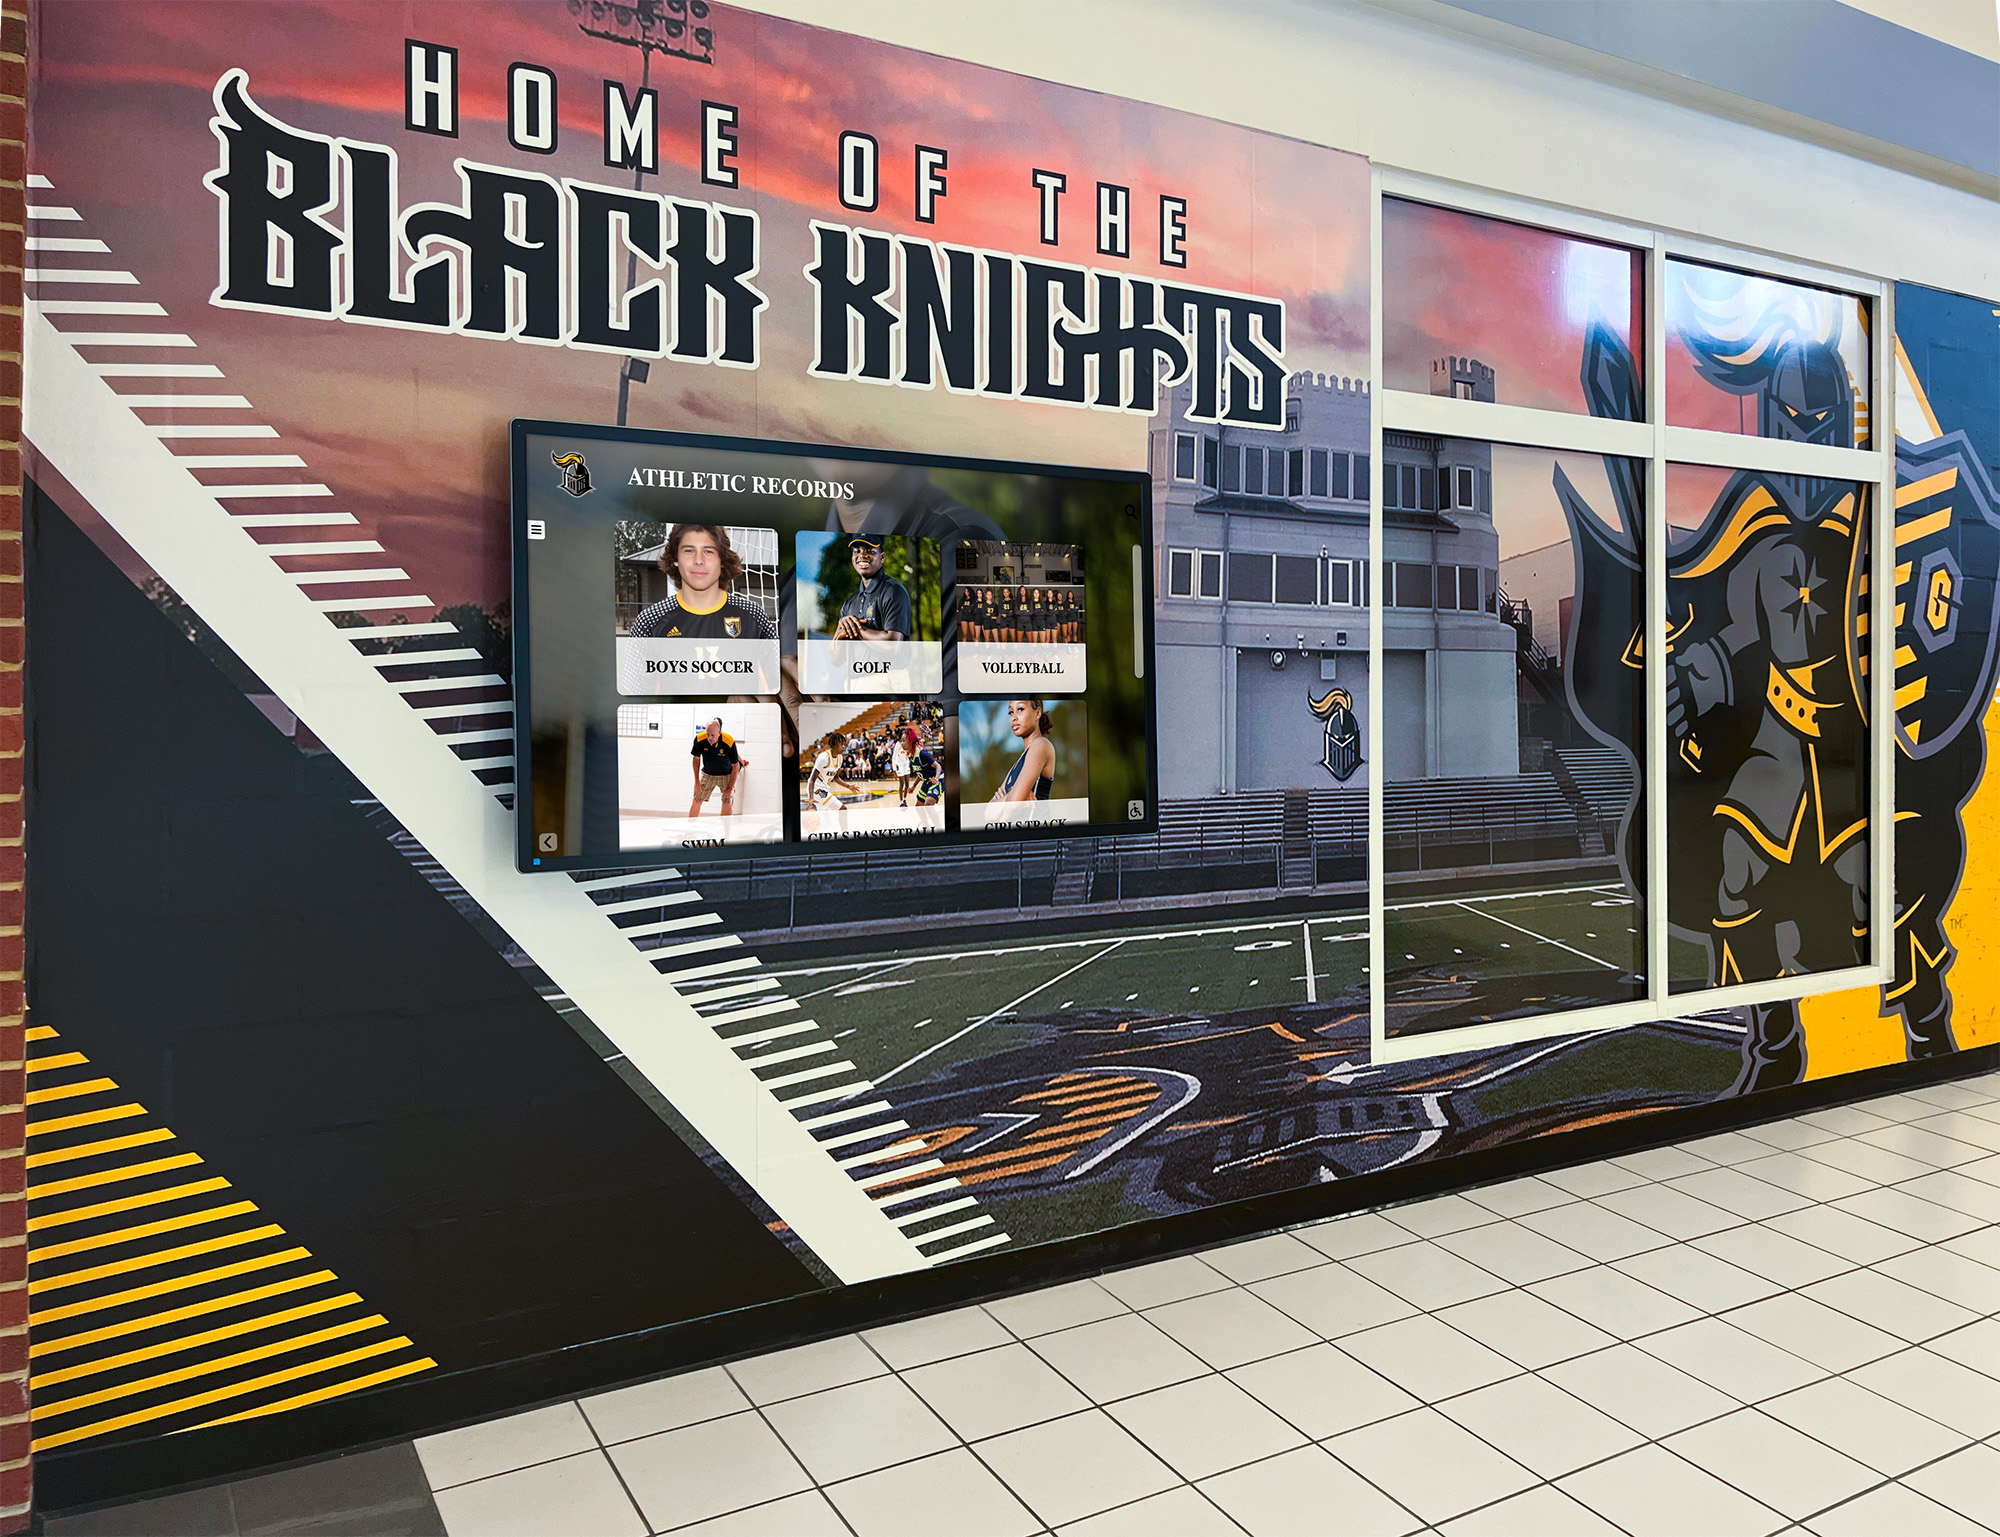
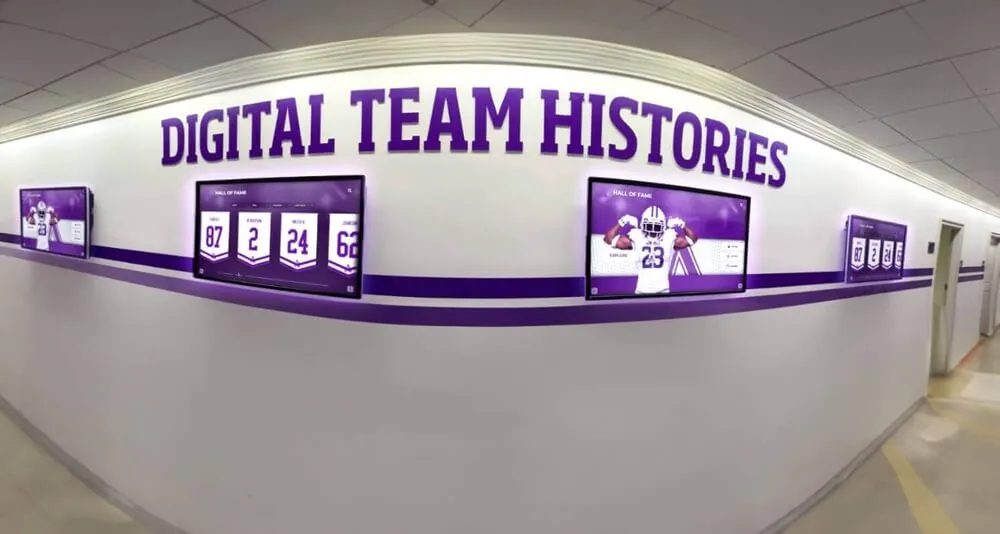
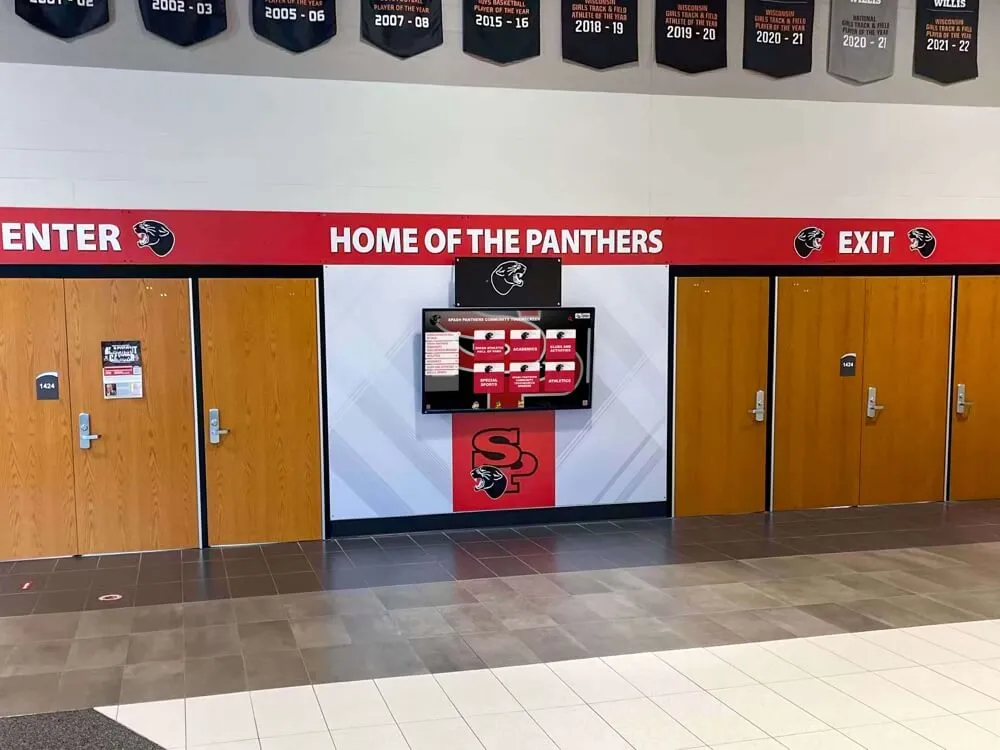
Digital record displays in school hallways are public-facing representations of institutional history — a fixity check schedule is the operational guarantee that the files behind those displays remain authentic and uncorrupted
Connecting Fixity to Recognition Programs and Award Records
A fixity check schedule is operational infrastructure, but its most visible payoff is in the programs and displays that depend on archive content being accurate, readable, and authentic.
Hall-of-Fame Displays and Touchscreen Recognition Systems
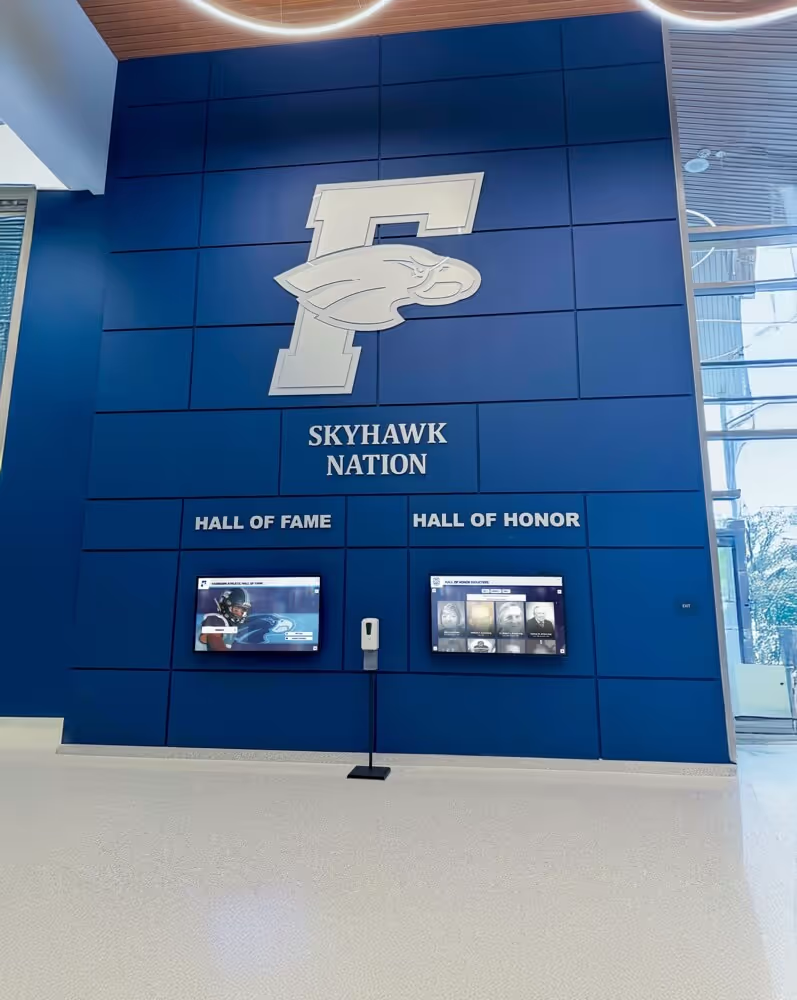
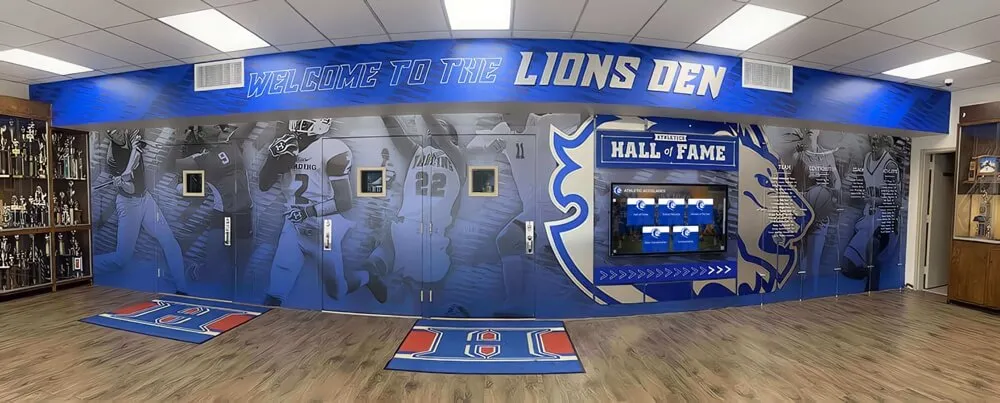
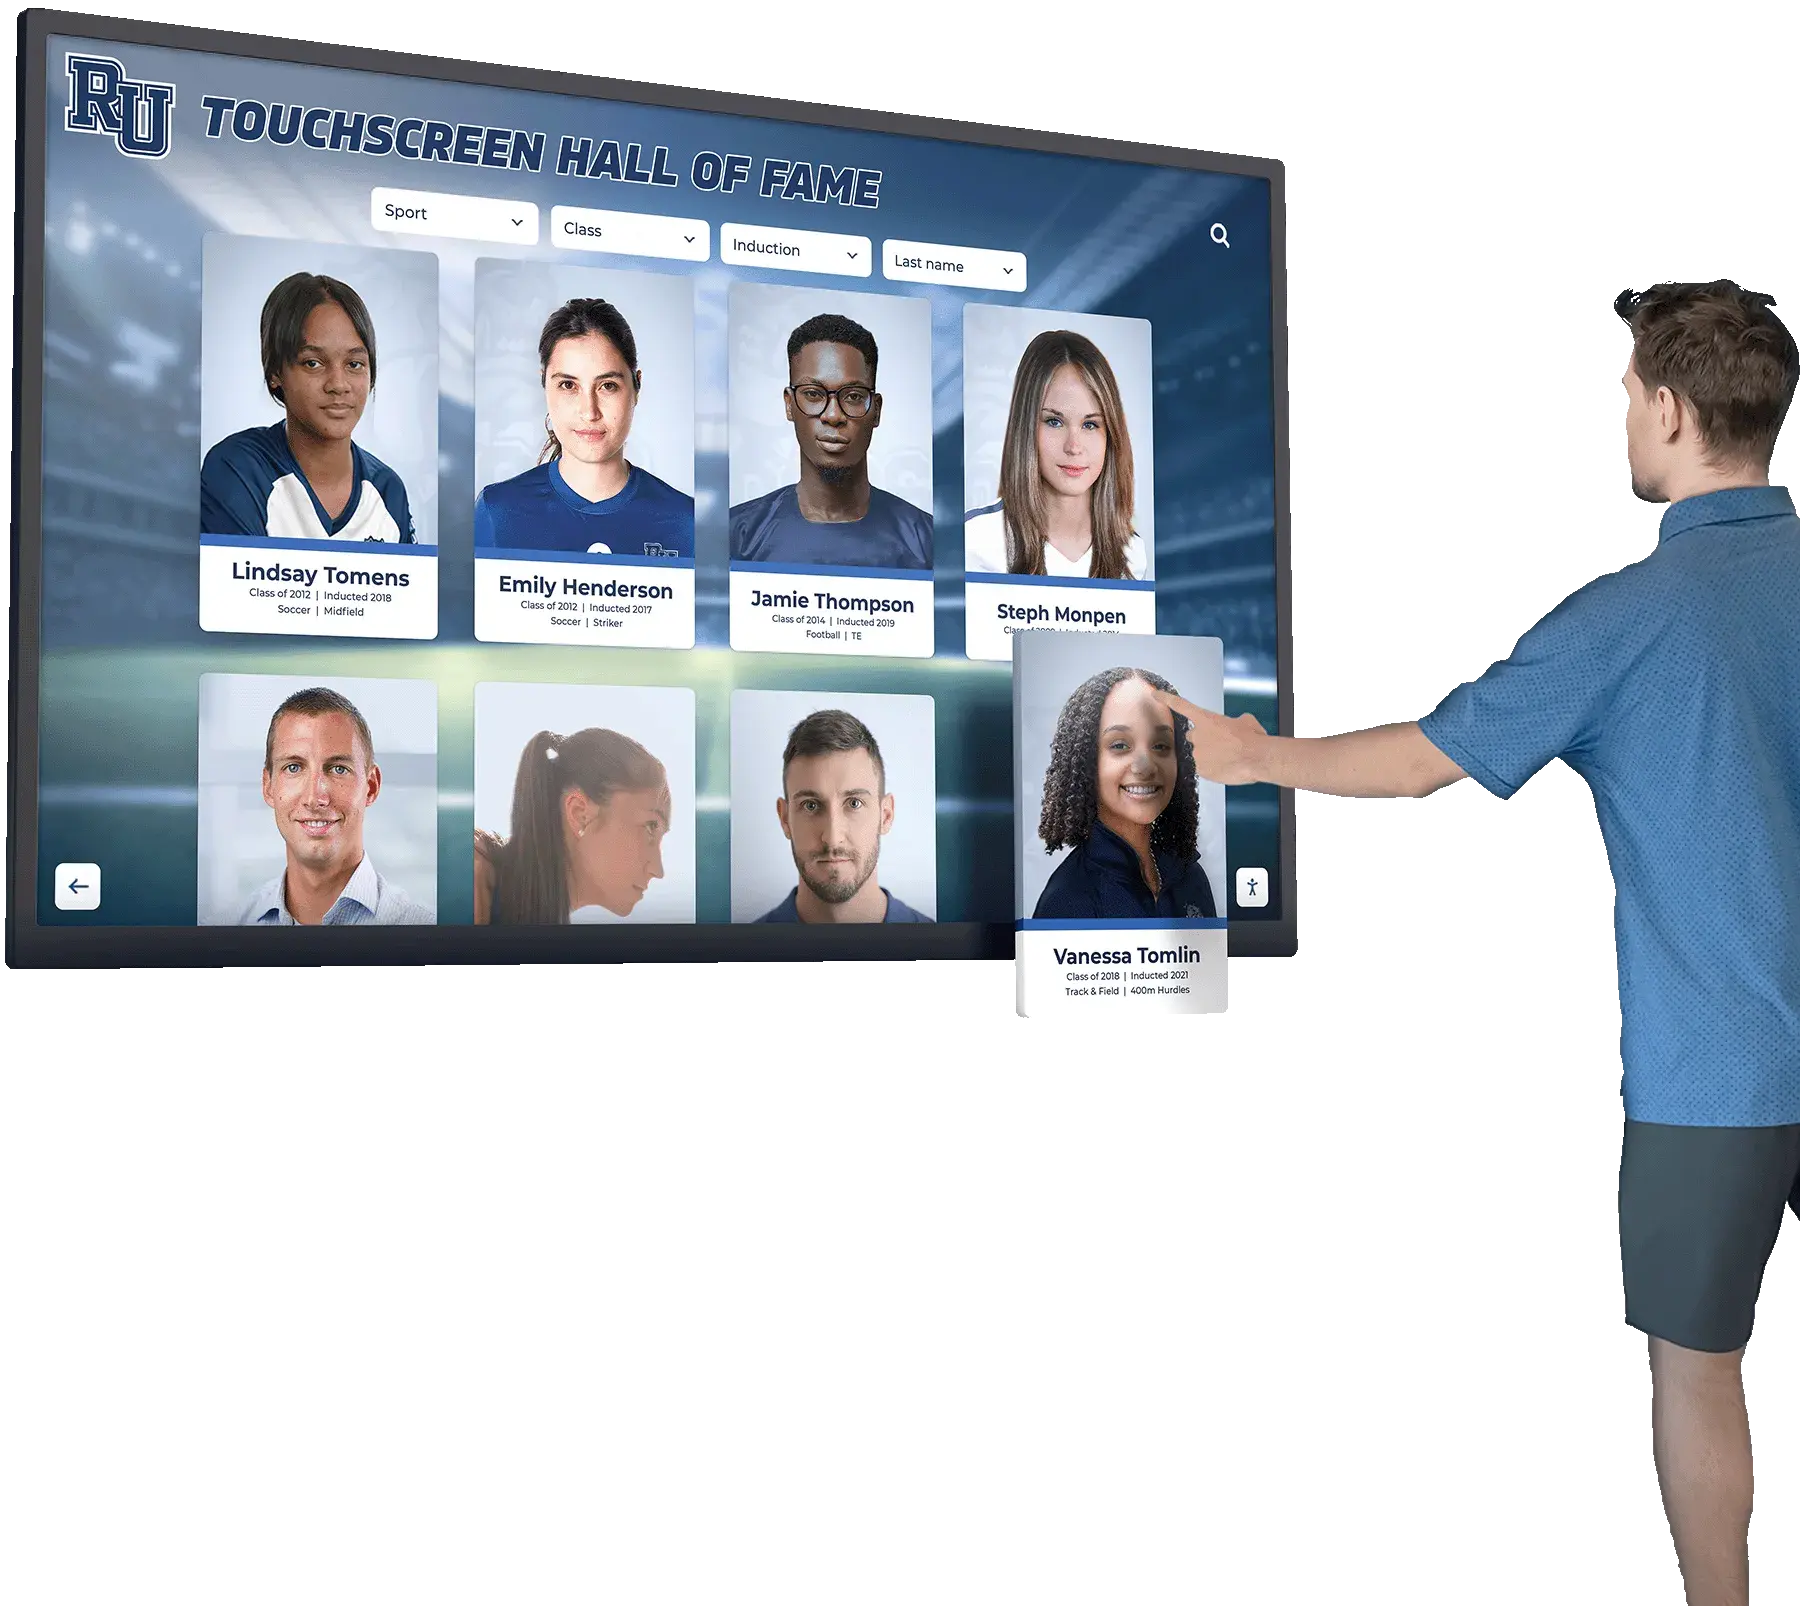
Recognition platforms that display athletic history — touchscreen hall-of-fame systems, digital record boards, kiosk installations in lobbies and trophy cases — draw content from archive files. If a portrait has been silently corrupted and the corruption is not detected by a fixity check, the display platform may show a broken image, a rendering artifact, or an outdated version recovered from a lower-quality cache. If an award record file has been altered and the change is not caught, the displayed achievement may be incorrect.
Programs that manage digital recognition displays in school lobbies and athletic facilities should treat fixity verification as a prerequisite for each content update cycle: verify archive integrity before publishing updated content to a display, not after a visitor notices something wrong.
Records, Statistics, and Award Documentation
For programs tracking school records — including track and field events and multi-sport record progressions — the evidence files supporting a record’s authenticity must be in the archive in their verified, unaltered state. A fixity check on those files confirms the documentation has not been modified since ingest, which supports the integrity of the record itself.
For programs that maintain posthumous recognition records or multi-decade award documentation, fixity checks on supporting documentation files provide a documented integrity trail — evidence that the award record was present and unmodified at each point the check ran. This is particularly valuable when a nomination is reviewed, an award is contested, or a record is evaluated by a successor institution or accrediting body.
Donor and Sponsor Recognition Assets
Schools that maintain digital archives of donor plaques, naming rights records, gift acknowledgment certificates, and sponsor photographs owe those donors an implicit assurance that their contributions remain accurately represented. A fixity schedule that catches unauthorized modifications or corruption in donor files before they affect a recognition display or commemorative event is part of the stewardship obligation those archives represent.
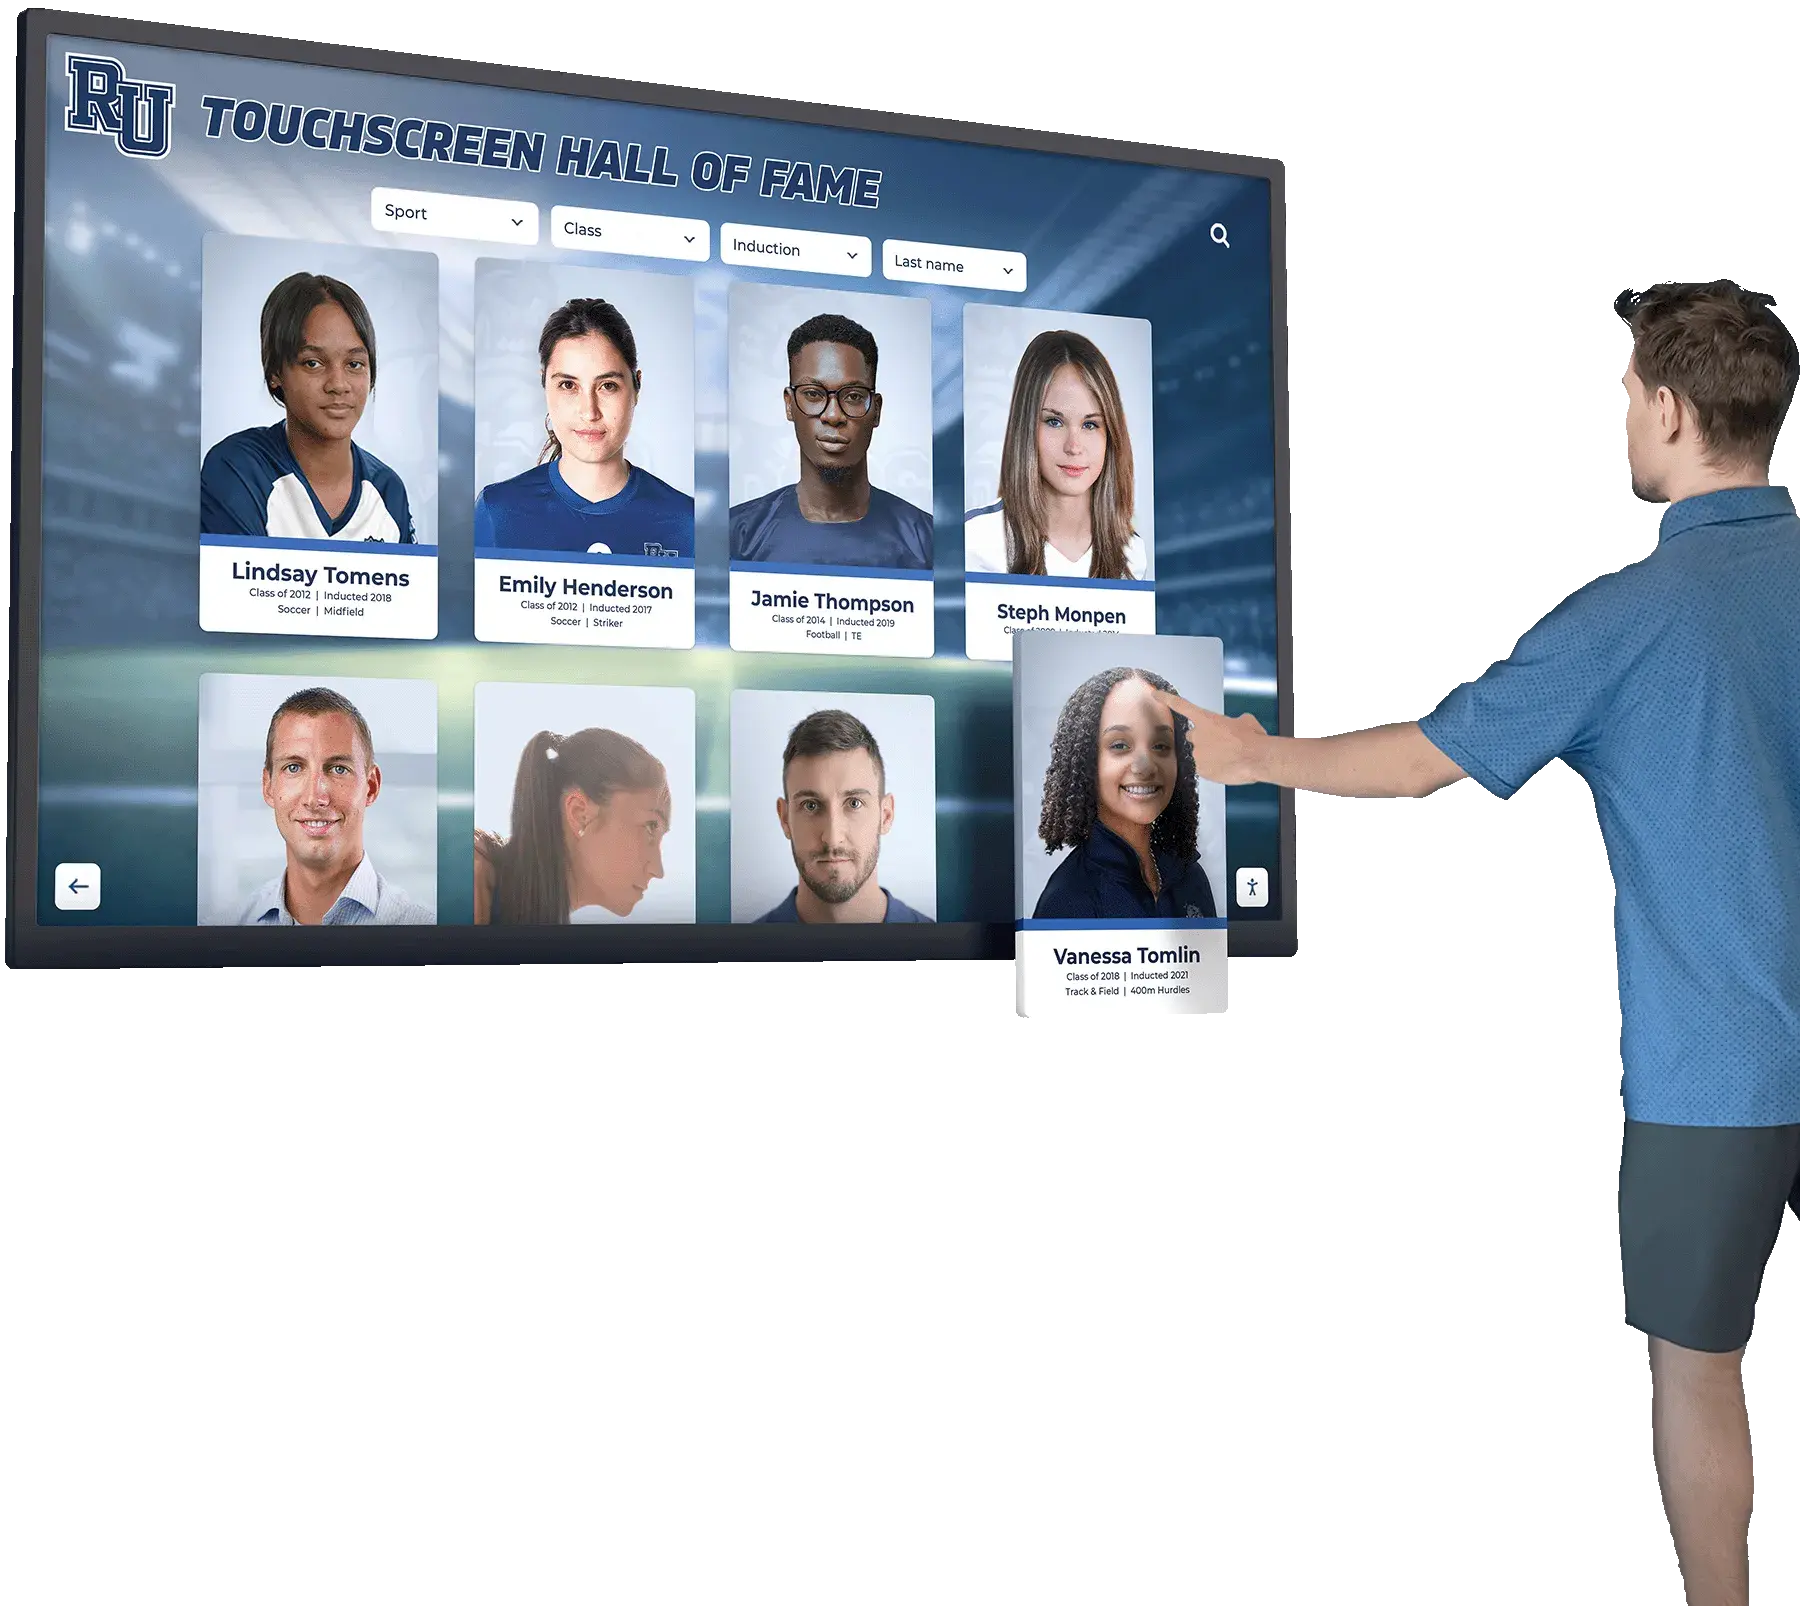
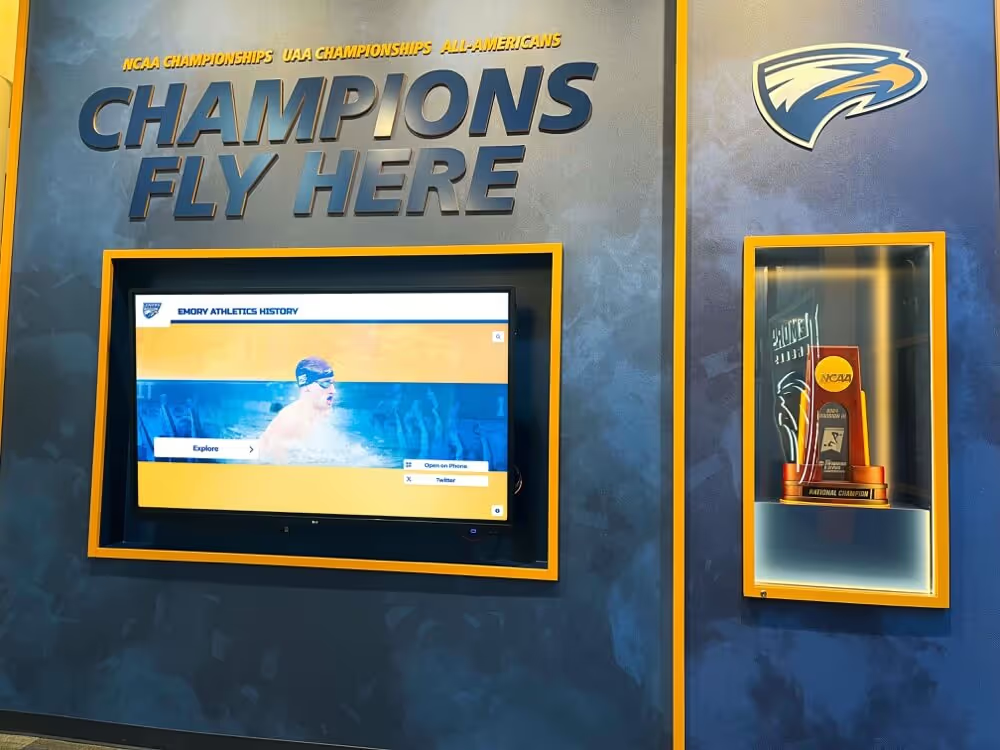
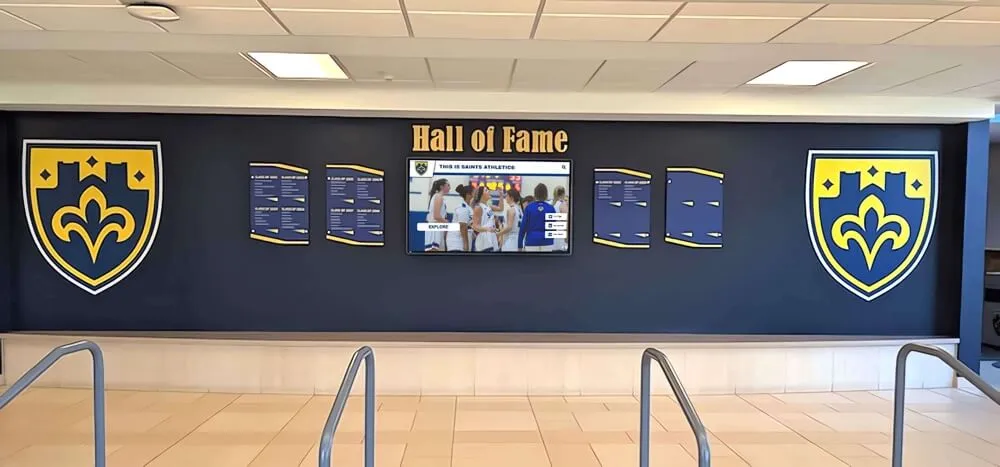
The school's athletic history is visible and accessible through touchscreen recognition displays only because the archive files behind them are regularly verified — fixity checks are what make that confidence possible
FAQ
What is a fixity check and how does it differ from an antivirus scan? A fixity check verifies that a file’s content is bit-for-bit identical to a stored baseline checksum — it confirms the file has not changed, for any reason. An antivirus scan looks for known malware signatures or behavioral patterns. A fixity check will detect that a file was modified by ransomware (because the checksum no longer matches the baseline), but it does not identify the type of threat or remediate it. Both tools serve different functions and are complementary in an archive maintenance program.
How long does a fixity check take on a large athletic archive collection? Speed depends on file count, total data volume, storage media type, and the algorithm chosen. MD5 runs faster than SHA-256 on the same hardware. A collection of 50,000 photograph files at 20 MB each (approximately 1 TB total) will typically take two to four hours on a spinning external drive and thirty to sixty minutes on a modern SSD or NAS with fast drives. Schedule full checks overnight or on weekends for large collections and review the results log the following morning.
What should we do immediately after a mismatch is detected? Stop any ongoing write operations to the affected drive. Do not delete or overwrite the affected files. Copy the affected files to a quarantine folder on a separate drive. Locate the most recent verified backup copy of each affected file — the copy whose checksum matches the original baseline manifest — and restore from that copy. Document the mismatch, the backup version used, and the restoration date in the archive log. Then investigate the cause: run SMART diagnostics on the storage media involved and check for ransomware indicators across the broader collection.
Can we use cloud storage checksums in place of a local fixity tool? Cloud object storage (Amazon S3, Google Cloud Storage, Backblaze B2) calculates and stores checksums for every file uploaded and can verify them on demand. However, cloud checksums verify the cloud copy’s integrity, not local copy integrity. A fixity schedule that checks only the cloud copy will not detect corruption in local masters. Cloud and local fixity verification serve different purposes and should both be included in the schedule, not treated as alternatives to each other.
Do we need to run fixity checks on video files given their large size? Yes. Video files holding game footage, documentary recordings, or digitized historical content are among the highest-priority items in an athletic archive — they are often irreplaceable, and corruption in a video file may render the entire recording unplayable. For extremely large video collections, schedule Tier 1 master video checks monthly during overnight windows. Access copies derived from video masters are Tier 2 and can be checked quarterly; they can be regenerated from the master if lost, so the priority is on maintaining master file integrity.
How do we generate checksums for files that were archived before we started this process? Generate checksums for existing files as if they were new ingests: run the fixity tool against the full collection and save the resulting manifest as your baseline. You will not be able to compare against a prior baseline — that baseline does not exist — but you establish one going forward. Before generating a retrospective baseline, perform a content check on high-value files: confirm they actually open correctly, display the expected content, and are in expected condition. Then generate the checksum from that verified state, so the baseline reflects files that have been confirmed as intact.
How do fixity checks connect to a hall-of-fame nomination or inductee review process? When a hall-of-fame committee reviews a candidate’s record, the documentation supporting that record — performance statistics, award certificates, news coverage, photographic evidence — should be in the archive in its verified, unaltered state. Adding a fixity verification step for the candidate’s file set as part of the intake checklist provides documented confidence that the record being reviewed is authentic. This is especially relevant for programs that accept nominations from alumni, community members, or retired coaches who submit documentation from outside the institution.
What happens to fixity checks during a migration to a new display platform or archive system? Migration is one of the highest-risk moments in an archive’s lifecycle. The fixity schedule should include a full verification immediately before migration (confirming source integrity) and a second full verification immediately after migration on the destination system (confirming every file arrived intact and unchanged). Document both checks in the archive log. Do not retire source media until post-migration fixity verification is complete and every file is confirmed as matching the pre-migration baseline.
Turn a Verified Archive Into a Living Recognition Display
When every file in your athletic archive has been checked, verified, and confirmed against a baseline manifest, your school's history is ready to power an interactive touchscreen experience that students, alumni, and visitors can explore every day. Rocket Alumni Solutions helps schools transform well-maintained, integrity-verified archives into searchable recognition displays built to last for decades.
Request a DemoLive Example: Rocket Alumni Solutions Touchscreen Display
Interact with a live example (16:9 scaled 1920x1080 display). All content is automatically responsive to all screen sizes and orientations.