



An athletic archive magnetic tape storage inspection checklist is a structured, item-by-item assessment tool that athletic directors, facilities staff, archive coordinators, and IT teams use to evaluate the physical condition of legacy magnetic tape media — VHS game tapes, cassette recordings of coach interviews, reel-to-reel ceremony audio, and camcorder formats such as MiniDV, Hi8, and Video8 — before those items are digitized, placed in long-term storage, or used in active recognition programming. The direct answer: magnetic tape inspection is the step between “we have a box of old tapes” and “we know which tapes are stable, which need immediate digitization, and which have degraded to the point where professional remediation is required before playback.” Without an inspection phase, athletic departments that send a box of VHS game tapes to a digitization service risk discovering — after paying for the project — that half the tapes carry corrupted signals, vinegar syndrome, or active oxide shedding that makes recovery expensive or impossible. A systematic inspection checklist, completed before digitization, produces a prioritized triage list that allows the school to direct preservation resources toward the tapes most likely to yield usable content and most at risk of imminent failure. This guide provides a complete inspection checklist organized across six phases: environmental conditions, physical media inspection, housing and container integrity, labeling and documentation, playback assessment, and pre-digitization triage. It is written for school administrators, athletic directors, IT and facilities teams, archive staff, and recognition-program owners working with tape collections of any size.
Nothing in this guide constitutes professional conservation, legal, or data governance advice. Media handling decisions should be reviewed by qualified preservation staff or a professional digitization vendor before implementation.
Athletic archives at schools often share the same origin story: a box. The coach’s office closet holds three VHS tapes of the 1994 state championship game. The booster president’s garage has two cassettes of the locker room speeches from the year the program won its first title. The media room has a bin of reel-to-reel recordings from the early years of broadcast journalism covering home games. These materials exist. They have survived. But their condition — and the urgency with which they need to be preserved — is unknown.
Magnetic tape inspection moves a collection from “these tapes exist” to “we know their condition and what happens next.” It does not require professional equipment for the initial assessment phases. It requires systematic observation, documentation, and a clear framework for triage decisions. The athletic archive magnetic tape storage inspection checklist in this guide is designed to be completed by non-specialist staff — facilities coordinators, IT support, archive volunteers, or athletic department administrators — with the important note that any tape showing active degradation symptoms (vinegar odor, oxide shedding, visible mold) should be referred to a professional conservator before playback is attempted.

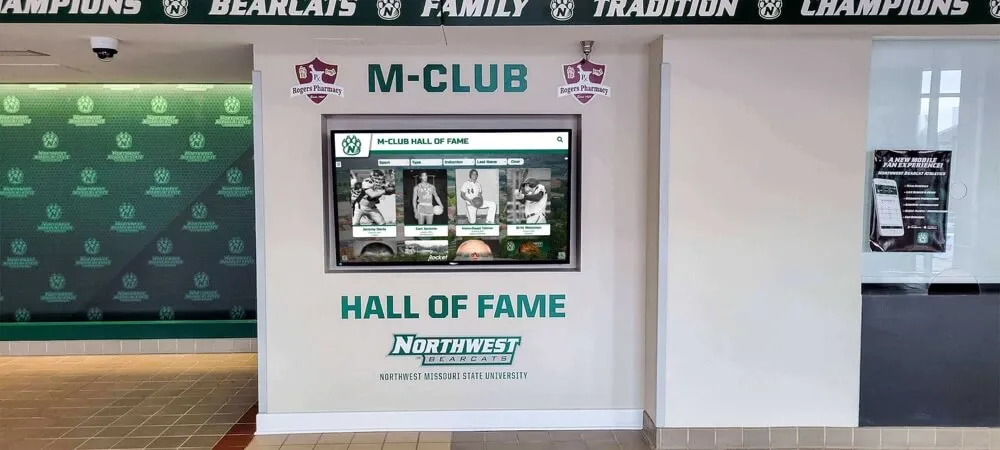
Recognition experiences that draw on decades of athletic history depend on magnetic tape collections that have been inspected, triaged, and digitized before their signal degrades beyond recovery — the inspection checklist is where that process begins
Why Magnetic Tape Inspection Is a Prerequisite, Not an Option
The assumption underlying most school magnetic tape collections is that the tapes are stable because they are intact. The cassette shell is in one piece. The reel is still wound. No one has reported a problem. Therefore the tape is fine.
Magnetic tape does not fail visibly until it is too late. A VHS tape in deteriorating condition looks identical to a VHS tape in perfect condition. The oxide layer is shedding invisibly. The binder is hydrating. The signal is compressing toward dropout thresholds that no external inspection can detect. The first indication of a problem is often the playback — and by that point, each play of the tape accelerates its deterioration.
Three reasons to inspect before digitizing:
- Triage prevents wasted resources. A school with fifty VHS tapes and a digitization budget that covers twenty tapes needs to identify which twenty are in the worst condition and highest historical importance — not which twenty are easiest to box up and ship. Inspection produces that ranking.
- Some tapes require remediation before playback. Tapes showing sticky shed syndrome, vinegar syndrome, or active mold contamination should not be played without treatment first. Sending an untreated tape to a digitization service, or running it through a school VCR, can damage both the tape and the equipment. Inspection catches these tapes before they cause additional harm.
- Documentation creates the archival record. The inspection findings — condition grade, storage conditions, labeling, format identification — become the first layer of metadata for every digitized file. A tape that enters digitization without inspection data arrives without provenance.
For schools developing a broader framework for managing historical records across media types, the digital archives guide for schools, colleges, and universities provides context for how magnetic tape inspection fits within a comprehensive institutional preservation strategy.
Understanding the Tape Formats in Athletic Archives
Before beginning an inspection, identify the formats present in the collection. Different magnetic tape formats have different failure modes, different lifespan expectations, and different equipment requirements for playback.
Common magnetic tape formats in school athletic archives:
| Format | Typical Use in Athletic Archives | Approximate Lifespan | Primary Failure Mode |
|---|---|---|---|
| VHS | Game recordings, ceremonies, awards programs, broadcast captures | 10–25 years | Oxide shedding, mold, tape warp, binder hydrolysis |
| Betamax | Game recordings from early video programs | 10–25 years | Similar to VHS; player availability now severely limited |
| S-VHS | Higher-quality game and event recordings | 10–25 years | Oxide shedding; signal degradation without visual symptoms |
| 3/4-inch U-matic | Broadcast-quality recordings; school TV productions | 15–30 years | Binder hydrolysis, oxide shedding; player availability very limited |
| Audio cassette (Type I/II/IV) | Coach interviews, oral histories, radio broadcasts, audio commentary | 10–30 years | Binder hydrolysis (sticky shed), print-through, housing wear |
| Reel-to-reel audio | Early broadcasts, ceremony recordings, oral histories | 15–50 years | Vinegar syndrome (acetate), binder hydrolysis (polyester) |
| MiniDV | Camcorder recordings from the 1990s–2000s | 15–25 years | Binder degradation, dropout, playback head wear |
| Hi8 / Video8 | Camcorder recordings; student journalism, athlete profiles | 10–20 years | Binder hydrolysis, oxide shedding |
Format identification is the first step of every inspection. A tape labeled “VHS” that is actually S-VHS, or a cassette assumed to be Type I that is actually a metal formulation (Type IV), will be misrouted in the triage process if the format is not confirmed at the outset.
Phase 1 Checklist: Environmental Storage Conditions
The storage environment is assessed before the individual tapes are inspected. An archive held in a suitable environment is more likely to contain stable tapes. An archive stored in a problematic environment — a boiler room, a damp basement, a sun-exposed storage closet — should be approached with higher caution, and inspection findings weighted accordingly.
Environmental inspection checklist:
- Measure ambient temperature. Recommended range for magnetic tape storage: 60–65°F (15–18°C) or cooler for long-term preservation; room temperature up to 77°F (25°C) is acceptable for short-term active access.
- Assess temperature stability. Wide temperature swings (more than 10°F of daily variation) are more damaging than a consistently moderate temperature; check for proximity to HVAC vents, exterior walls, or heat sources.
- Measure relative humidity. Target range for tape storage: 30–50% RH. Above 60% RH encourages mold growth and binder hydrolysis. Below 20% RH causes brittleness in acetate-based tapes.
- Assess humidity stability. Seasonal cycling between dry winters and humid summers is a common cause of tape degradation in uncontrolled storage environments.
- Check for light exposure. Ultraviolet light accelerates degradation. Magnetic tape should be stored away from direct sunlight and unfiltered fluorescent lighting.
- Check for chemical proximity. Proximity to cleaning supplies, paints, or organic materials (cardboard boxes, wood shelving) can introduce off-gassing that affects tape binder chemistry over time.
- Check for pest evidence. Rodents, insects, and mold can destroy tape collections quickly. Look for droppings, gnaw marks on cases, and visible mold growth on any surface in the storage area.
- Verify vertical storage orientation. Tapes — particularly reel-to-reel reels — should be stored on edge (vertically) like books on a shelf. Flat storage deforms the tape pack over time and causes edge damage.
- Document any refrigeration or dehumidification in use. Cold, dry storage (below 50°F, 30–40% RH) significantly extends tape lifespan; document whether this has been in place and when it was implemented.
Environmental storage condition summary:
| Condition | Acceptable | Marginal | Problematic |
|---|---|---|---|
| Temperature | 60–65°F | 65–75°F | Above 80°F or fluctuating more than 15°F per day |
| Relative humidity | 30–50% RH | 50–60% RH | Above 60% or below 20% RH |
| Light exposure | None / UV-filtered | Indirect artificial | Direct sunlight or unfiltered fluorescent |
| Storage orientation | Vertical (on edge) | Mixed | Horizontal (flat) |
| Chemical proximity | None | Adjacent to paper materials | Adjacent to paints, solvents, or organic waste |
If the storage environment falls in the “Problematic” range on any condition, address the environment before returning tapes to long-term storage — even after digitization, physical originals should be held in conditions that do not accelerate their deterioration.
Environmental conditions in tape storage rooms directly determine which recordings survive to appear in recognition displays — inspection begins with the room, not the tape
Phase 2 Checklist: Physical Media Inspection
With the storage environment documented, move to item-by-item physical inspection. Work systematically through the collection, completing one inspection record per item. Do not attempt to play any tape during this phase — playback assessment comes after condition grading.
Per-item physical inspection checklist — all formats:
- Inspect the exterior of the cassette shell or reel for cracks, warping, or missing structural pieces
- Check for visible mold — white, green, or gray fuzzy growth on any surface of the tape pack or housing
- Smell for vinegar odor — a sharp acidic smell indicating acetate base degradation (primarily reel-to-reel, some early cassettes)
- Smell for a sweet chemical odor — can indicate binder breakdown in polyester-based tape formulations
- Inspect the tape pack (the wound tape visible through the cassette window or on the reel flange) for:
- Uneven winding — tape pack that is not uniformly layered from edge to edge
- Tape spill — loose tape hanging or pooled outside the reel
- Visible discoloration — brown, white, or chalky deposits on the tape surface
- Edge damage — frayed or creased tape edges visible at the outermost winds
- Check the label for legibility — faded, water-stained, or illegible labels should be documented with whatever information can still be recovered
VHS and S-VHS specific checks:
- Inspect the tape path visible through the cassette window — confirm the tape is not stretched, kinked, or slack
- Check the protective door mechanism — the door covering the tape opening should move freely and snap shut securely
- Inspect the brake mechanism — the tape reels should resist spinning when the cassette is held normally; a reel that spins freely indicates a broken brake
- Wind the tape manually (use a pencil in the reel hub) to assess tape tension — extreme looseness or stiffness indicates problems before any motor-driven transport is attempted
Reel-to-reel audio tape specific checks:
- Confirm the reel is stored vertically — if found flat, document and reorient before returning to storage
- Inspect the leader tape at both ends — the non-magnetic leader that protects the beginning and end of the recording should be intact; a missing leader leaves program content exposed at the tape edges
- Check the reel flanges for warping or cracks — warped flanges cause uneven winding and edge damage during playback
- Verify the reel is the correct size for its storage box — mismatched reel and box combinations create pressure points during long-term storage
Audio cassette specific checks:
- Check the pressure pad — the small felt pad that presses the tape against the playback head should be intact and not compressed flat or disintegrated
- Inspect the erasure prevention tab — a missing or broken tab confirms the cassette was used as a recording medium and the content has been intentionally preserved
- Gently hold the cassette up to light at the tape window — a gap between the tape pack and the upper shell indicates loose winding that increases print-through risk
Phase 3 Checklist: Housing and Container Integrity
The housing — the cassette shell, the reel, and the box or case enclosing it — is the tape’s primary physical protection against dust, humidity, and mechanical damage. Damaged housing increases risk during every stage of handling and playback.
- Assess cassette shell integrity — hairline cracks in plastic shells allow dust and humidity to reach the tape pack; cracked shells should be replaced or reinforced before storage
- Check for missing screws or snap closures — shells that do not close securely expose the tape pack to contamination
- Inspect the storage box or case — cases cracked, warped, or without functioning closures provide no meaningful protection
- Check for debris inside the case — dust, insect debris, or oxide flakes accumulated inside a case indicate past deterioration that may have affected the tape
- Verify that the reel fits properly in its box — a reel that rattles in its box is subject to impact damage during storage and transport
- Assess the label adhesion on the housing — a label that is peeling, lifting at edges, or layered over previous labels indicates poor documentation practices; supplement with a separate acid-free card before returning to storage
- Check for adhesive residue on the housing — tape used to repair cassette damage, or old labels that have left residue, can interfere with playback equipment rollers and guides
For schools assessing not just tape media but the full range of physical archival materials — photographs, documents, printed programs, and physical award records — alongside their tape inventory, the professional yearbook digitization guide for schools covers how digitization decisions intersect across format types in a comprehensive preservation context.
Phase 4 Checklist: Labeling and Documentation
Label assessment is a documentation phase, not a content verification phase. The goal is to capture whatever information exists on the tape itself, so that even a tape that cannot safely be played still enters the triage list with maximum available provenance.
- Photograph the label in situ before handling or cleaning — this creates a permanent record of the label condition and exact text at the time of inspection
- Record the full text of every label verbatim — every word exactly as it appears, including abbreviations, corrections, crossed-out text, and handwritten additions; do not interpret or summarize
- Note the label material and condition — typed text, handwritten in marker, printed sticker, or written directly on the cassette shell
- Identify any date references on the label — a year, a season code, or a month-and-year combination narrows the historical placement of the recording
- Identify any event or content references on the label — “Regionals,” “Coach Smith Interview,” “Pep Rally 99,” even partial identifications
- Identify any athlete or individual names on the label
- Note the recording position — “Side A / Side B” on audio cassettes; “Tape 1 of 3” on multi-tape sets documenting the same event
- Cross-reference against any existing school records — production logs, yearbooks, broadcast schedules, purchase invoices, or donation records that might confirm the tape’s content or date
For programs that also maintain printed school record collections, cross-referencing tape labels against resources like school yearbooks available in online archives can help confirm the season or event represented by a partially labeled tape before playback is attempted.
Label content risk tiers:
| Label Content | Risk Tier | Action |
|---|---|---|
| Fully identified: date, event, content type, individuals | Tier 3 (low risk) | Standard processing queue |
| Partially identified: date and event, or event and individuals | Tier 2 | Flag for content verification during playback assessment |
| Unlabeled or illegible | Tier 1 (high risk) | Brief playback assessment required to assign content value |
| Contradictory labels (two labels, different content) | Tier 1 (high risk) | Review before processing; potential accidental re-recording |
Athletic departments with recordings connected to ceremony coverage, signing events, or award programming should prioritize those tapes in the Tier 1 queue regardless of label condition — the content value is high enough that even partially degraded recordings may be worth professional recovery effort. For context on the types of recorded events that carry lasting recognition value in athletic archives, the resources on celebrating student-athlete college commitments and milestone events at school illustrate why footage of these moments often represents some of the most requested historical content in a school’s tape collection.
Phase 5 Checklist: Playback Assessment and Condition Grading
Playback assessment is the only phase that carries meaningful risk to the tape. For items with physical issues identified in Phase 2 — mold, active shedding, strong vinegar odor, or structural damage — playback should not be attempted without professional evaluation first. For items with no identified physical issues, a brief playback assessment on a clean, well-maintained device provides the final data point for condition grading.
Pre-playback setup checklist:
- Confirm the playback device is clean — heads, capstan, and pinch rollers cleaned with 99% isopropyl alcohol on a cotton swab
- Confirm the device is format-appropriate — S-VHS tapes require an S-VHS deck for accurate assessment; a standard VHS deck will play them but cannot assess the full signal
- Run a dry head-cleaning tape through the device if it has not been cleaned recently
- Open a capture log document — record the tape ID, device used, date, and all observations during playback before pressing play
Playback procedure for inspection (brief assessment only — not full digitization):
- Rewind the tape to the beginning using the device’s rewind function, not by hand
- Play for 30–60 seconds from the beginning — observe the signal on a monitor and listen to the audio
- Fast-forward to the midpoint and play for 30–60 seconds from that position
- Observe the device’s head area or tape path for oxide shedding — white or brown residue appearing on the head housing after a few seconds indicates shedding and should prompt an immediate stop
- Note all playback anomalies: tracking errors, audio dropout, video noise, color distortion, synchronization problems, or unusual mechanical sounds from the transport
- Stop playback; do not immediately rewind — allow the tape path to clear before rewinding to prevent additional stress at the tape-head contact point
- Record all findings in the capture log before moving to the next tape
Condition grade assignment:
| Grade | Criteria | Recommended Action |
|---|---|---|
| A — Stable | No physical issues; plays without anomalies; signal strong; no oxide deposit on device | Standard digitization queue |
| B — Minor Issues | Light binder wear visible; minor tracking adjustment required; brief dropouts; audio slightly degraded | Digitization queue; note issues for capture technician |
| C — Significant Issues | Visible physical damage; oxide shedding during brief playback; significant dropout; severe audio distortion | Professional evaluation before digitization; do not re-play without stabilization treatment |
| D — Critical | Mold present; active shedding; strong vinegar odor; tape stuck to itself; broken housing preventing safe handling | Do not play; refer to professional conservator; quarantine from other tapes in the collection |

Every inspection checklist item completed for a tape collection is a step toward knowing which voices and images from the program's history are still recoverable — and which require urgent action
Phase 6 Checklist: Pre-Digitization Triage Decision
The inspection process produces a prioritized triage list. Triage decisions assign each inspected tape to one of four processing paths based on the combined findings from Phases 1 through 5.
Triage decision framework:
| Triage Path | Criteria | Next Action |
|---|---|---|
| Path 1 — Immediate Digitization | Grade A or B; high historical value; identified content; storage environment acceptable | Enter digitization queue; schedule within 90 days |
| Path 2 — Monitored Storage | Grade A or B; lower immediate value; stable environment; no active deterioration | Return to improved storage conditions; re-inspect in 12 months |
| Path 3 — Professional Evaluation | Grade C; identified content of historical significance; or Grade B with suspected instability | Refer to digitization vendor or conservator for evaluation before scheduling |
| Path 4 — Quarantine and Conserve | Grade D; mold; active shedding; vinegar syndrome; structural failure preventing safe handling | Isolate from other tapes in sealed container; consult professional conservator; do not handle without protective equipment |
Triage priority scoring for Path 1 tapes (to establish digitization order within the queue):
Score each tape from 1 (low) to 3 (high) on each of the five criteria below, then total the score to determine queue priority.
| Criterion | Score 1 | Score 2 | Score 3 |
|---|---|---|---|
| Historical uniqueness | Content duplicated elsewhere in the archive | Partially unique — some elements not duplicated | Sole surviving recording of this event or content |
| Format era risk | Post-1995 media (lower degradation probability) | 1985–1995 era (moderate degradation risk) | Pre-1985 or early-format media (high risk era) |
| Label identification | Fully identified by date, event, and content | Partially identified — date or event known | Unlabeled or illegible |
| Physical condition | Grade A — no issues | Grade B — minor, stable issues | Grade B — issues that require monitoring or notation |
| Recognition program connection | No immediate display application | Planned for future display use | Required for an active or in-progress recognition program |
Tapes scoring 11–15 enter the digitization queue first. Tapes scoring 6–10 enter the queue after the highest-priority batch. Tapes scoring below 6 return to monitored storage with a documented re-inspection date.
Master Inspection Checklist Table
| Phase | Task | Applicable Formats | Notes |
|---|---|---|---|
| 1. Environment | Measure ambient temperature | All | Document reading with instrument used |
| 1. Environment | Measure relative humidity | All | Document reading with instrument used |
| 1. Environment | Assess temperature stability | All | Check HVAC proximity, exterior wall exposure |
| 1. Environment | Check light exposure | All | UV is primary concern |
| 1. Environment | Check chemical proximity | All | Solvents, paints, organic materials |
| 1. Environment | Check for pest evidence | All | Rodents, insects, mold in room |
| 1. Environment | Confirm vertical storage orientation | All; critical for reel-to-reel | Reorient any tapes stored flat |
| 2. Physical Media | Inspect housing for cracks or warping | All | Document crack location exactly |
| 2. Physical Media | Check for visible mold growth | All | Quarantine immediately if found |
| 2. Physical Media | Smell for vinegar odor | Reel-to-reel, early cassettes | Acetate base degradation indicator |
| 2. Physical Media | Inspect tape pack for uneven winding | All | Window-only inspection; do not open |
| 2. Physical Media | Check for tape spill outside reel | All | Do not attempt to rewind by hand |
| 2. Physical Media | Check tape edge condition | All | Fraying indicates handling risk |
| 2. Physical Media | Check reel flanges for warping | Reel-to-reel | Warped flanges cause edge damage in playback |
| 2. Physical Media | Check door mechanism | VHS, S-VHS | Door must close and latch securely |
| 2. Physical Media | Check brake mechanism | VHS, S-VHS | Reel should resist free spinning |
| 2. Physical Media | Check pressure pad | Audio cassette | Flat or missing pad means poor head contact |
| 3. Housing | Assess shell and reel structural integrity | All | Cracks, warping, missing pieces |
| 3. Housing | Verify case closure functions | All | Case must close and hold securely |
| 3. Housing | Check for debris inside case | All | Oxide flakes and insect debris are warning signs |
| 3. Housing | Verify reel fits its storage box | Reel-to-reel | Rattling indicates loose, unprotected fit |
| 3. Housing | Assess label adhesion | All | Peeling labels create documentation gaps |
| 4. Labels | Photograph label before any handling | All | Permanent record of original label condition |
| 4. Labels | Record full label text verbatim | All | Include abbreviations exactly as written |
| 4. Labels | Note date references from label | All | Year, season code, month-year combination |
| 4. Labels | Note event or content references | All | Any text identifying what was recorded |
| 4. Labels | Note individual names from label | All | Athletes, coaches, staff members |
| 4. Labels | Cross-reference existing school records | All | Yearbooks, production logs, schedules |
| 4. Labels | Assign label risk tier (1–3) | All | Documented in inspection record |
| 5. Playback | Clean playback device heads | All | Before every assessment session |
| 5. Playback | Confirm format-appropriate device | All | S-VHS requires S-VHS deck; standard VHS is not equivalent |
| 5. Playback | Play 30–60 seconds at tape beginning | Grade A or B only | Document all anomalies with timestamps |
| 5. Playback | Play 30–60 seconds at midpoint | Grade A or B only | Document all anomalies with timestamps |
| 5. Playback | Observe for oxide shedding | Grade A or B only | Stop immediately if shedding is observed |
| 5. Playback | Record all anomalies in capture log | Grade A or B only | Before moving to the next tape |
| 5. Playback | Assign condition grade A, B, C, or D | All | Based on combined physical and playback findings |
| 6. Triage | Assign triage path (1–4) | All | Based on condition grade and content value |
| 6. Triage | Score priority for Path 1 tapes | Path 1 only | Apply five-criterion scoring table |
| 6. Triage | Document triage decision and rationale | All | Include which criteria drove the decision |
| 6. Triage | Route tape to appropriate next action | All | Queue, storage, professional referral, or quarantine |
Connecting Inspected Tapes to Athletic Recognition Programs
The inspection checklist is the starting point for a process that ends in a recognition display, a hall of fame profile, a ceremony program, or an alumni event that features content recovered from a tape that was nearly lost to degradation.
Schools that complete systematic inspections and follow-up digitization build a resource that traditional athletic archives — binders of statistics and rows of physical trophies — cannot replicate: the sound and image of the program at specific moments in its history. Game-winning calls. Coach speeches. Senior night ceremonies. Award announcements. These materials are irreplaceable when the tapes that hold them survive; they are permanently gone when the tapes fail without intervention.
For programs that have completed digitization and are evaluating how recovered tape content connects to recognition display platforms, the comparison of digital hall of fame platform approaches provides context for which platforms are built to surface deep archival content — including audio and video recovered from legacy tapes — in ways that standard slideshow displays cannot.
Donor recognition programs that draw on athletic history benefit directly from recovered tape content. A donor whose name is honored in a ceremony the recording of which has survived and been digitized experiences recognition at a different depth than one whose history exists only in a printed record. Resources on how donor recognition displays inspire continued giving illustrate how visual and audio archival content elevates recognition programs that would otherwise rely entirely on static plaques and name lists.
Schools building a digital hall of fame or athletic legacy wall that incorporates video and audio from magnetic tape archives should plan the inspection and digitization timeline alongside the display project schedule, not as an afterthought. Content recovered from tape is a foundational element of the most compelling athletic recognition experiences, and the inspection checklist is the first step toward having that content available when the display launches.
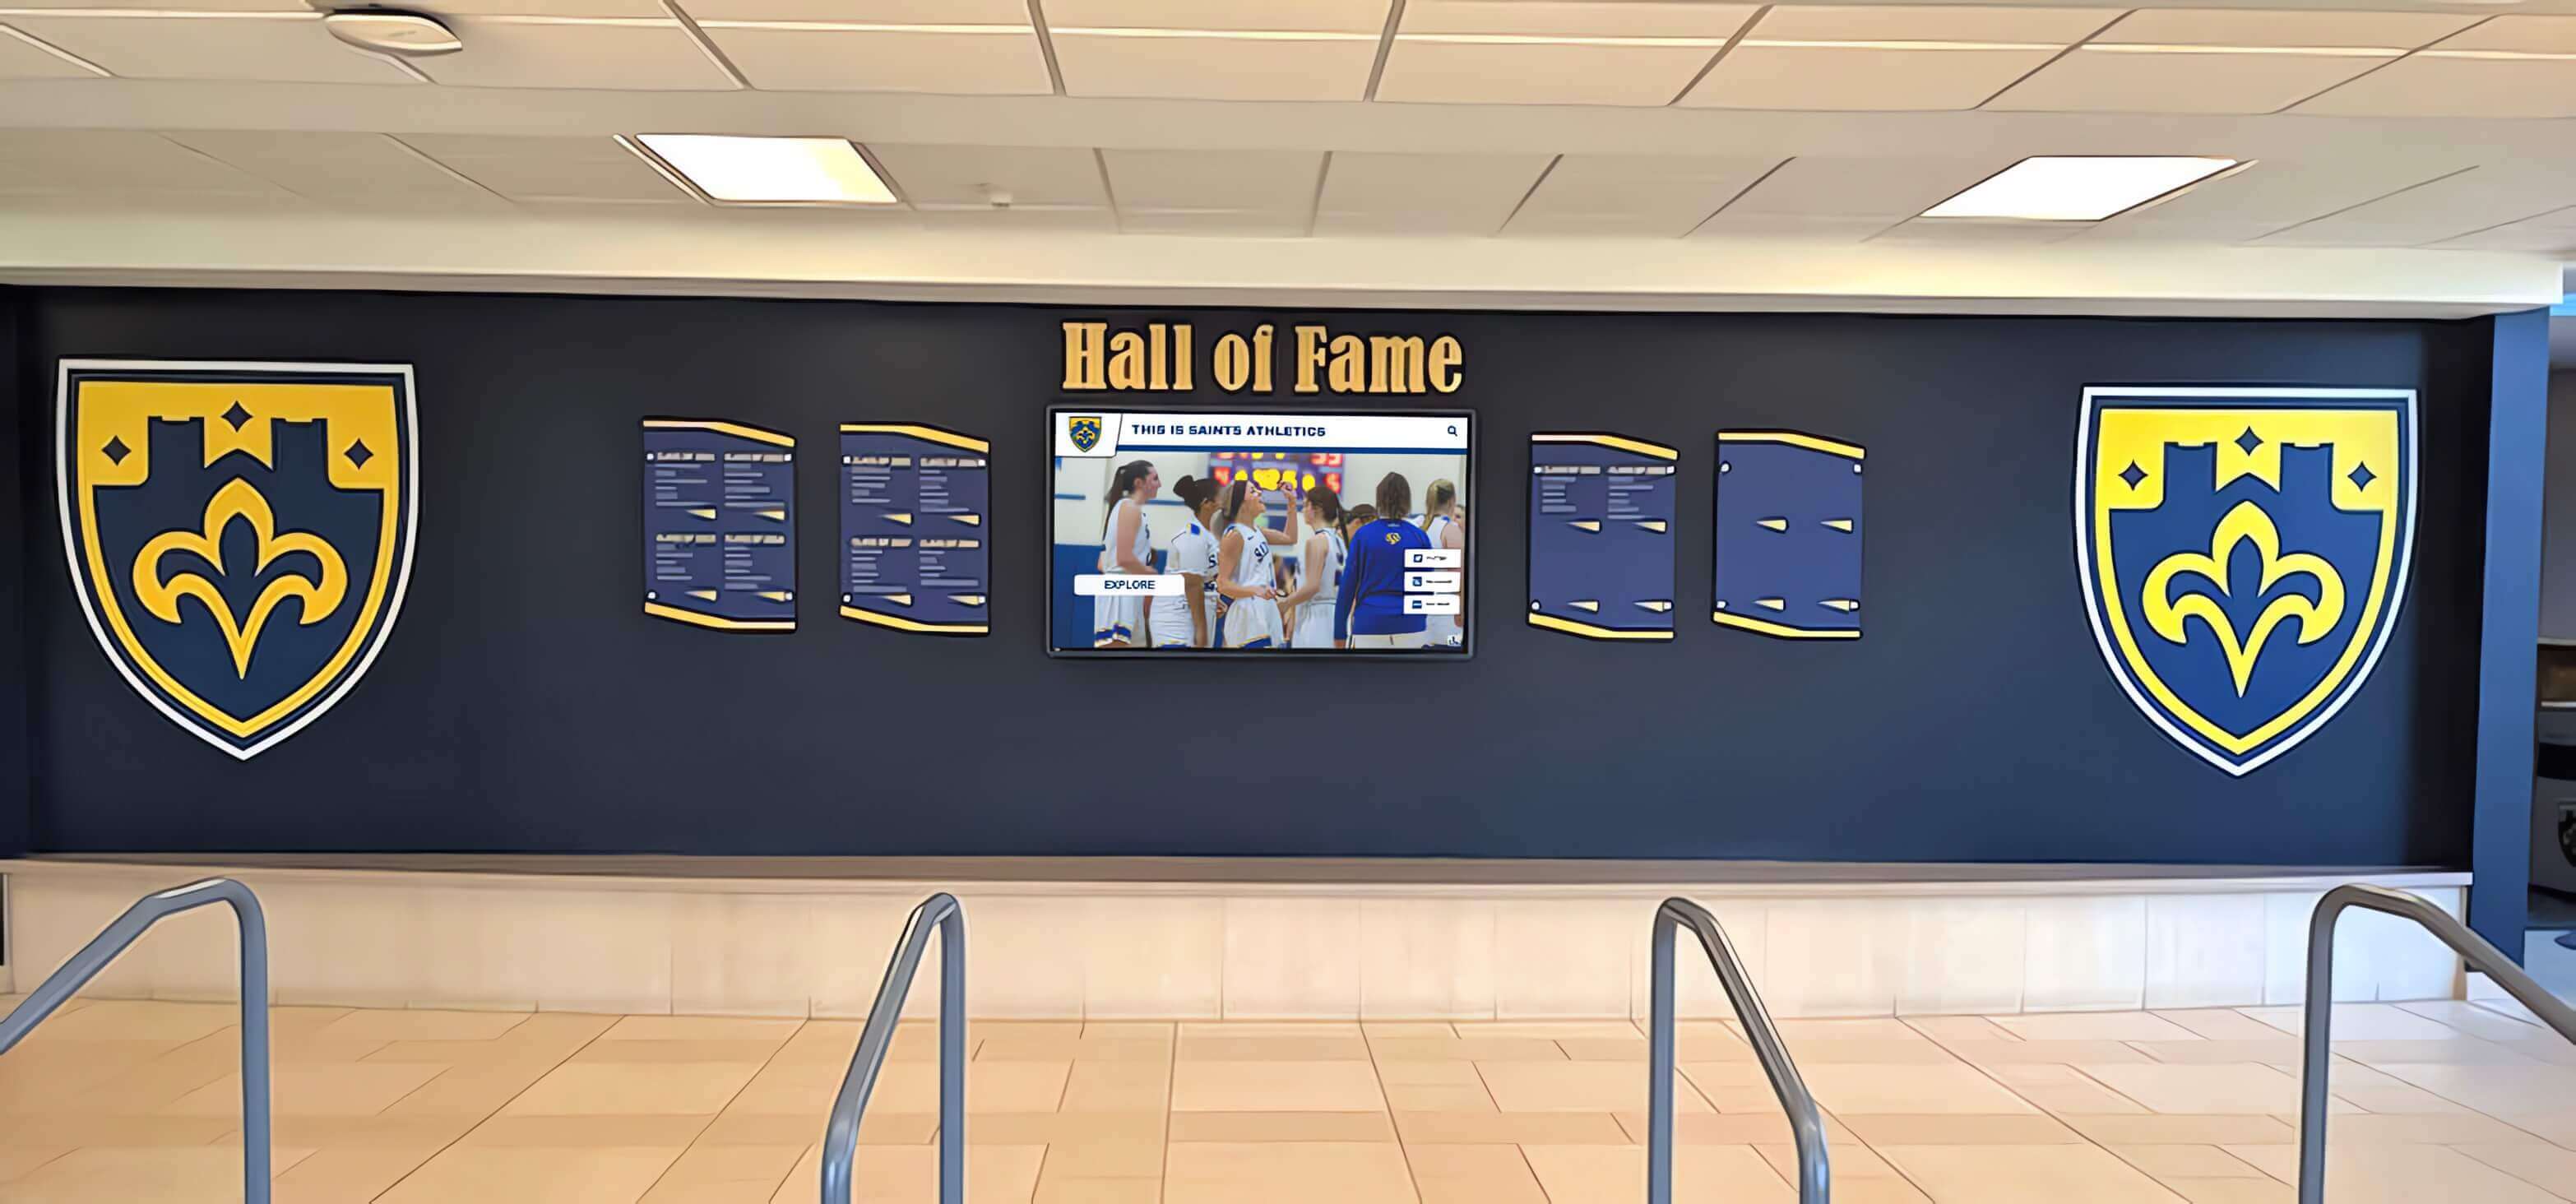
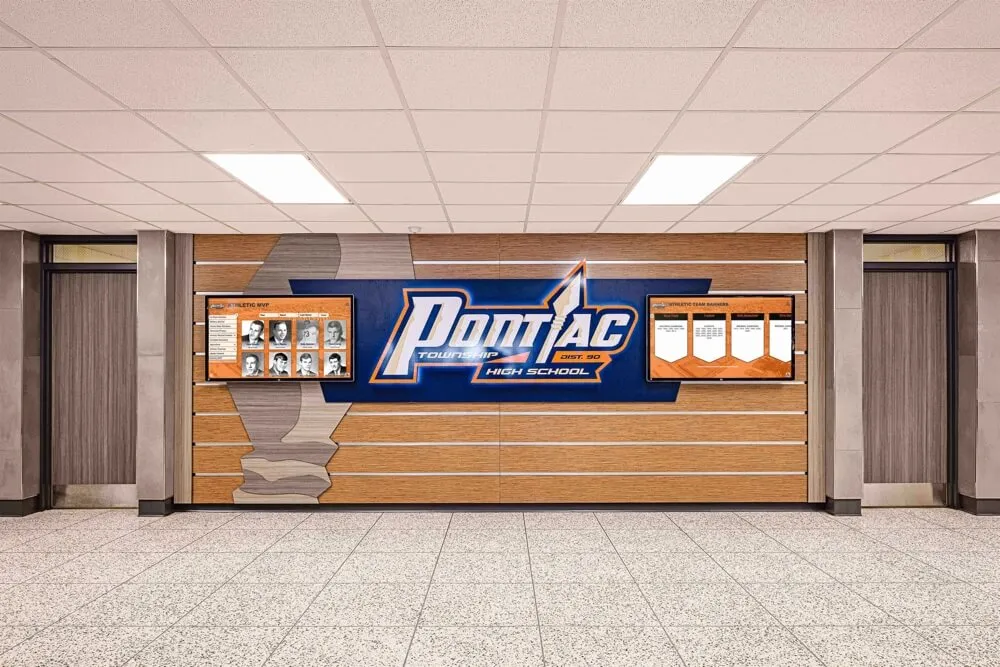
Athletic hall of fame displays that draw on inspected and digitized tape content give visitors a connection to the program's history that static plaques and photographs cannot replicate
Frequently Asked Questions
How long does a magnetic tape storage inspection take for a typical athletic archive collection?
For a collection of 50–100 tapes, a systematic inspection covering all six phases typically requires two to four days of staff time spread across one to two weeks — allowing time for environmental measurement, per-item physical inspection, playback assessment for stable tapes, and triage documentation. Collections with significant numbers of reel-to-reel reels or multi-tape sets take longer, as each reel requires individual assessment. The inspection phase should not be rushed — a thorough inspection record becomes the first layer of permanent metadata for every digitized file.
Do we need to purchase special equipment to conduct the inspection?
The initial phases — environmental conditions, physical media inspection, housing assessment, and label documentation — require no specialized equipment beyond a thermometer, a hygrometer (humidity meter), good lighting, a camera or smartphone for label photography, and a documentation spreadsheet. Playback assessment for stable tapes requires a clean, functioning playback device in the correct format. Schools without working VHS players, cassette decks, or reel-to-reel machines should skip the playback phase and route all tapes to a digitization vendor for professional assessment alongside a copy of the inspection findings from Phases 1 through 4.
We have tapes with a strong vinegar smell. Can we play them to see what is on them?
A strong vinegar odor indicates acetic acid outgassing from acetate-based magnetic tape — a process called vinegar syndrome. Tapes in active vinegar syndrome should not be played without professional evaluation. The deterioration that produces vinegar syndrome is also compromising the tape’s mechanical properties, and playback before stabilization can result in the tape breaking, shedding, or becoming permanently unusable. Isolate vinegar-syndrome tapes from the rest of the collection — acetic acid off-gassing can accelerate deterioration in neighboring tapes — document the condition, and consult a professional conservator before proceeding.
What should we do with tapes that have no label or completely illegible labels?
Unlabeled or illegible-label tapes are assigned Tier 1 in the labeling phase and require a brief playback assessment to determine content value. For a school athletic archive, the probability that an unlabeled tape from the 1980s or 1990s holds athletic content is reasonably high — those were the years when video recording became common in schools, and tapes were frequently recorded and stored without systematic documentation. Even 30–60 seconds of playback from an unlabeled tape can confirm whether it holds content worth preserving. If the tape cannot be safely played due to physical condition concerns, label it with an inspection-date notation and route it to a digitization vendor who can perform a professional assessment.
How often should we re-inspect tapes returned to storage after the initial assessment?
Tapes assigned to Path 2 (Monitored Storage) should be re-inspected annually. Tapes assigned to Path 1 that are awaiting digitization should be re-inspected if digitization is delayed more than six months from the initial assessment — condition can change over a storage period, particularly if the environment has not been improved. Once tapes are digitized, the physical media can be retained in archival-quality storage and inspected every two to three years, since the preservation copy now exists in digital form.
Can we send tapes directly to a digitization service without completing the inspection checklist?
Physically, yes — but the outcome will be worse than inspecting first. Sending uninspected tapes to a digitization service means the service will determine condition for you, typically in the form of a cost estimate that includes additional fees for tapes requiring stabilization, cleaning, or remediation that you did not anticipate. The inspection checklist gives the school the information it needs to make those decisions before they become vendor cost negotiation items. It also ensures that Grade D tapes — mold, active shedding, structural failure — are identified and handled appropriately before they damage vendor equipment or contaminate neighboring tapes in shipment.
How does a completed inspection record connect to a digital athletic recognition display?
The inspection record — condition grade, content identification, triage path, and digitization status — becomes the provenance metadata for every recovered tape recording. When a digitized recording enters a recognition display platform, that provenance accompanies it: this is a recording of the 1993 regional championship game, captured from a Grade B VHS tape inspected in 2026, with minor tracking issues at the midpoint and intact audio throughout. That level of documentation makes the digital record trustworthy and attributable in ways that an undocumented transfer does not. For a comprehensive view of how schools and universities approach archival records across media types within a broader recognition strategy, the digital archives framework for educational institutions provides the strategic context for connecting inspection and digitization work to institutional recognition goals.
Ready to Turn Inspected Tapes Into a Recognition Experience?
Once your athletic archive magnetic tape inspection is complete and your highest-priority recordings have been digitized, Rocket Alumni Solutions helps schools integrate that recovered content — game footage, ceremony recordings, coach interviews, and oral histories — into interactive recognition displays that students, alumni, and visitors can explore. From digital halls of fame that surface championship-era video to searchable record boards with historical audio, our platform is built to make the content your inspection checklist uncovered visible and meaningful for every person who walks through your doors. Request a demo to see how your recovered tape content connects to a recognition experience worthy of your program's legacy.
Request a Demo