



An athletic archive microfilm storage checklist is a structured inspection and handling guide that school administrators, athletic directors, facilities managers, archive coordinators, and IT teams use to evaluate the physical condition of microfilm rolls and microfiche containing legacy athletic content — school newspaper athletic coverage, statistical record ledgers, program newsletters, yearbook sections, and booster association publications — before those materials are handled, loaded on a reader, or sent to a digitization vendor. The direct answer: microfilm inspection is the step that moves a school’s legacy film holdings from “we have rolls in a cabinet from the 1970s through 1990s” to a documented, prioritized account of which rolls are stable, which show early signs of degradation, and which have reached the condition thresholds that make immediate digitization necessary. Schools that skip the inspection phase risk damaging irreplaceable content during routine handling, missing active deterioration until image recovery is no longer possible, and sending deteriorated film to a scanning service that cannot produce usable output. This guide provides a complete checklist across five phases: storage environment assessment, physical film inspection, reader and scanner equipment condition, safe handling protocols, and digitization trigger evaluation. It is designed for school staff and volunteers completing an initial review, with the understanding that film showing significant deterioration should be referred to a qualified preservation professional before any further handling is attempted.
Nothing in this guide constitutes professional conservation or archival governance advice. Film handling decisions for deteriorated or chemically unstable microfilm should be reviewed by a qualified preservation specialist or professional digitization vendor before action is taken.
Every school with a continuous athletic program stretching back forty, fifty, or sixty years holds the same material in some form: a cabinet of microfilm rolls containing coverage from the school newspaper, a box of microfiche frames from yearbook archives, or a set of film canisters holding statistical record books that were filmed before digitization was an option. These holdings are not always catalogued or remembered by current staff. They survive because no one discarded them — not because anyone maintained them with intention.
Microfilm is one of the most durable storage formats available when properly housed. Silver gelatin microfilm processed and stored under conditions meeting ISO 18911 can remain readable for well over a century under appropriate conditions. But that durability depends on the environment. Film stored in an unconditioned closet, exposed to temperature cycling, humidity fluctuations, or proximity to acidic materials, can deteriorate in ways that are invisible until a roll is unspooled and examined closely. The inspection checklist in this guide is the structured tool for moving from benign neglect to informed stewardship of athletic film archives.

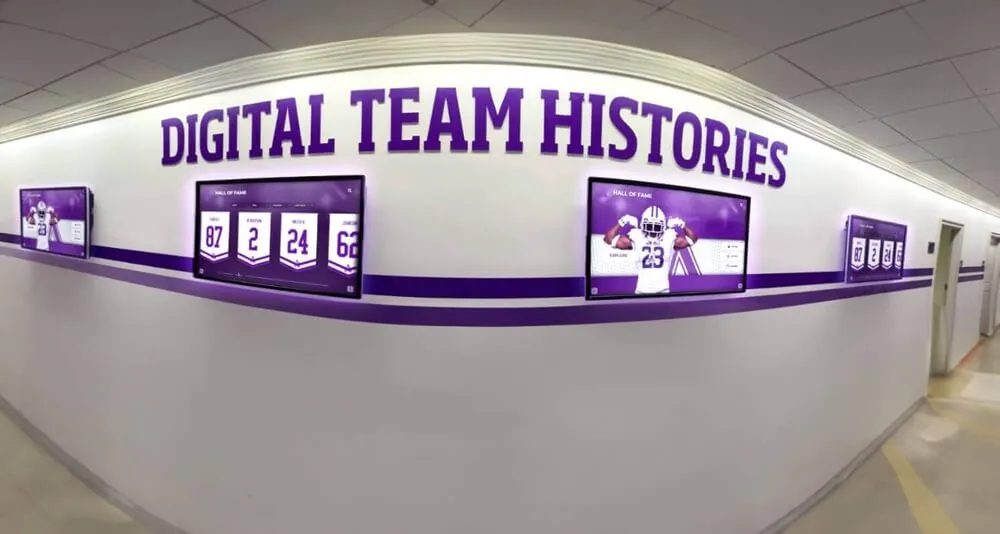
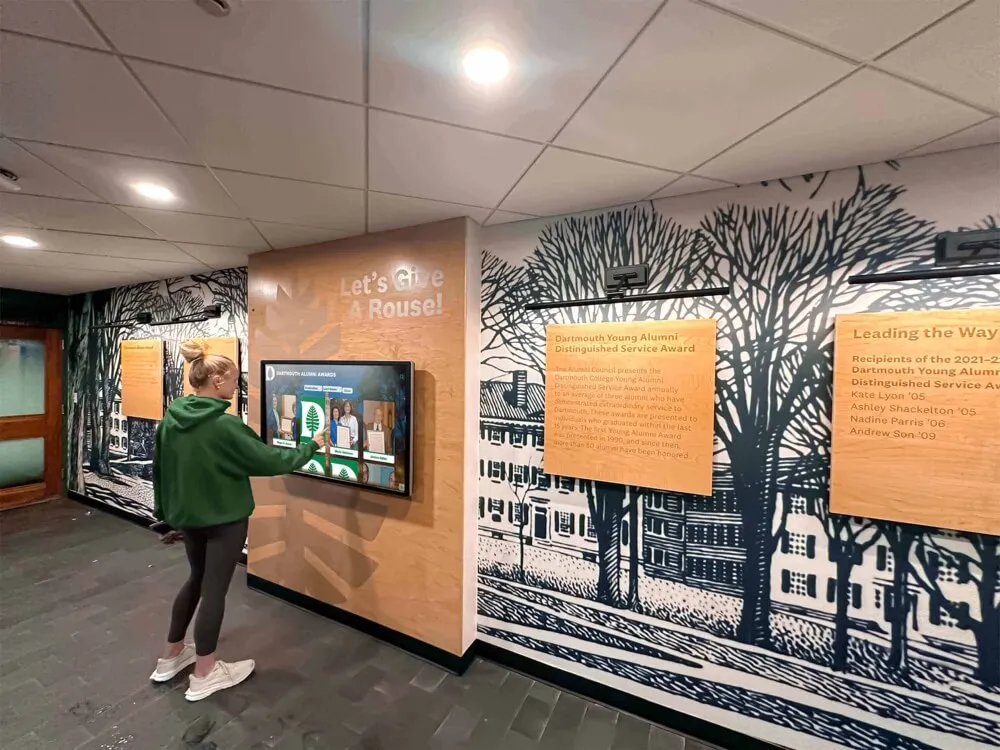
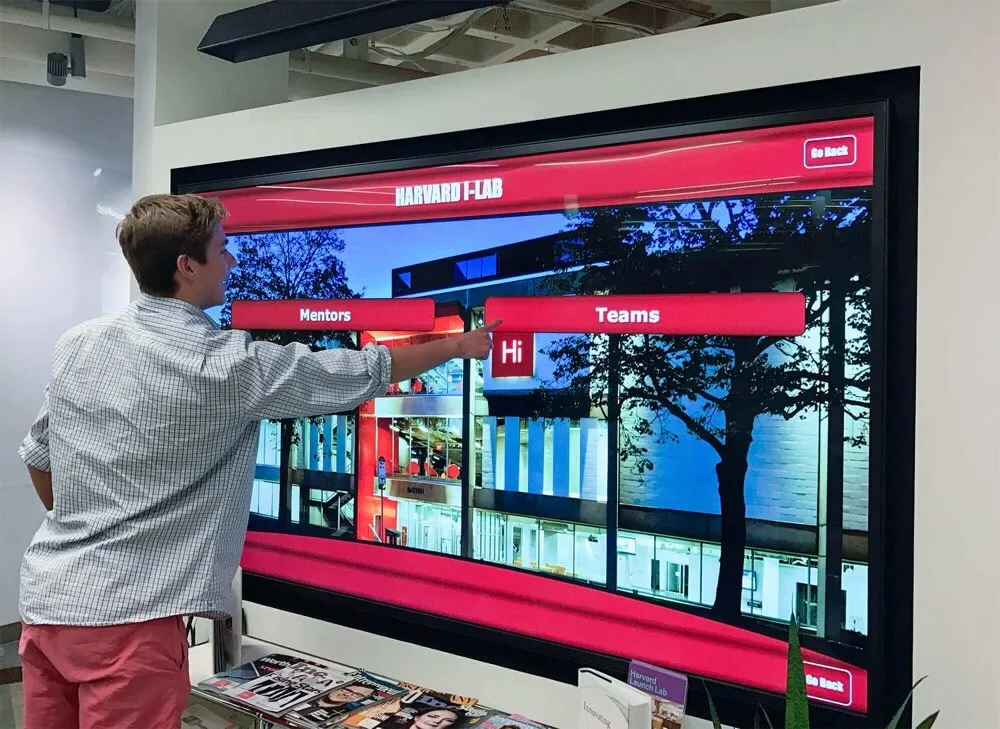
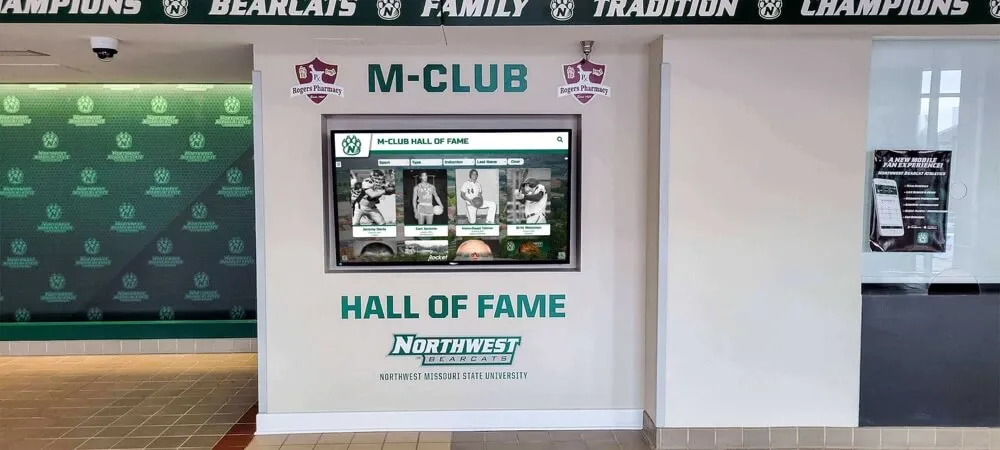
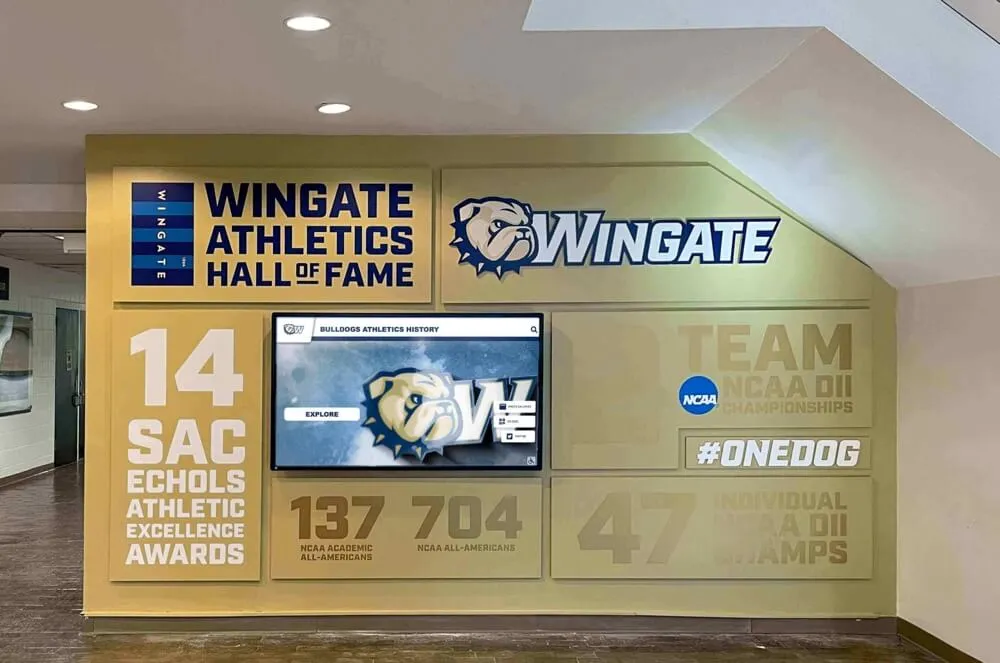
Legacy athletic recognition displays draw on the same decades of institutional history that school microfilm archives contain — systematic inspection is how schools confirm whether that content is still recoverable
Microfilm Formats Common in School Athletic Archives
Before beginning an inspection, identify the formats present in the collection. Different formats have different handling requirements, degradation patterns, and digitization pathways.
| Format | Common Athletic Archive Content | Base Material | Key Risk Factor |
|---|---|---|---|
| 16mm roll microfilm | School newspaper athletic coverage, booster newsletters, meeting minutes | Acetate or polyester | Acetate vinegar syndrome; polyester base is more stable |
| 35mm roll microfilm | Oversized record ledgers, large-format publications, program annuals | Acetate or polyester | Same as 16mm; polyester preferred for long-term storage |
| Microfiche (flat sheet) | Yearbook pages, award rosters, program catalogs, statistical summaries | Acetate or polyester | Susceptible to edge damage; must be stored flat in sealed envelopes |
| Aperture cards | Large-format institutional records, engineering drawings of facilities | Card stock with film window | Brittle card edges; film window can separate from card over time |
Identifying whether each canister or sleeve contains polyester-base or acetate-base film is the first determination to make before beginning the full inspection. The acetate/polyester distinction governs whether vinegar syndrome is a risk, shapes the urgency of environmental controls, and affects the handling protocol during subsequent inspection phases.
Phase 1 Checklist: Storage Environment Assessment
The storage environment is evaluated before individual film items are examined. Film held in acceptable conditions is more likely to be stable. Film from a problematic environment should be approached with heightened caution, and inspection findings weighted accordingly even if the film appears intact on the outside.
- Measure ambient temperature. The Library of Congress and ISO 18911 both recommend storage below 65°F (18°C) for silver gelatin microfilm. Active-use areas up to 77°F are acceptable if humidity is controlled, but lower temperatures significantly extend usable lifespan.
- Assess temperature stability. Cycling between temperatures — warm school days and cool nights, or uncontrolled seasonal swings between summer and winter — stresses the film base more than a consistently moderate temperature outside the ideal range.
- Measure relative humidity. The target range for microfilm storage is 30–40% RH. High humidity above 60% promotes mold and accelerates acetate degradation. Low humidity below 20% makes acetate film brittle and prone to cracking during handling.
- Assess humidity stability. Consistent humidity matters as much as the absolute level. Seasonal cycling between dry winters and humid summers is a common cause of emulsion cracking and film base warping over decades of uncontrolled storage.
- Check for light exposure. Ultraviolet light from direct sunlight or unshielded fluorescent sources degrades microfilm emulsion. Storage areas should exclude all light when the room is not in active use, and UV-filtering should be in place when ambient light cannot be eliminated.
- Check for chemical proximity. Proximity to acidic materials — standard cardboard boxes, wood shelving, paint, or cleaning products — introduces off-gassing that affects both acetate bases and silver emulsions over time. Archival-quality metal or inert-plastic enclosures protect film from off-gassing sources.
- Check for pest or water damage evidence. Rodent activity, insect debris, and water staining on canisters or shelving are environmental risk indicators that may have already affected film in the same storage area.
- Confirm storage orientation and enclosure type. Roll microfilm should be stored in sealed canisters, not loose on shelves. Microfiche should be stored flat in sealed, acid-free envelopes or folders and not stacked loosely or compressed under weight.
- Document any climate control measures in place. Dehumidifiers, HVAC systems, or cold storage managing the room should be documented — and any historical gaps in that control should be noted, since most deterioration events trace to periods of climate control failure.
Environmental condition summary:
| Condition | Acceptable | Marginal | Problematic |
|---|---|---|---|
| Temperature | Below 65°F | 65–75°F | Above 80°F, or cycling more than 15°F daily |
| Relative humidity | 30–40% RH | 40–55% RH | Above 60% or below 20% RH |
| Light | None when not in use | Filtered indirect light | Direct sunlight or unshielded fluorescent |
| Chemical proximity | Archival enclosures only | Adjacent to paper materials | Adjacent to wood, cardboard, solvents, or paint |
| Pest and water evidence | None | Minor past evidence, now resolved | Active evidence or visible water damage on enclosures |
Address any condition in the “Problematic” range before returning film to storage. Film returned to the same problematic environment after inspection will continue deteriorating at the same rate that produced the condition findings — correcting the environment is not optional.
Phase 2 Checklist: Physical Film Inspection
With the environment documented, inspect individual film items. Work systematically through the collection — one canister, sleeve, or sheet at a time — completing a brief inspection record for each item before moving to the next. Do not unspool roll film unless necessary for surface inspection; most early-phase assessments can be completed with the roll minimally extended.
For all microfilm formats:
- Inspect the canister or sleeve exterior for dents, cracks, rust on metal canisters, or water staining that indicate environmental events affecting the contents
- Check and photograph the label on the canister or sleeve before handling; record the full text verbatim, including all abbreviations, dates, and partial identifiers exactly as they appear
- Open the canister in a clean, dust-free work area — not over carpet or near air vents; the workspace should be well-lit with clean, inert surfaces
- Smell the film — a sharp vinegar or acetic acid odor from inside the canister confirms acetate base degradation; a fruity or camphor-like smell indicates plasticizer migration; healthy polyester-base film produces no noticeable odor
- Examine the outermost surface of roll film — without unspooling more than necessary, check the visible film surface for:
- Redox blemishes: small orange, red, or yellow-brown spots on the emulsion surface, indicating oxidation of the silver image layer — the most common degradation sign in stored microfilm
- Silver mirroring: a metallic, reflective sheen at the film edges or image area, visible at a low angle to the light; an early indicator of silver ion migration that will expand if not addressed
- Mold: fuzzy or spotty growth in any color — typically gray, white, or green — on the film surface or inside the canister
- Brittleness or curling: the film should flex slightly without cracking; film that curls immediately when extended or feels stiff and unyielding is at risk of shattering during handling or transport through a scanner
- Longitudinal scratches or abrasions: linear damage running along the film indicates past transport through a dirty reader; multiple scratches across the image area significantly reduce digitization output quality
- Discoloration: yellowing or browning of the film base or emulsion beyond normal age-related density variation
- For microfiche: inspect the full surface area of each sheet against a light table or bright diffuse light source, checking for the same indicators listed above, with particular attention to edge damage and corner separation
Per-item condition classification:
| Grade | Physical Film Indicators | Recommended Action |
|---|---|---|
| A — Stable | No blemishes, no odor, no brittleness, no mold; minimal age-related density variation only | Standard access and digitization queue based on content value |
| B — Early Degradation | Minor redox blemishes on outermost winds; faint silver mirroring at edges only; light surface scratches; mild acetate odor | Prioritize for digitization; improve storage environment; do not delay beyond 12 months |
| C — Active Degradation | Moderate-to-heavy redox blemishes in image areas; strong vinegar odor; visible density loss; film curling significantly; brittle sections that crack under minimal flex | Professional evaluation required before scanning; do not handle further without specialist guidance |
| D — Critical | Mold present; film fused to itself; structural failure; film shattering during minimal handling | Quarantine immediately; do not handle without protective equipment; consult professional conservator before any action |
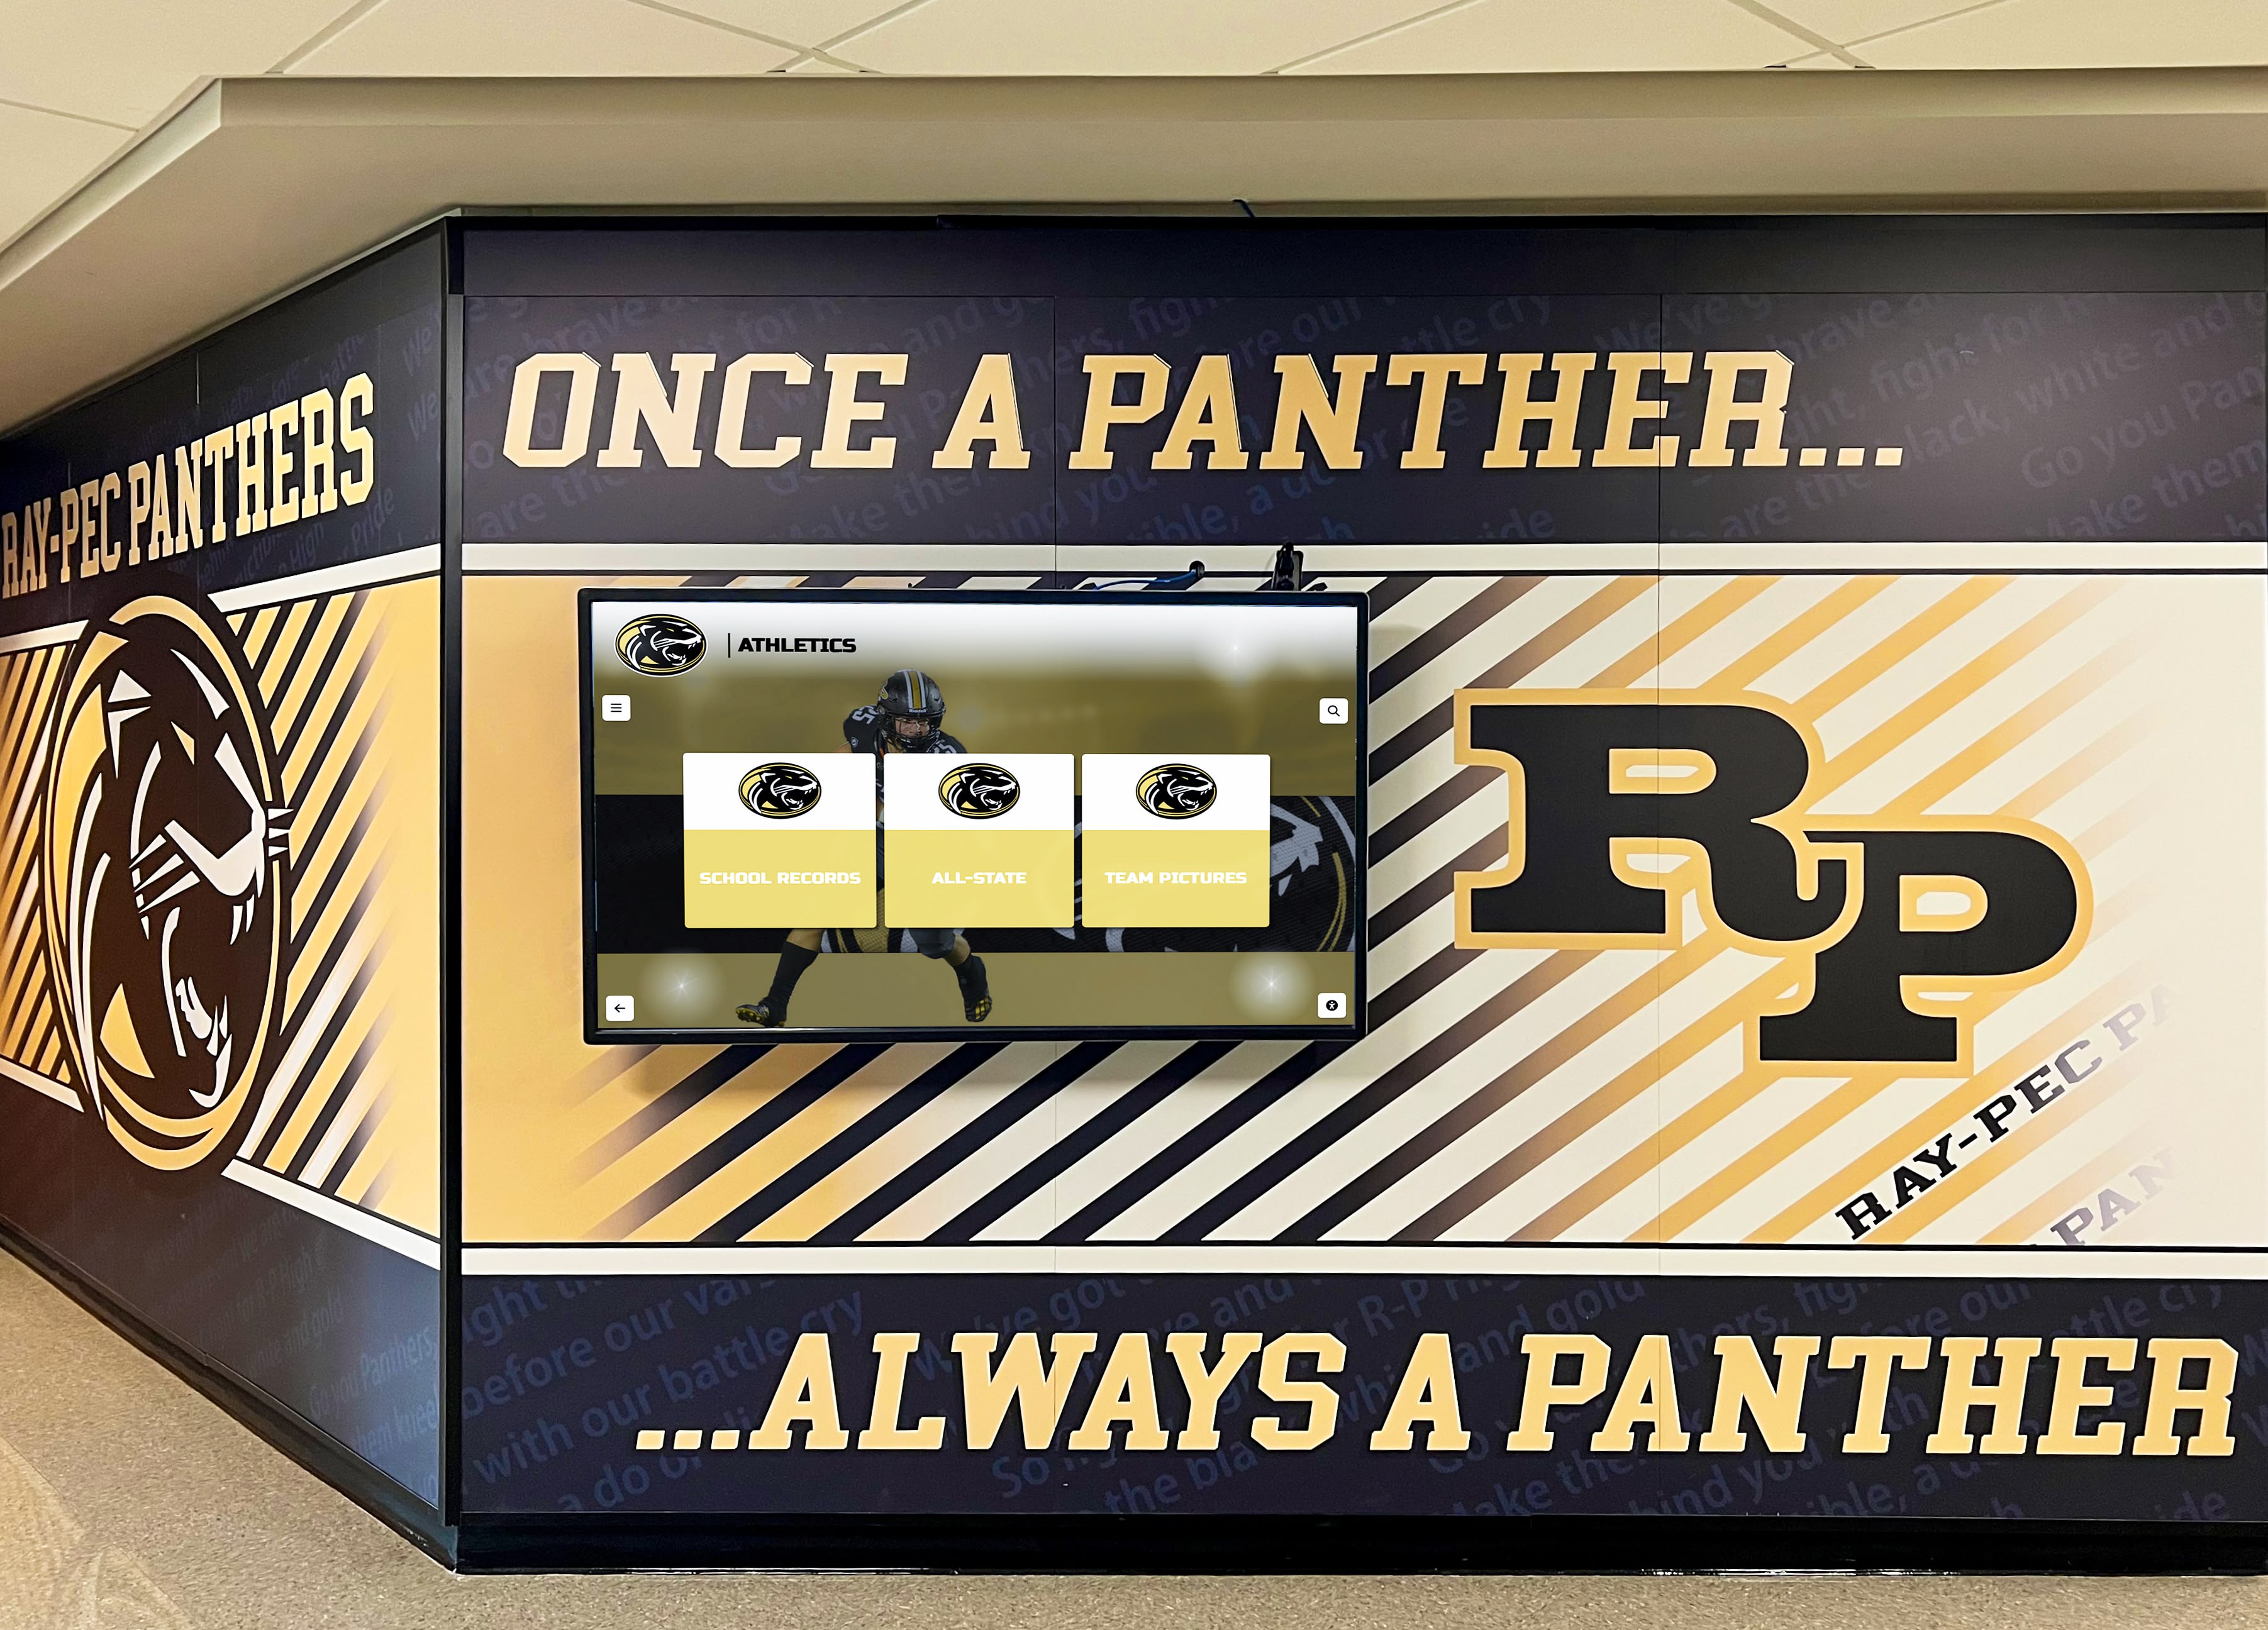
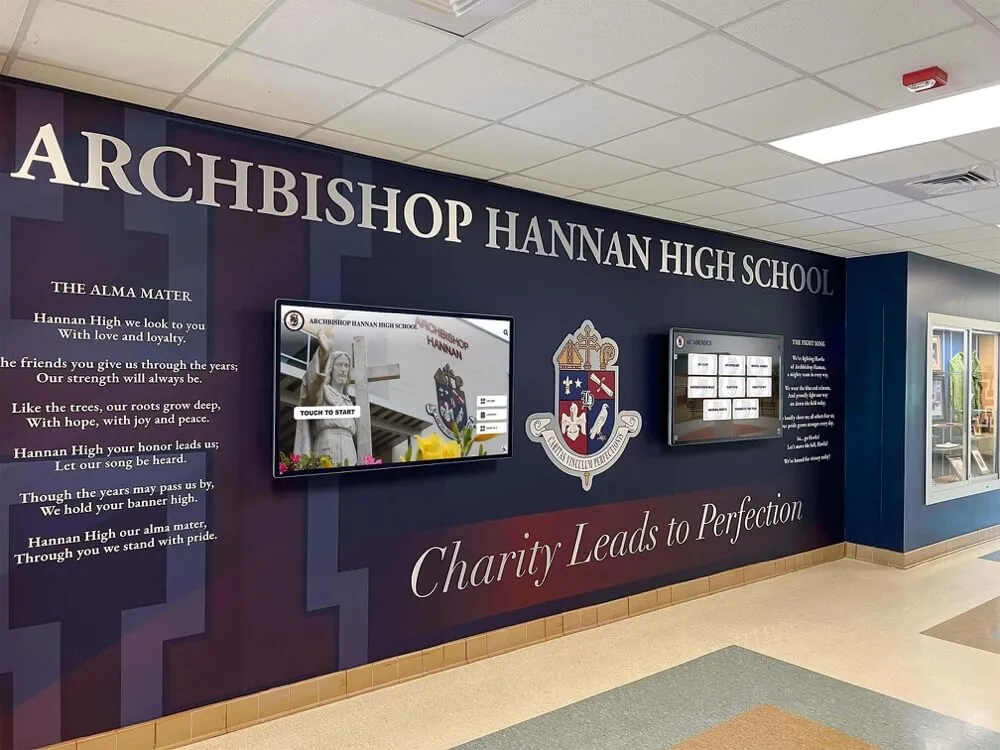
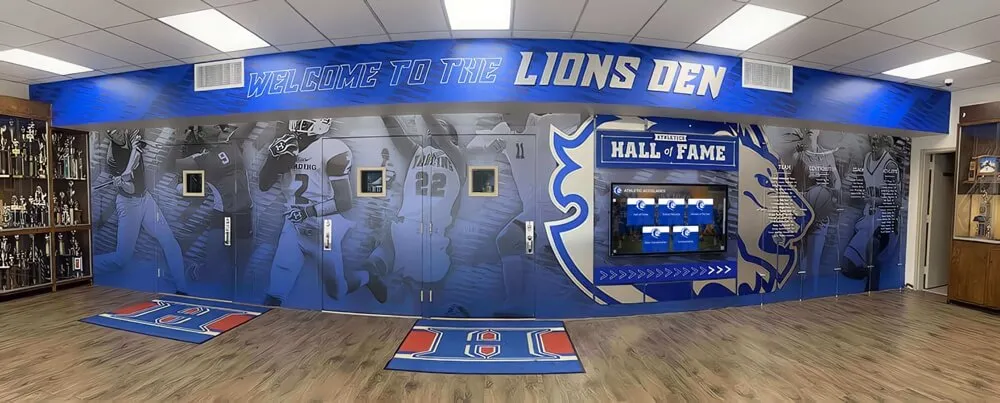
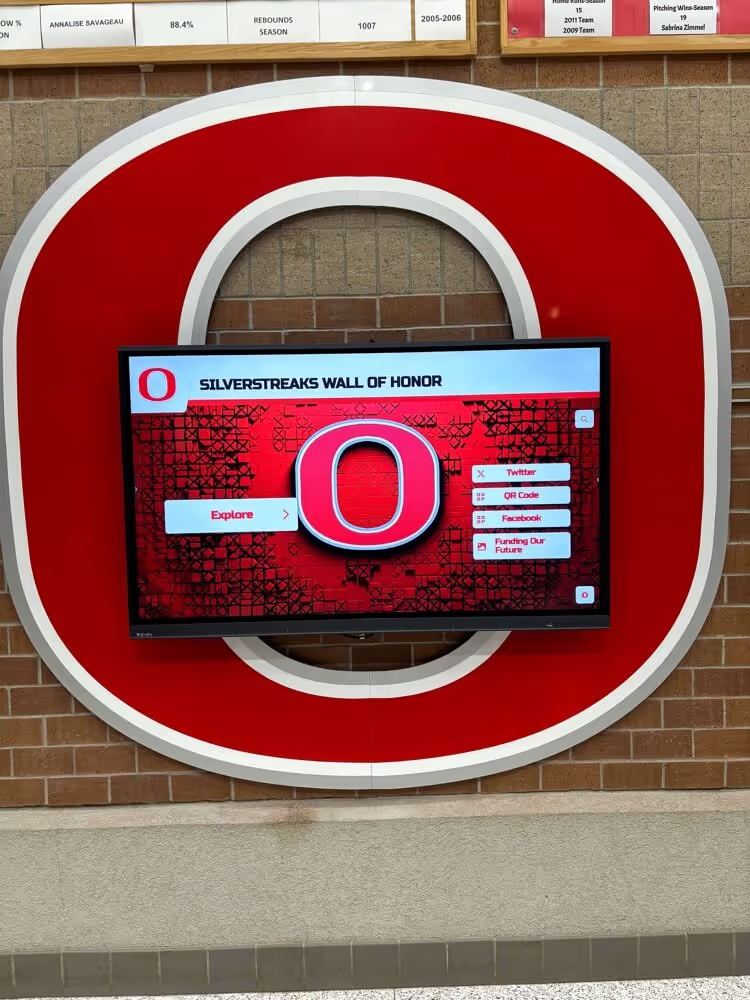
Athletic history displays that reach back decades depend on the condition of the microfilm collections that hold the original coverage — the physical inspection phase confirms whether that content survives in a recoverable state
Phase 3 Checklist: Reader Equipment and Scanner Condition
If the school maintains a microfilm reader or reader-printer, its mechanical condition directly affects both the safety of inspection-phase film transport and the quality of any on-site scanning output. A dirty or poorly maintained reader introduces scratches, static-related dust accumulation, and transport irregularities that damage film and degrade scan results even when the film itself is stable.
- Inspect the reader’s optical path — the glass platen, condenser lens, and projection lens should be free of dust, fingerprints, or haze; any residue on the optical path reduces image clarity during inspection and scanning
- Inspect the film transport mechanism — the drive rollers, guide channels, take-up spool, and film gate should move smoothly and freely without rough spots, debris in the guide path, or roller surface degradation that would scratch passing film
- Check the lamp — a dim, uneven, or flickering lamp affects image quality during inspection and may indicate end-of-service life; replacement lamps appropriate for the unit model should be sourced before archival work begins
- Test the reader with a known-good film sample — before any archival film is transported through the machine, verify image clarity and transport smoothness using a roll confirmed to be stable and replaceable; do not use archival items as the test medium
- For flatbed or dedicated microfilm scanners: confirm the scanning glass is clean, the software settings are correct for the film format and polarity (16mm vs. 35mm; positive vs. negative image), and that a test scan of a known item has been reviewed for resolution, sharpness, and geometric accuracy before archival scanning begins
- Log the reader or scanner maintenance date — if cleaning and maintenance records are not available, clean the unit fully before any archival film is processed
- Verify the transport path is clear of debris — even small particles that do not affect ordinary paper copying can scratch the microfilm emulsion layer, which carries the image
For schools that do not have functioning readers or staff trained to operate microfilm scanning equipment, this phase is documented as “no on-site reader in active use” and all film transport and digitization is routed to a professional vendor.
Phase 4 Checklist: Safe Handling Protocols
Microfilm requires handling practices that differ from most archival media. The emulsion layer — the surface that carries the image — is vulnerable to fingerprint oils, abrasion from contact with unclean surfaces, and static-generated dust attraction. Each handling interaction is a potential source of damage, and handling protocols should be established and followed consistently across all staff and volunteers touching the collection.
Pre-handling setup:
- Prepare a clean, flat work surface covered with a lint-free cloth or clean foam mat; the workspace should have no clutter that could scratch or snag the film during handling
- Put on white cotton gloves or clean nitrile gloves before touching any film; avoid vinyl gloves, which can leave residue on film surfaces
- Ensure the workspace has diffuse, adequate lighting — not direct sunlight, which generates heat on film left under the beam for more than a few minutes
- Have a clean archival canister, acid-free sleeve, or archival storage box ready to receive the film when the inspection of each item is complete
During handling:
- Hold roll microfilm by the edges of the reel or core — never touch the film surface directly, even while wearing gloves
- Unspool only as much film as needed for the specific inspection step — do not fully unspool rolls unless required for surface remediation or full-frame review
- If film must be laid flat for surface examination, place it emulsion-side up on the lint-free work surface — do not press, stretch, fold, or bend any section of the film
- Never use adhesive tape to repair torn or separated microfilm — tape adhesives migrate into the emulsion and cause permanent image loss over time; splicing repairs require archival-grade splicing equipment and trained staff
- Rehouse any film found outside its canister or sleeve — loose film accumulates dust and is vulnerable to mechanical damage from even routine handling
- Log each handling event in the inspection record: date, staff member, duration, and observations during that handling session
Post-handling:
- Return film to its canister or sleeve before moving it to another location or setting it down
- If the enclosure is damaged, acidic (orange or brown discoloration inside), or otherwise unsuitable, transfer the film to an archival-quality replacement before returning to storage
- Update the inspection record with all condition findings before moving to the next item in the collection
- Replace gloves between items if any mold, debris, or contamination was encountered — cross-contamination between items is a real risk when handling a collection with mixed condition grades
For schools building a broader framework for how physical archival holdings connect to recognition program content, the resources on academic history archiving and digital preservation for schools provide context for situating microfilm inspection within a comprehensive institutional approach to legacy content management.
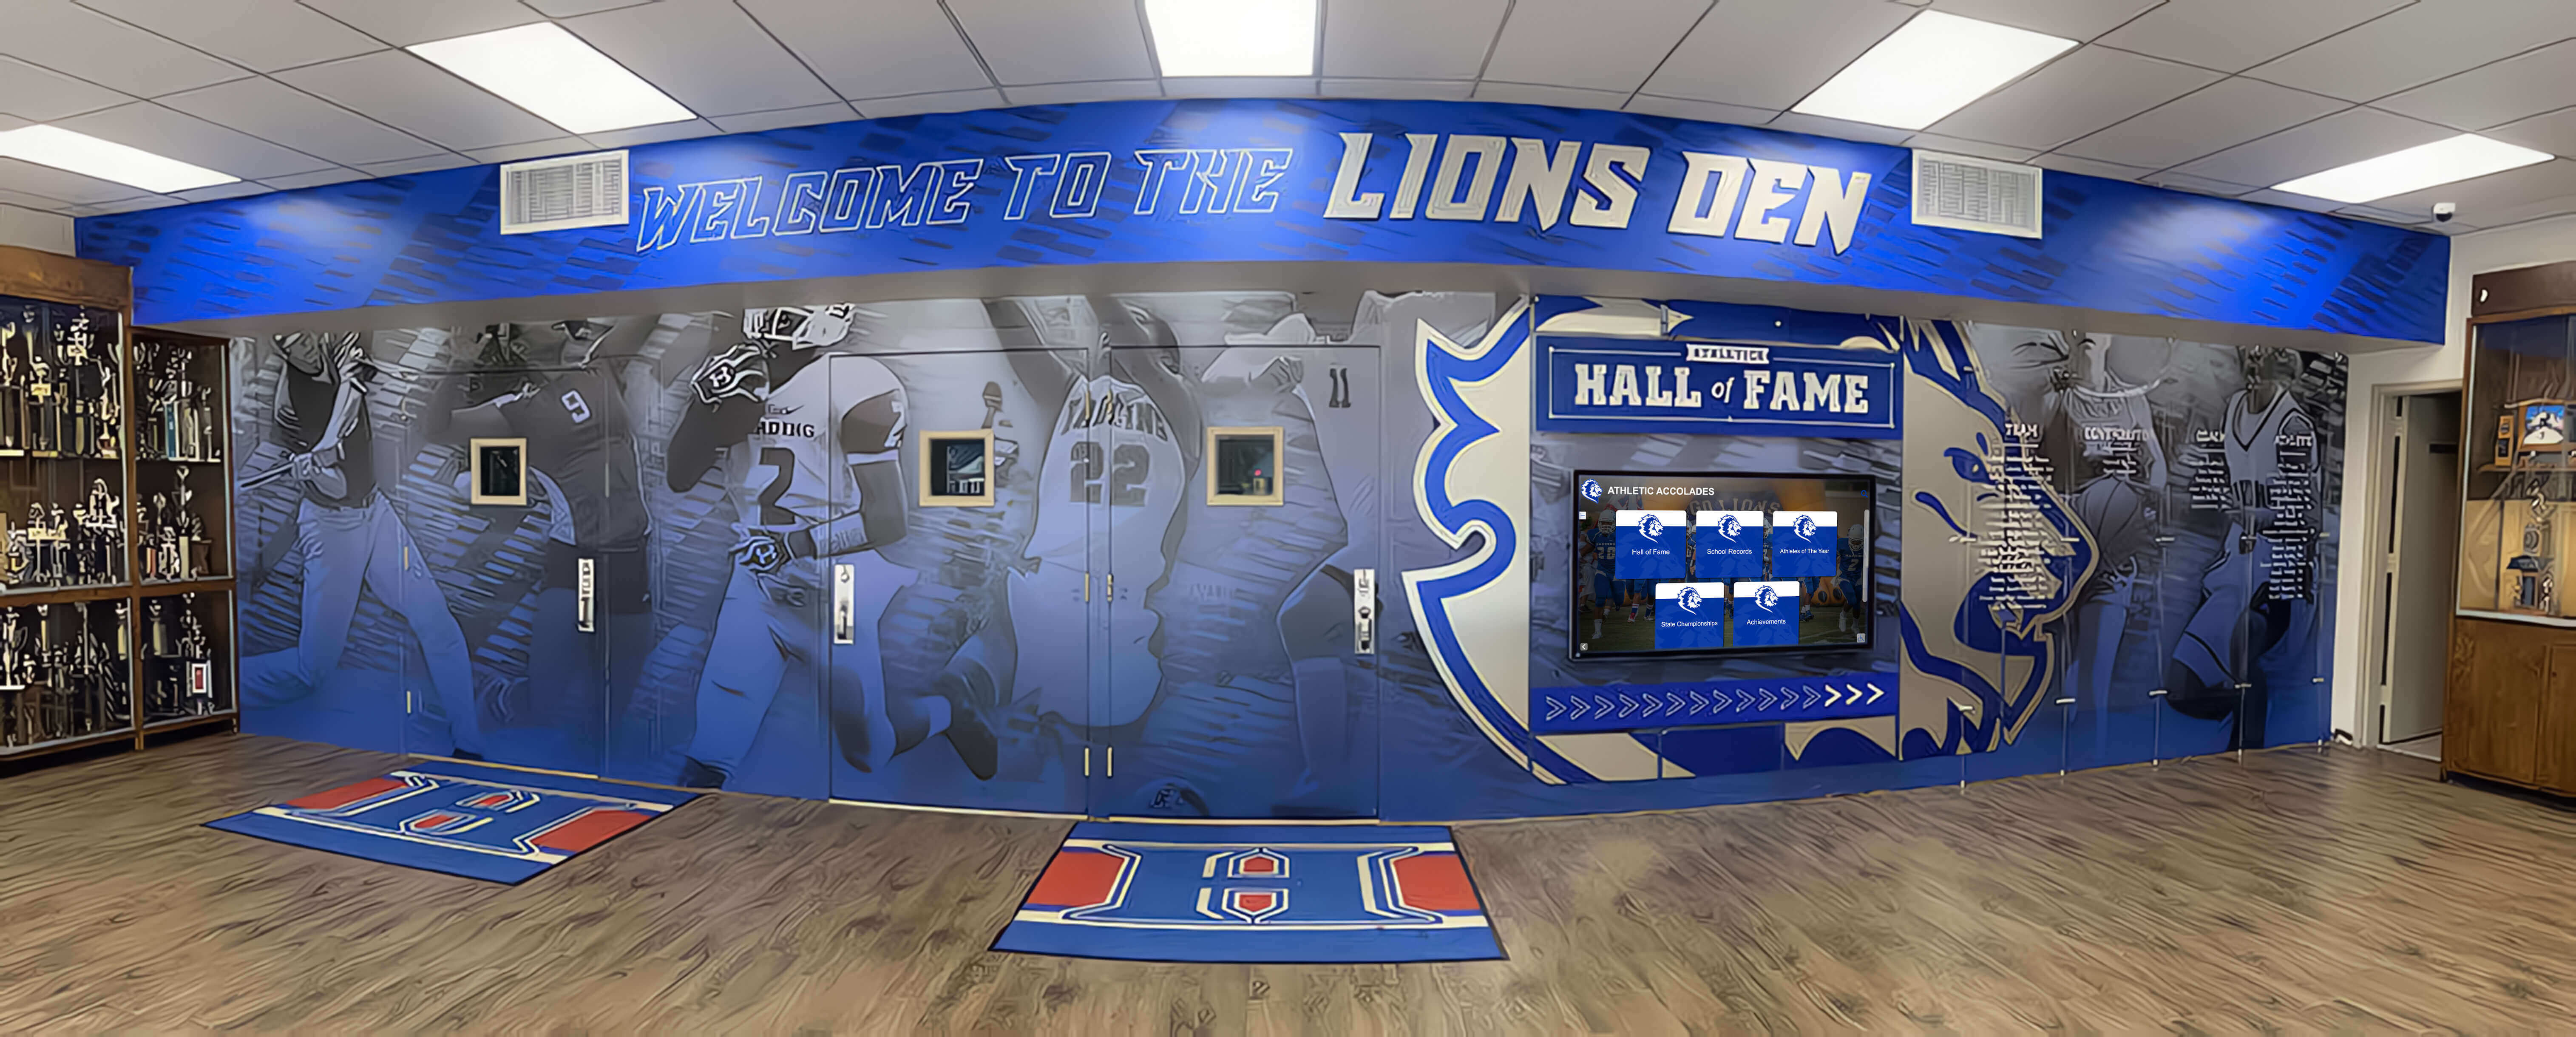
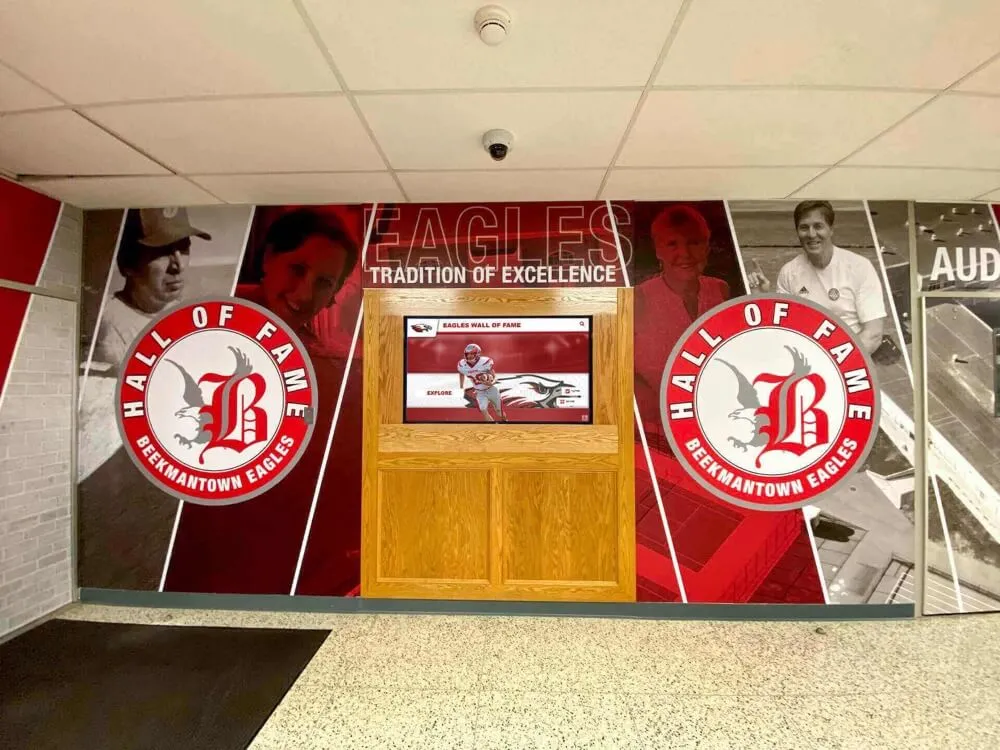
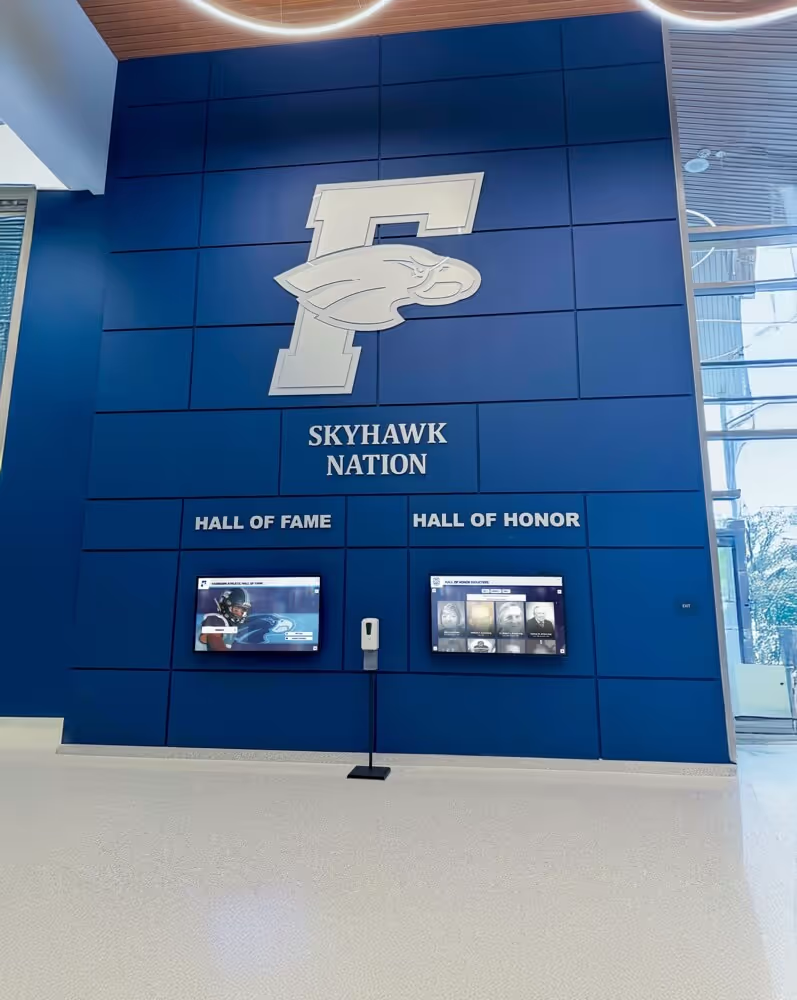
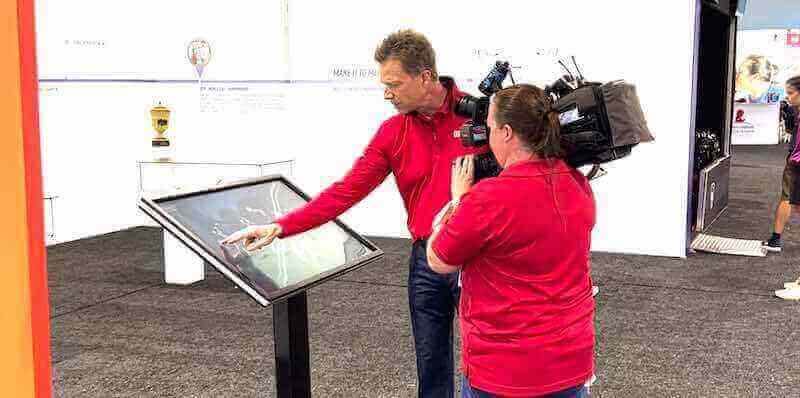
The championship eras and individual achievement records that populate athletic hall of fame displays often have their most complete documentation on microfilm — inspection and handling protocols protect that record from being lost during routine access
Phase 5 Checklist: Digitization Trigger Assessment
Not every microfilm roll requires immediate digitization. Stable film in good storage conditions can remain in physical form for years without urgent action, provided the environment is acceptable and access frequency is low. The digitization trigger assessment determines whether an item moves from monitored storage to the active digitization queue based on its condition, content value, and programmatic demand.
Condition-based digitization triggers:
- Any Grade C or Grade D condition finding — film showing active degradation beyond the earliest blemish stage requires digitization before further deterioration makes scanning impossible or output quality unacceptable
- Redox blemishes appearing in image areas, not only at edges — blemishes at the edge of frames are common and may not affect content; blemishes in the image area directly obscure text and images; digitization before they expand is necessary
- Vinegar syndrome confirmed by smell test — acetate film in active vinegar syndrome is deteriorating; cool, dry storage can slow the process, but digitization of at-risk content should be accelerated because the process is not reversible
- Brittleness detected during the Phase 2 inspection — film that is beginning to feel stiff or that cracks under minimal flex may survive a limited number of additional transits through a reader before becoming too fragile to scan; digitization while it is still mechanically stable is the only recovery path
- Silver mirroring extending from edges into image areas — edge mirroring is common and may not affect content; mirroring that has advanced into the center of frames indicates significant silver migration that will continue to expand
Content and program demand digitization triggers:
- Content identified for an active recognition display, hall of fame, or alumni event — film holding coverage of a championship year, a hall of fame inductee’s career, or an awards ceremony should be digitized before the event it is intended to support
- Content requested by staff, alumni, researchers, or media — a specific request for identifiable content creates programmatic demand that justifies prioritizing that item’s digitization
- Program anniversary milestones — the 25th, 50th, or 100th year of a sports program, an athletic department reunion, or a building dedication creates the recognition context and timeline pressure that justifies digitizing era-specific coverage
- Sole-surviving record status — if the microfilm is the only copy of a publication, ledger, or record (no print original survives), its digitization should be prioritized regardless of apparent physical condition
Digitization priority matrix:
| Condition Grade | High Content Value | Low Content Value |
|---|---|---|
| A — Stable | Digitize within 24 months or when programmatic demand arises | Digitize within 3–5 years or on next scheduled digitization project |
| B — Early Degradation | Digitize within 6 months; improve storage environment immediately | Digitize within 12 months; improve storage environment immediately |
| C — Active Degradation | Professional evaluation; digitize as soon as scanning is determined safe | Professional evaluation; do not delay further assessment |
| D — Critical | Conservator consultation required before any further handling or action | Conservator consultation required before any further handling or action |
For programs that have already established recognition display launch timelines and are working backward to identify which archival content needs to be digitized by specific dates, the guidance on athletic trophy case display ideas and showcasing school legacy illustrates how display launch schedules create natural, program-driven digitization deadlines.
Schools managing both physical award records and microfilm content simultaneously should integrate the digitization timeline with the broader recognition program calendar. The process of planning award ceremonies and recognition events often surfaces specific historical content needs — a retrospective on the founding era of a sport, a tribute to a retiring coach, a display of consecutive title years — that immediately generate targeted digitization demand for exactly the microfilm items most likely to hold relevant content.
Master Checklist Summary Table
| Phase | Task | Scope |
|---|---|---|
| 1. Environment | Measure temperature and humidity; document instrument and reading | Before all film handling sessions |
| 1. Environment | Assess stability of temperature and humidity over time | Before all film handling sessions |
| 1. Environment | Check for light exposure, chemical proximity, and pest evidence | Before all film handling sessions |
| 1. Environment | Confirm storage orientation and enclosure type for each item | Before all film handling sessions |
| 2. Physical Film | Inspect canister exterior; photograph and record label verbatim | Per item |
| 2. Physical Film | Smell test for vinegar, camphor, or fruity odor | Per item |
| 2. Physical Film | Check visible film surface for redox blemishes and silver mirroring | Per item |
| 2. Physical Film | Check for brittleness, curling, scratches, and discoloration | Per item |
| 2. Physical Film | Assign condition grade A, B, C, or D and document rationale | Per item |
| 3. Equipment | Inspect reader optical path, lamp, and transport mechanism | Before each reader-based inspection session |
| 3. Equipment | Test with known-good sample film before archival items | Before each archival handling session |
| 3. Equipment | Log maintenance date; clean unit if no maintenance record exists | Before each archival handling session |
| 4. Handling | Set up lint-free work surface; put on cotton or nitrile gloves | Before each handling session |
| 4. Handling | Hold reels by edges only; never touch the film surface | During all handling |
| 4. Handling | Log each handling event with date, staff member, and observations | During all handling |
| 4. Handling | Rehouse film in archival enclosure before returning to storage | After each item inspection |
| 5. Digitization Triggers | Assess all condition-based triggers from Phase 2 grade | Per item |
| 5. Digitization Triggers | Assess content value and program demand triggers | Per item |
| 5. Digitization Triggers | Assign digitization priority using the priority matrix | Per item |
| 5. Digitization Triggers | Route item to digitization queue, monitored storage, or conservator | Per item |
Connecting Microfilm Content to Athletic Recognition Programs
The practical endpoint of a microfilm inspection and digitization project is not a hard drive of image files. It is the recovered content itself — the 1968 game coverage from the school newspaper, the 1982 record-breaking season statistics in the ledger, the 1991 championship program newsletter — available in searchable, displayable form for use in recognition programming that physical plaques and static binders cannot replicate.
Schools that complete microfilm inspections and follow through to digitization build a resource that becomes the foundation for athletic history displays, hall of fame profiles, alumni recognition events, and interactive archives. The newspaper coverage of a coach who built a program over thirty years is more compelling as a browsable archive of front pages than as a name on a plaque. The statistical record of a program’s all-time record holder is more meaningful in the context of the season-by-season progression captured in a digitized ledger than as a single number on a banner.
For programs evaluating how recovered microfilm content fits into alumni-facing recognition, the resources on alumni wall design and creating a lasting tribute for school graduates illustrate how schools translate archival depth — the kind that microfilm uniquely preserves — into recognition experiences that resonate with alumni who lived the eras the film documents. A wall that draws on original newspaper coverage, statistical records, and program histories differs fundamentally from one assembled from memory, current-day research, and approximate recollection.
Schools planning alumni welcome areas that center on athletic legacy should consider how the depth of historical content available in digitized microfilm differentiates the space from a conventional trophy display. The guidance on alumni welcome area design ideas explores how institutions use archival content to create spaces that recognize specific people, specific seasons, and specific achievements rather than offering only general historical acknowledgment — and microfilm digitization is often what makes that specificity possible.
Recognition programs that extend to the full range of institutional achievement documented in school newspapers and yearbooks benefit from the same inspection and digitization process. For schools whose athletic archives intersect with academic recognition programming, the resources on academic recognition programs and how schools build recognition frameworks provide context for honoring the complete range of institutional achievement — including the athletic history documented in the microfilm collections this checklist addresses.
At the level of individual program milestones — induction ceremonies, awards banquets, career retrospectives, and milestone anniversary events — the content recovered from school microfilm becomes program material rather than archive material. The resources on how coaches plan recognition events that match the effort athletes invested illustrate the event contexts in which historically recovered content creates the most impact: a ceremony honoring a coach at retirement, an induction class that includes athletes from the program’s earliest decades, or a season-end banquet that contextualizes the current team within the full arc of program history that only the microfilm archive fully preserves.
For programs focusing on individual achievement recognition alongside athletic history, the guide to academic excellence awards and outstanding student achievement recognition provides context for how schools manage recognition that bridges multiple dimensions of student and program achievement — often drawing on the same microfilm collections that document athletic history for documentary evidence of award recipients and honor program members across decades.
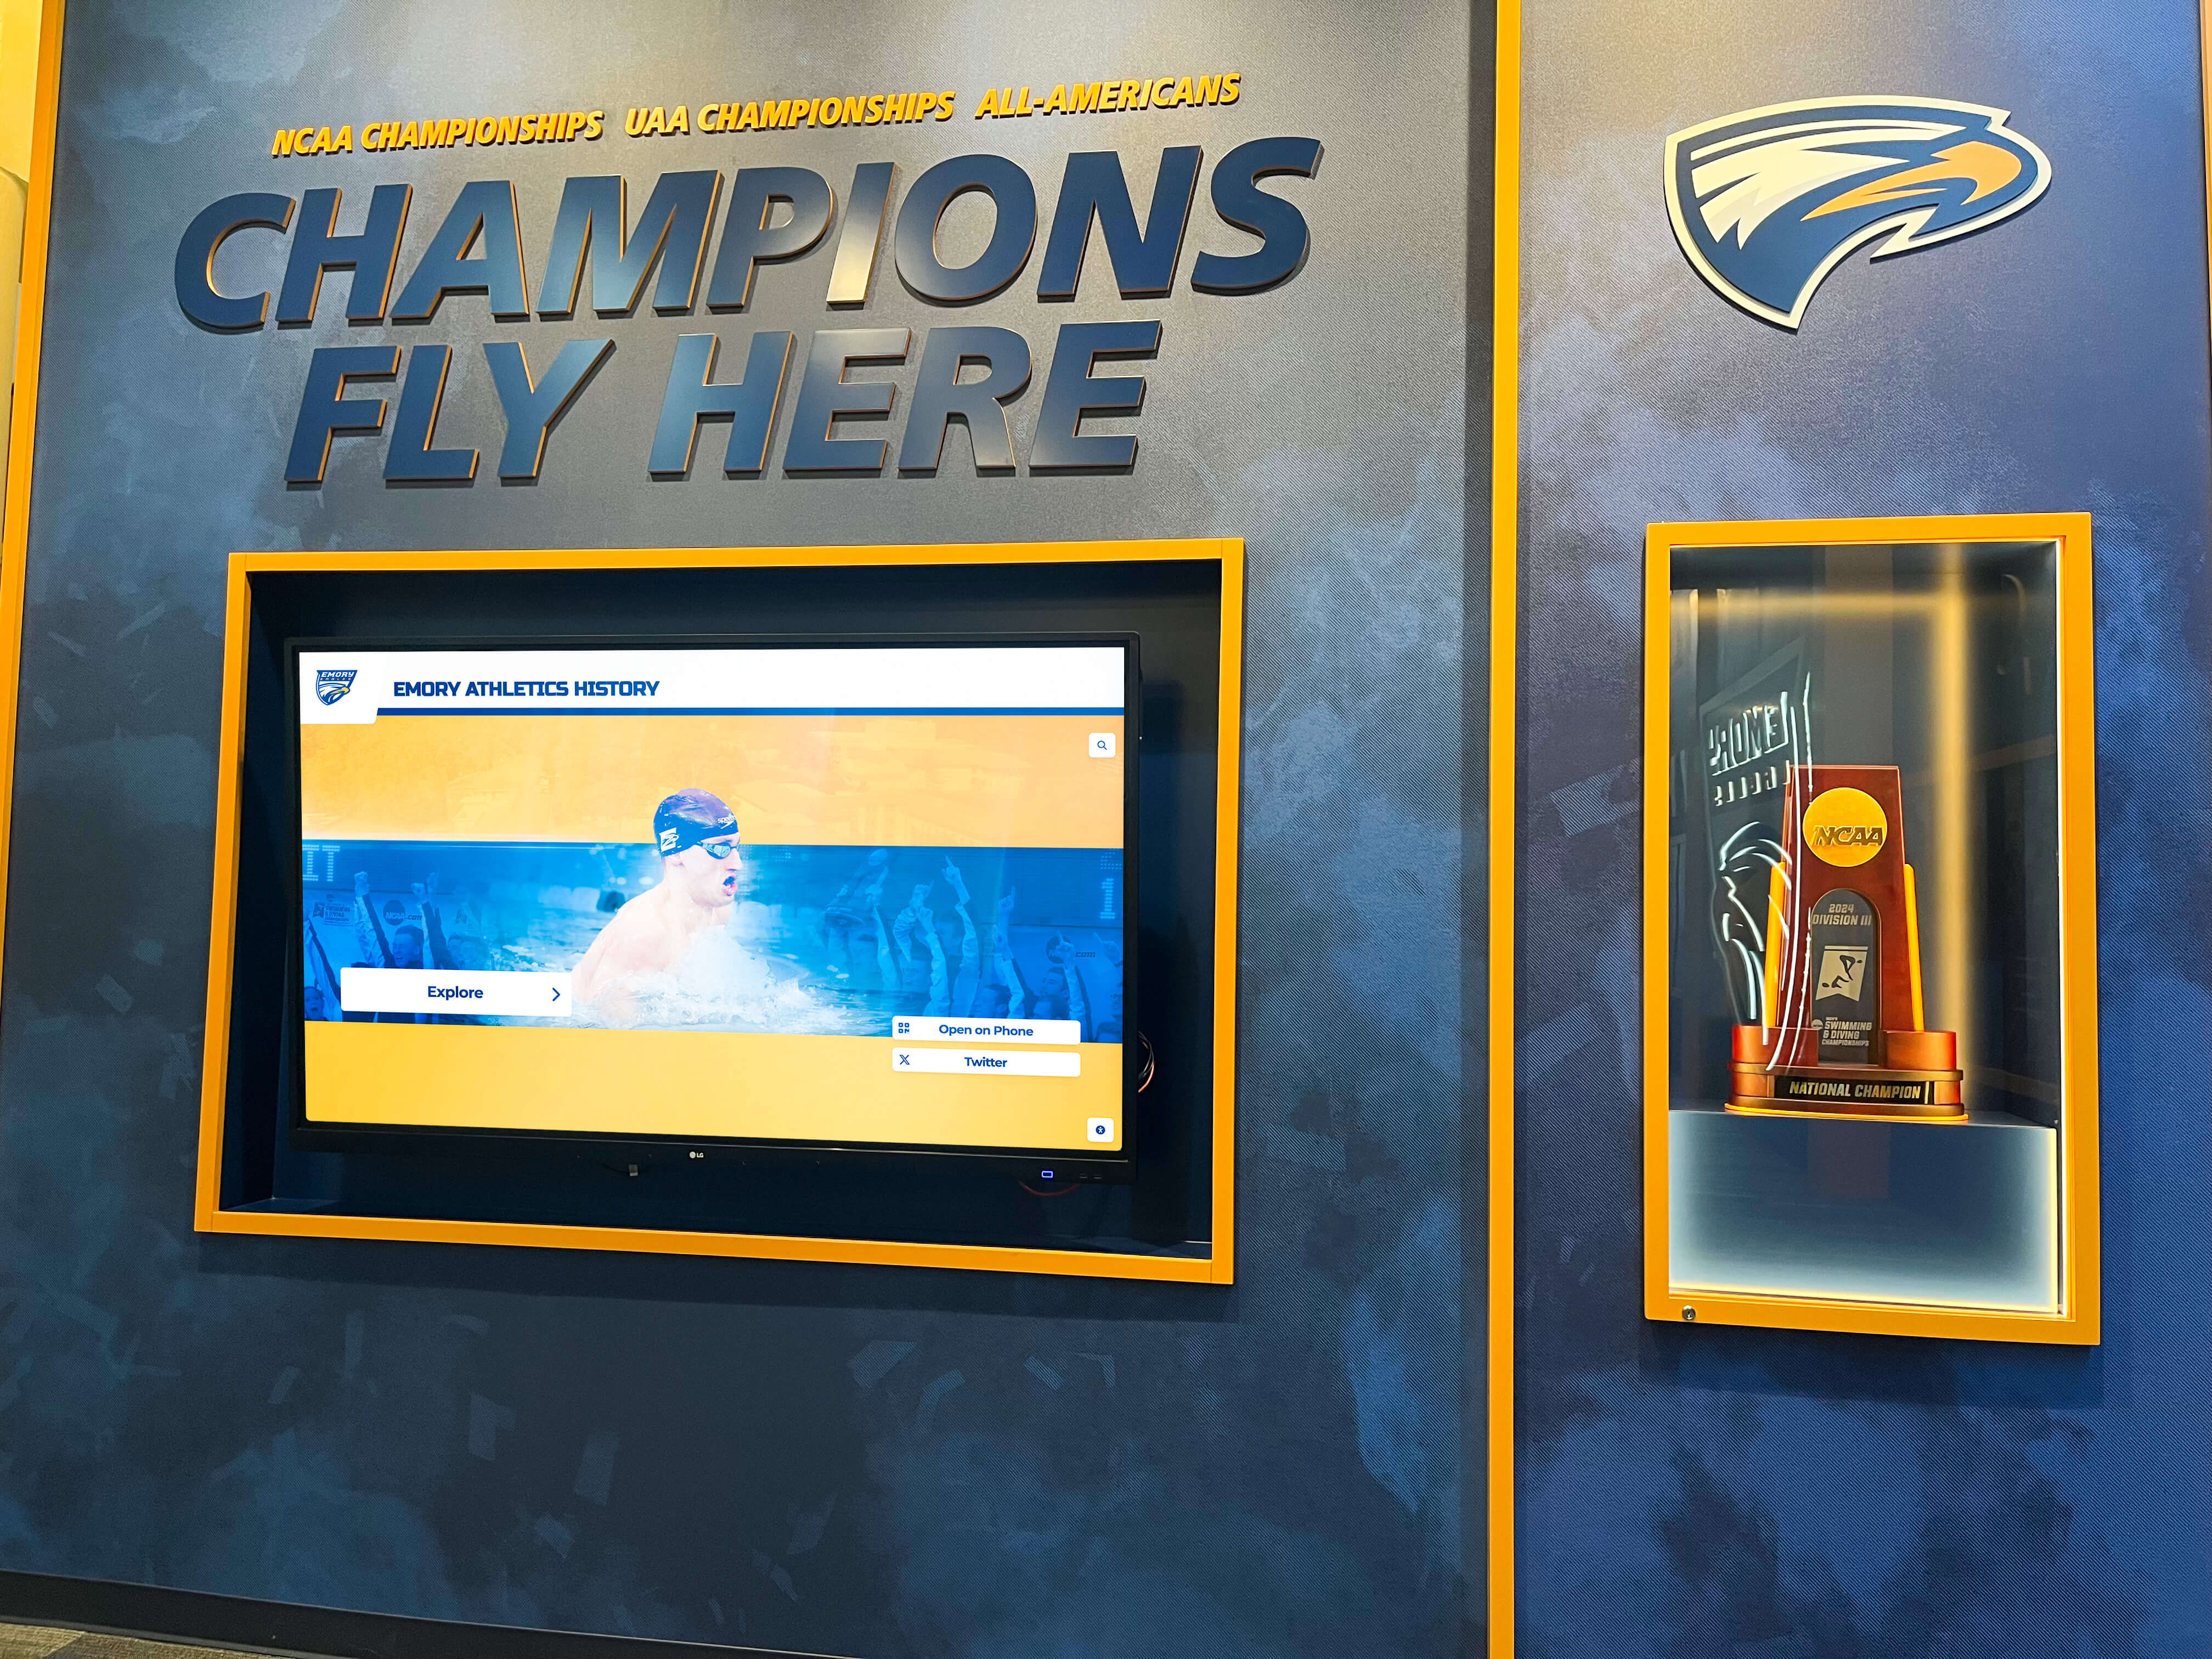
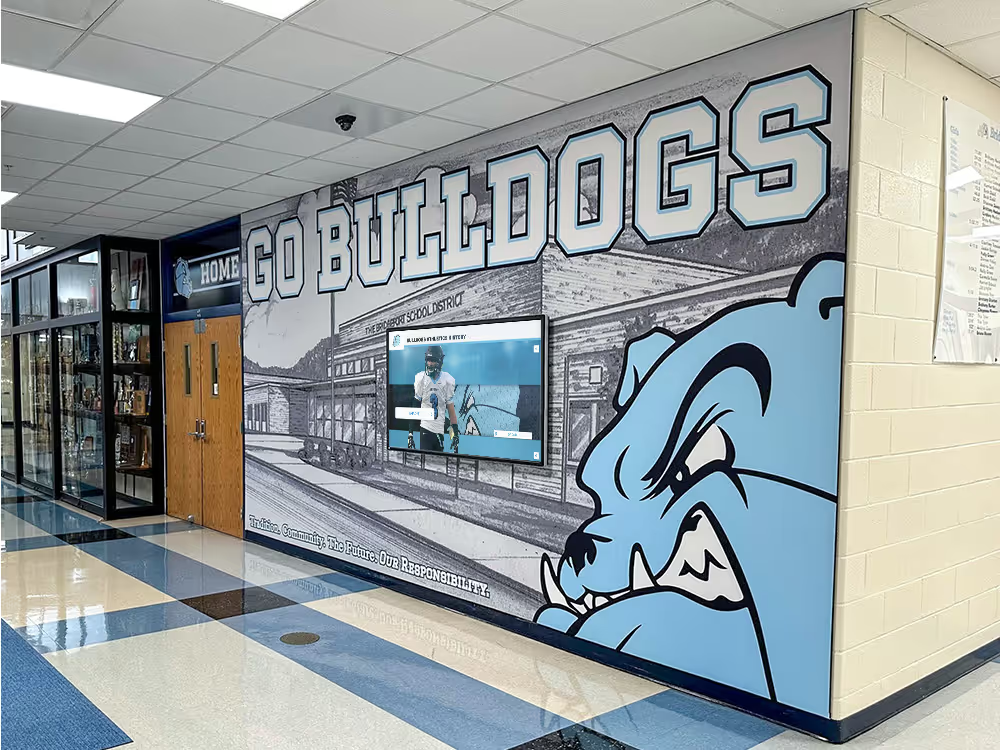
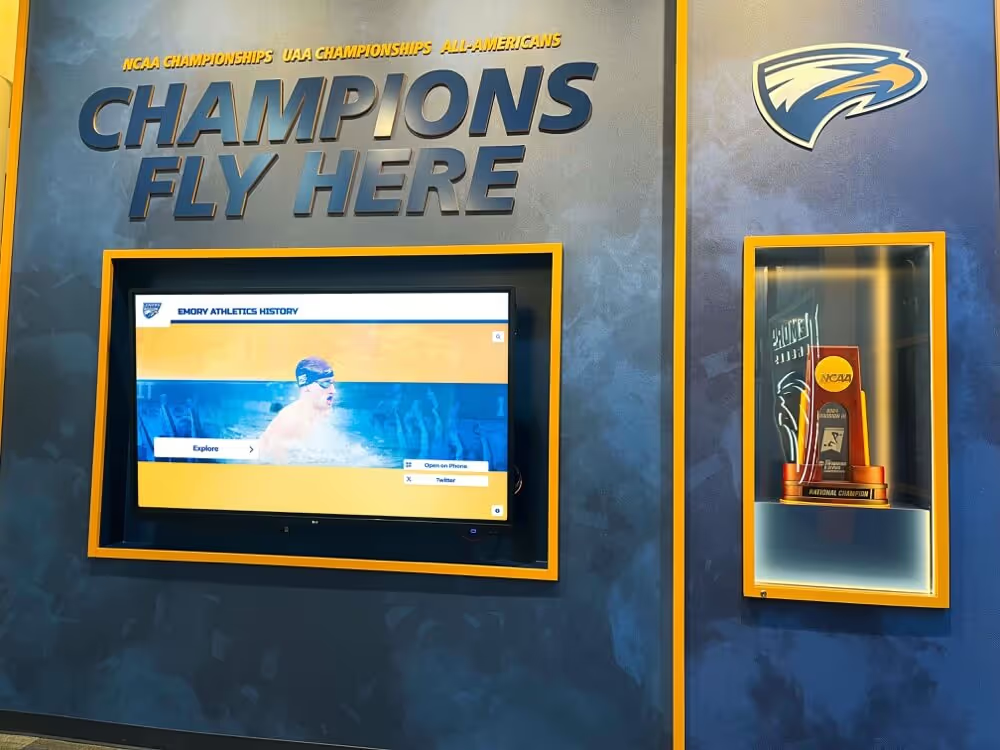
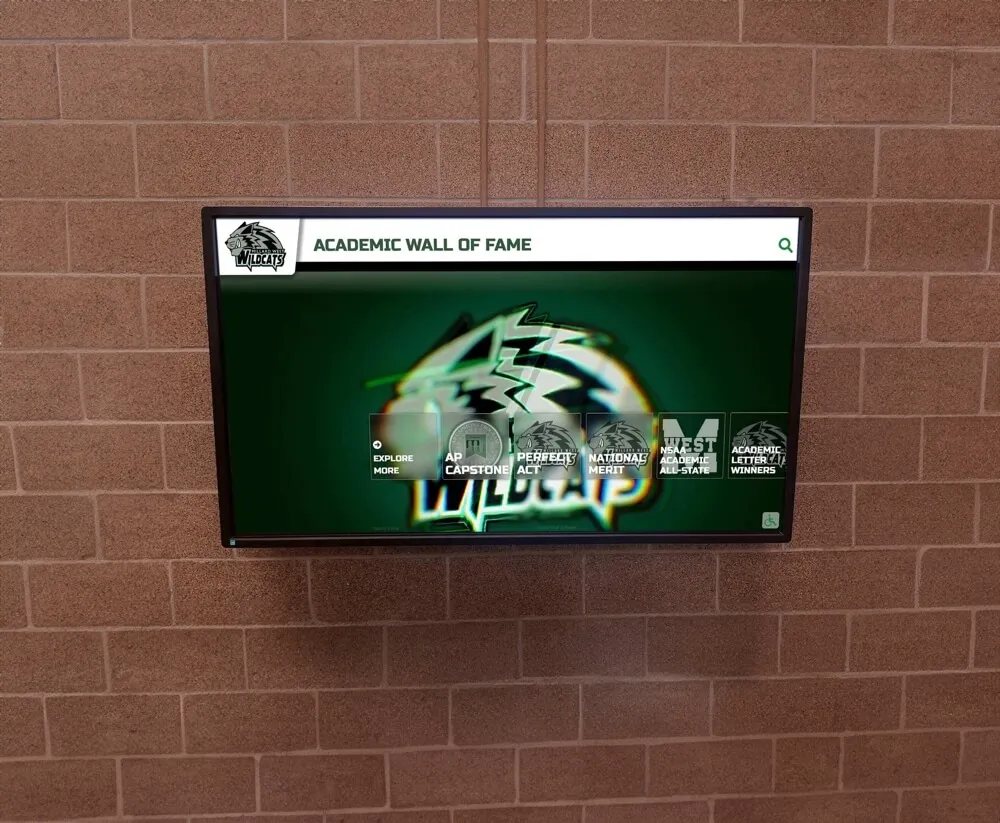
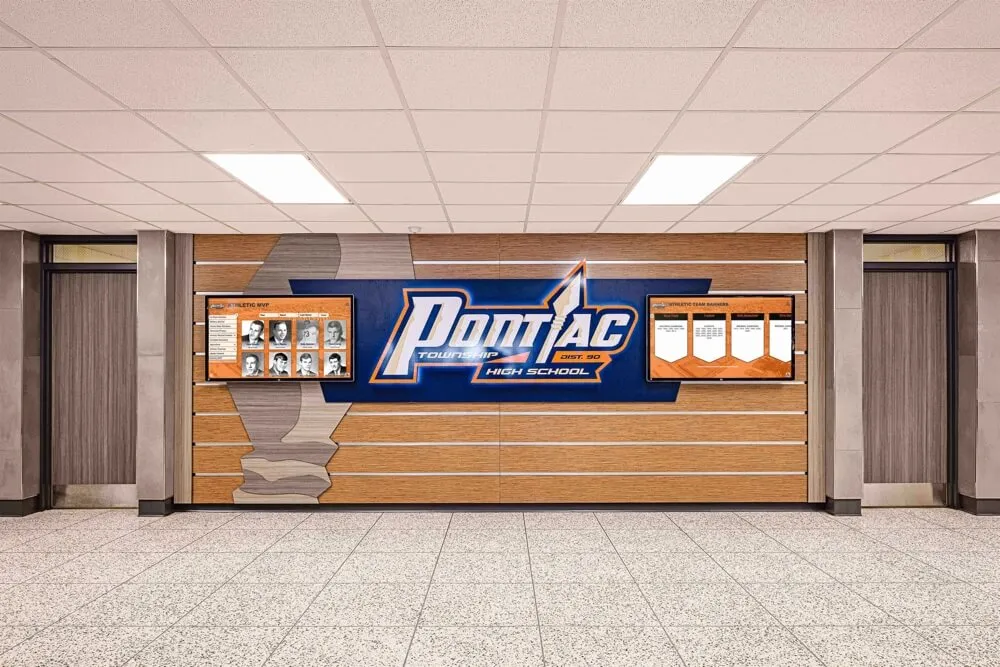
Champions walls and athletics achievement displays at the institutional level draw on the same historical record that school microfilm archives preserve — inspection and digitization is how that record becomes accessible for display rather than remaining in film canisters
Frequently Asked Questions
What types of content from school athletic archives are most commonly found on microfilm?
The most common athletic archive microfilm content includes school newspaper issues covering athletic events and achievements, statistical record ledgers for sports with long competitive histories such as track and field, swimming, and cross country, yearbook pages that were microfilmed during the period before digital publishing, booster organization newsletters covering major games and championship seasons, and occasionally meeting minutes or administrative records from athletic departments. The specific content varies by school and by the decade in which the microfilming occurred. Schools with active journalism programs through the 1960s, 1970s, and 1980s are most likely to have substantial newspaper microfilm collections, while schools that microfilmed yearbooks or sent administrative records to a preservation service will have a different content mix.
How do we identify whether microfilm in our collection is acetate-base or polyester-base?
Polyester-base microfilm is significantly more dimensionally stable than acetate, does not produce vinegar syndrome odor, and does not become brittle in the same way. Acetate film can often be identified by the vinegar smell that develops as it degrades. Film produced before roughly the early 1990s in most institutional settings is more likely to be acetate; film produced after that period is more likely polyester. If the base material is not documented in accompanying records, a brief flex test — unspooling a small section and observing whether it lies flat or curls back immediately — can provide a preliminary indicator. Formal base material identification requires chemical analysis typically performed by a preservation professional, which is worth requesting if the collection is large or if the base type affects major treatment decisions.
Can we scan microfilm using a consumer flatbed scanner with a film adapter?
Consumer flatbed scanners with transparency adapters can produce usable output for microfiche and some roll formats in situations where the school needs preliminary content verification. They are generally not calibrated for microfilm scanning and may introduce resolution, contrast, or geometric distortion problems that reduce the usability of the files produced. Dedicated microfilm scanners — both library-grade desktop units and professional production scanners used by digitization vendors — are designed for the film gauges, density ranges, and frame-advance requirements of microfilm in ways that consumer equipment is not. For verifying whether a specific canister holds recoverable content, a flatbed with a film adapter is a reasonable first step. For systematic digitization of an athletic archive collection, professional scanning produces significantly better output and is worth the additional cost.
What should we do with canisters that have no label or an illegible label?
Unlabeled or illegible-label canisters require a brief inspection of the first frames of film to determine content. The inspection record should note the canister as “unlabeled — content verification required” and flag it for priority review during the digitization trigger assessment. Even a few visible newspaper front page frames, a statistical table header, or a yearbook section title can narrow the content identification enough to assign archival value and triage priority. Unlabeled canisters should not be discarded or set aside — the probability that an unlabeled canister from a school’s long-term storage holds athletic content of some kind is reasonably high, and the cost of a brief inspection is significantly lower than the cost of discovering, after discarding the film, that it held irreplaceable coverage.
How does digitized microfilm content connect to an interactive athletic recognition display?
Digitized microfilm produces image files — typically TIFF masters for archival use and JPEG or PDF derivatives for access and display. Those files can be integrated into interactive recognition platforms that allow students, alumni, and visitors to browse school newspaper front pages by season, view statistical records alongside current record boards, or explore yearbook pages from championship years. The microfilm inspection and digitization workflow is the upstream process that makes this content available; the recognition display is where it becomes visible to the school community. Schools evaluating how historical microfilm content fits into a broader athletic archive and recognition strategy will find the framework in the resources on academic history archiving and digital preservation useful for connecting the microfilm digitization workflow to the display program outcome.
Should we retain physical microfilm after digitization is complete?
Digitization does not eliminate the value of the physical film. Silver gelatin microfilm is considered a preferred archival preservation format by many institutions precisely because of its long-term stability under proper conditions. After digitization, physical originals should be retained in archival-quality metal or inert-plastic canisters, stored at the temperature and humidity levels described in Phase 1 of this checklist. The physical original serves as the preservation master if digital files are ever lost, corrupted, or need to be re-scanned at a higher resolution in the future. Each canister should be labeled with its inspection date and digitization status before returning to storage so future staff members know the item has been processed and a digital copy exists in the institutional archive.
Ready to Turn Digitized Microfilm Into a Recognition Experience?
Once your athletic archive microfilm has been inspected, prioritized, and digitized, Rocket Alumni Solutions helps schools transform that recovered content — decades of newspaper championship coverage, statistical records, yearbook pages, and program histories — into interactive recognition displays that students, alumni, and visitors can explore by season, by sport, or by individual athlete. From digital halls of fame that surface historical news coverage alongside current achievements to searchable archive displays that bring the full depth of a program's history into a single touchscreen experience, our platform is built for schools that want their archival work to be visible and meaningful rather than stored in a cabinet. Request a demo to see how your digitized microfilm content connects to a recognition experience that honors everything your program has built.
Request a Demo