Athletic Archive Storage Media Refresh Schedule: When to Copy, Verify, and Retire Drives
- Home /
- Touch Archive Blog /
- Athletic Archive Storage Media Refresh Schedule: When to Copy, Verify, and Retire Drives
The Easiest Touchscreen Solution




Live Example: Rocket Alumni Solutions Touchscreen Display
Interact with a live example (16:9 scaled 1920x1080 display). All content is automatically responsive to all screen sizes and orientations.
An athletic archive storage media refresh schedule tells schools exactly when to copy archive files to new drives, run integrity checks, and take aging hardware out of rotation — before a silent failure destroys decades of photographs, championship records, and recognition assets. The core recommendation: refresh external hard drives every two to three years, run automated verification checks at least quarterly, and retire any drive that shows read errors, unusual sounds, or SMART warnings immediately — never wait until a failure is confirmed.
This guide gives athletic directors, archive coordinators, and school administrators a practical, repeatable schedule they can implement without dedicated IT staff. It covers storage media lifespan, step-by-step copy and verify procedures, a retirement checklist for aging drives, and how media health connects to the recognition programs, hall-of-fame displays, and donor assets that depend on archive content being available and readable. Nothing in this guide constitutes legal advice; align all data retention and storage policies with your school or district’s written guidelines and qualified counsel.
Every photograph, roster, record certificate, and video highlight stored on a school’s archive drives represents institutional memory that cannot be re-created once it is lost. A hard drive that stops spinning, a flash drive left in a desk drawer, or a tape cartridge that has never been verified is a liability disguised as a backup. Unlike physical deterioration — which is visible — digital storage failure is often silent until it is too late.

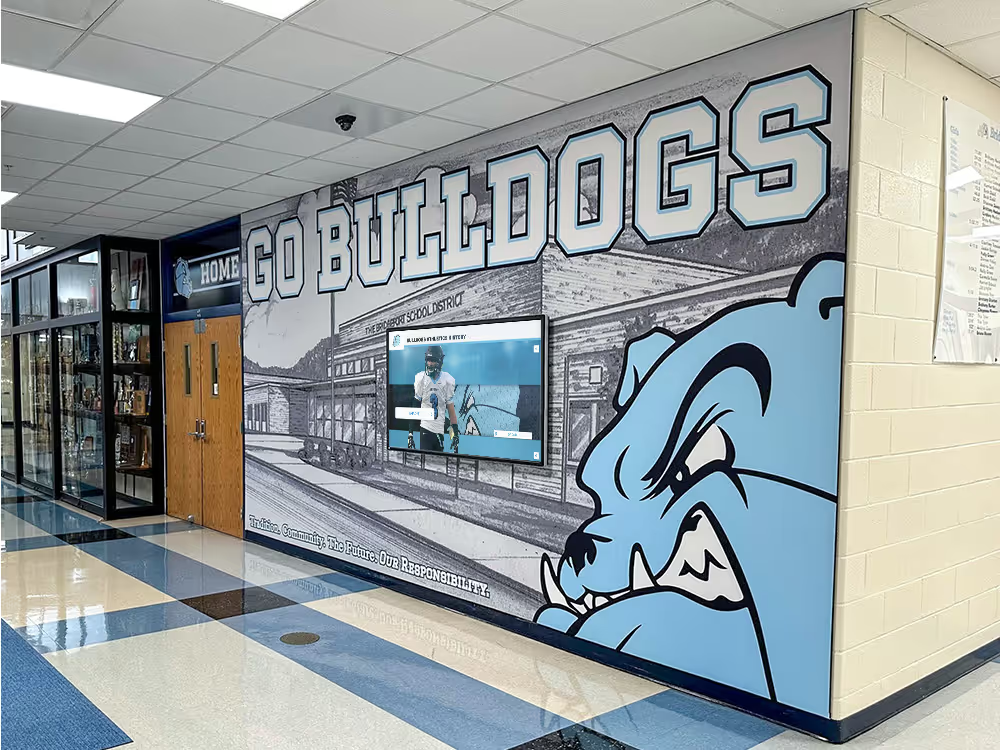
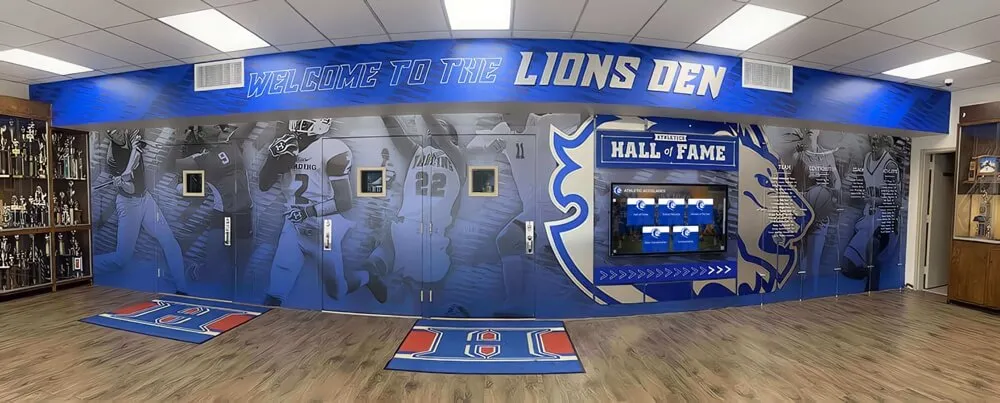
The photographs and records in a school athletic archive are only as safe as the storage media that holds their digital copies — a proactive media refresh schedule prevents silent, irreversible loss
Why Storage Media Fails — and Why Schools Are Vulnerable
Storage media does not last forever. Every drive type — spinning hard disk, solid-state drive, optical disc, USB flash drive, magnetic tape — has a finite service life, and that life is shortened by heat, humidity, infrequent use, physical shock, and power fluctuations common in school storage environments.
Schools face specific vulnerabilities that increase the risk of archive loss:
- Infrequent access: Archive drives stored in a closet may go years without being powered on, during which bearings can seize (in spinning drives) and capacitors can drain (in solid-state drives).
- No refresh cadence: Without a written schedule, staff changes result in drives that were “last verified by someone who left in 2019.”
- Single-copy storage: Many school archives exist as a single copy on a single drive — the opposite of a survivable archive.
- Consumer-grade hardware: Drives purchased at retail for general use have shorter duty cycles than enterprise archive hardware.
A structured athletic archive storage media refresh schedule converts these risks from unmanaged to manageable.
Storage Media Lifespan Reference
The following table summarizes typical service life and refresh intervals for common storage media types used in school athletic archives. Actual lifespan varies by environment, usage pattern, and specific hardware. Use these figures as planning benchmarks, not guarantees.
| Media Type | Typical Reliable Lifespan | Recommended Refresh Interval | Notes |
|---|---|---|---|
| External HDD (spinning) | 3–5 years | Every 2–3 years | Vulnerable to physical shock; monitor SMART data |
| External SSD | 5–10 years | Every 3–5 years | Less shock-sensitive; check for firmware updates |
| USB flash drive | 2–5 years | Every 1–2 years | Not suitable as primary archive storage; access copies only |
| NAS (RAID array) | 5–8 years per drive | Individual drives: every 3 years | Replace drives on staggered schedule; do not replace all at once |
| M-DISC optical | Rated 1,000+ years | Verify every 5 years | Durable but slow to write; practical for permanent master records |
| Standard DVD/BD | 2–25 years (varies) | Verify every 3 years; replace if errors | Consumer media degrades faster in heat and humidity |
| LTO Magnetic Tape | 30+ years (stored) | Verify every 3–5 years; refresh every 10 | Professional standard; requires compatible drive hardware |
| Cloud storage | N/A (service-dependent) | Annual policy and access review | Not media in the hardware sense; review terms, retention, and access annually |
For most school programs, the practical archive stack is external HDDs or a NAS as primary storage, external SSD or a second NAS as backup, and a cloud service as the offsite copy. This guide focuses on the physical media refresh cycle.
Your Athletic Archive Storage Media Refresh Schedule: 8 Steps
The following schedule applies to a standard school athletic archive using external hard drives, a NAS, or both. Adapt timing to your specific hardware, but do not extend the intervals beyond what the manufacturer recommends.
Step 1: Build a Drive Inventory
Before you can refresh drives on a schedule, you need to know what drives you have.
Create a spreadsheet with one row per drive or storage unit:
- Drive label or identifier
- Make, model, and serial number
- Capacity and current utilization
- Date purchased
- Date last verified
- Files stored (or collection description)
- Physical location
- Backup status (is this drive itself backed up?)
Update this inventory every time a drive is added, retired, or refreshed. The inventory is the foundation of the refresh schedule — without it, staff turnover becomes an archive risk.
Step 2: Set the Annual Verification Calendar
Schedule integrity checks on every archive drive at least once per quarter — ideally once per month for primary archive drives. Add these to the school or department calendar as recurring events, not optional tasks.
| Check Frequency | Applies To |
|---|---|
| Monthly | Primary archive drives (those holding master files) |
| Quarterly | Backup drives and secondary NAS arrays |
| Annually | Offsite drives; cloud storage access and retention policy review |
| Immediately | Any drive after a physical shock, power event, or temperature excursion |
Quarterly checks catch emerging problems before they become total failures. Monthly checks on primary drives provide early warning while masters are still recoverable.
Step 3: Run SMART Diagnostics on Every Spinning Drive
SMART (Self-Monitoring, Analysis, and Reporting Technology) is built into every spinning hard drive and most SSDs. Running a SMART scan takes minutes and surfaces the earliest indicators of mechanical failure — reallocated sectors, read errors, spin-up time changes — before data loss occurs.
Free tools that run SMART diagnostics on Windows (CrystalDiskInfo), macOS (DriveDx, or the built-in Disk Utility), and Linux (smartmontools) are widely available. A SMART scan result of “Good” or “OK” means the drive is currently healthy. Any warning or caution status should trigger an immediate copy-to-new-drive procedure; do not wait to see if the problem resolves.
For NAS arrays, most NAS operating systems (Synology DSM, QNAP QTS, TrueNAS) include SMART monitoring with automatic email alerts — configure these alerts so that the archive coordinator or IT contact receives notification without manually checking.
Step 4: Run a File Integrity Check (Checksum Verification)
SMART diagnostics detect mechanical drive health — they do not verify that every file on the drive is intact. Checksum verification does: it generates a hash fingerprint for each file and compares it against the hash recorded when the file was first archived, confirming that the file has not changed, been corrupted, or been silently altered.
Tools for checksum verification:
- Fixity (free, cross-platform) — purpose-built for archive collections; generates and verifies MD5 or SHA-256 checksums across a folder hierarchy
- HashCheck or md5sum (Windows/Linux command line) — flexible for technical users
- Bagger (Library of Congress tool) — creates BagIt-format packages with embedded manifests; widely used by institutional archives
A checksum mismatch — a file that no longer matches its stored hash — indicates corruption, accidental modification, or ransomware activity. Any mismatched files require investigation and restoration from a backup before the problem spreads.
If checksums were not generated when files were first archived, generate them now and record them as the baseline for future comparisons. A first-run checksum captures current state; subsequent runs detect any drift from that state.
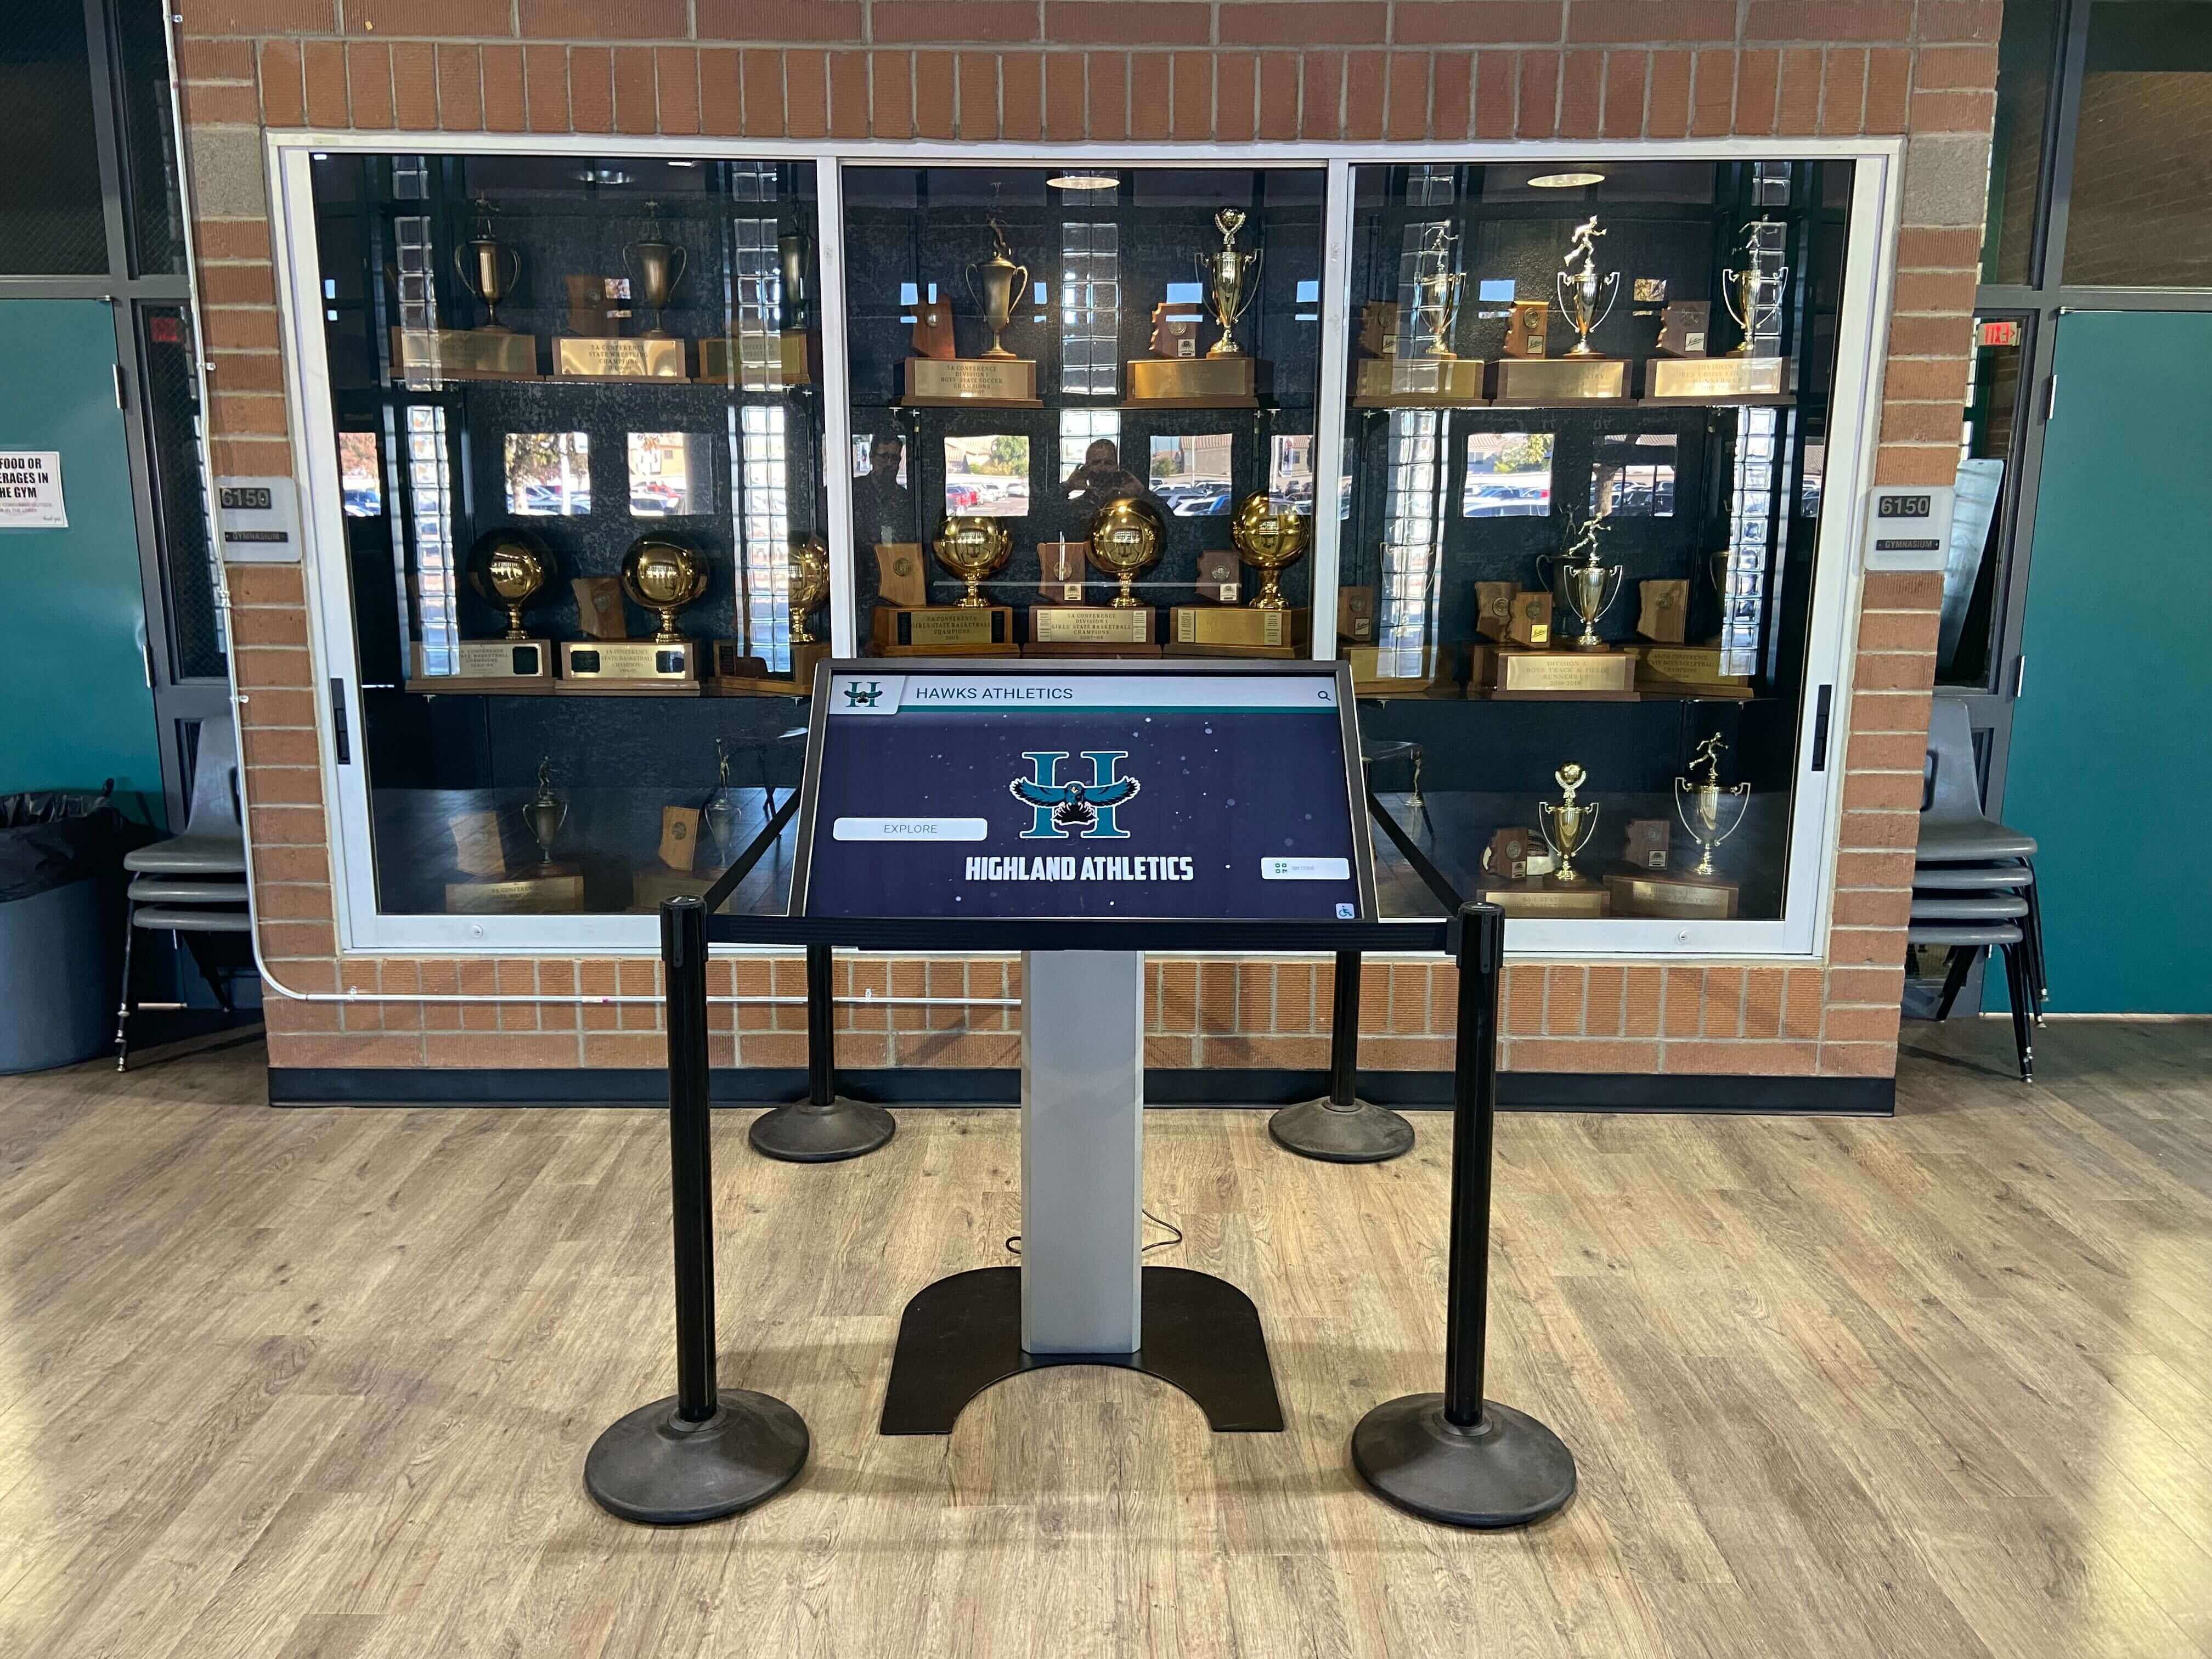
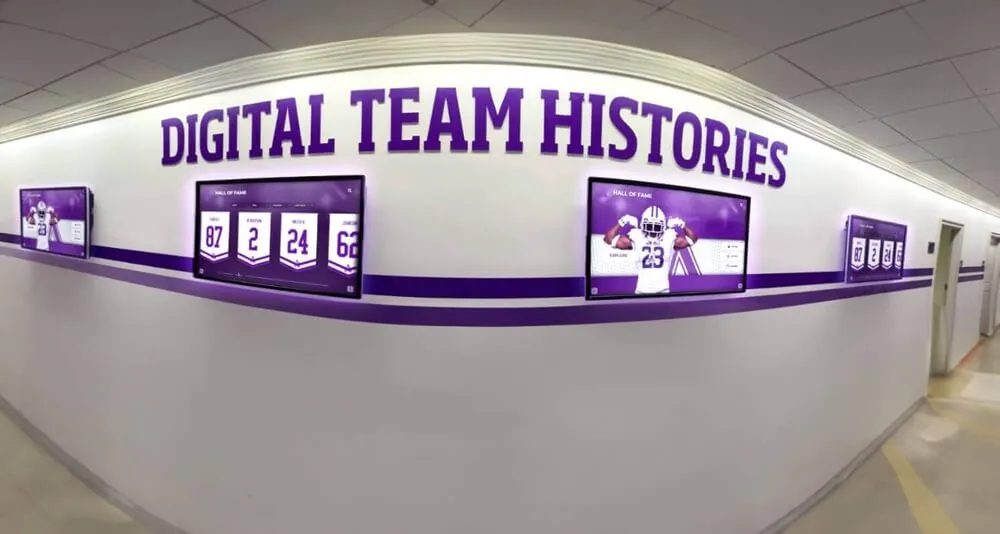
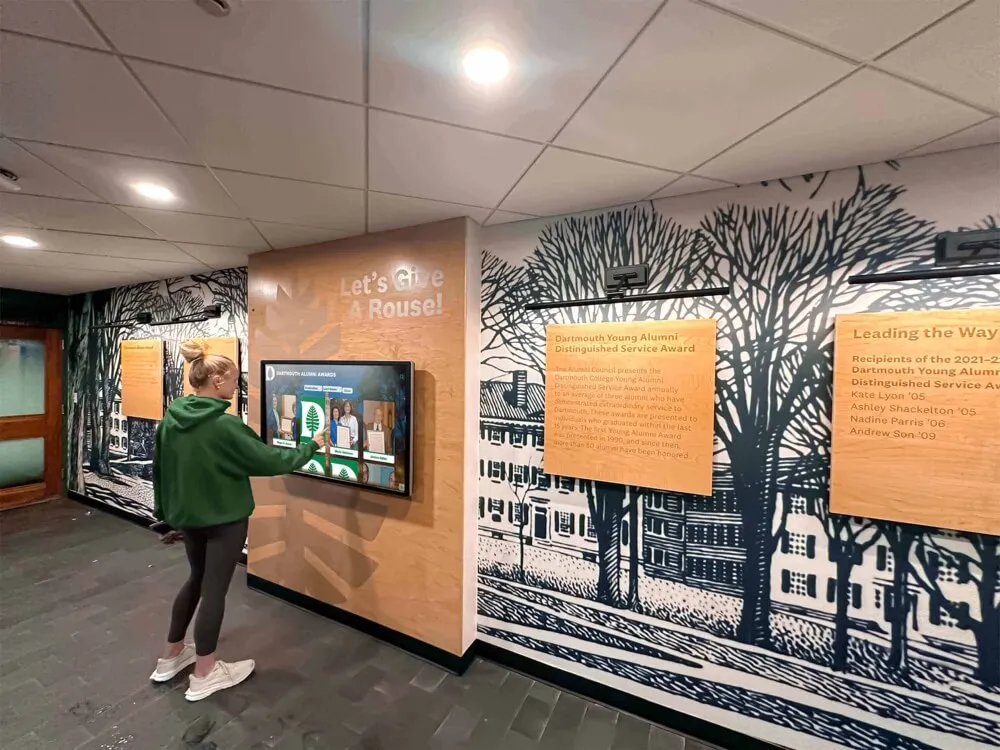
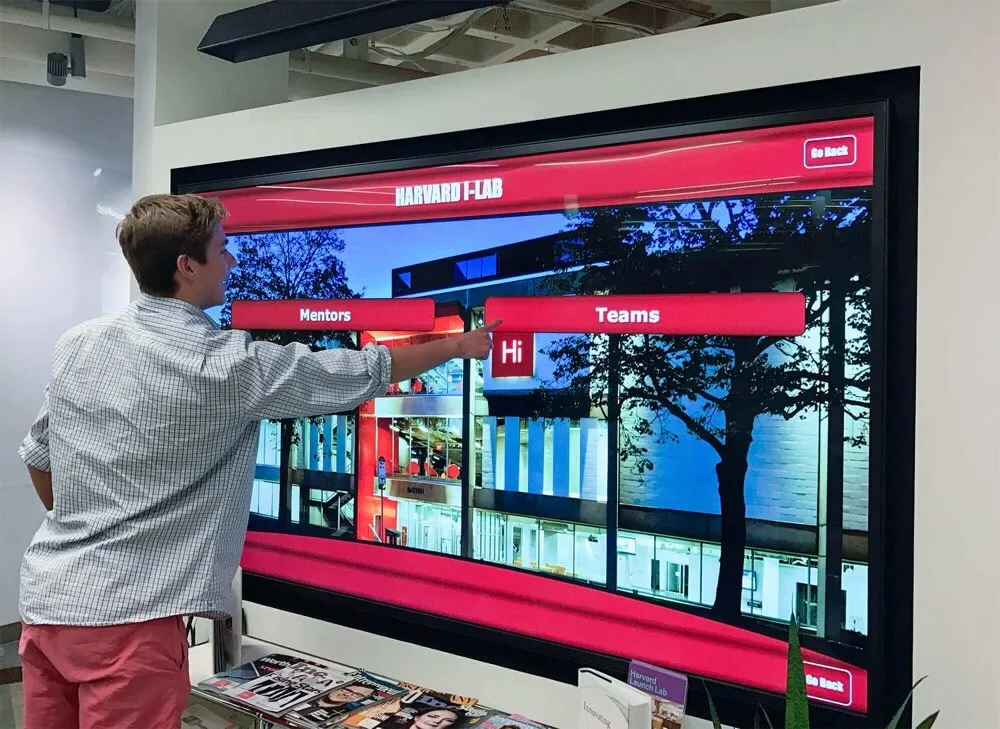
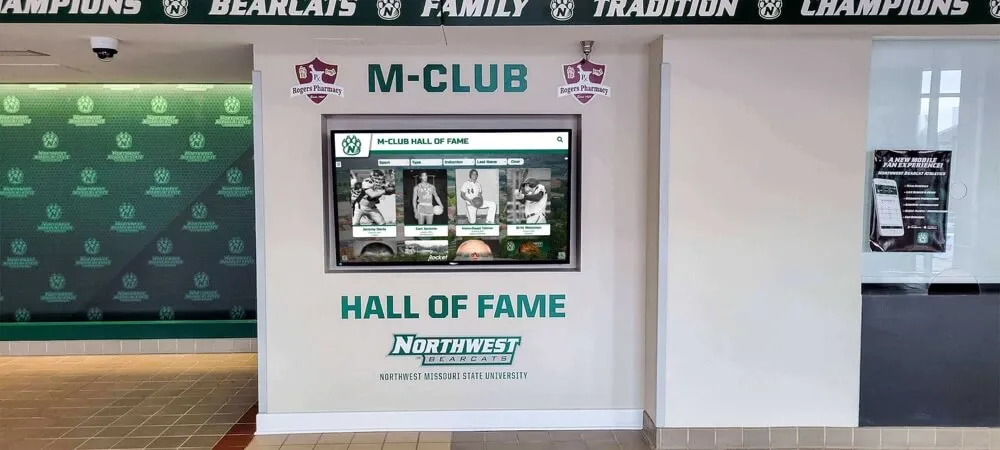
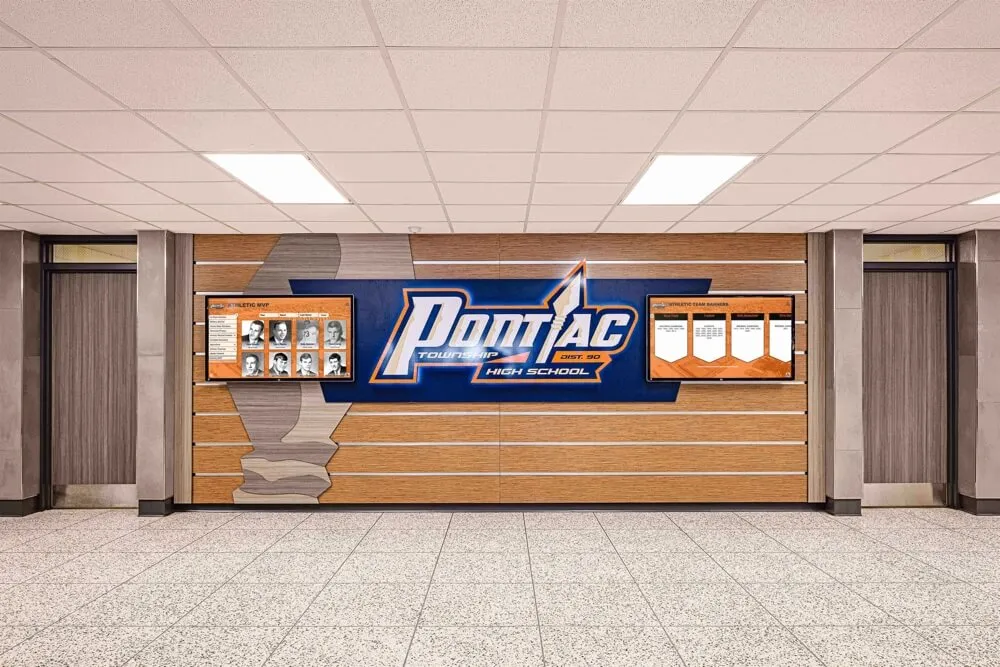
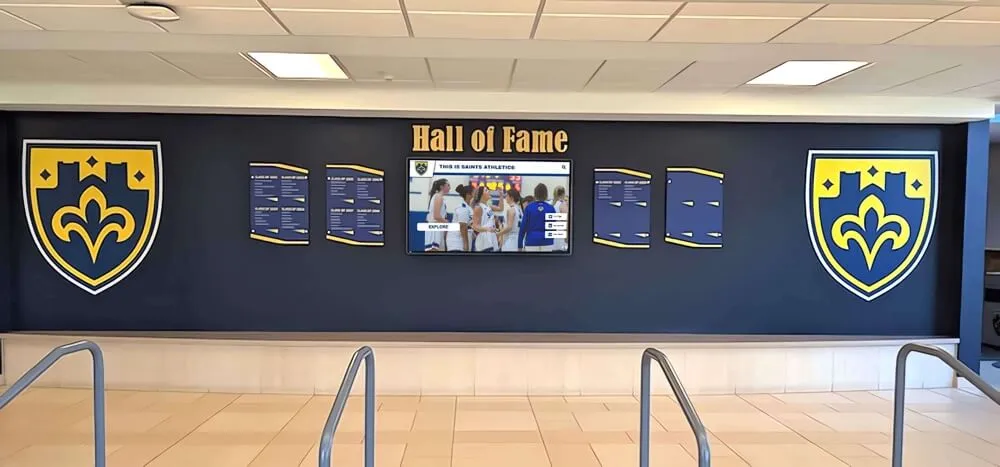
Interactive display systems in trophy cases and hallways draw content from archive files — a lapse in storage media maintenance can make that content unavailable when it is needed most
Step 5: Copy to New Media on the Refresh Interval
When a drive reaches its refresh interval — or when a SMART warning or checksum failure triggers an early refresh — copy all files to new hardware. The refresh procedure:
- Purchase the new drive from a reputable manufacturer; confirm the warranty period.
- Copy all archive files from the old drive to the new drive using a verified copy tool — one that reports copy errors rather than silently skipping unreadable files. Tools: robocopy (Windows), rsync (macOS/Linux), TeraCopy (Windows, cross-platform).
- After the copy completes, run a full file integrity check on the new drive using the checksums generated from the original. Every file should match. Resolve any discrepancies before proceeding.
- Update the drive inventory: record the new drive’s purchase date, transfer date, and confirmation of successful verification.
- Label the new physical drive clearly with its contents, creation date, and archive collection identifier.
Do not reformat or discard the old drive until the new drive has been fully verified. Keep the old drive offline for at least 30 days after the successful refresh — it serves as an additional recovery option if a problem is discovered in the new copy during that window.
Step 6: Test Restore — Confirm Files Actually Open
Copying files to a new drive and passing a checksum check confirms the files are intact bitwise. Testing restore confirms the files remain usable at the application level — that a photograph actually opens, that a video plays correctly, that a spreadsheet loads without corruption.
Perform a test restore check on a representative sample of files — at minimum, 10–20 files per collection, drawn from different file types and different time periods — after every refresh operation. This is especially important for older files in formats that have evolved (older XLSX files, certain TIFF variants, early MP4 recordings). If a sample file fails to open correctly, investigate before treating the refresh as complete.
Maintaining accurate and complete born-digital records requires that digital preservation checks go beyond simple file presence — the file must be readable, in a supported format, and in the expected condition. A test restore step makes that confirmation explicit.
Step 7: Maintain the 3-2-1 Backup Rule at Every Refresh Point
A storage media refresh is not complete if it leaves the archive on fewer than three copies across at least two media types. At every refresh point, confirm:
| Copy | Location | Media Type |
|---|---|---|
| Copy 1 (Primary) | On-site, primary archive drive | External HDD or NAS |
| Copy 2 (Local backup) | On-site, separate physical drive | External SSD or second NAS |
| Copy 3 (Offsite) | Cloud storage or offsite physical drive | Cloud service with version history; or drive stored at separate location |
If the refresh involved replacing Copy 1, ensure Copies 2 and 3 also receive updated content before the refresh is considered complete. Updating one copy and assuming the others are current is a common source of archive gaps.
For programs that track athletic records and game results in digital systems, the archive copies holding the underlying documentation — original game sheets, scan evidence, statistical exports — must be maintained with the same discipline as the display systems themselves.
Step 8: Document Every Action in the Archive Log
Every SMART check, every integrity verification, every copy-to-new-media operation, and every retirement should be recorded in a simple archive log. At minimum, record:
- Date of action
- Drive or media identifier
- Action taken (SMART check, checksum verification, full refresh, retirement)
- Result (pass, warning, failure)
- Staff member who performed the check
- Next scheduled check date
This log is the institutional memory of the archive’s maintenance history. Without it, staff turnover erases the record of what was done and when — and the next administrator inherits an archive of unknown condition.
Drive Retirement Checklist
A drive should be retired — removed from active archive use — when any of the following conditions are met:
- SMART status is Caution, Warning, or Bad
- Unusual sounds: clicking, grinding, or repeated spin-up failures (spinning drives)
- Checksum failures that cannot be explained by accidental file modification
- Drive has exceeded its recommended refresh interval without a successful full verification
- The drive is no longer recognized consistently by the operating system
- The drive is physically damaged: dropped, cracked, exposed to liquid, or overheated
- Files on the drive are confirmed duplicated and verified on at least two other media types
Before physical disposal or donation: Securely wipe drives that contain archive data, following your school or district’s data destruction policy. For drives that may contain student data, athlete personal information, or donor records, consult your district’s IT department for the required data destruction procedure. Degaussing, certified data destruction, or physical destruction may be required depending on data classification.
Do not discard or donate an archive drive without first confirming the data has been fully migrated to the replacement media and that all copies are verified.
Connecting Media Refresh to Recognition Programs
A media refresh schedule is not just an IT task — it is the operational foundation that keeps recognition programs, hall-of-fame displays, and award ceremonies running without embarrassing gaps.
When an athletic director needs to surface a photograph from a 2005 championship season for a 20-year anniversary celebration, the outcome depends entirely on whether the drive holding that photograph was refreshed, verified, and still readable. Athletic directors responsible for programs and recognition operations bear indirect responsibility for the archive’s condition even when maintenance is delegated — because the visibility of the recognition program depends on it.
When a hall-of-fame committee prepares a memorabilia display honoring school history, athletic trophies, and donor gifts, the digital assets feeding that display — portraits, historical photographs, award documentation — are only as available as the storage media they live on.
For schools with track-and-field programs that display seasonal results and record progressions, a gap in the archive caused by a failed drive is visible in the recognition display the moment a record or result is missing.
Donors and sponsors who have supported a school’s athletic program over years or decades have a reasonable expectation that their contributions will be represented in lasting recognition — preserving and displaying donor gifts and recognition assets depends on the same archive infrastructure as athlete records.
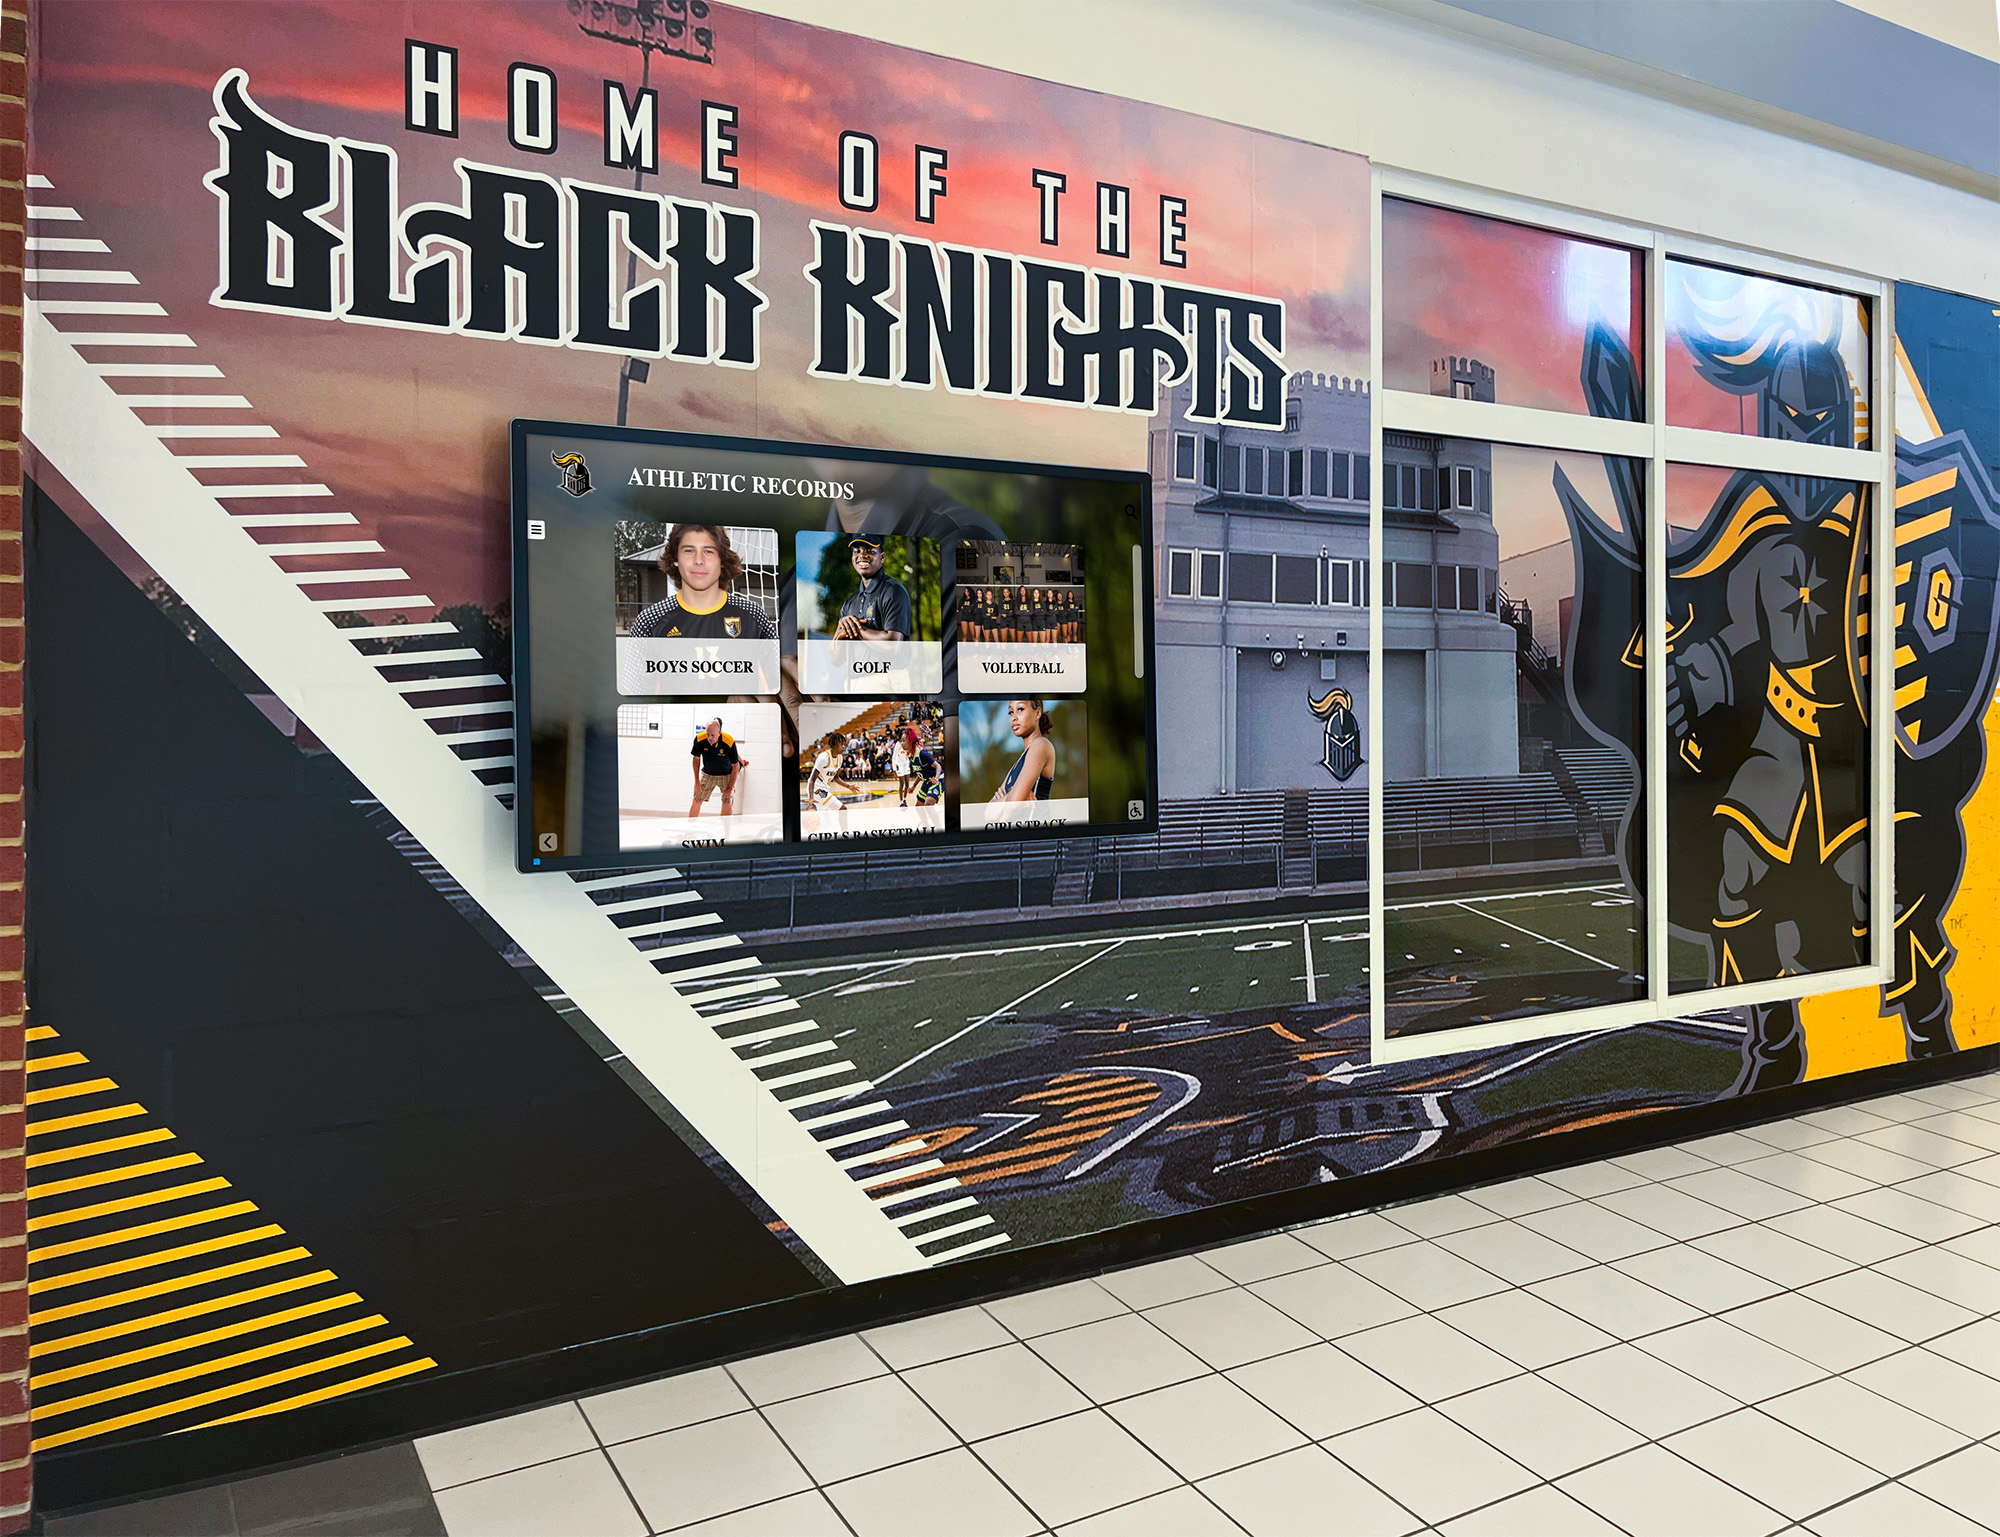
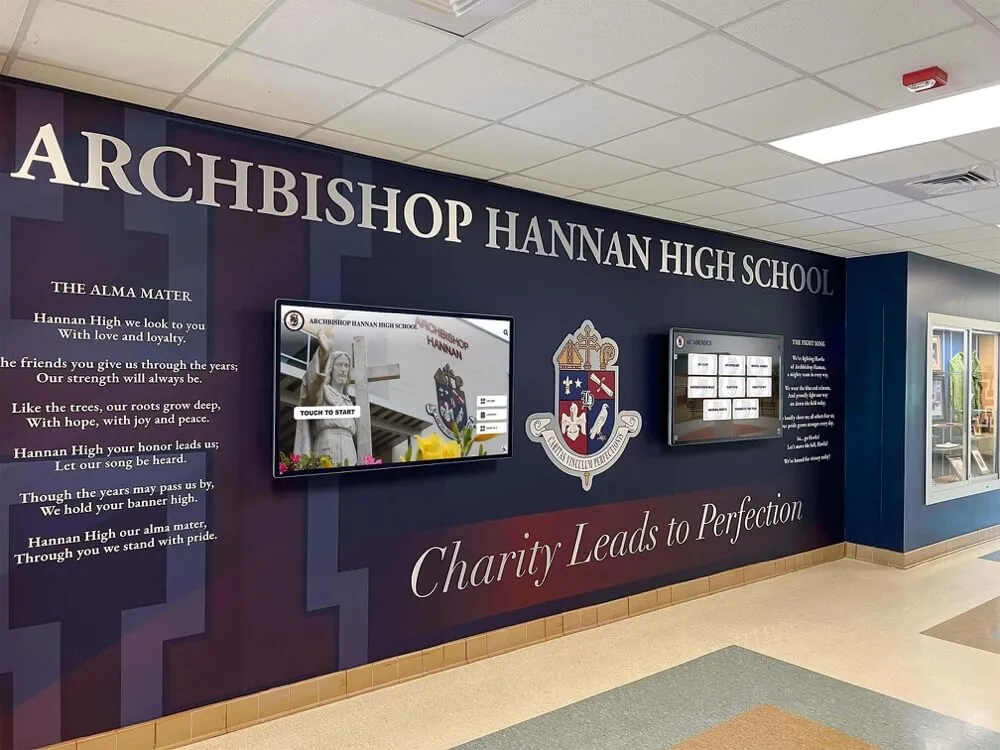
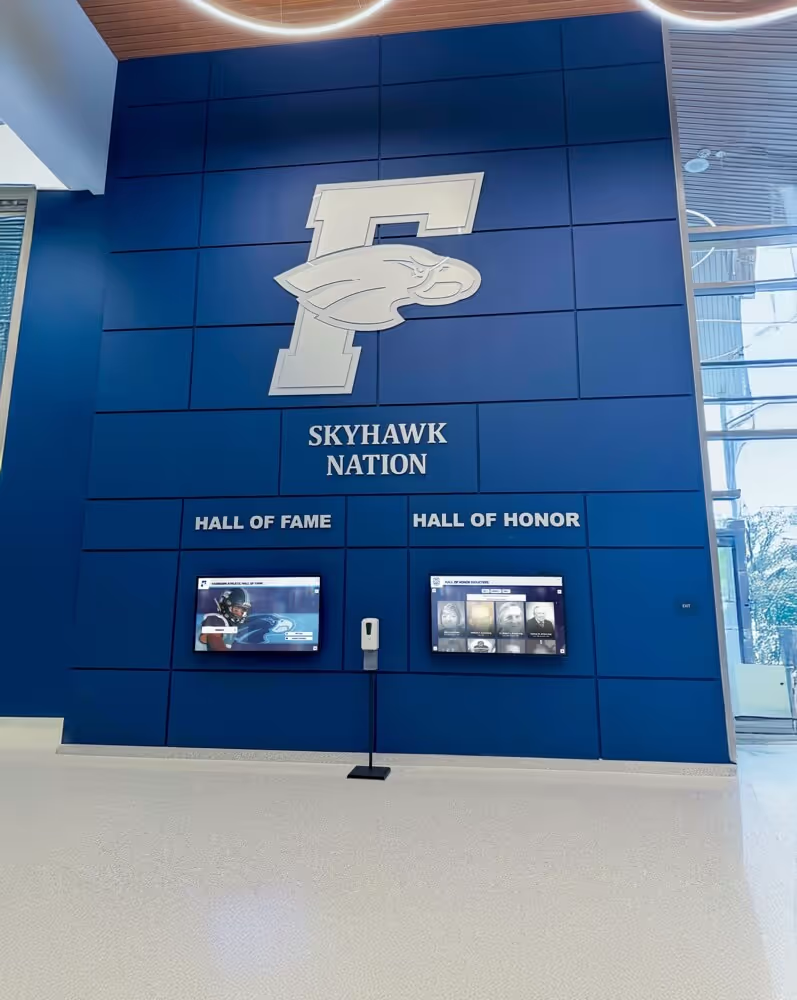
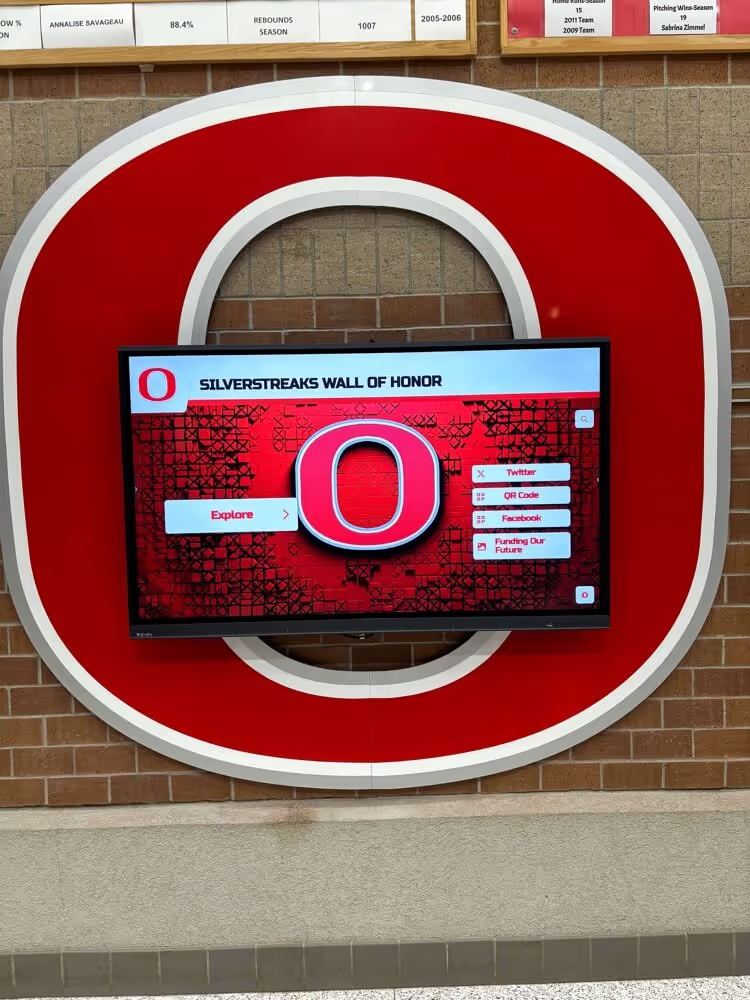
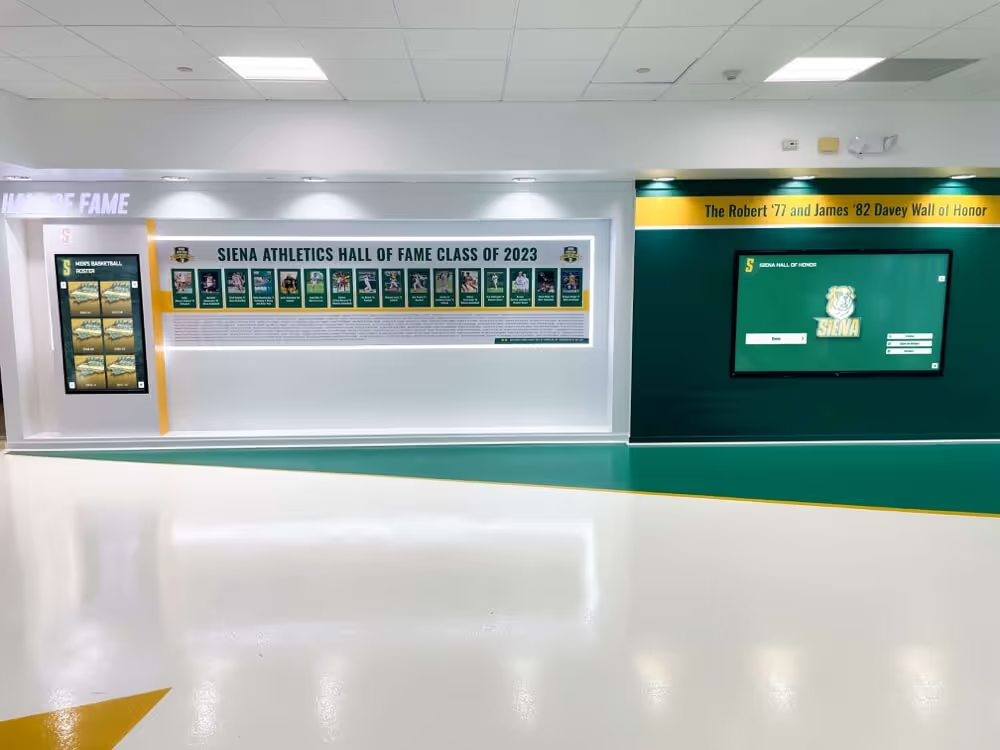
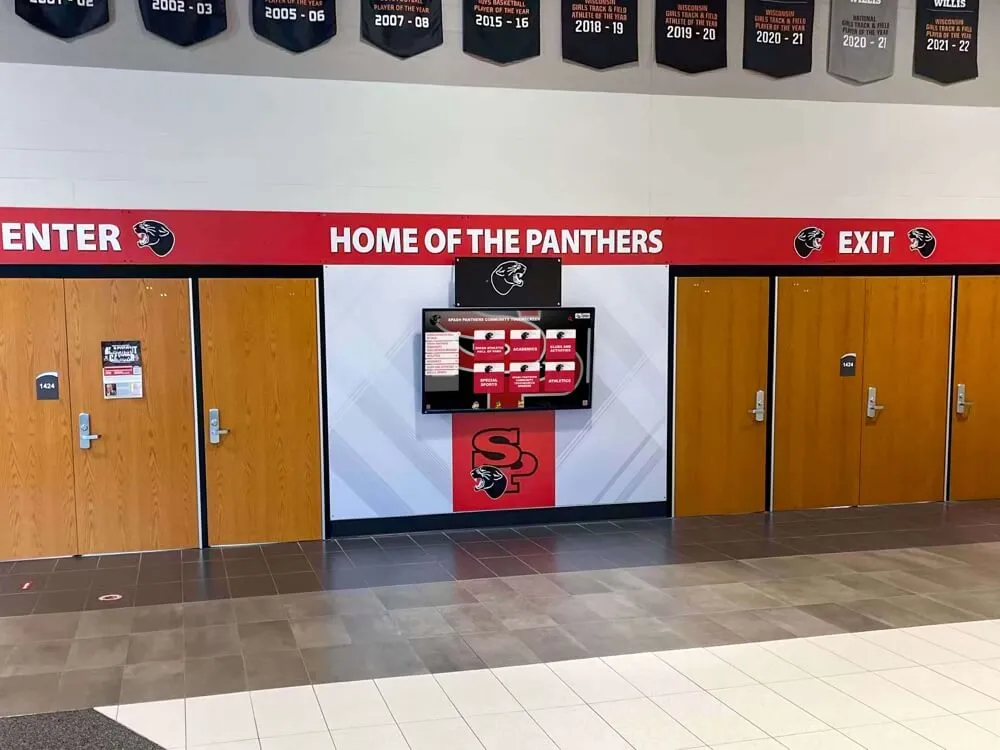
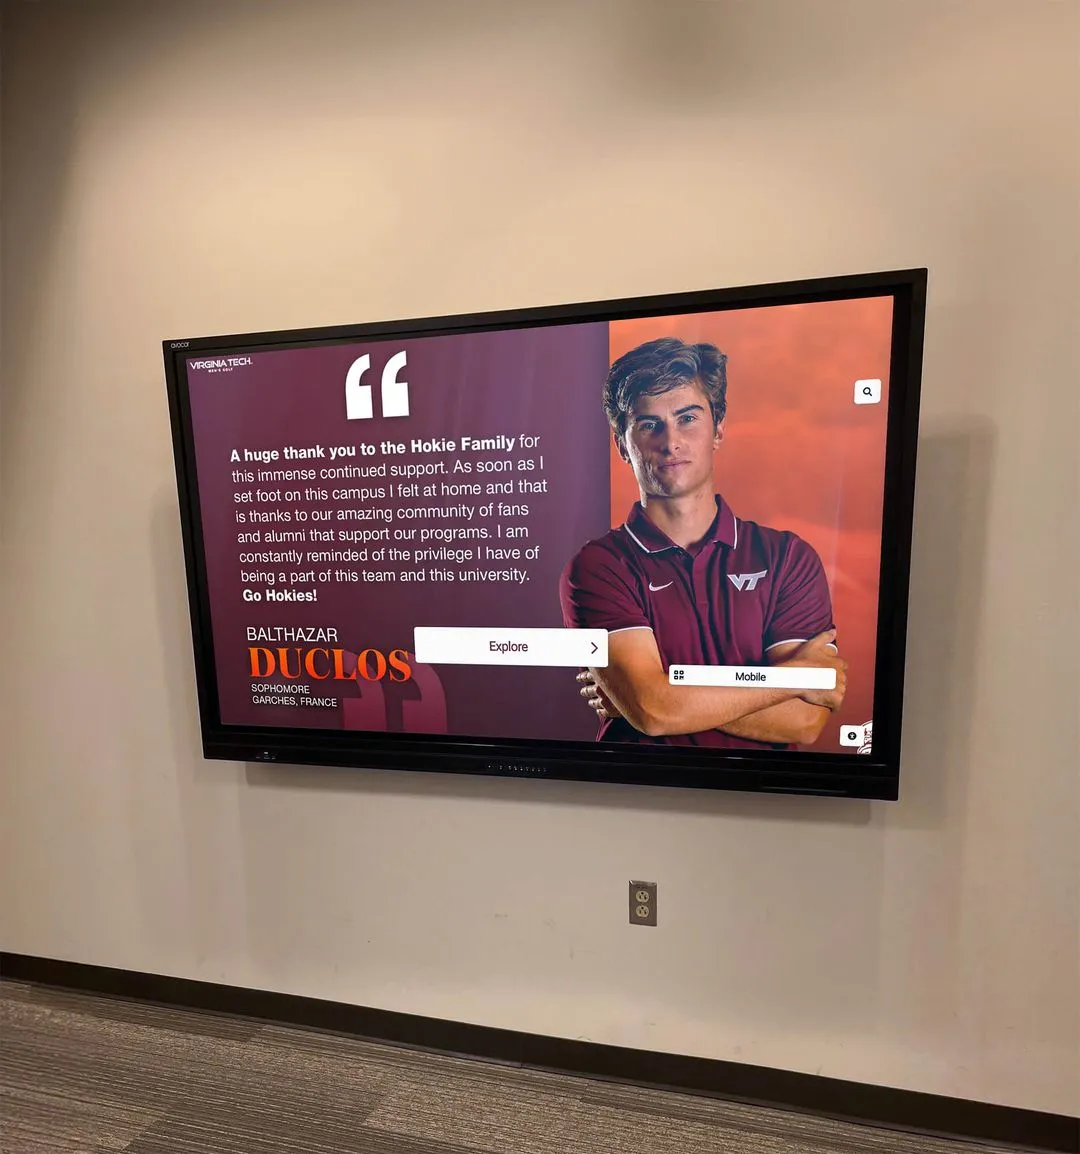
Digital athletic record displays in school hallways are only as reliable as the storage media holding the archive files that feed them — a consistent refresh schedule is what keeps the history visible
Suggested Annual Maintenance Calendar
The following calendar is a starting point. Adjust to fit your school’s staffing cycle, academic calendar, and specific hardware.
| Month | Action |
|---|---|
| August (start of year) | Full SMART check on all drives; update drive inventory; verify cloud backup access |
| October | Checksum verification on primary archive drives |
| December (semester end) | Copy new season files to archive; verify 3-2-1 copies are current |
| January | SMART check on backup drives; review cloud retention settings |
| March | Checksum verification on backup drives |
| May (end of year) | Full refresh of any drive approaching its interval; test restore on sample files; log all actions; review retirement checklist for aging drives |
| Ongoing | Immediate SMART check after any physical event (drop, power outage, move) |
For athletic programs that recognize seniors or inductees at the end of each school year — through senior night ceremonies, award banquets, or hall-of-fame inductions — the May end-of-year archive maintenance coincides with a natural point to confirm that all newly archived recognition content (portraits, program videos, awards documentation) has been copied, verified, and secured before summer.
FAQ
How often should we refresh an external hard drive used as an archive drive? Every two to three years is the standard recommendation for consumer and prosumer external spinning hard drives used in archive roles. If SMART monitoring shows any warning before that interval, refresh immediately. Drives that sit unpowered in a storage room for extended periods should be tested when retrieved — spinning drives are particularly vulnerable to bearing failure after long periods of inactivity.
Do solid-state drives last longer than spinning drives? SSDs are generally more durable in environments with physical shock or vibration, and their rated lifespan is often longer than consumer spinning drives. However, SSDs can lose data if left unpowered for extended periods (months to years), due to charge leakage in flash memory cells. An SSD used as a long-term offline backup should be powered on and verified annually, even if not yet at its refresh interval.
Can cloud storage replace physical media refreshes? Cloud storage eliminates physical media failure risk for the copies it holds, but it does not eliminate the need for local copies or for maintenance of local drives. Cloud services can change their terms, increase pricing, be discontinued, or restrict access — an archive that exists only in a single cloud service has exchanged hardware risk for service risk. The 3-2-1 rule includes cloud as the offsite copy alongside local physical copies.
What if we inherit an archive with no maintenance records? Start with an inventory: document every drive and its contents. Run SMART diagnostics on every spinning drive immediately. Generate checksums for all files and record them as the new baseline — you will not be able to compare against a prior baseline, but you establish one going forward. Prioritize copying the highest-value content to new, verified media first, and work through lower-priority collections systematically. Treat the inherited archive as unverified until you have completed your own checks.
How long should we keep a retired drive before disposing of it? Keep retired drives for a minimum of 90 days after confirming that all content has been migrated and verified on replacement media. This provides a recovery window if a problem is discovered in the new copy during that period. After 90 days, follow your district’s data destruction procedure before physical disposal. Do not donate, resell, or discard drives without completing data destruction — this applies even to drives holding only athletic records, as roster data and historical records may include personal information subject to data privacy requirements.
What tools verify file integrity without requiring a technical background? Fixity (free download from the AVPreserve/Artefactual project) is designed specifically for non-technical archivists: it provides a visual interface for generating and comparing checksums across a folder of files, highlights any mismatches, and produces a human-readable report. For Windows users, TeraCopy can verify file integrity during copy operations. Your school’s IT department can help configure automated solutions for larger collections.
Should we also preserve the physical originals after digitizing? Yes, when possible. Physical originals — photographs, program books, newspaper clippings, record plaques — should not be discarded after scanning simply because a digital copy exists. Physical originals can be rescanned at higher resolution as technology improves, and they may have evidential or sentimental value that a digital copy does not fully capture. Store physical originals in acid-free archival containers in a climate-stable environment, following guidance on archival materials appropriate to each item type.
How does a media refresh schedule connect to programs that display athletic history interactively? Recognition platforms that display athletic history — touchscreen hall-of-fame systems, digital record boards, interactive trophy case kiosks — draw content from archive files that must be accessible, correctly formatted, and in good condition. A media refresh schedule ensures that the archive driving those displays does not silently degrade while the displays are in active use. Preserving school sports history through both physical and digital means depends on the same storage health practices that protect ordinary archive backups.
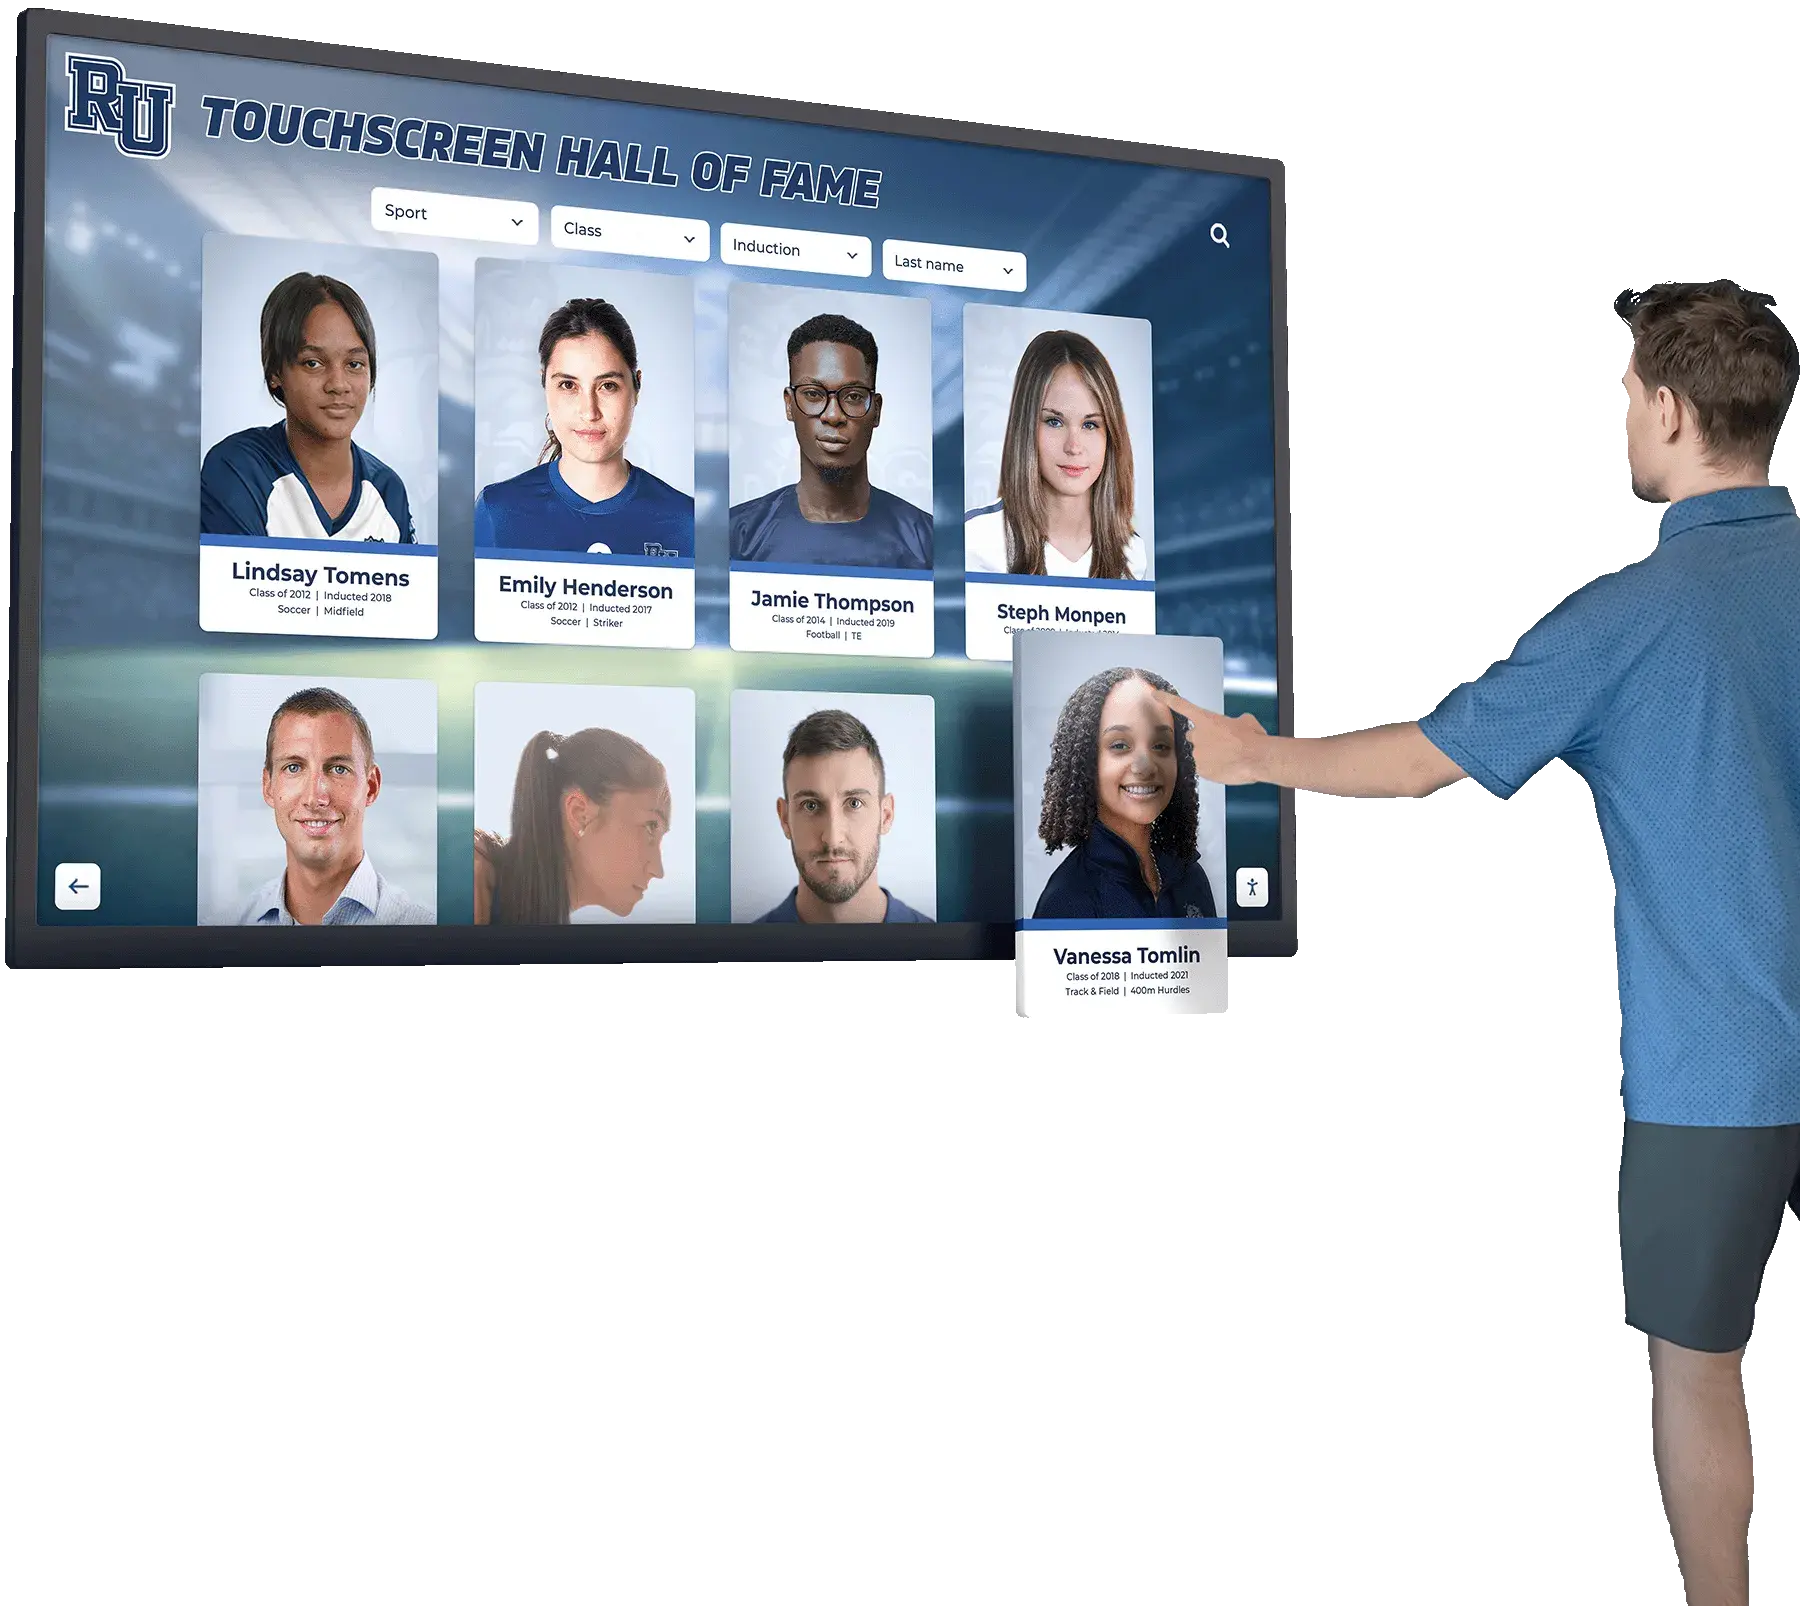
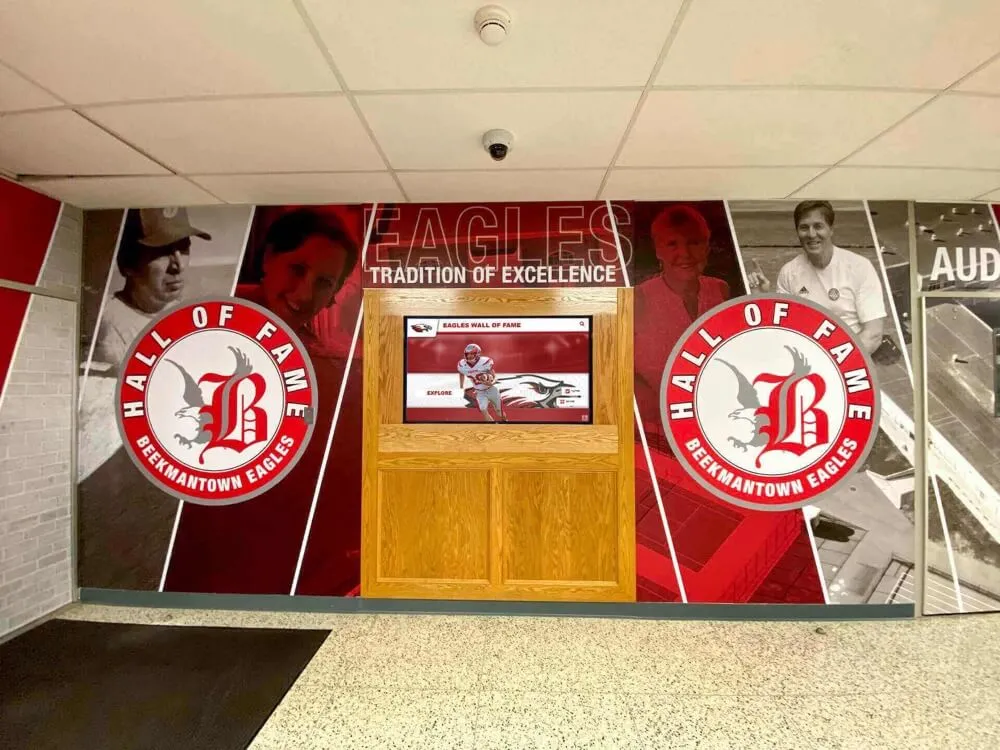
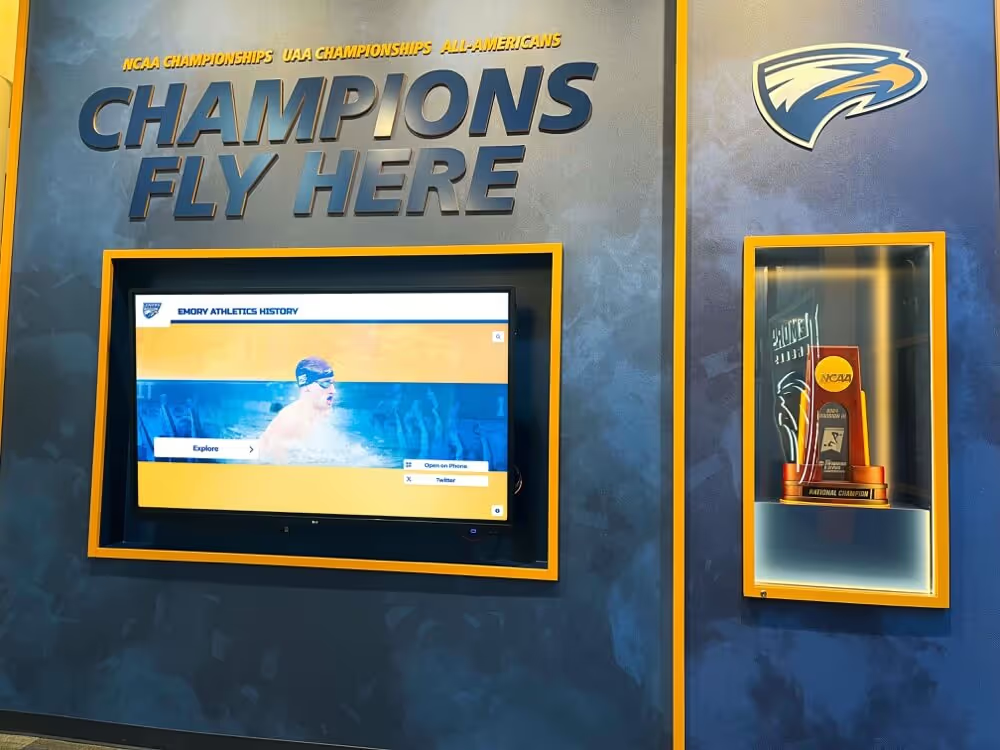
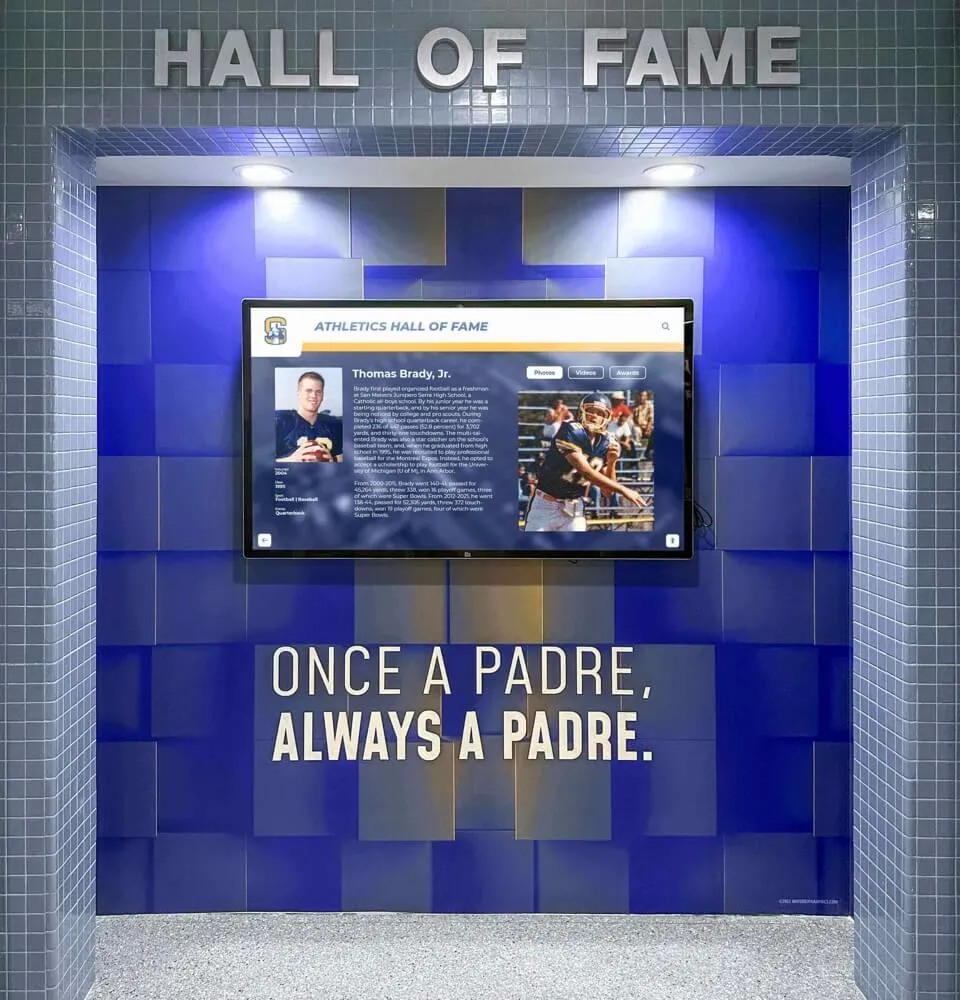
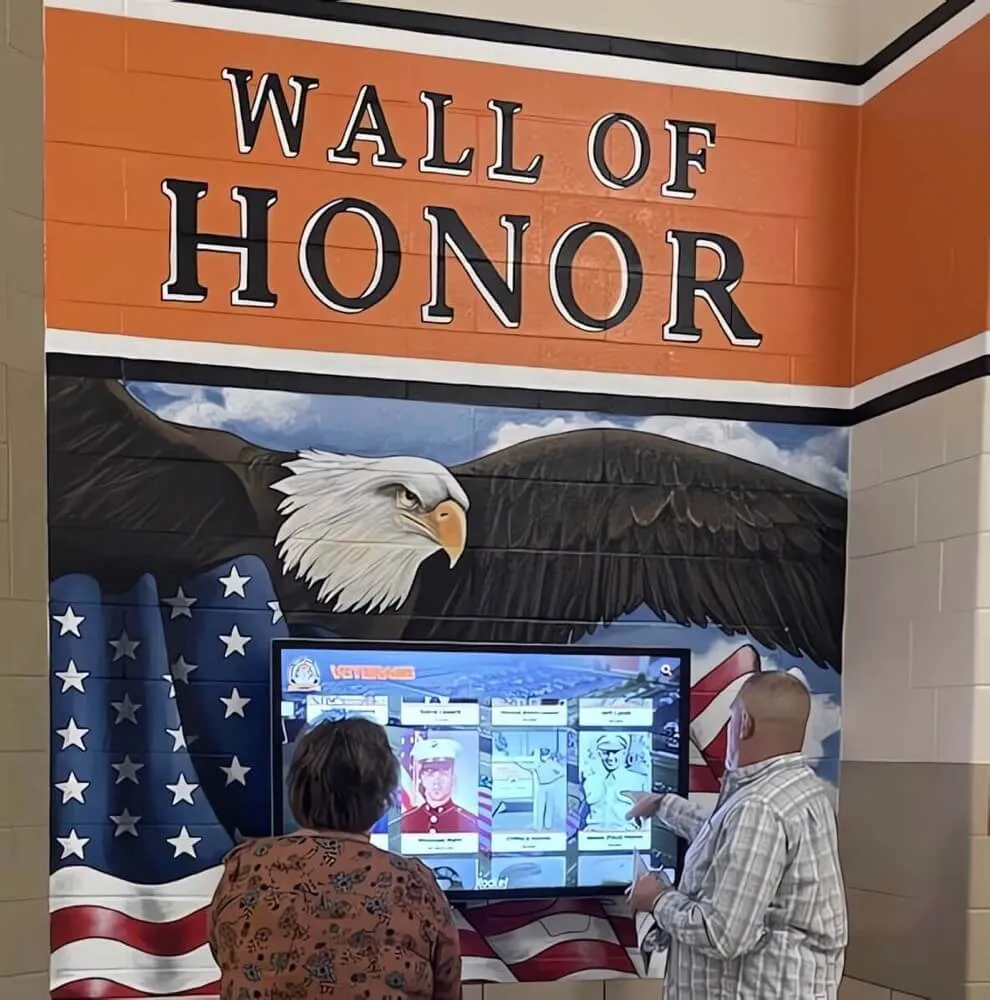
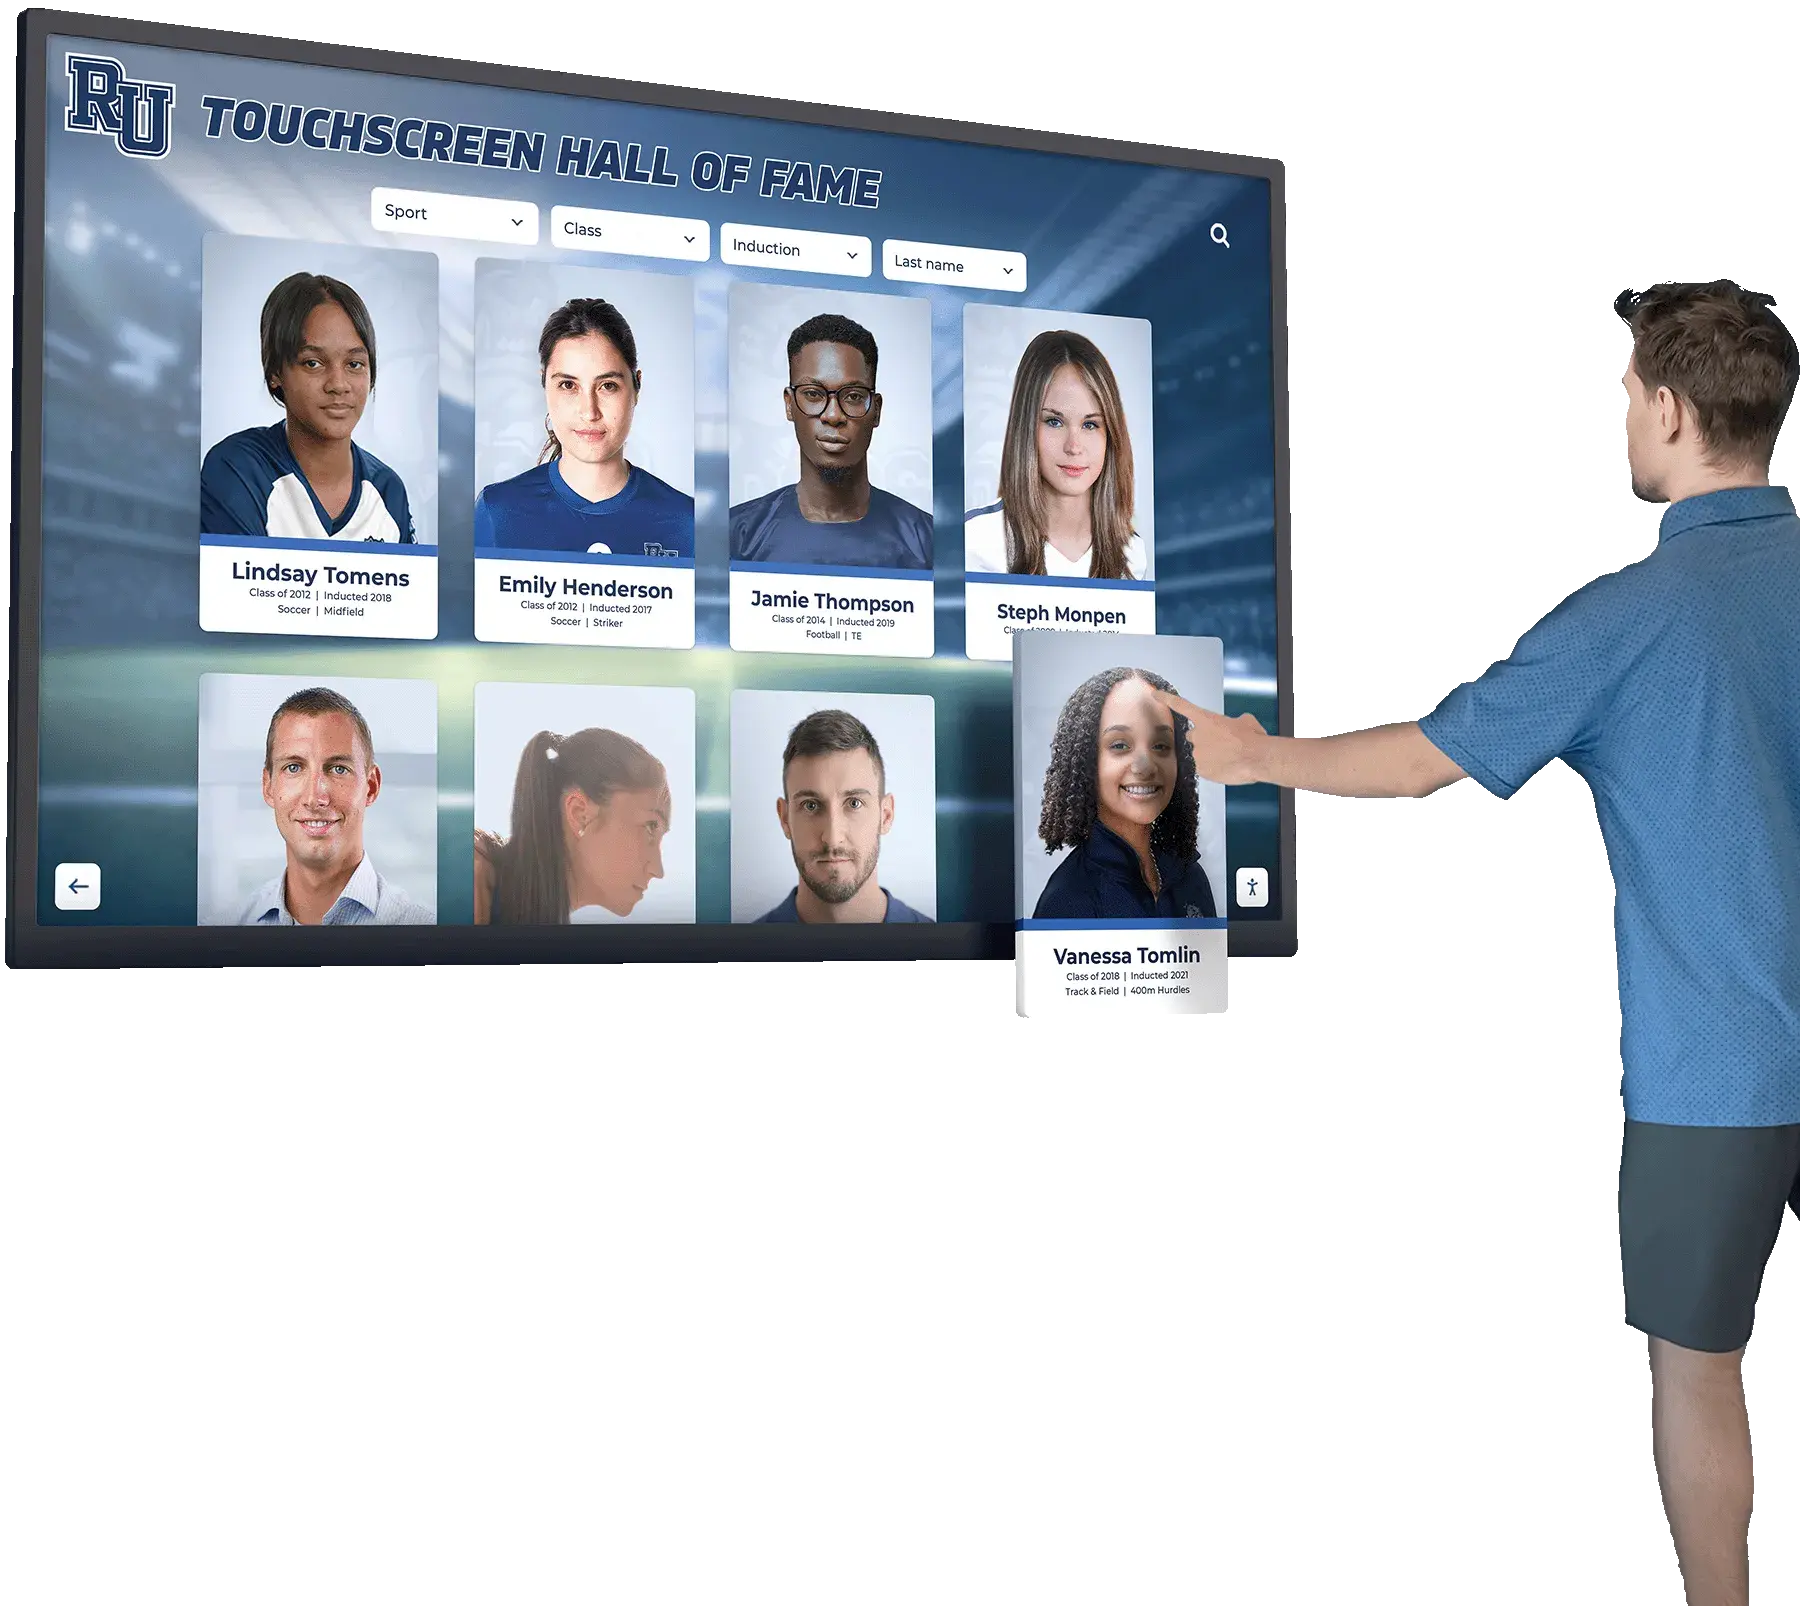
Touchscreen recognition displays rely on healthy, regularly verified archive media — without a structured refresh schedule, the history they present is at risk of silent, unrecoverable loss
From Media Maintenance to Living Recognition
A storage media refresh schedule is infrastructure work — unglamorous, incremental, and essential. Every SMART check run in August, every checksum verification completed in March, every aging drive retired before it fails is an investment in the institution’s capacity to honor its history when it matters: at the championship anniversary celebration, the hall-of-fame induction, the senior night ceremony, the donor recognition event.
The schools with the richest, most accessible athletic archives — the ones that can pull a 1998 championship portrait or a 2011 state-record document on short notice — are not the ones with the most history. They are the ones that made storage maintenance a routine, documented practice rather than a response to a crisis.
Connect Your Athletic Archive to an Interactive Recognition Display
When your archive drives are healthy, your files are verified, and your history is organized, every photograph, record, and highlight is ready to power a searchable, touchscreen recognition experience that engages students, alumni, and visitors every day. Rocket Alumni Solutions helps schools transform well-maintained archives into living recognition displays built to last.
Request a DemoLive Example: Rocket Alumni Solutions Touchscreen Display
Interact with a live example (16:9 scaled 1920x1080 display). All content is automatically responsive to all screen sizes and orientations.