



An athletic archive video deinterlacing workflow is the structured sequence of steps a school or athletic department follows to convert legacy interlaced game footage — VHS tapes, Hi8 cassettes, Betamax recordings, and analog broadcast captures — into clean progressive video files that display correctly on modern screens and digital archive platforms. The direct answer: deinterlacing is not optional for legacy athletic footage. Interlaced video recorded in the NTSC era displays with visible horizontal combing artifacts on every modern monitor, projector, and touchscreen display. A championship game video that cannot be watched without visual distortion is not a usable archive record. The workflow in this guide covers the full path from identifying interlaced source material through capture, field-order assessment, deinterlacing method selection, processing, quality review, access-copy creation, and archive integration — with a method comparison table, a step-by-step checklist, and a practical FAQ for athletic directors, IT and facilities staff, archive coordinators, and recognition program administrators.
Nothing in this guide constitutes professional video engineering or data governance advice. Decisions about media handling, digitization workflows, and archival storage should be reviewed by qualified staff before implementation.
School athletic archives hold decades of game footage recorded on physical video media. That footage — VHS tapes of championship seasons, Hi8 recordings of track meets, Betamax reels of early programs — was captured in an interlaced format designed for analog cathode-ray tube televisions. Every modern display used in schools today, from classroom projectors to lobby touchscreen displays to interactive hall-of-fame kiosks, uses progressive scanning instead.
When interlaced footage plays on a progressive display without deinterlacing, the result is a characteristic combing artifact: horizontal lines across areas of motion, where the two alternating fields of the video frame appear simultaneously out of sync. On fast-motion sports footage — a fastbreak, a sprint, a pitch — the combing effect can make game video nearly unwatchable as an archive or display asset.
The athletic archive video deinterlacing workflow is the technical and procedural bridge between legacy game footage and the digital display environments where that footage now needs to live.

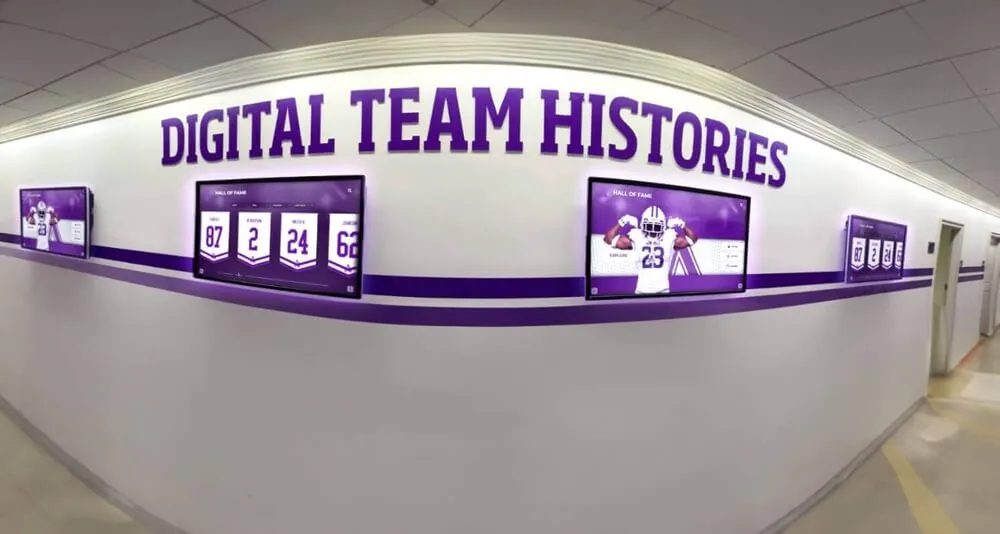
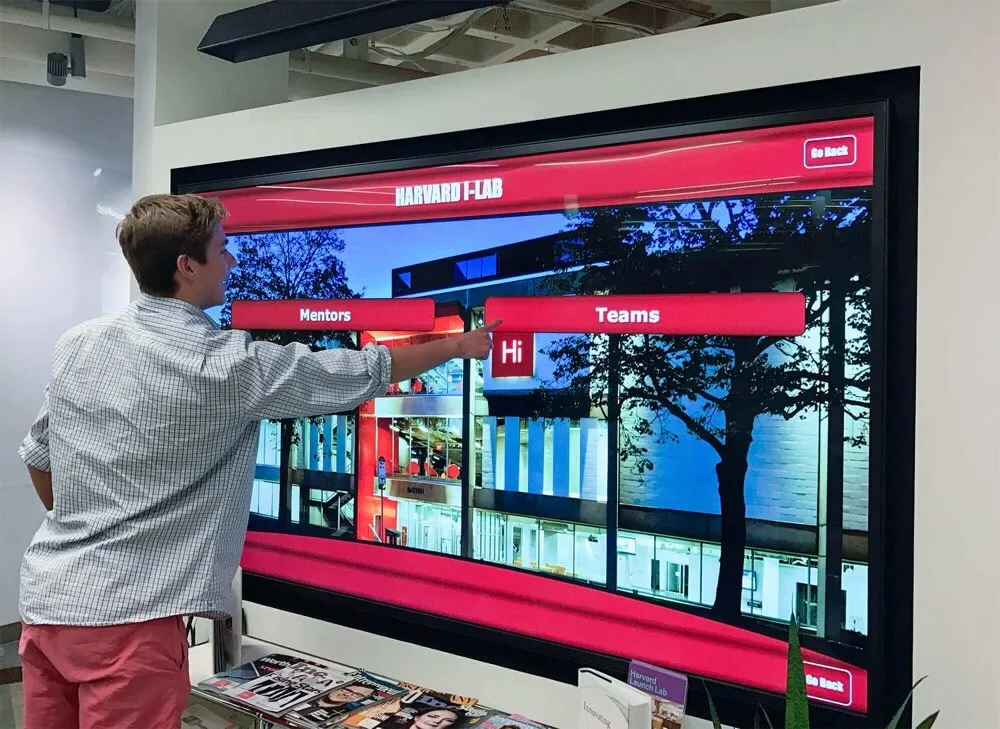
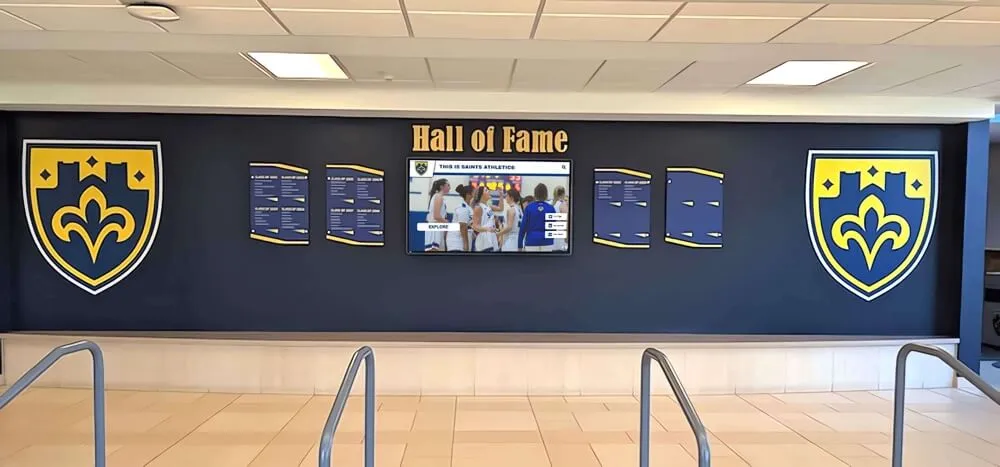
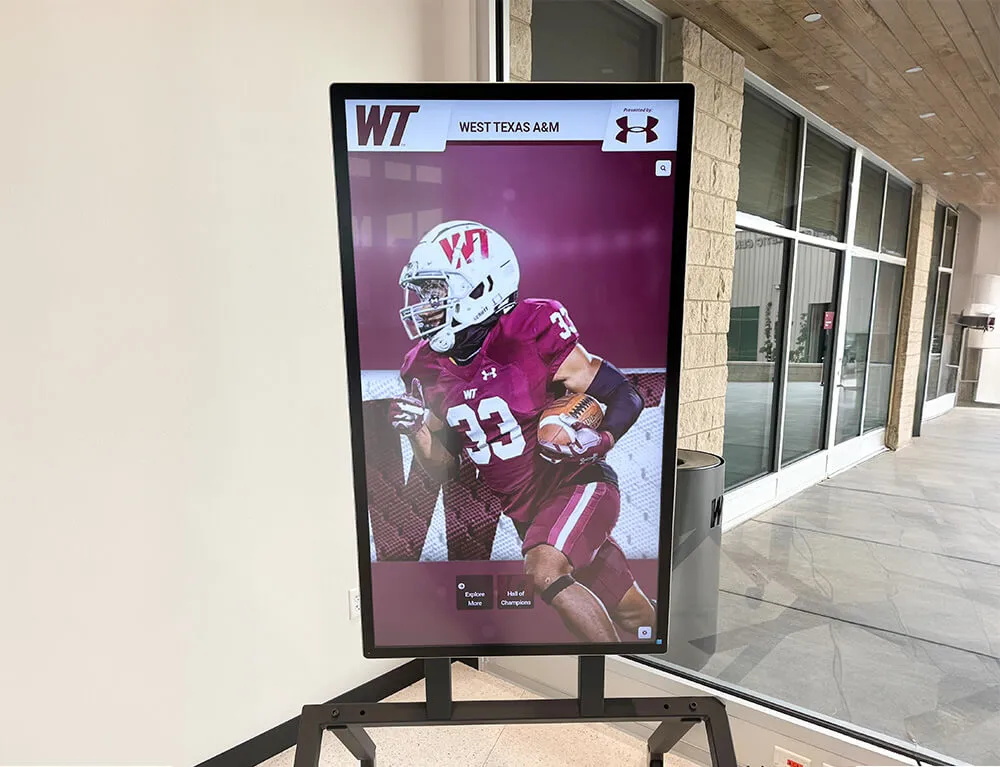
Game highlights displayed on modern lobby screens must pass through a deinterlacing workflow before they can be shown cleanly — interlaced footage without processing produces combing artifacts that undermine the viewer experience
What Interlaced Video Is and Why Athletic Archives Have It
Analog broadcast television in North America used the NTSC standard, which encodes video as two alternating fields per frame. Each field contains half the horizontal lines of the complete image — the odd-numbered lines in one field, the even-numbered lines in the other. The television displays them in rapid alternation, and the phosphor persistence of a CRT screen blends them into a complete image the eye perceives as smooth motion.
This interlaced encoding allowed broadcast engineers to transmit more motion information within the bandwidth constraints of analog signals. VHS, Hi8, and Betamax all recorded interlaced NTSC video because every television in their era was designed to display it. The result is that nearly all game footage recorded before approximately 2005 — when consumer HD camcorders began to replace standard-definition tape — is interlaced.
Common athletic archive footage formats and their interlacing characteristics:
| Format | Standard Resolution | Interlacing | Typical Field Order |
|---|---|---|---|
| VHS | 480i | Interlaced | Bottom field first (BFF) |
| VHS-C | 480i | Interlaced | Bottom field first (BFF) |
| Hi8 / Video8 | 480i | Interlaced | Bottom field first (BFF) |
| Betamax | 480i | Interlaced | Bottom field first (BFF) |
| S-VHS | 480i (higher clarity) | Interlaced | Bottom field first (BFF) |
| MiniDV | 480i (NTSC) | Interlaced | Bottom field first (BFF) |
| Early HDV | 1080i | Interlaced | Upper field first (UFF) |
| Broadcast Beta SP | 480i | Interlaced | Bottom field first (BFF) |
The interlacing itself is not a defect in the original recordings — it was the correct format for its era. The problem arises at the point of display or digital archiving, when footage is played on progressive-scan displays or encoded into modern digital video formats that expect complete progressive frames.
For athletic departments that are in the process of building comprehensive archives, the deinterlacing workflow addresses the video component of the broader preservation work described in guides such as this review of touchscreen software options for digital recognition environments, which outlines how display platforms process content that arrives from an institutional archive.
Step 1: Audit and Identify Interlaced Footage in the Collection
Before any processing begins, identify which video assets in the athletic archive are interlaced and require deinterlacing versus which are already progressive. Footage recorded on any of the tape formats listed above is almost certainly interlaced. Footage recorded on digital formats after approximately 2007 — AVCHD, MP4 from a smartphone, digitally native HD recording — may be progressive already.
Audit checklist:
- List all video assets by physical format (VHS, Hi8, MiniDV, etc.) — these are interlaced until confirmed otherwise
- For digital files already in the archive, open a representative sample in video inspection software (MediaInfo, VLC, DaVinci Resolve) and note the scan type field — it will report “Interlaced,” “Progressive,” or “MBAFF/PAFF” for mixed content
- Note estimated dates — footage from before 2005 recorded on consumer formats is nearly always interlaced; footage from 2009 onward may be either, depending on the camera used
- For tapes that have already been digitized but may have been captured without deinterlacing, inspect the file’s video track using MediaInfo: interlaced metadata may be preserved in the file header even after digitization
- Flag any footage that has already been processed — check whether prior digitization included deinterlacing or simply copied the interlaced signal to a digital container
Priority tiers for deinterlacing:
| Priority | Content Type | Rationale |
|---|---|---|
| Tier 1 | Championship game footage, state or regional tournament games, undefeated season recordings | Highest display value; most likely to appear in recognition and hall-of-fame contexts |
| Tier 1 | Footage of athletes or coaches who have been or are candidates for hall-of-fame induction | Directly supports recognition programming |
| Tier 2 | Regular season games from significant eras | Historical depth; supports anniversary and reunion programming |
| Tier 3 | Practice recordings, scrimmages, non-game events | Lower display demand; process after higher-priority footage is complete |
Step 2: Capture the Physical Media to a Digital File
Deinterlacing happens after capture — the first step is getting the interlaced signal off the physical tape and into a digital file. For tapes that have not yet been digitized, capture is the prerequisite step.
Capture equipment requirements:
| Component | Purpose | Key Requirement |
|---|---|---|
| Playback device | Play the tape at correct speed and signal standard | Format-matched (VHS deck for VHS, Hi8 camcorder for Hi8); functioning transport and heads |
| Video capture card or converter | Convert the analog composite or S-Video signal to a digital file | At least 480i NTSC capture capability; drivers compatible with current OS |
| Cables | Connect playback device to capture card | Composite (RCA) or S-Video, depending on playback device outputs |
| Capture software | Record the incoming signal to a file | OBS Studio, Virtualdub2, DaVinci Resolve, or equivalent |
| Computer | Run software and store captured files | Sufficient processing power and storage |
Capture format for analog game footage:
Capture the raw interlaced signal without any real-time processing applied. Capture deinterlacing passes should be applied to the captured file in post, not during acquisition — real-time deinterlacing built into some capture cards is typically lower quality than a deliberate post-capture pass using dedicated software.
- Capture container: AVI (uncompressed) or MOV (Apple ProRes) for master-quality capture
- Do not capture directly to MP4 — the lossy compression applied at capture time cannot be undone, and a compressed capture is not an archival master
- Capture at the native interlaced resolution: 720×480 for NTSC formats (VHS, Hi8, MiniDV)
- Record at the native frame rate: 29.97 fps for NTSC (this is the combined field rate; each frame contains two fields at approximately 59.94 fields per second)
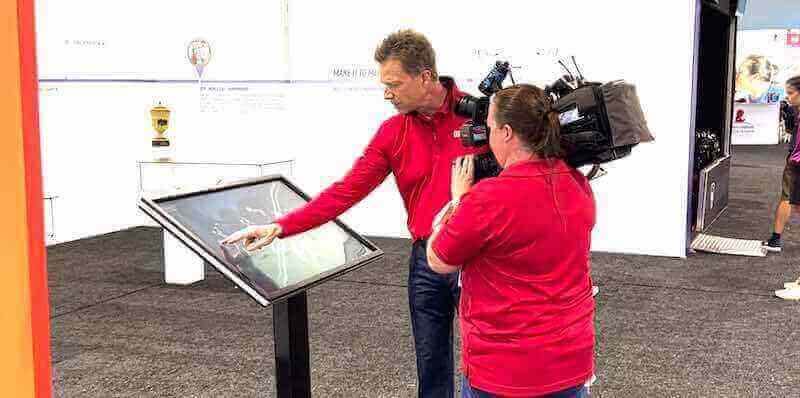
Capturing game footage for an athletic archive requires both proper equipment and deliberate format decisions at acquisition time — the quality of the deinterlacing output depends on what is captured to the master file before processing begins
Step 3: Determine Field Order Before Processing
Field order — sometimes called field dominance — defines whether the first field recorded in each interlaced frame is the top half (upper field first, UFF) or the bottom half (bottom field first, BFF) of the image. Getting field order wrong is one of the most common sources of poor deinterlacing results on athletic footage: the deinterlacing filter processes fields out of sequence, producing smearing, doubled edges, or a “backward” motion artifact where fast-moving objects appear to move in the wrong direction during the deinterlace.
For virtually all NTSC consumer formats — VHS, Hi8, Betamax, Beta SP, MiniDV — the correct field order is Bottom Field First (BFF). Early HDV and some professional broadcast formats use Upper Field First (UFF). When in doubt, test both settings on a short clip with visible horizontal motion and compare the results: the correct field order produces smooth motion, while the wrong field order produces a jitter or backward-motion artifact in areas of fast movement.
How to confirm field order in common tools:
| Tool | How to Check or Set Field Order |
|---|---|
| MediaInfo | Open the file; check “Scan order” in the Video track — reports “BFF,” “TFF,” or blank if not embedded |
| FFmpeg | Run ffprobe -show_streams on the file; look for field_order in the video stream output |
| HandBrake | Listed as “Interlaced / Field Order” in the picture settings under the deinterlace options |
| DaVinci Resolve | Set in Timeline > Timeline Settings > Input Scaling; also visible per-clip in the Inspector |
| VirtualDub2 | Set in Video > Field Order; confirm by previewing with and without a flip |
Step 4: Choose a Deinterlacing Method
Not all deinterlacing methods produce equivalent results on sports footage. The choice of method affects both the visual quality of the output and the file size of the processed video.
Deinterlacing methods compared:
| Method | How It Works | Best For | Limitations |
|---|---|---|---|
| Blending (average) | Averages the two fields of each frame into a single image | Static camera shots, slow-moving content | Creates ghosting (“ghost images”) around fast-moving players and balls |
| Weave | Combines fields as-is into a single progressive frame | Low-motion content; static wide shots | Produces comb artifacts in areas with any motion |
| Bob (field doubling) | Displays each field separately as its own full frame, doubling the frame rate | Very fast motion; can be converted back to standard frame rate | Doubles output file size; vertical resolution is halved per field |
| YADIF (Yet Another De-Interlacing Filter) | Motion-adaptive: applies weave for static areas and bob for moving areas | Sports footage with mixed motion; general athletic game video | Slower than blend/weave; occasional artifacts at edges of motion |
| QTGMC | Motion-compensated: tracks motion between frames to reconstruct clean progressive images | High-priority footage where quality is paramount | Significantly slower processing; requires Avisynth or VapourSynth |
| AI-based (software-specific) | Uses neural network inference to estimate correct progressive frames | High-value footage where maximum quality justifies processing time | Commercial software cost; longest processing time; results vary by footage type |
Recommendation for athletic game footage: YADIF is the standard starting point for athletic archive video. It handles the motion characteristics of most sports footage — fast player movement in areas with continuous background motion — better than blending or weave, and it is available in every major free and commercial video tool. For the highest-value footage (championship games, hall-of-fame inductee footage), QTGMC produces noticeably better results at the cost of substantially longer processing time.
Software that includes YADIF deinterlacing:
- HandBrake (free): “Decomb” preset uses YADIF; selectable in Picture > Filters
- FFmpeg (free, command-line):
-vf yadif=mode=1for full deinterlace;mode=0for send-frame mode - DaVinci Resolve (free tier): Apply “Deinterlace” effect in the Color or Edit page; select “High Quality” for YADIF-equivalent processing
- VirtualDub2 (free): Apply filter from the Filters menu; community YADIF filter plugin available
Step 5: Process the Video
With field order confirmed and method selected, process the captured master file through the deinterlacing pass. Processing is not a real-time operation for high-quality methods — YADIF on a 90-minute game at 1x processing speed may take 30 to 90 minutes on a current mid-range workstation; QTGMC may take several hours.
Processing workflow:
- Create a working copy of the captured master file before processing — never overwrite the original capture file with the deinterlaced version; the master is the preservation record
- Open the working copy in the chosen tool and confirm the field order setting before starting
- Set the output resolution: for standard-definition NTSC footage, 720×480 (maintaining original resolution) is the baseline; upscaling to 1280×720 (720p) is optional for display purposes but should not be done in the master-file processing pass
- Set the output codec for the processed working file: H.264 at a high bitrate (12–20 Mbps for 480p), or ProRes 422 if the tool supports it, for quality review before creating final access copies
- Start the processing pass and monitor the preview during the first few minutes to confirm that the field order is correct and that no gross artifacts are visible
- Allow the pass to complete without interruption; do not use the workstation for other intensive tasks during processing
Output settings for the deinterlaced working file:
| Setting | Recommended Value | Notes |
|---|---|---|
| Frame rate | 29.97 fps | Match the original NTSC frame rate; do not convert to 25 fps or 30 fps |
| Resolution | 720×480 (original) or 854×480 (anamorphic display-corrected) | NTSC pixels are not square; 854×480 displays at the correct 4:3 aspect ratio |
| Codec | H.264 (high bitrate) or ProRes 422 | H.264 for most tools; ProRes if using DaVinci Resolve or Premiere Pro |
| Scan type | Progressive | The entire point of the workflow; verify this in MediaInfo after processing |
Step 6: Quality Review
Review the processed file before creating archive copies and access derivatives. Quality review for deinterlaced athletic footage focuses on three common failure modes: residual comb artifacts, motion ghosting, and field-order errors.
Quality review checklist:
- Open the processed file in a media player (VLC, QuickTime, MPC-HC) and confirm that MediaInfo reports “Progressive” scan type — not “Interlaced” or “Mixed”
- Advance to a section with fast horizontal motion (a player running across the frame, a ball in flight) and pause on multiple frames — check for horizontal comb lines in moving areas; if present, the deinterlacing filter did not fully process those frames
- Review a section with players crossing each other in the foreground against a static background — check for double-image or ghost artifacts around player outlines; these indicate blending artifacts from an averaging method applied to a high-motion scene
- Review the overall motion quality at normal playback speed — motion should be smooth, not jittery; a subtle jitter where each frame shifts slightly may indicate the wrong field order was applied (reverse the field order and reprocess a test clip)
- Check audio sync over the full length of the clip — confirm that crowd noise, whistle blows, and announcer calls align correctly with on-screen action; deinterlacing does not normally affect audio sync, but misconfigured tools occasionally drop frames
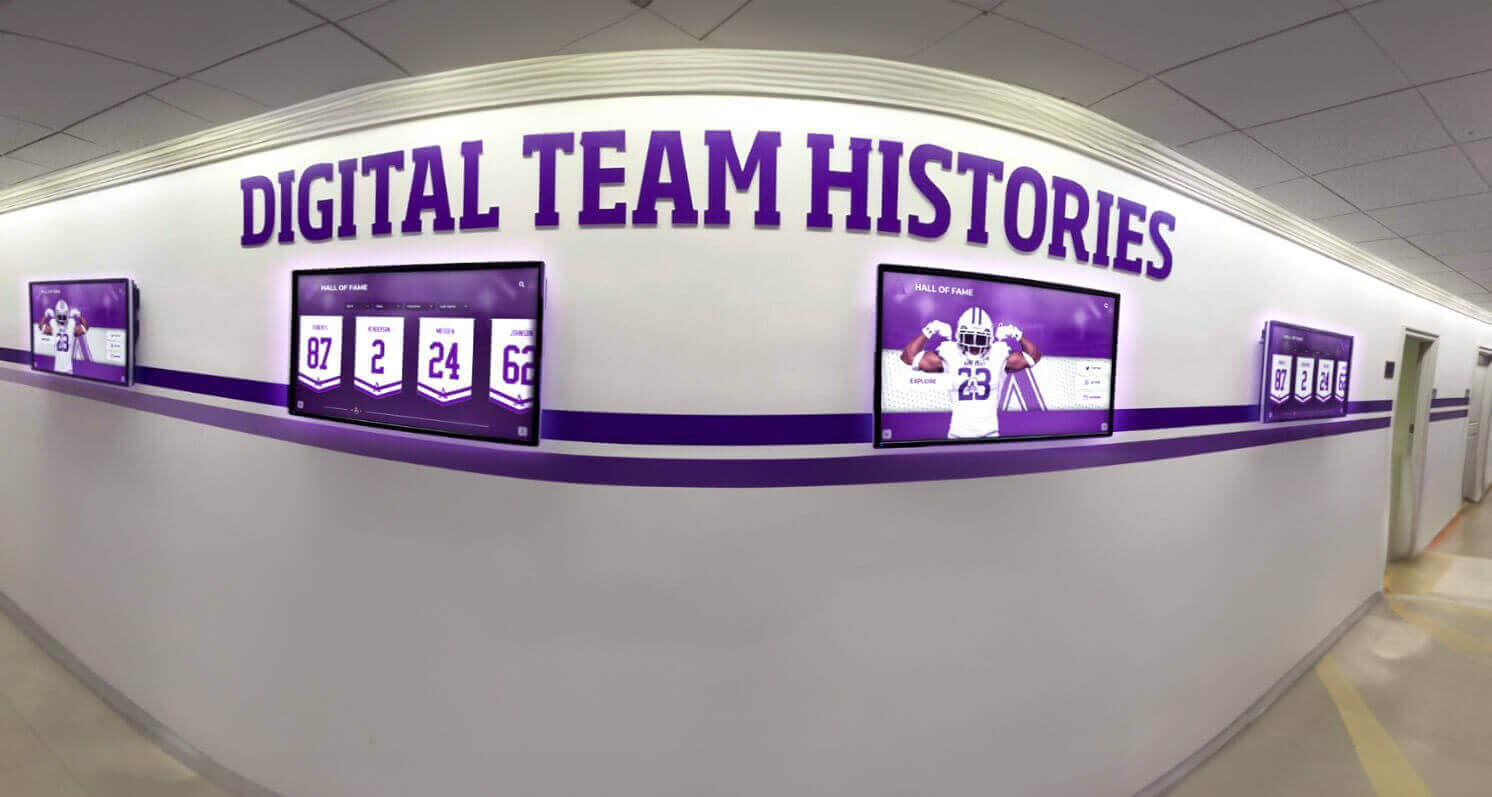
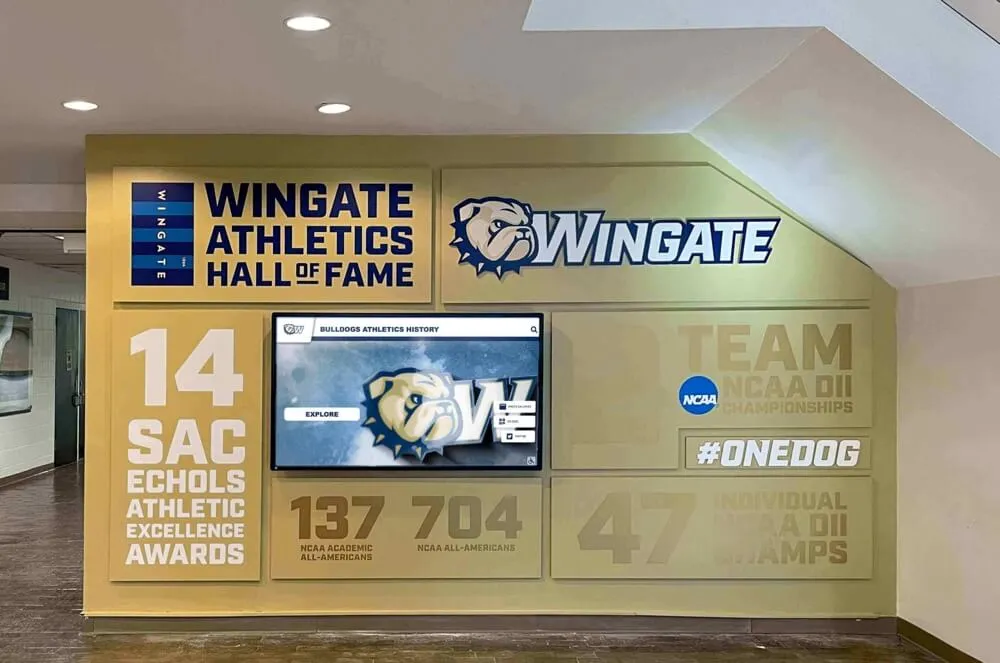
School hallway video displays draw on game footage that has been through a complete deinterlacing workflow — clean progressive files play smoothly on modern screens where interlaced originals would produce visible combing artifacts
Step 7: Create Access Copies for Archive and Display
The deinterlaced working file is the processed version of the preservation master. From it, create the access copies appropriate for each use context: archive playback, digital display integration, and web or platform delivery.
Access copy specifications:
| Use Context | Format | Resolution | Bitrate | Notes |
|---|---|---|---|---|
| Digital archive playback | MP4 (H.264) | 854×480 or 1280×720 | 8–12 Mbps | For internal archive access and review |
| Touchscreen recognition display | MP4 (H.264 or H.265) | Match display resolution (typically 1080p) | 8–15 Mbps | Check platform’s supported formats |
| Lobby or hallway screen display | MP4 (H.264) | 1920×1080 upscaled | 10–15 Mbps | Mild upscale from 480p acceptable; do not apply heavy AI upscaling to master |
| Web delivery | MP4 (H.264) | 854×480 | 3–5 Mbps | Smaller file for streaming; does not need to be full display resolution |
| Archival long-form backup | MKV or MOV (H.265) | Native 720×480 | 5–8 Mbps | Space-efficient archival copy of processed video |
File and folder structure for processed video:
/video-archive/
  /[year]-[sport]-[event-id]/
    [date]-[event-id]-MASTER-INTERLACED.avi     (original capture; never modify)
    [date]-[event-id]-DEINTERLACED-WORKING.mp4  (processed working file)
    [date]-[event-id]-ACCESS-DISPLAY.mp4        (access copy for display contexts)
    [date]-[event-id]-ACCESS-WEB.mp4            (access copy for web delivery)
    [date]-[event-id]-metadata.xml              (all metadata fields)
    [date]-[event-id]-processing-log.txt        (field order, method, tool, settings)
Keep the original interlaced master capture file. If a better deinterlacing method becomes available in the future — or if an error in the current processing is discovered — the original interlaced master can be reprocessed. Discarding the interlaced master eliminates that option permanently.
Connecting Deinterlaced Footage to Athletic Recognition Displays
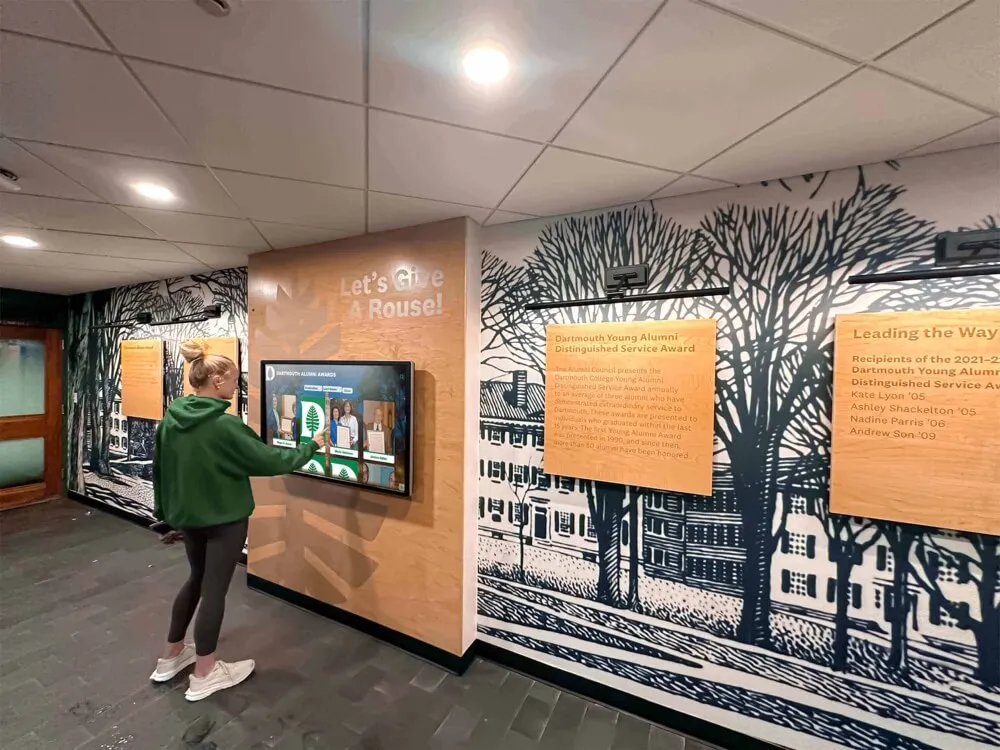
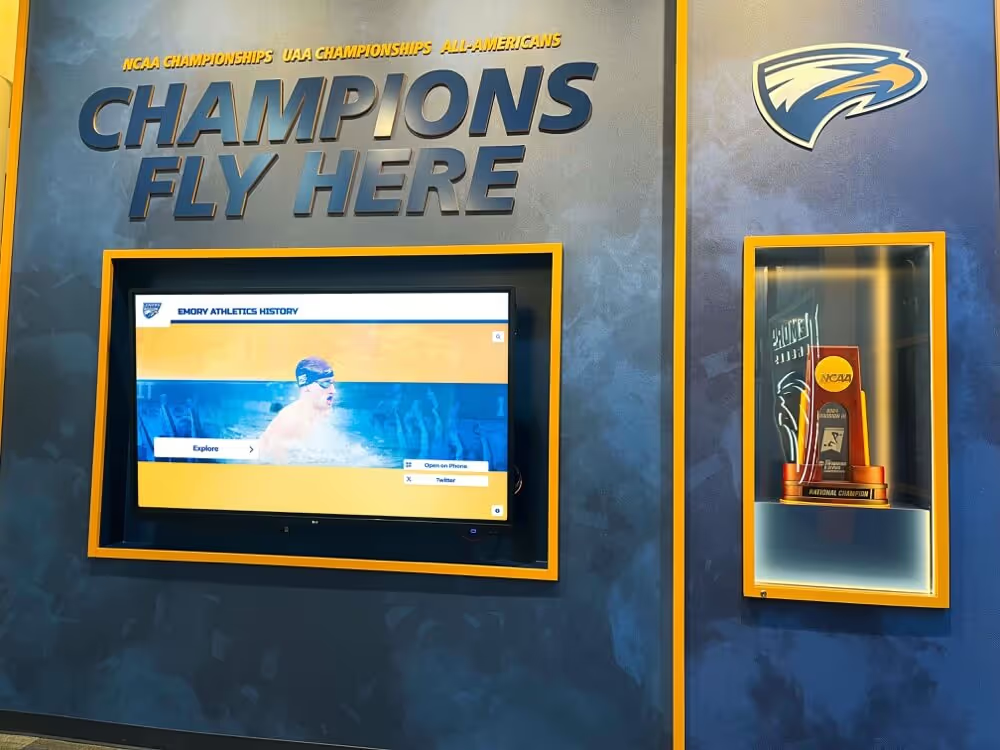
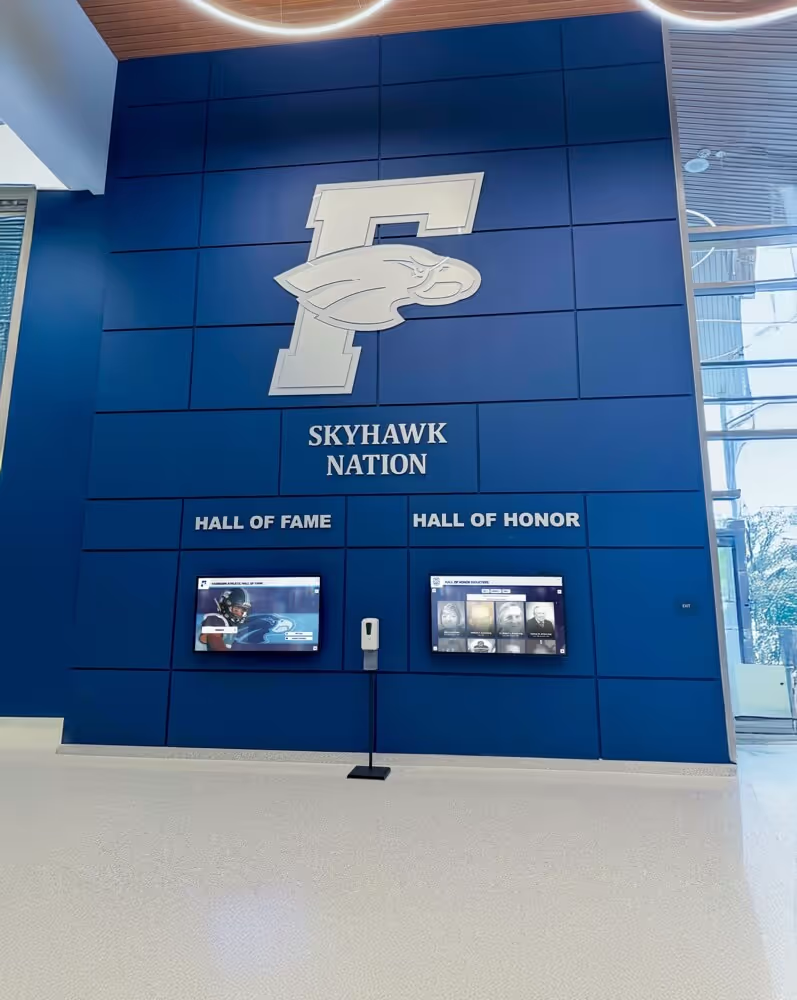
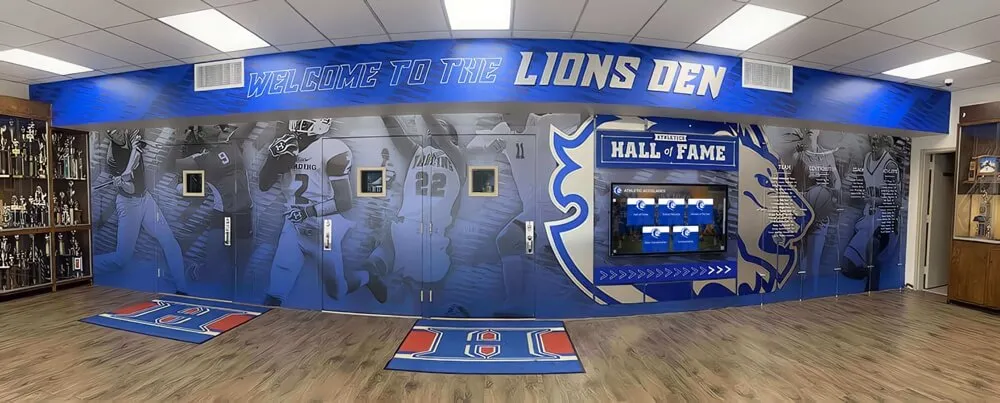
Deinterlaced game footage is the video format that recognition display platforms actually accept and play correctly. An interlaced MP4 uploaded to a touchscreen hall-of-fame system displays with visible combing artifacts — the display hardware cannot apply the deinterlacing pass that the workflow should have completed before upload. A deinterlaced, progressive-scan MP4 of the same footage uploads cleanly, plays without artifacts, and integrates with athlete profiles, championship records, and historical timelines in a way that serves the recognition program’s purpose.
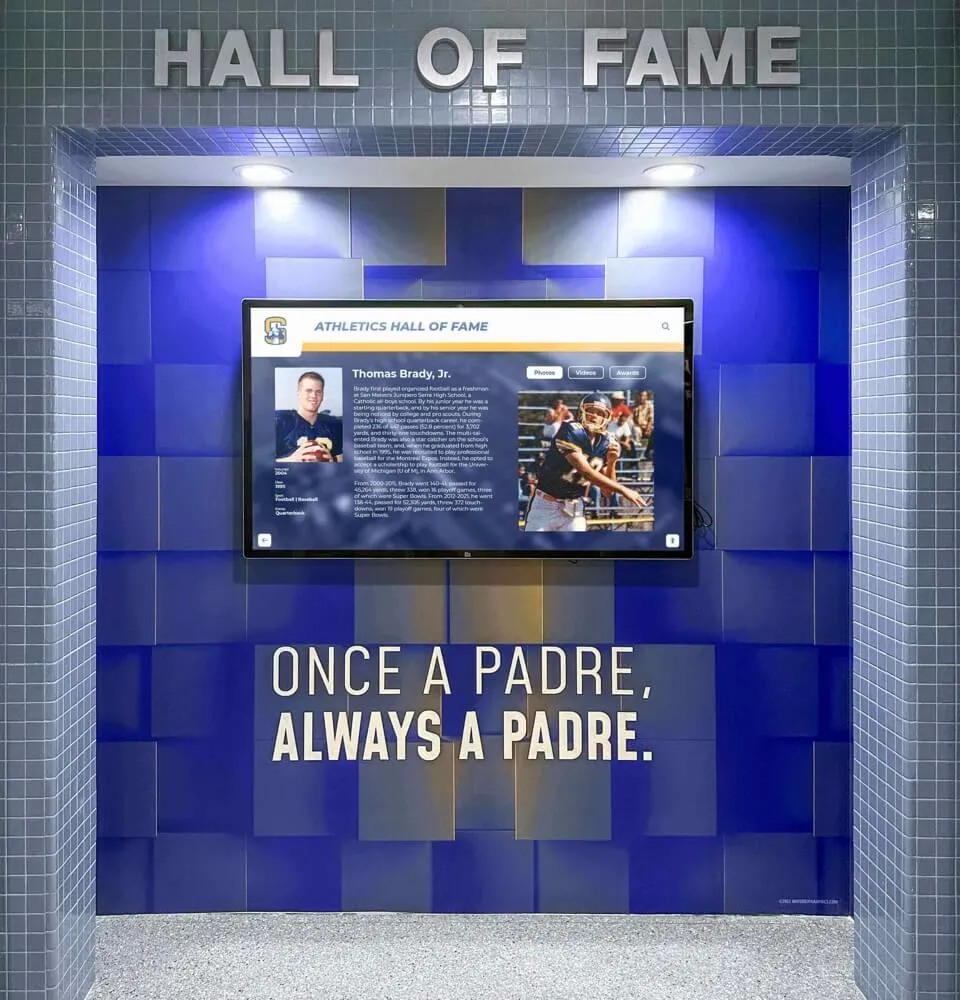
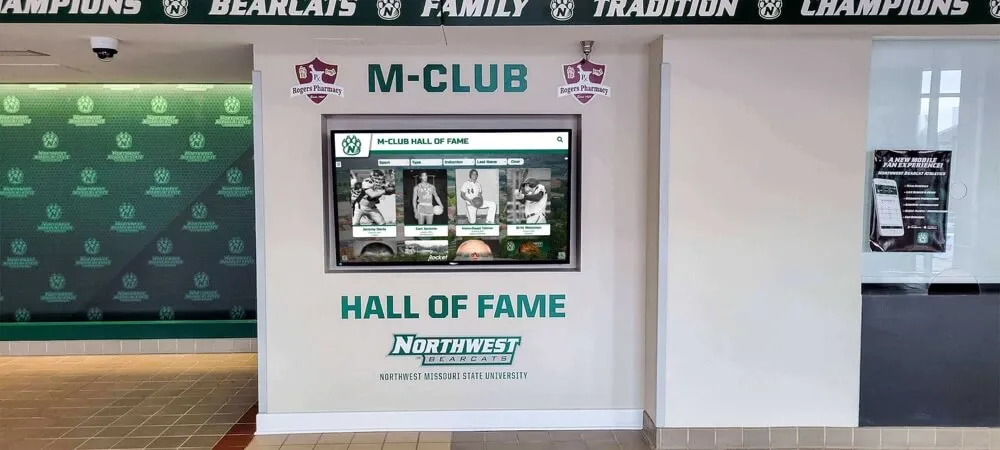
For athletic departments building interactive hall-of-fame displays, the availability of clean game footage from key seasons significantly expands what recognition profiles can include. A hall-of-fame induction profile for a former quarterback that includes a thirty-second game highlight clip from their senior championship season creates a connection between the visitor and that era of the program that a photograph and statistics table alone cannot provide. Schools exploring options for digital hall-of-fame platforms that can surface this kind of footage alongside athlete profiles will find relevant context in this overview of digital hall of fame software for schools, which covers how different platforms handle video content in recognition contexts.
For programs using game footage in awards ceremony programming and recognition events, deinterlaced footage projects cleanly on auditorium screens and portable projectors — whereas interlaced source video can produce visible scanning artifacts when projected at large scale, undermining the quality of the presentation at the moment it matters most.
Athletic departments that maintain alumni engagement and mentorship programs can also draw on deinterlaced game footage from the era when current mentors competed — surfacing that footage in alumni welcome areas or reunion programming creates a shared-memory context that abstract recognition alone cannot replicate. Resources for thinking about those alumni welcome area experiences illustrate how video content fits within the broader environment schools design for returning graduates.
For programs integrating recognition video content into community programming — including alumni recognition initiatives that involve mentors and community members — having clean, displayable footage from legacy seasons gives program coordinators material to work with that connects the program’s past to its current participants.
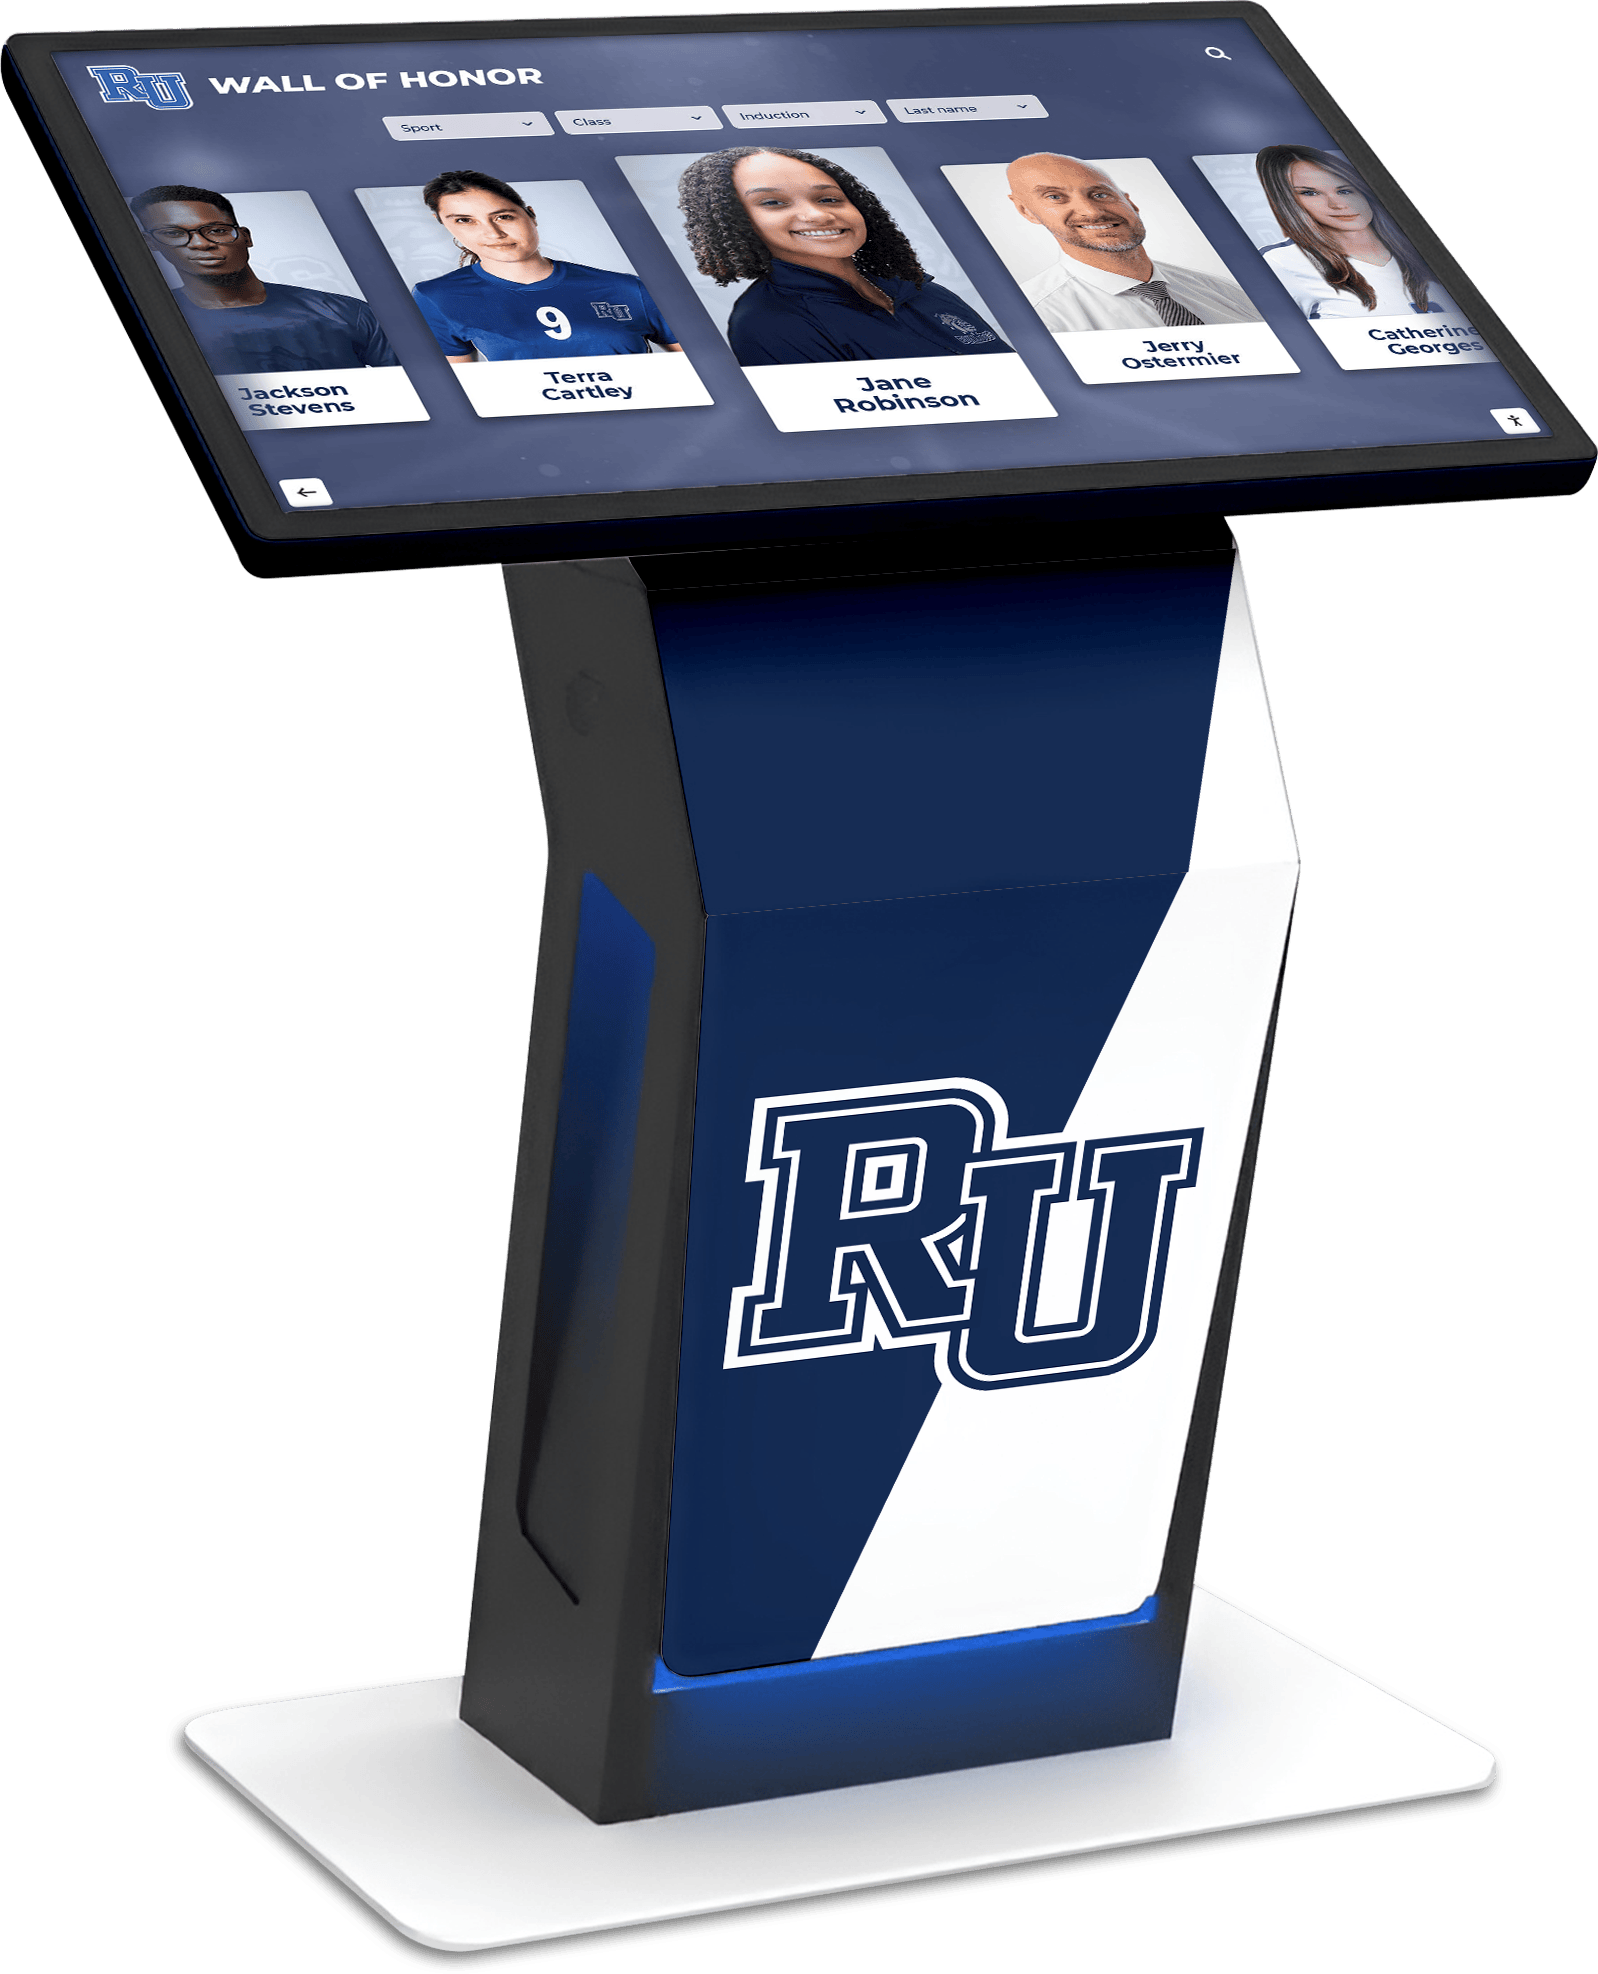
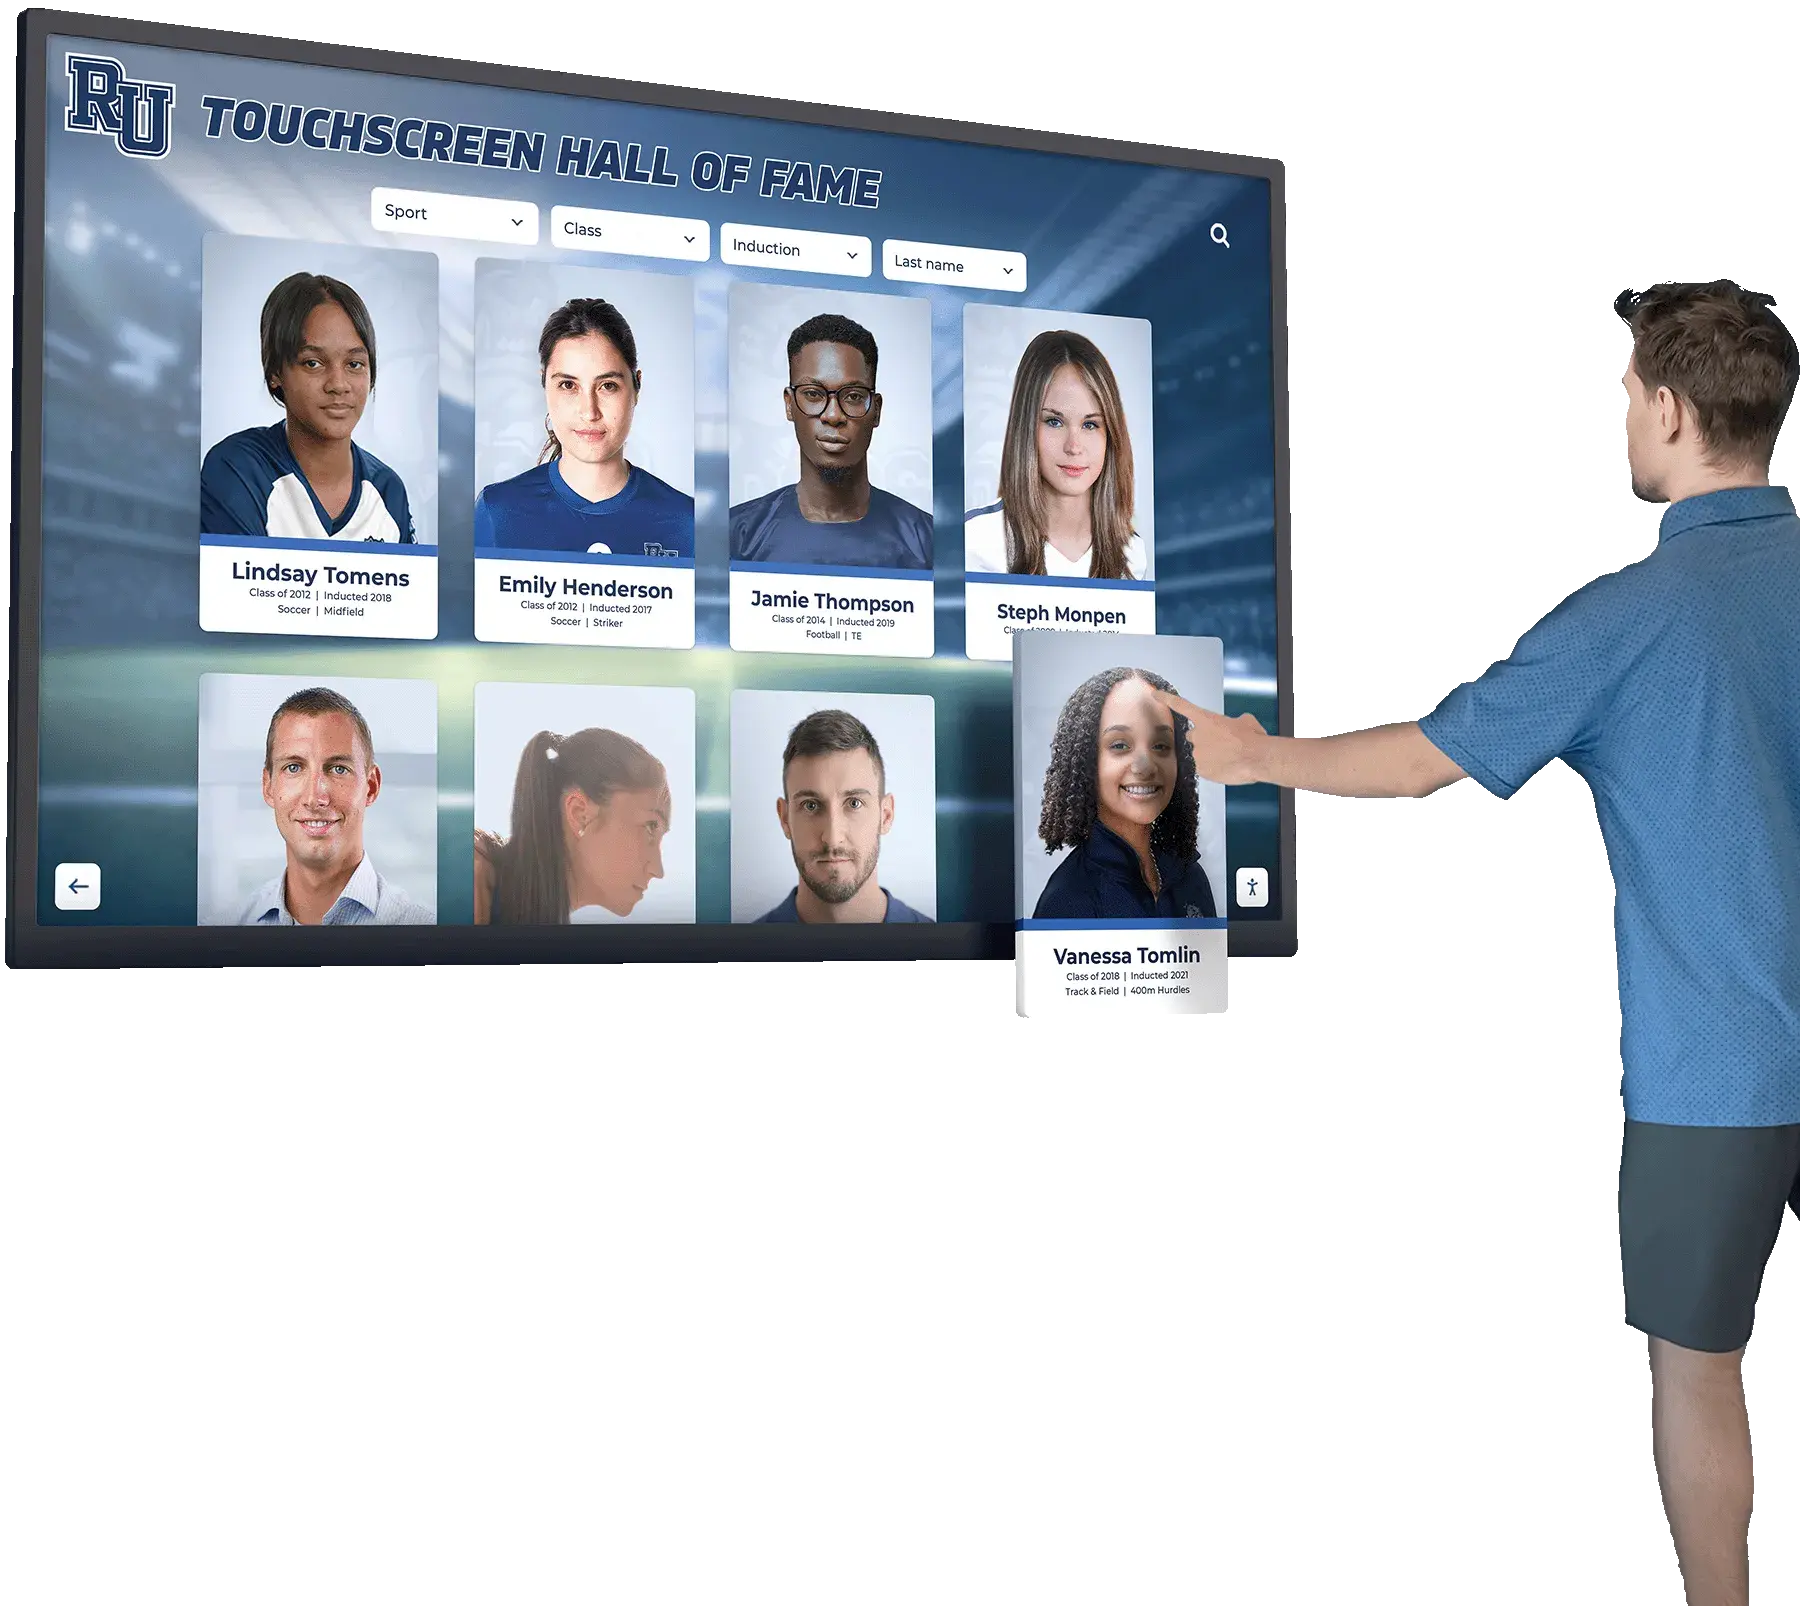
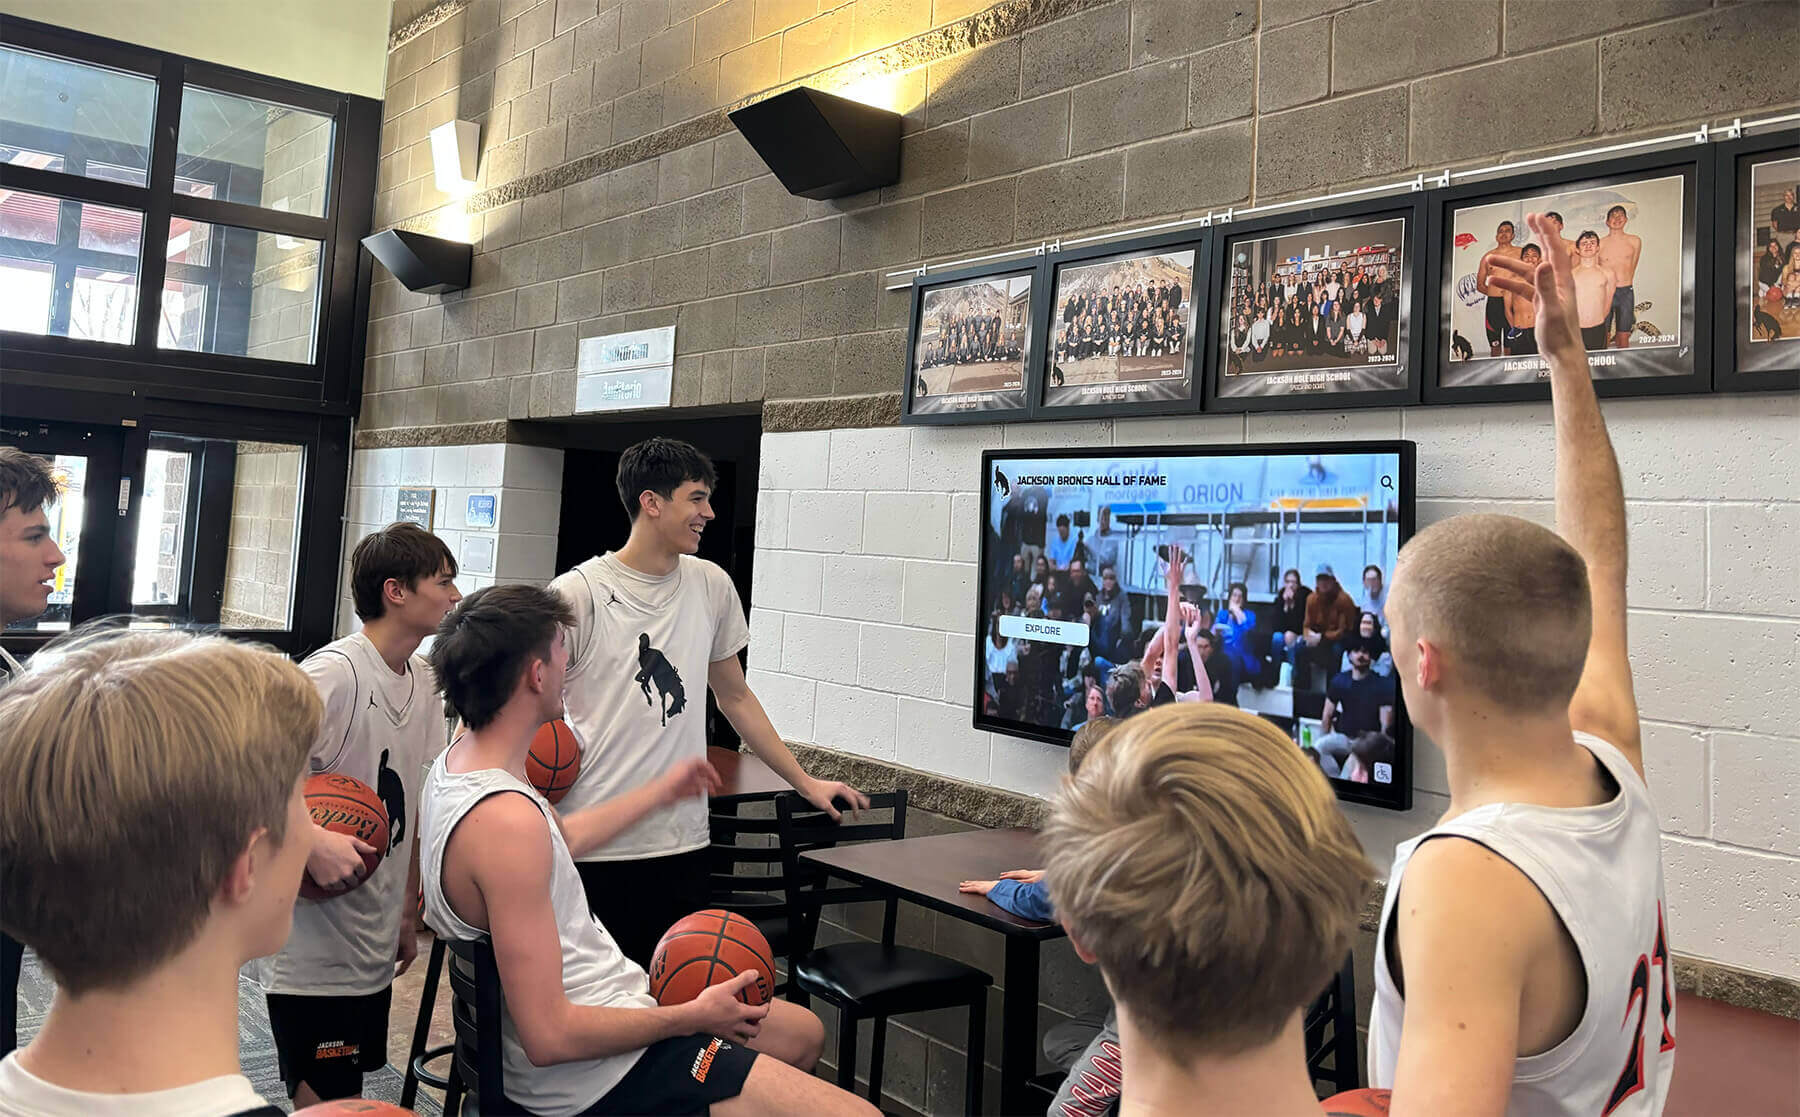
Interactive recognition kiosks that include video clips from legacy game footage require progressive-scan files — the deinterlacing workflow is what converts decades-old interlaced recordings into content the display platform can actually show
Comparison: Rocket Alumni Solutions for Video-Enabled Recognition
Schools that complete a video deinterlacing workflow and produce a library of clean game footage face a follow-on decision: what display platform makes that footage accessible to students, alumni, and visitors in a way that honors the program’s history?
Rocket Alumni Solutions is designed specifically for this context. The platform accepts MP4 video content and allows athletic departments to attach game footage clips directly to athlete profiles, championship season features, and record board entries in an interactive touchscreen display. Rather than uploading processed video to a general-purpose media server and hoping it surfaces in a recognition context, schools using Rocket can connect a deinterlaced highlight clip to the exact inductee, season, or record it documents — and make it available to every visitor who engages with the display.
For schools that have completed digitization and deinterlacing workflows and are ready to bring that content into a recognition platform, Rocket’s onboarding process is built around content that already exists in standard formats: MP4 video, JPEG and PNG portraits, structured data for records and rosters. A library of deinterlaced game footage is not raw material in need of further preparation — it is exactly the asset type the platform is designed to receive.
Ready to Put Your Deinterlaced Game Footage to Work?
Once your legacy game recordings have been deinterlaced and converted to clean progressive video, Rocket Alumni Solutions helps schools connect that footage to interactive recognition displays — attaching championship highlights to hall-of-fame profiles, surfacing game clips in season histories, and making decades of athletic video available to students, alumni, and visitors every day. Request a demo to see how your archive's video content can power a recognition experience that does justice to your program's history.
Request a DemoFrequently Asked Questions
What does combing look like in interlaced video, and how do I confirm a file needs deinterlacing?
Combing appears as horizontal lines — a “comb tooth” pattern — along the edges of any moving object in a video frame. It is most visible when you pause on a frame that contains fast horizontal motion, such as a player running across the frame or a ball in flight. A static background area in the same paused frame will look clean while the moving object’s edges show the alternating-line artifact. To confirm a file’s interlacing status without visual inspection, open it in MediaInfo and check the Scan type field in the Video track — “Interlaced” confirms deinterlacing is needed; “Progressive” confirms it has already been applied.
Does every VHS tape need to be deinterlaced, or only some of them?
VHS records in the NTSC interlaced standard without exception. Every VHS tape captured from a standard North American VHS deck contains interlaced video. The question is whether the digitization step that converted the tape to a digital file included deinterlacing — some consumer capture devices apply deinterlacing automatically, and some do not. Check the file’s MediaInfo scan type to confirm whether the digitized file is already progressive or still carries the interlaced signal.
Is it better to deinterlace during capture or after capture?
After capture, using dedicated deinterlacing software, consistently produces better results than real-time deinterlacing applied by a capture card during acquisition. Capture cards that offer real-time deinterlacing typically use simple blending or weave methods that are faster than post-capture processing but lower in quality — particularly for fast-motion sports footage. Capture the raw interlaced signal cleanly, preserve it as a master, and apply the deinterlacing pass in post using YADIF or QTGMC depending on the quality level required.
What field order should I use for VHS tapes from our athletic archive?
Standard NTSC consumer VHS tapes use Bottom Field First (BFF). This applies to Hi8, Video8, VHS-C, and most consumer Betamax as well. If you apply BFF deinterlacing and notice a subtle jitter or backward-motion artifact in areas of fast motion, try Upper Field First (UFF) — a small percentage of tapes were recorded with non-standard equipment. Most deinterlacing tools default to detecting field order automatically; when auto-detection fails, BFF is the correct first choice for consumer NTSC formats.
Can we deinterlace footage that was already converted to MP4 without the original tape?
Yes, with limitations. If a prior digitization created an MP4 that still carries the interlaced signal — check MediaInfo; some MP4 files are interlaced — you can apply a deinterlacing pass to that file as if it were the master. The result will be lower quality than deinterlacing from an uncompressed AVI or ProRes capture, because the MP4 lossy compression was applied to the interlaced video, and re-encoding after deinterlacing introduces another generation of compression. It is still worth processing — a deinterlaced compressed MP4 is more usable than the same file with visible combing — but if the original tape still exists, capturing it fresh to an uncompressed format before deinterlacing will produce a noticeably better result.
How long does deinterlacing take for a full game recording?
Processing time depends on the method and the workstation. For a 90-minute game recording processed with YADIF in HandBrake or FFmpeg on a current mid-range computer, expect 20 to 60 minutes. QTGMC processing through an Avisynth/VapourSynth pipeline on the same footage may take 3 to 6 hours. AI-based upscaling and deinterlacing tools vary widely but are typically the longest of the three options. Processing a full season of game footage — 15 to 20 games — is a multi-day workstation commitment with YADIF and a multi-week project with QTGMC. Planning the processing schedule by priority tier (championship games and hall-of-fame footage first) makes the project manageable without delaying access to the most-used content.
Does upscaling from 480p to 1080p improve the display quality of deinterlaced footage?
Mild upscaling of deinterlaced 480p footage to 720p or 1080p for display purposes is common and produces adequate results for lobby and hallway displays. A well-deinterlaced 720×480 progressive file upscaled to 1280×720 or 1920×1080 with bicubic or Lanczos scaling looks significantly better on a modern display than the original interlaced 480i source — the deinterlacing removes the combing artifacts, and the upscaling fills the display resolution cleanly. Heavy AI upscaling to 4K or above adds processing time and cost that is rarely justified for game footage from consumer formats. Apply upscaling to the access copy, never to the master file.
Should we store the original interlaced VHS capture after deinterlacing is complete?
Yes. The original interlaced capture file is the closest digital representation of what is on the physical tape, and it is the source for all future processing. Deinterlacing methods will continue to improve — QTGMC today produces better results than any method available five years ago, and tools available five years from now may produce better results still. Preserving the interlaced master means future staff can reprocess the footage with better tools. Storage is inexpensive relative to the cost of recapturing a tape that has continued to degrade, and for tapes that have been discarded or that degrade to the point of unplayability, the interlaced capture file may be the only remaining record.
From Storage Room to Recognition Display
The VHS tape in the athletic storage room labeled with a year and a sport is not just a relic — it is footage of a championship season, a record-breaking performance, or a career-defining moment that current students and alumni have likely never seen on a screen that shows it as it was meant to be watched. Combing artifacts are not part of the original game. They are a display compatibility problem, and the athletic archive video deinterlacing workflow is the solution.
Eight practical steps — audit, capture, field-order confirmation, method selection, processing, quality review, access-copy creation, and archive integration — convert decades of interlaced game footage into a managed video library that can power recognition displays, awards ceremony programming, anniversary events, and hall-of-fame profiles for years to come.
Schools that complete this workflow systematically, working through their tape collections by priority tier and connecting deinterlaced footage to their archive and recognition platforms, build a resource that grows more valuable as institutional memory deepens. Programs that leave interlaced tapes unprocessed in a storage room are choosing to leave that resource inaccessible on every modern screen — and leaving the physical media to continue its slow deterioration unpreserved.