


Magnetic tape is the most chemically unstable media most schools own, and the vast majority of it is sitting in storage closets, equipment rooms, and forgotten cabinets right now, degrading on its own schedule. VHS cassettes documenting state championship games from the 1990s. Super 8 film reels from a school’s first homecoming parade. Betacam cassettes of graduation ceremonies that predate digital photography. Each of these formats is on a countdown: magnetic tape decays whether or not you play it, and the playback equipment needed to convert it grows rarer every year.
Knowing how to digitize old school video footage is the essential prerequisite for saving everything on those tapes and reels. Once game film, ceremony footage, and school event videos are converted to stable digital formats with organized metadata, those recordings can be archived, shared, and displayed on interactive touchscreen systems that let current students and returning alumni explore decades of institutional history. Before any of that is possible, the tapes and reels have to come out of storage, be assessed, and pass through a systematic conversion workflow.
This guide covers every stage of school video digitization: understanding what formats you likely have and which are deteriorating fastest, choosing between in-house conversion and professional services, establishing file format and quality standards, setting up long-term storage, and putting that footage to work in your school’s living archive.
The problem with magnetic tape is that most schools don’t discover their footage is gone until they try to play it. A VHS tape that sat untouched in a cabinet for fifteen years may look physically intact—the housing is clean, the reel turns—but when played, the image stutters, drops out, and dissolves into static. The content is already gone, layer by layer, from a process that started in storage years before anyone tried to watch it. That is the nature of tape degradation: silent, invisible, and often irreversible by the time it is noticed.

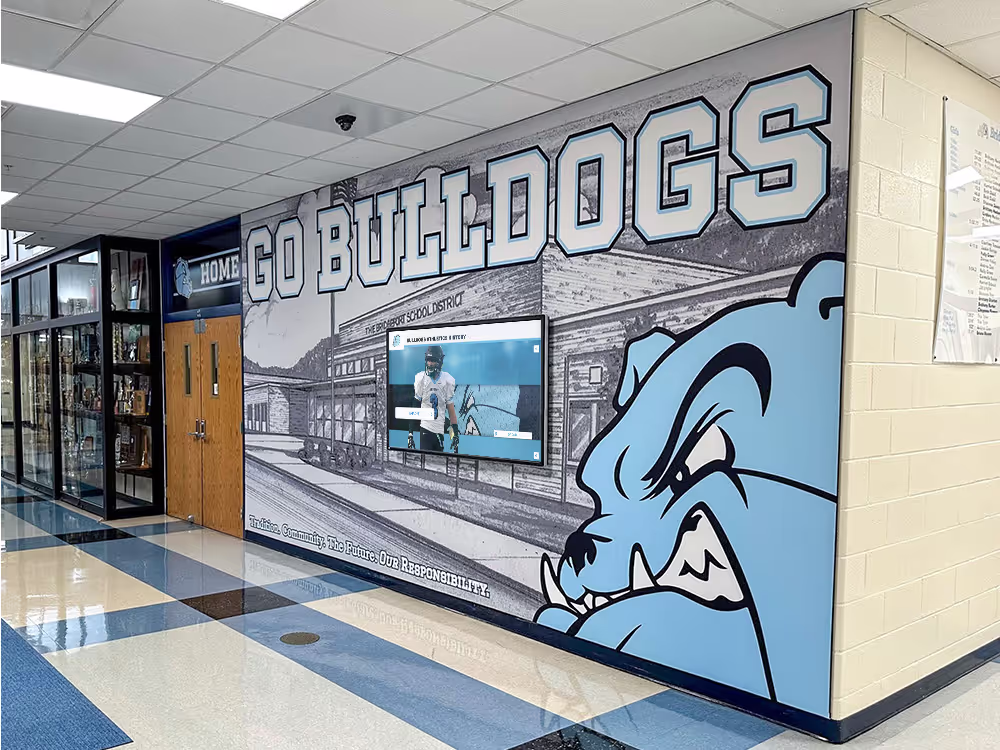
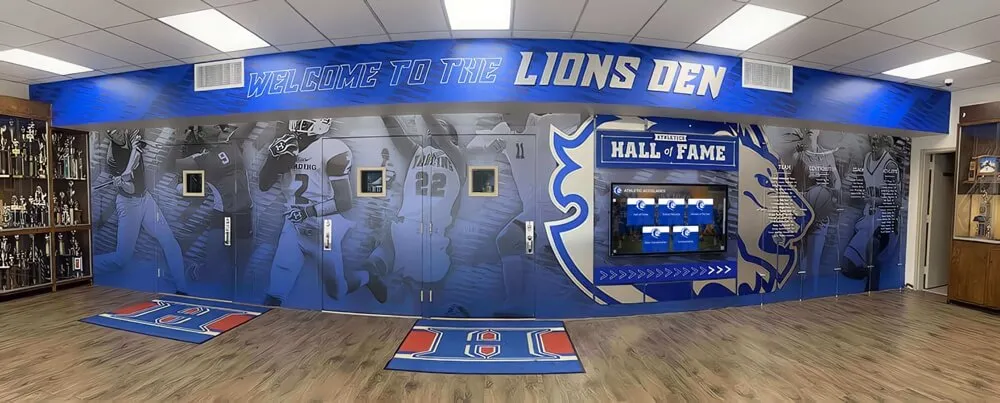
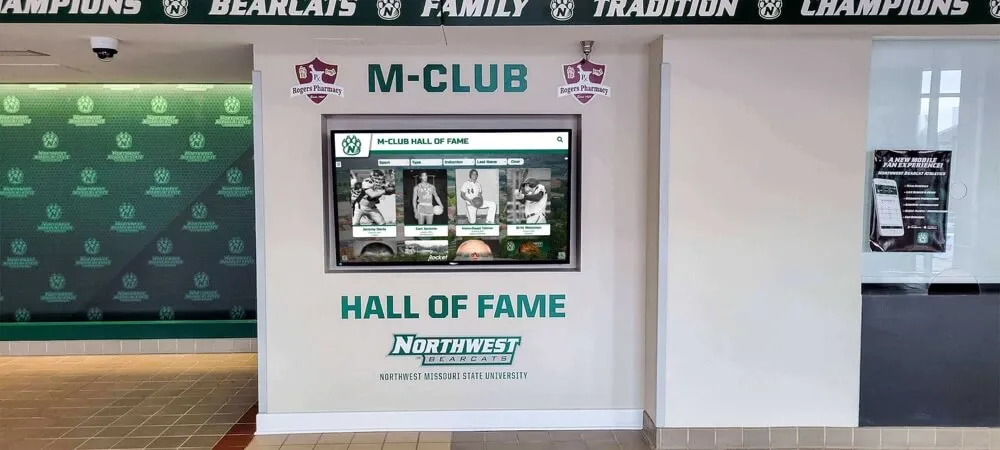
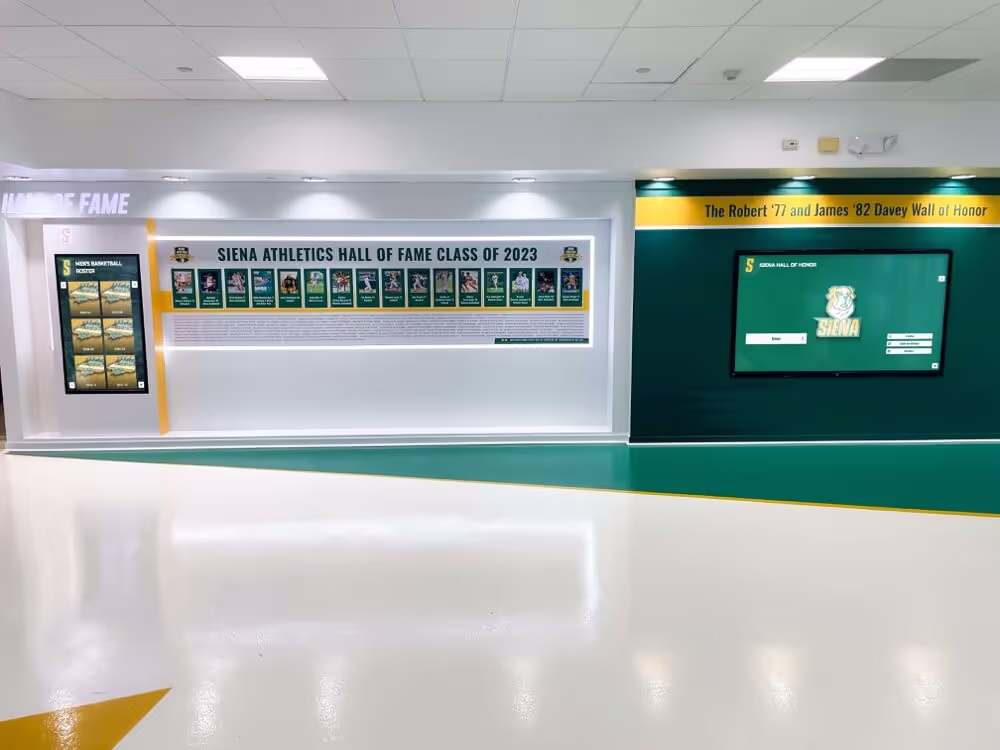
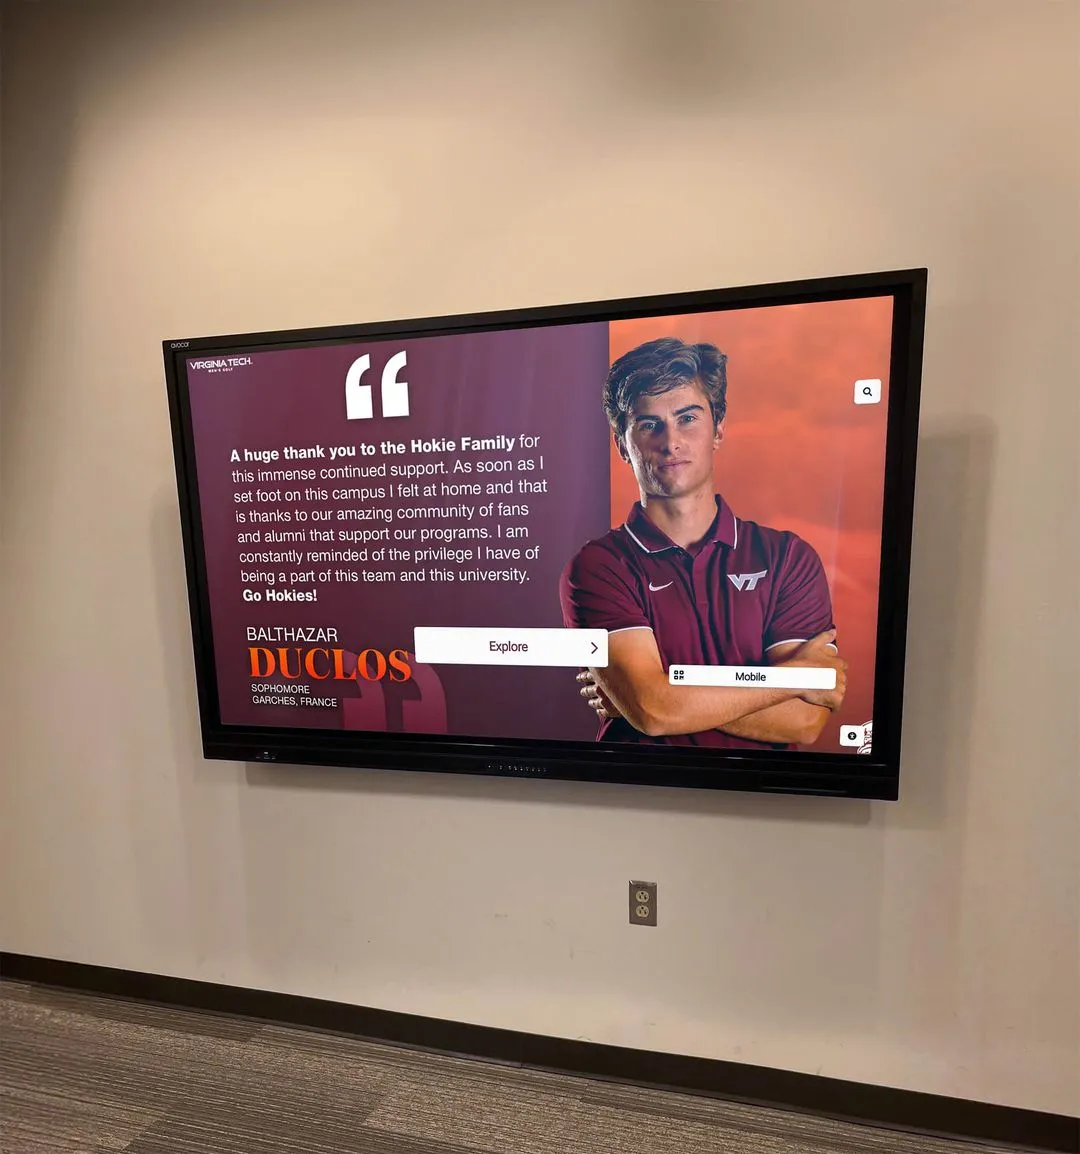
Game footage that once lived on VHS tapes in equipment rooms can become engaging lobby displays—but only after digitization rescues it from formats that are actively degrading
The Clock Is Already Running: Understanding Tape Degradation
The physical media holding your school’s video history is not stable. Every format schools commonly hold has a distinct degradation timeline and failure mode, and every year that material sits unconverted is a year of irreversible loss.
Magnetic Tape: Sticky Shed Syndrome
The primary failure mode for magnetic tape—VHS, Betacam, Hi8, and MiniDV included—is known as sticky shed syndrome. Magnetic tape consists of a plastic backing coated with an oxide layer held in place by a chemical binder. Over time, that binder absorbs moisture and begins to break down, causing the oxide layer to shed when the tape moves across playback heads. The result is a clogged playback head, a failing image, and oxide permanently removed from the tape.
Tapes stored in humid environments degrade faster. Tapes stored in hot attics or equipment rooms degrade faster. Tapes repeatedly played on worn or dirty playback equipment show physical damage to the oxide layer that compounds over time. A VHS tape stored in a climate-stable archive will outlast one stored in a school storage room by decades—but neither will last indefinitely, and most school tapes were not stored in ideal conditions.
A temporary intervention exists for tapes already showing sticky shed: baking the tape in a low-temperature oven to drive out moisture and temporarily restabilize the binder, allowing a window for playback and capture. This technique requires precise temperature control matched to specific tape chemistries and should be performed by an experienced technician. A damaged tape baked at the wrong temperature is permanently destroyed.
Film: Vinegar Syndrome and Nitrate Hazards
Older school film presents different but equally urgent preservation challenges.
Acetate film—the base for most 8mm, Super 8, and 16mm film from the 1950s through the 1990s—suffers vinegar syndrome, the same autocatalytic acetic acid breakdown that destroys photographic negatives. Film showing vinegar syndrome gives off a sharp, vinegar-like odor; becomes brittle or dimensionally unstable; and eventually delaminates, destroying the image layer permanently. Unlike magnetic tape, there is no intervention that reverses vinegar syndrome. The only preservation response is digitization before the image is lost.
Nitrate film, most commonly found in school archives predating the 1950s, is a fire hazard requiring specialist handling. If your school holds film reels that predate the 1950s—particularly from early athletics documentation or school history projects—assume they may be nitrate until verified otherwise. Nitrate film should be assessed and handled by a professional conservator, not institutional volunteers.
The window for saving acetate film ranges from decades to years depending on storage conditions. Film in poor condition—visibly shrunken, brittle, or actively off-gassing—may have a very limited window of remaining viability before the image layer fails completely.
What Video Formats School Archives Typically Hold
Schools rarely hold just one video format. The video history of a typical school spans the evolution from film to analog tape to digital, producing a mixed-format archive that requires a corresponding mix of conversion approaches.
VHS (1977–2007)
The dominant consumer video format for three decades, VHS tapes contain the largest volume of game footage, ceremony recordings, and event coverage held by most schools. Game film captured on VHS from the 1980s through the early 2000s represents the most extensively documented era of school athletics for many institutions. These tapes are now old enough to be experiencing significant binder degradation, particularly those stored in non-climate-controlled spaces.
VHS conversion equipment still exists but is becoming increasingly scarce. Consumer-grade VCRs have been out of production since 2016. Professional-grade VHS playback decks capable of producing stable signals for capture remain available from specialty suppliers but require periodic maintenance that grows harder to source as the technician base ages out. Digital record boards at smaller athletic facilities have created growing demand for digitized athletics footage that VHS archives can supply—but only after conversion.
Super 8 Film (1965–1985)
Super 8 is the consumer film format used by school communities for homecoming parades, candid athletics documentation, school events, and informal records of campus life through the late 1960s and into the 1980s. Super 8 cartridges are small and easy to overlook in archives, but the footage they hold—particularly from the earliest documented eras of a school’s history—is often irreplaceable.
Super 8 film runs silent unless a sound stripe was added at time of production; most archival Super 8 footage is silent. Conversion requires a film scanner or a frame-by-frame telecine transfer, both specialized processes that cannot be replicated with consumer equipment.
16mm Film (1950s–1990s)
Sixteen-millimeter film was the standard for school-produced documentary projects, physical education instruction films, and professional game film analysis through several decades. Schools with longstanding athletic programs often hold 16mm game film from coaches who used it for opponent scouting and player development—footage that documents athletic history in motion rather than still photographs.
Converting 16mm film requires a dedicated film scanner or a professional telecine service. The format produces larger, higher-quality frames than Super 8, making it worth the additional conversion cost for historically significant footage.
Betacam and Hi8 (late 1980s–1990s)
Betacam and Hi8 were semi-professional and professional formats used by school TV production programs and local media covering school events. Graduation ceremonies, award banquets, championship celebrations, and special programs shot by school media departments often ended up on Betacam or Hi8 rather than VHS. These formats offer higher image quality than VHS but require format-specific playback decks for conversion—equipment that is even more difficult to source than VHS players.
MiniDV and Digital8 (late 1990s–early 2000s)
MiniDV was the bridge format between analog tape and digital recording. School video programs, local broadcasting, and event coverage shifted to MiniDV through the late 1990s, and this format captures the period immediately before solid-state digital recording became standard. MiniDV transfers via IEEE 1394 (FireWire) connections—a legacy interface requiring specific adapters or older computer hardware to access. Neither MiniDV nor Digital8 is immune to tape degradation, and cassettes showing sticky shed present the same challenges as VHS despite their more recent production dates.
Assessing and Inventorying Your School’s Video Collection
Before choosing digitization methods or contacting vendors, spend time documenting exactly what your school holds. A video archive inventory serves two purposes: it reveals the scope of the conversion project, and it identifies which materials are most urgently at risk.
What to document in your inventory:
- Format type for each tape or reel (VHS, 8mm, Super 8, 16mm, Betacam, Hi8, MiniDV)
- Physical condition: housing damage, visible mold, sticky shed evidence when the tape edge is lightly touched, vinegar odor for film
- Approximate date range or specific date if labeled
- Content description (game footage, graduation ceremony, pep rally, etc.)
- Storage location history: climate-controlled or not
- Quantity by format
Prioritize materials showing active deterioration: tapes with mold growth, reels with vinegar odor, cassettes with visible oxide shedding. These should be converted first, before their condition deteriorates past the point of capture.
Schools navigating consolidations and mergers often discover video collections held by predecessor institutions—athletic game film, ceremony recordings, and event footage from schools that no longer exist as separate entities. For these collections, urgency is compounded: there is no institutional memory of what the content shows, and no existing staff who can recognize footage for identification purposes.

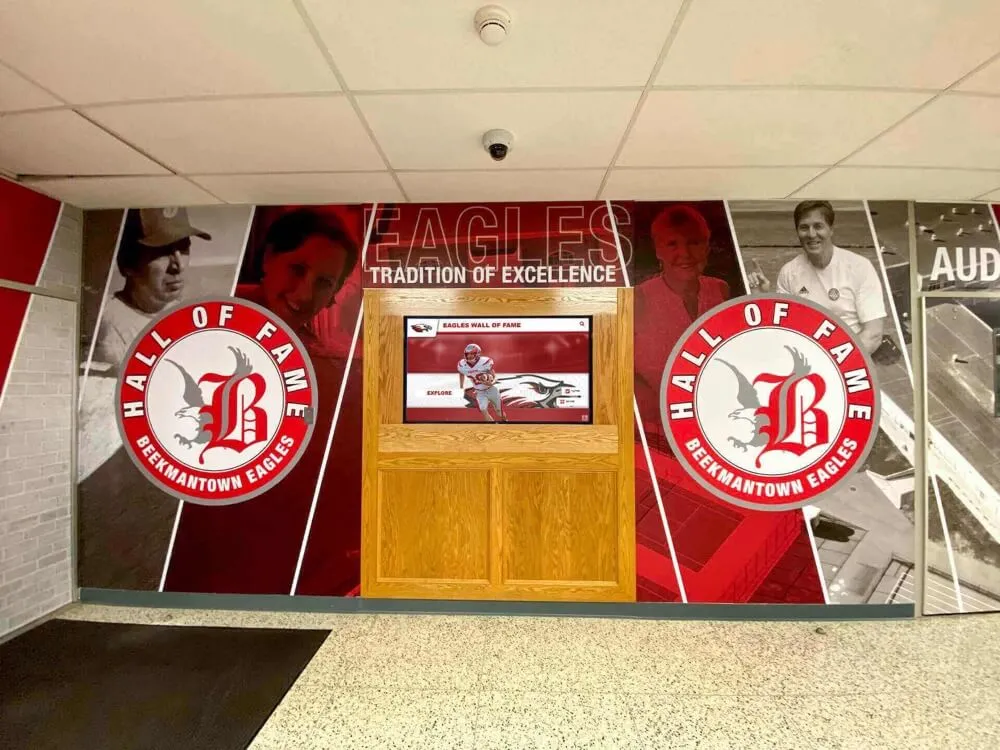
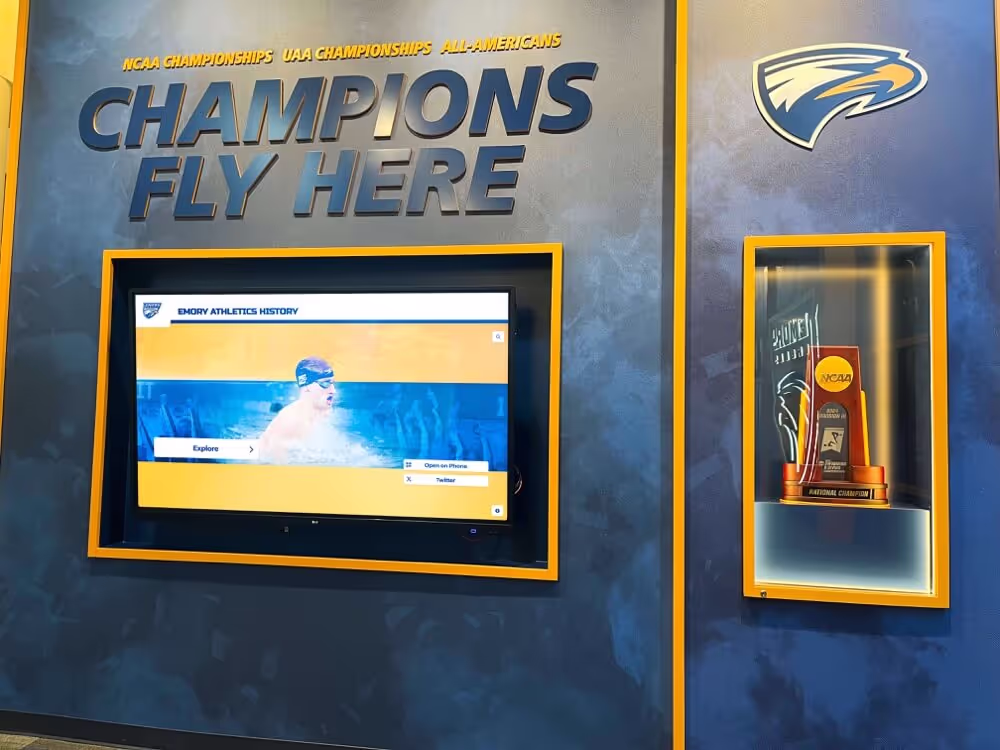
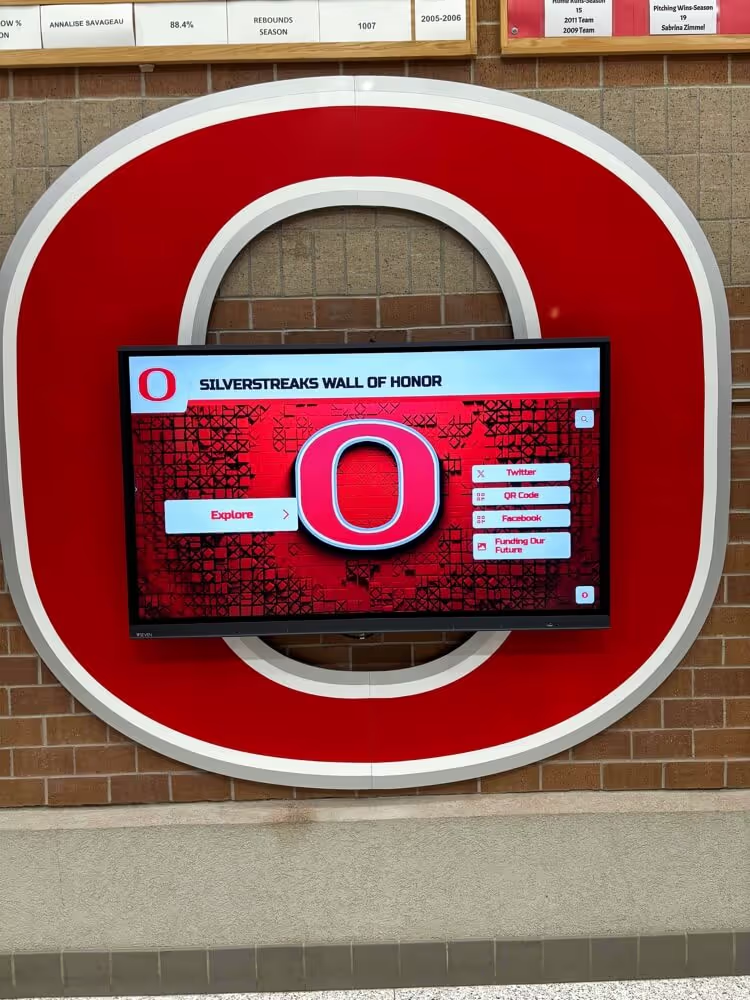
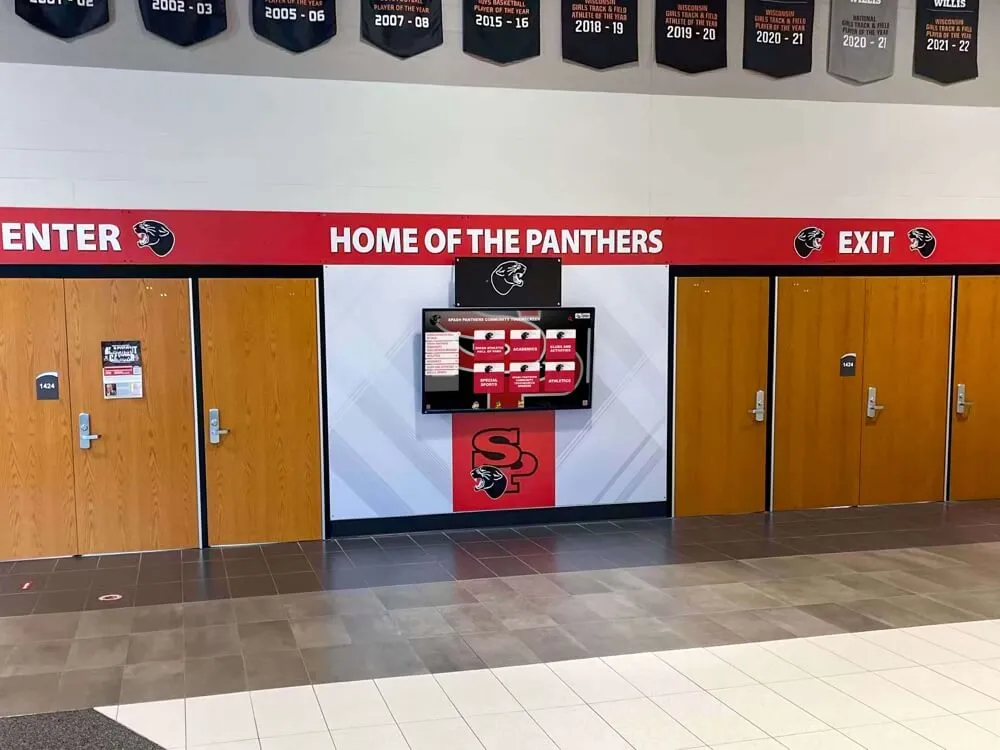
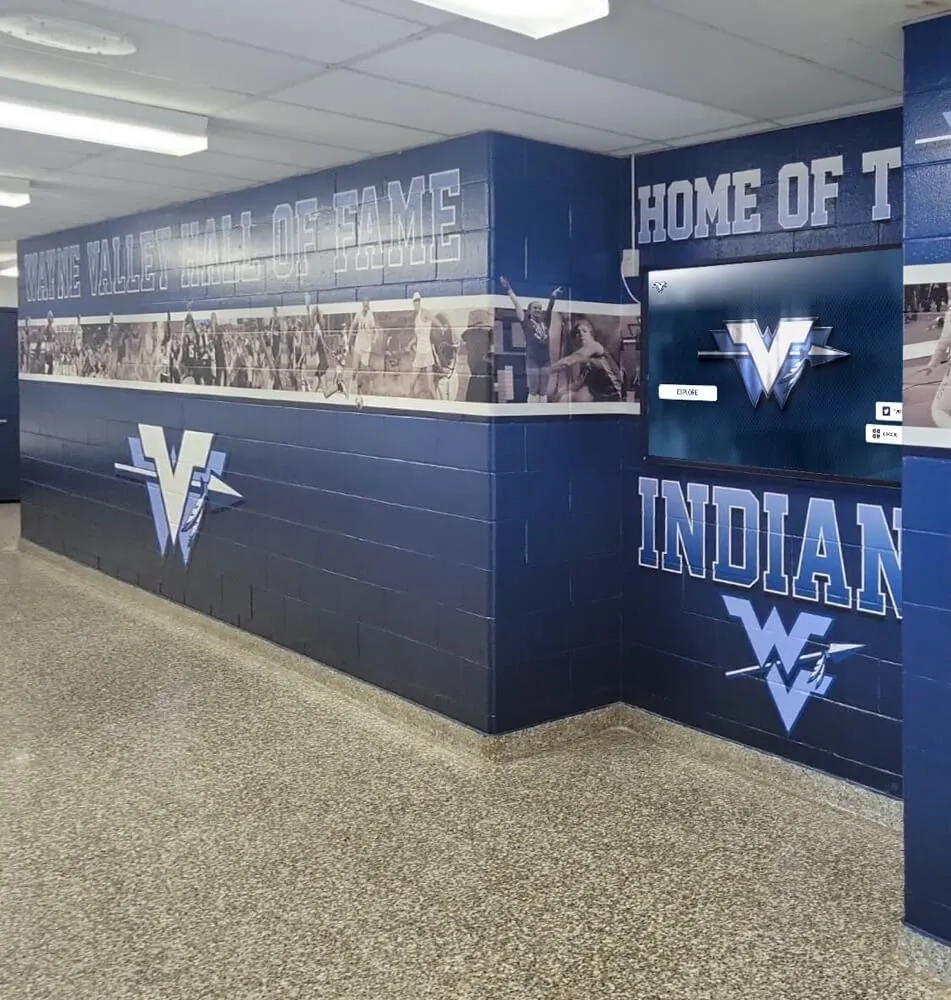
Interactive athletics displays that showcase game footage and program history require a digitized video archive as their foundation—conversion is the essential first step toward this kind of community engagement
Condition Triage Categories
Organize your inventory into three priority tiers:
Priority 1 — Active Deterioration: Film reels with vinegar odor, tapes showing sticky shed when the tape edge is lightly handled, cassettes with visible mold. These require immediate attention before deterioration advances further.
Priority 2 — High Risk by Age and Storage: VHS tapes older than 20 years stored in non-climate-controlled locations; all acetate film regardless of apparent condition; Betacam and Hi8 tapes with unknown storage history. Age and storage conditions alone put these at meaningful risk even when no active deterioration is visible.
Priority 3 — Stable but Not Permanent: MiniDV tapes stored in climate-controlled environments; relatively recent recordings; formats in good physical condition with documented storage histories. Still valuable to convert, but lower urgency than the categories above.
Digitization Options: What Each Format Requires
Different formats require fundamentally different conversion approaches. Understanding this before engaging vendors or purchasing equipment prevents the common and costly mistake of assuming a single solution covers all formats.
VHS Conversion
VHS to digital conversion requires four components working together: a functional playback deck producing a clean signal, a time-base corrector (TBC) to stabilize the signal before capture, a capture device (hardware encoder or USB capture card), and software capable of ingesting the captured signal at acceptable quality. The TBC is often overlooked but matters significantly for aged tapes that introduce sync instability during playback.
The DIY path for VHS is more accessible than for film formats, but aged tapes that play only partially may need baking before capture—a process requiring careful temperature control and experience with specific tape chemistries. Tapes with heavy dropouts or head clogging may require head-cleaning protocols that risk further tape damage if performed incorrectly.
For large VHS collections—anything over 100 tapes—the time investment in DIY capture typically exceeds what institutional staff can absorb alongside other responsibilities. VHS plays at 1× speed during capture, meaning a 2-hour game tape requires at minimum 2 hours of capture time, plus setup, monitoring, quality review, and file organization for each item.
Super 8 and 8mm Film Conversion
Super 8 and 8mm film cannot be converted with consumer equipment. The two standard approaches are:
Telecine transfer: A modified projector that captures each frame to a digital sensor rather than projecting onto a screen. Traditional telecine is faster but can introduce motion blur and flicker if not properly calibrated to the original frame rate of the film.
Film scanning: A dedicated frame-by-frame scanner captures each individual frame as a still image, which is then assembled into video. This approach produces significantly better results—sharper, with more accurate color and no motion blur—at the cost of slower throughput and higher cost per minute of footage.
For school archives, film scanning is the recommended approach for historically significant footage. The footage of a school’s earliest homecoming parade or first documented championship game deserves the higher-quality conversion method.
16mm Film Conversion
Sixteen-millimeter conversion follows the same telecine-versus-scanning trade-off as Super 8 but at larger scale. The format’s larger frame size means 16mm scanning produces higher-resolution output than Super 8 from the same equipment. Professional 16mm game film—used by coaches for scouting and replay analysis—often contains detailed athletic content that rewards higher-quality conversion.
DV Formats (MiniDV, Digital8, Betacam)
DV format conversion is technically simpler than analog formats but requires specific playback equipment. MiniDV converts via FireWire connection—requiring either an older computer with a native FireWire port or a dedicated capture interface. Digital8 requires a Sony Digital8 deck. Betacam requires professional playback decks, which are increasingly difficult to source.
The digital nature of MiniDV and Digital8 means the conversion process, when equipment is available, produces lossless output—the exact data on the tape is transferred without the analog-to-digital quality loss inherent in VHS or film conversion.
DIY vs. Professional Services: Making the Right Call
The decision between in-house conversion and professional services turns on three factors: collection size, format complexity, and material condition.
In-house conversion makes sense when:
- The collection is primarily VHS in good-to-fair condition
- Staff have time to devote to the project, at minimum 2–3 hours per tape for setup, capture, and quality review
- Budget constraints preclude professional services
- The collection is small enough—under 50 tapes—to complete within a realistic timeframe
Professional services are the better choice when:
- The collection includes film formats (Super 8, 16mm, or earlier) requiring specialized equipment
- Tapes are showing active deterioration requiring pre-treatment before capture
- The collection exceeds 100 items and time-bounded project completion is needed
- The footage is historically significant enough to warrant the highest available conversion quality
When evaluating vendors, ask specifically about: what format they deliver output files in; whether they include quality control review for each item; how they handle tapes that fail mid-transfer; what pre-treatment they perform on deteriorating tapes; and whether they provide a content description or shot list for unlabeled items.

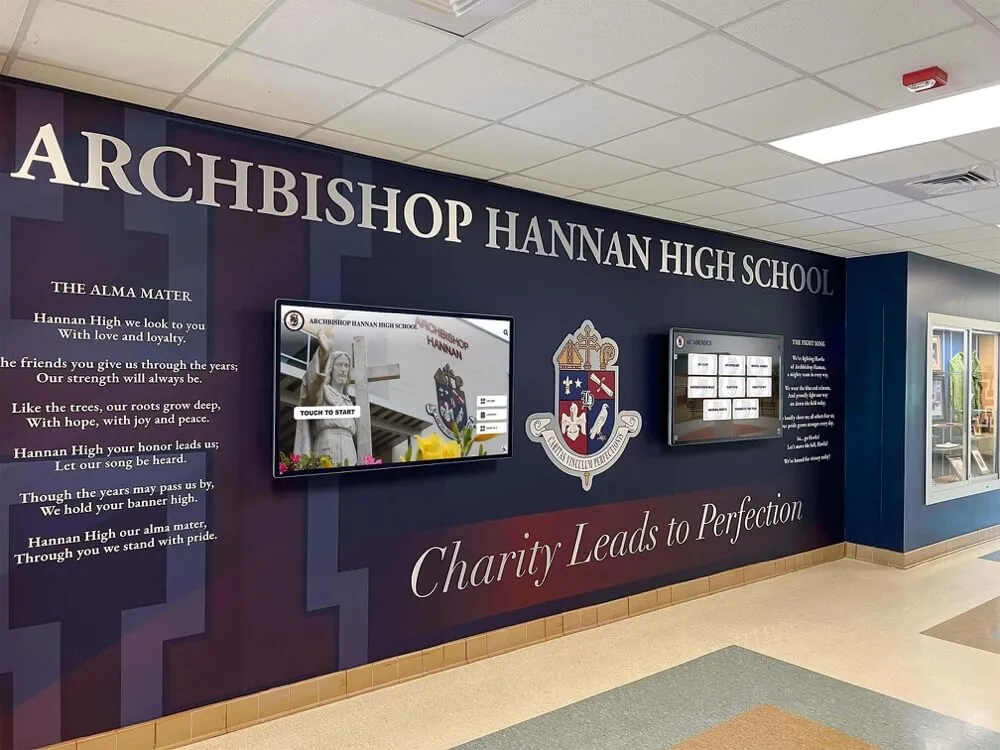
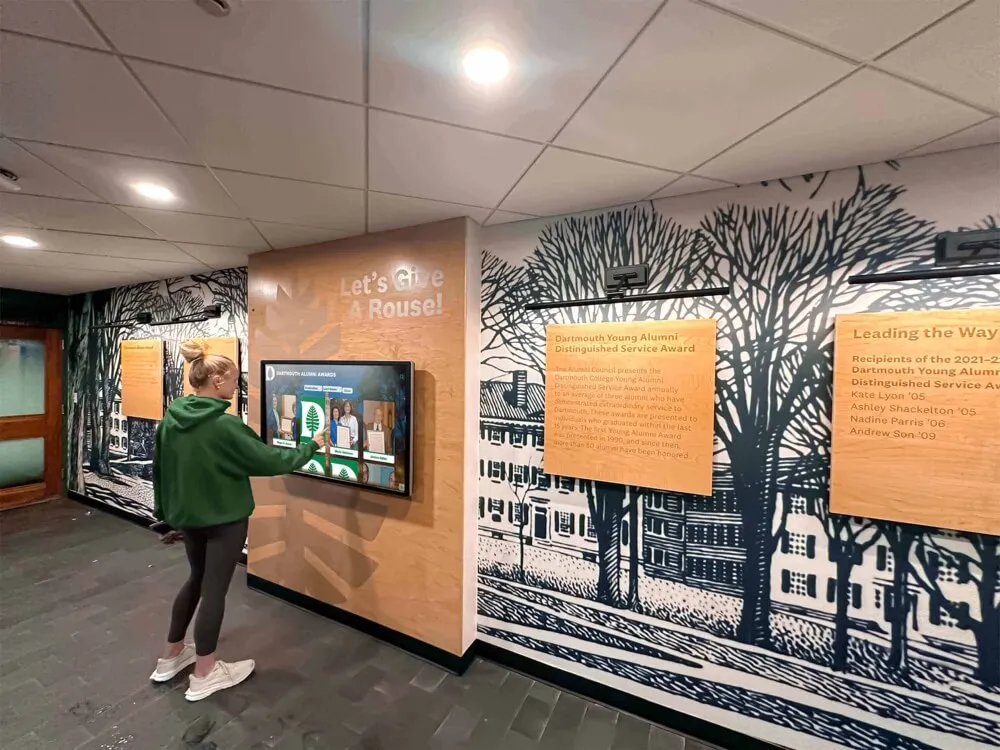
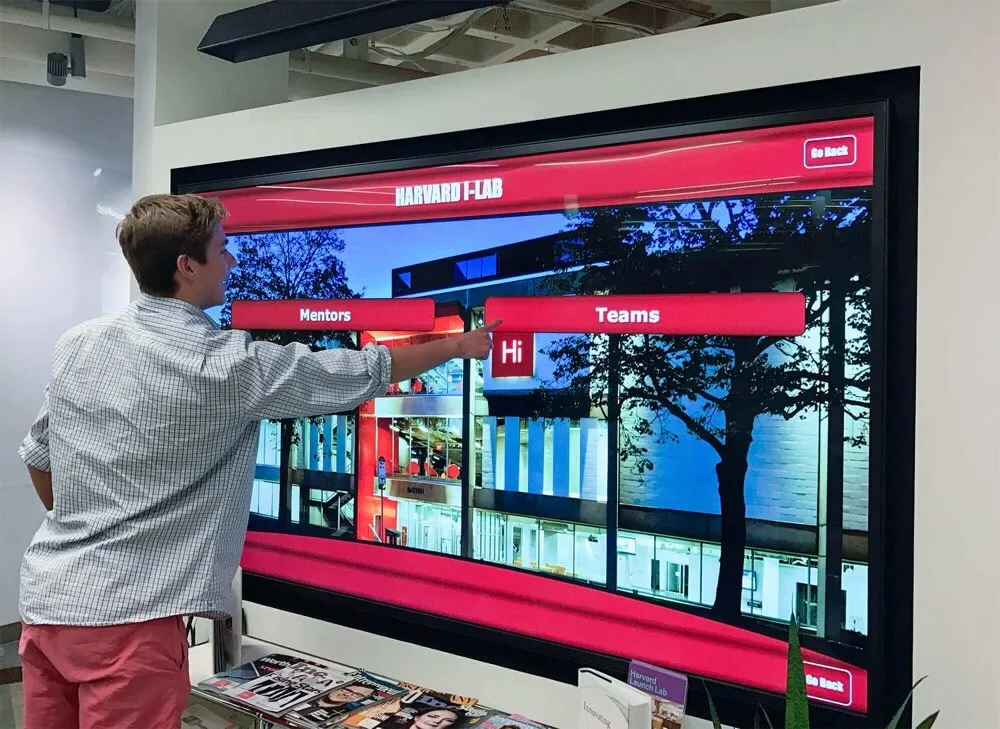
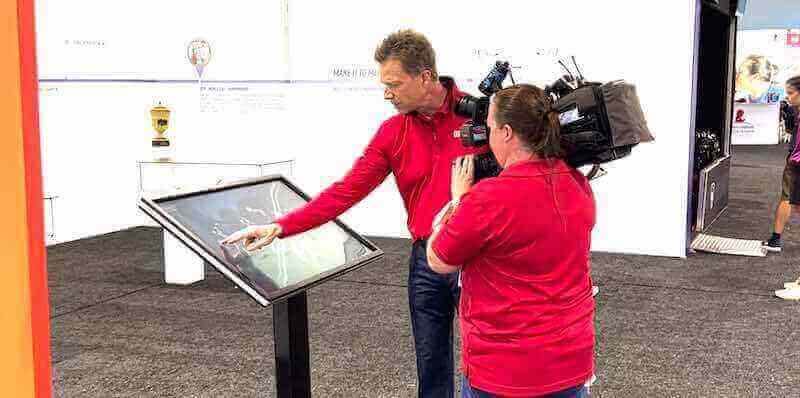
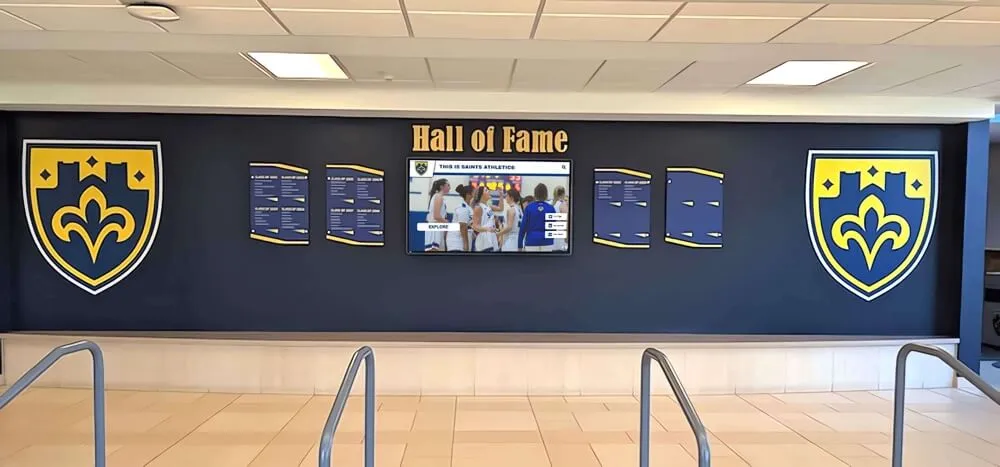
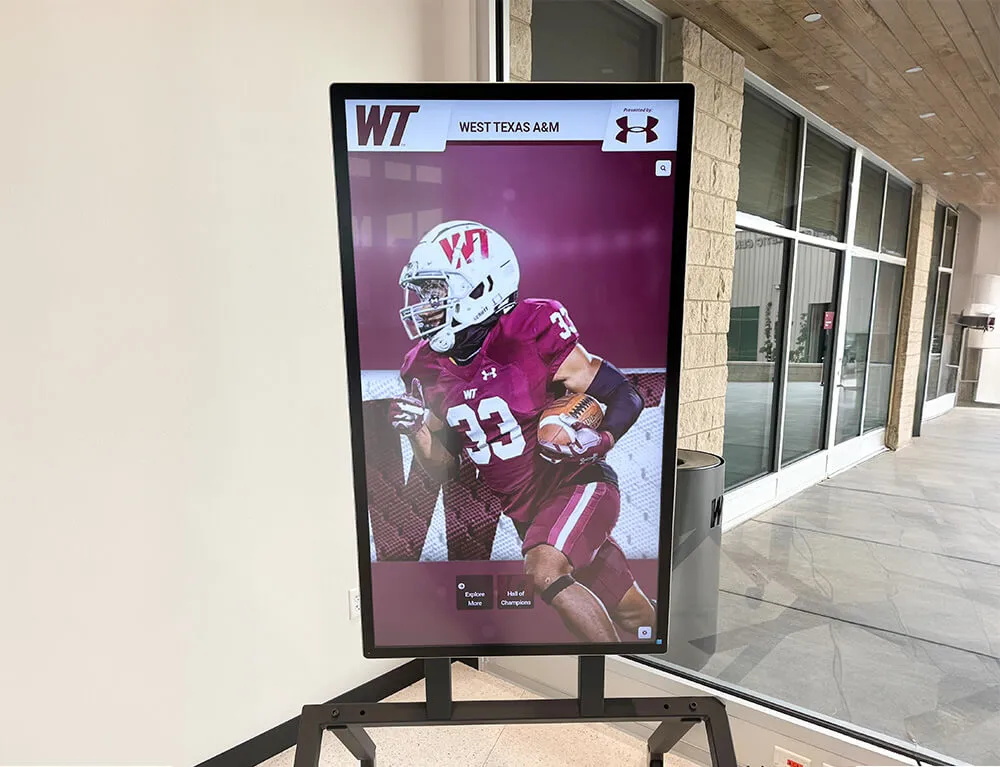
Current students engaging with digitized school history on interactive displays represent the payoff for video preservation projects—but only well-executed conversion produces footage worth showing
For alumni gatherings and reunions where video archives create powerful reunion experiences, the quality of digitized footage matters significantly. Compressed, low-resolution output that looks poor on modern large screens undermines the impact that well-executed footage provides. Professional services with higher-quality output workflows pay dividends in community engagement long after the conversion project concludes.
File Formats and Quality Standards for Digitized Video
Video file format decisions made at the time of conversion determine what is possible with that content for decades. Like photo archive practice where TIFF is the archival master and JPEG is the delivery format, video archives should distinguish clearly between preservation masters and access copies.
Preservation Masters
Format: ProRes 422 HQ or ProRes 4444 (Mac-centric workflows); DNxHD/DNxHR (Windows-centric workflows)
Both ProRes and DNxHD are high-quality intermediate codecs producing large files with minimal compression artifacts. These formats are broadcast and post-production standards that remain readable across a wide range of professional software. ProRes 422 HQ produces files in the range of 1–3 GB per hour of standard-definition video—significantly larger than compressed formats but appropriate for materials that need to survive multiple processing cycles without quality degradation.
Avoid compressed long-GOP codecs (H.264, H.265) as preservation masters. These formats encode only differences between frames rather than each frame independently, making them efficient for streaming and distribution but problematic for future editing, color correction, or re-encoding. A storage-saving decision made at conversion time may force a full re-conversion project when future display systems require different specifications.
Resolution: Native capture, not upscaled
Convert at the native resolution of the source format. VHS captures at 480i; upscaling to 1080p at conversion time adds no information and inflates file size without improving content. Future AI upscaling tools can generate high-resolution versions from properly captured standard-definition masters—but only if the master retains all native information without compression artifacts from an aggressive first-pass codec.
Access Copies
After creating preservation masters, generate access copies in H.264 MP4 format at a bitrate of 8–15 Mbps for standard-definition content. These files—typically under 7 GB per hour—are the working files for distribution, online archives, and touchscreen display systems. All viewing, editing, and sharing draws from access copies; the preservation master is accessed only when creating new derivatives or performing quality verification.
Naming Convention
Apply a consistent naming convention encoding essential metadata in the filename:
SCHOOLCODE_YEAR_FORMAT_CONTENT_SEQUENCE
Example: ROOSEVELTHS_1988_VHS_FOOTBALL-STATE-SEMIFINAL_001.mov
This convention ensures files sort logically, survive moves between storage systems, and are interpretable by anyone who encounters them without consulting a separate reference document.
Storage and Backup for Large Video Archives
Video archives consume significantly more storage than photo archives. A single hour of VHS footage captured as a ProRes 422 HQ master requires approximately 1.5–3 GB. A collection of 200 VHS tapes—a moderate-sized school video archive—produces masters in the range of 300–600 GB. Factor in access copies, redundant backup sets, and future additions, and planning for 2–4 TB of storage per major collection is realistic.
Applying the 3-2-1 Rule to Video
Maintain 3 copies of every master file, on 2 different storage media types, with 1 copy stored offsite or in cloud storage geographically separate from your primary systems.
A practical implementation for school video archives:
- Primary copy: High-capacity NAS (Network Attached Storage) on school servers, accessible to archive staff
- Secondary copy: External hard drives stored in a different building or fireproof safe, replaced every 3–5 years as drives reach the end of their mechanical lifespan
- Offsite/cloud copy: For video-scale storage, services such as Backblaze B2, Amazon S3 Glacier, or Wasabi offer low per-GB costs suited to large archival collections that are rarely accessed but must be reliably preserved
Run monthly verification checks on a random sample of master files to confirm they open correctly and have not suffered bit rot—silent data corruption that affects digital storage over time. Generate checksums (MD5 or SHA-256) for each master file at conversion and re-verify periodically to detect any silent corruption.
Preserving the Original Physical Media
After digitization, store original tapes and film reels rather than discarding them. Original physical media remains the most archivally stable version of the content, and future conversion technologies may extract better results from properly preserved originals than current methods allow.
For magnetic tape: store in a cool, dry, climate-stable environment away from magnetic fields. For film: rehouse in acid-free, archivally stable cans stored in a cool, humidity-controlled space. Label every original with its corresponding digital filename to maintain traceability between physical and digital collections.
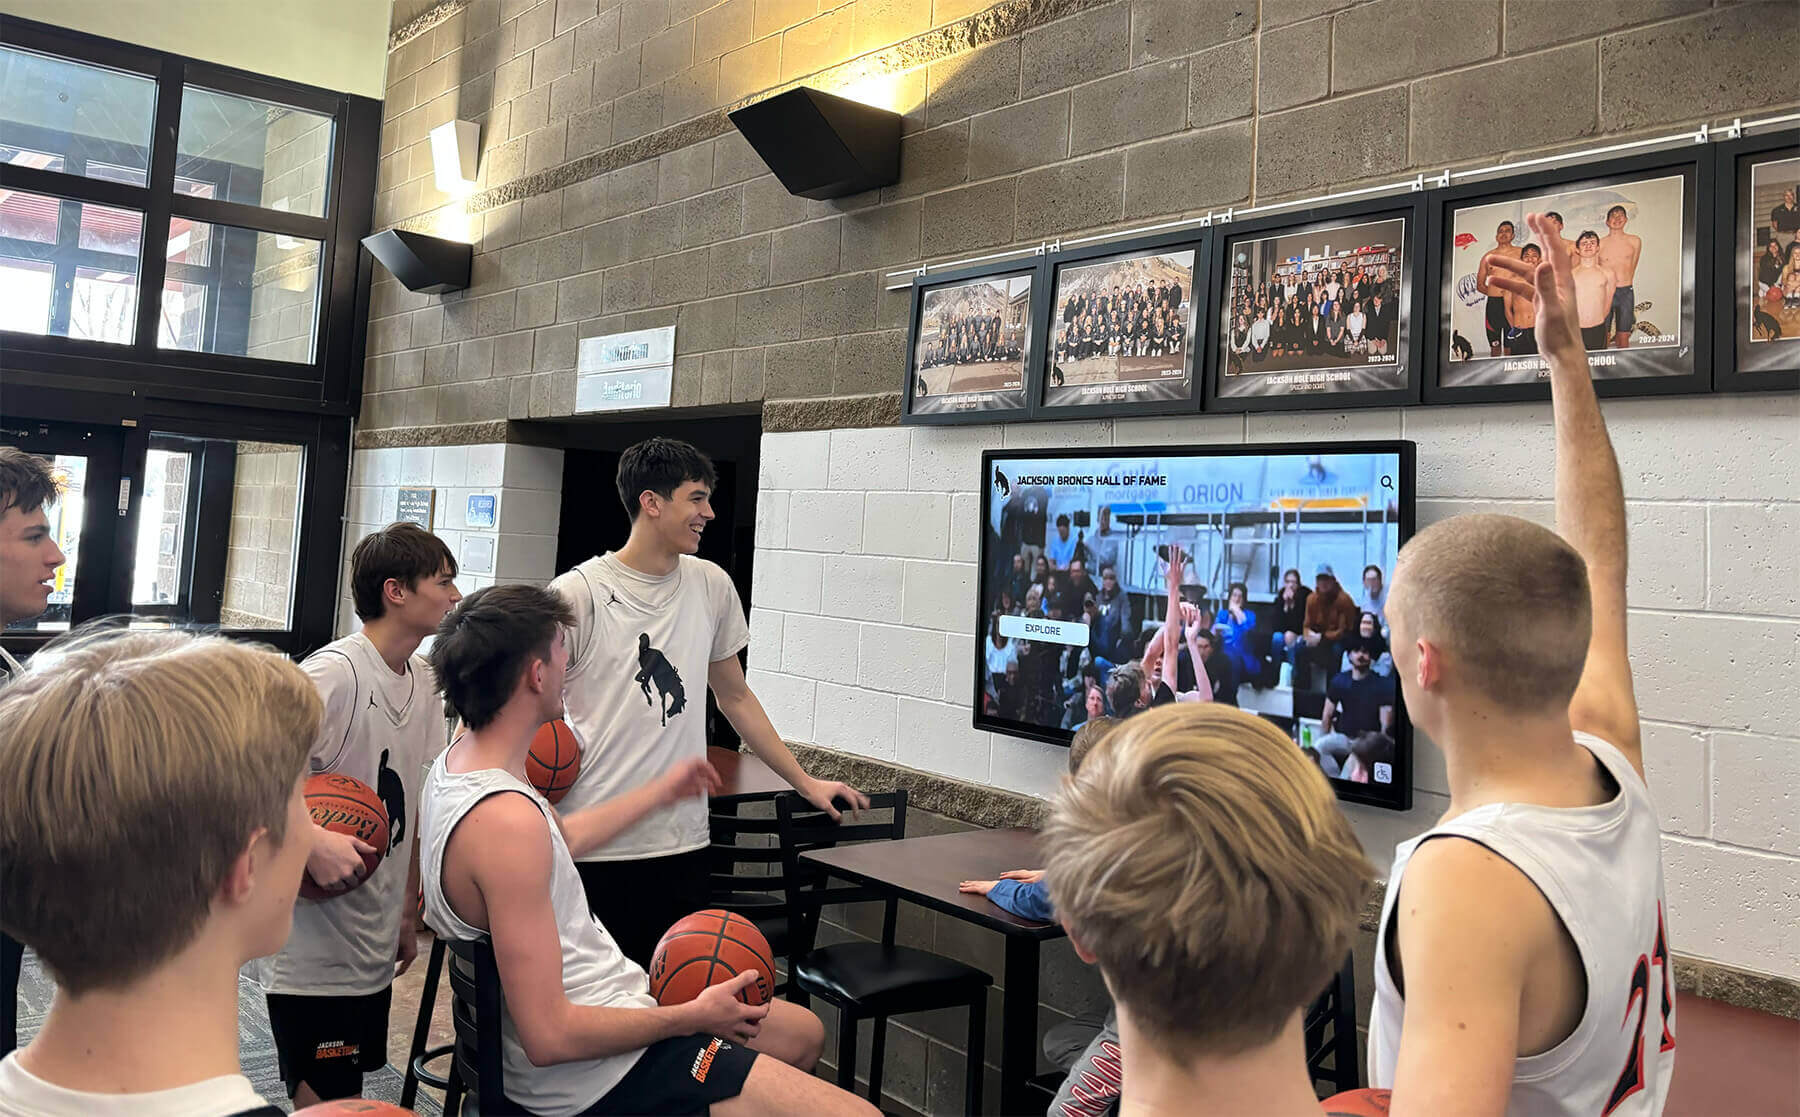
From Digitized Video to Interactive Display

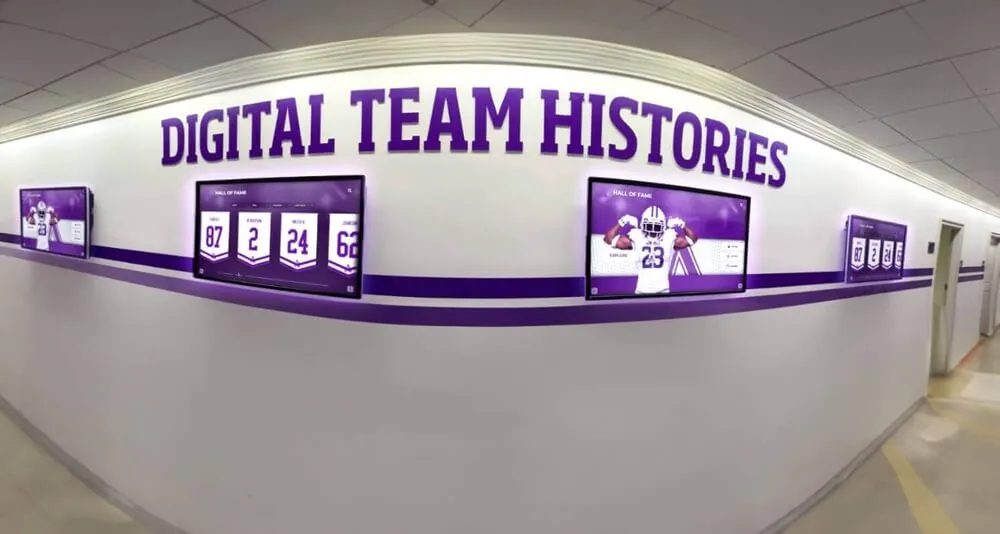
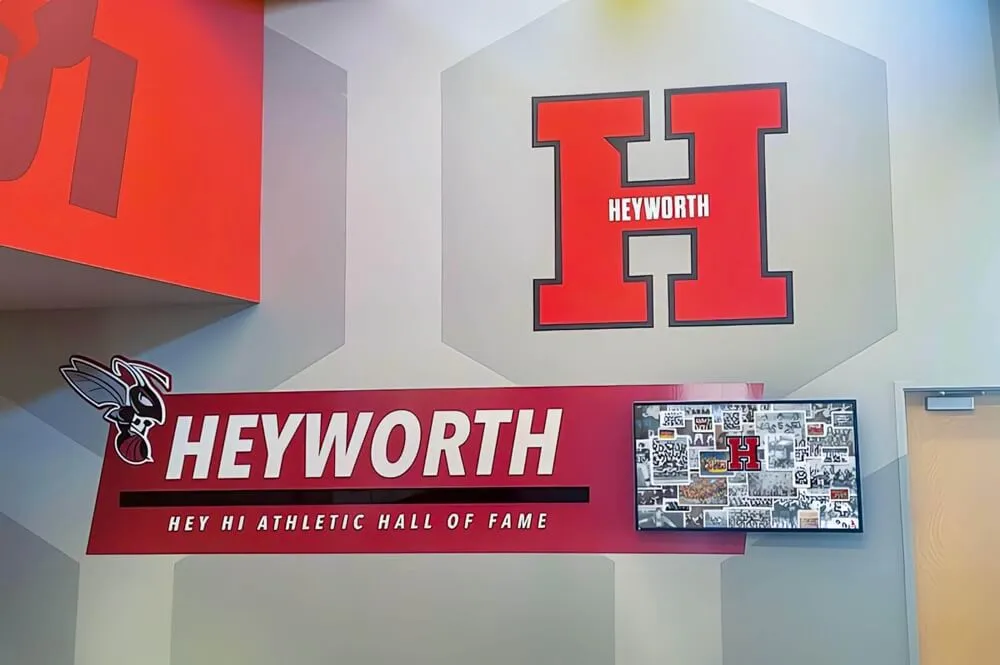
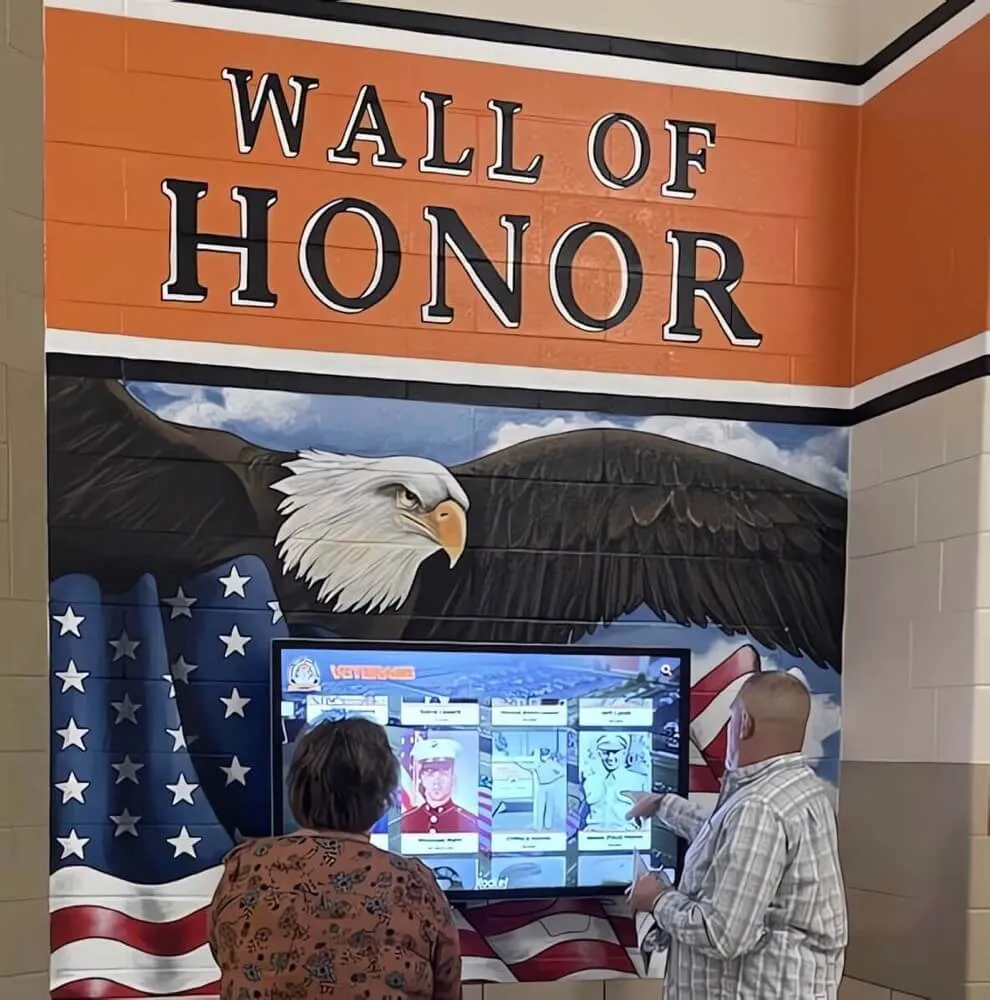
Hallway display systems become dramatically more engaging when they can show actual game footage and event video alongside still photographs and achievement records
Digitized video footage becomes genuinely useful institutional history when it is organized and accessible to the people it belongs to—current students, coaches, alumni, and community members. The transition from preserved digital files to active community resource is where the real value of a digitization project is realized.
What Digitized School Video Can Do
Game footage, ceremony recordings, and event video serve multiple purposes once digitized and organized:
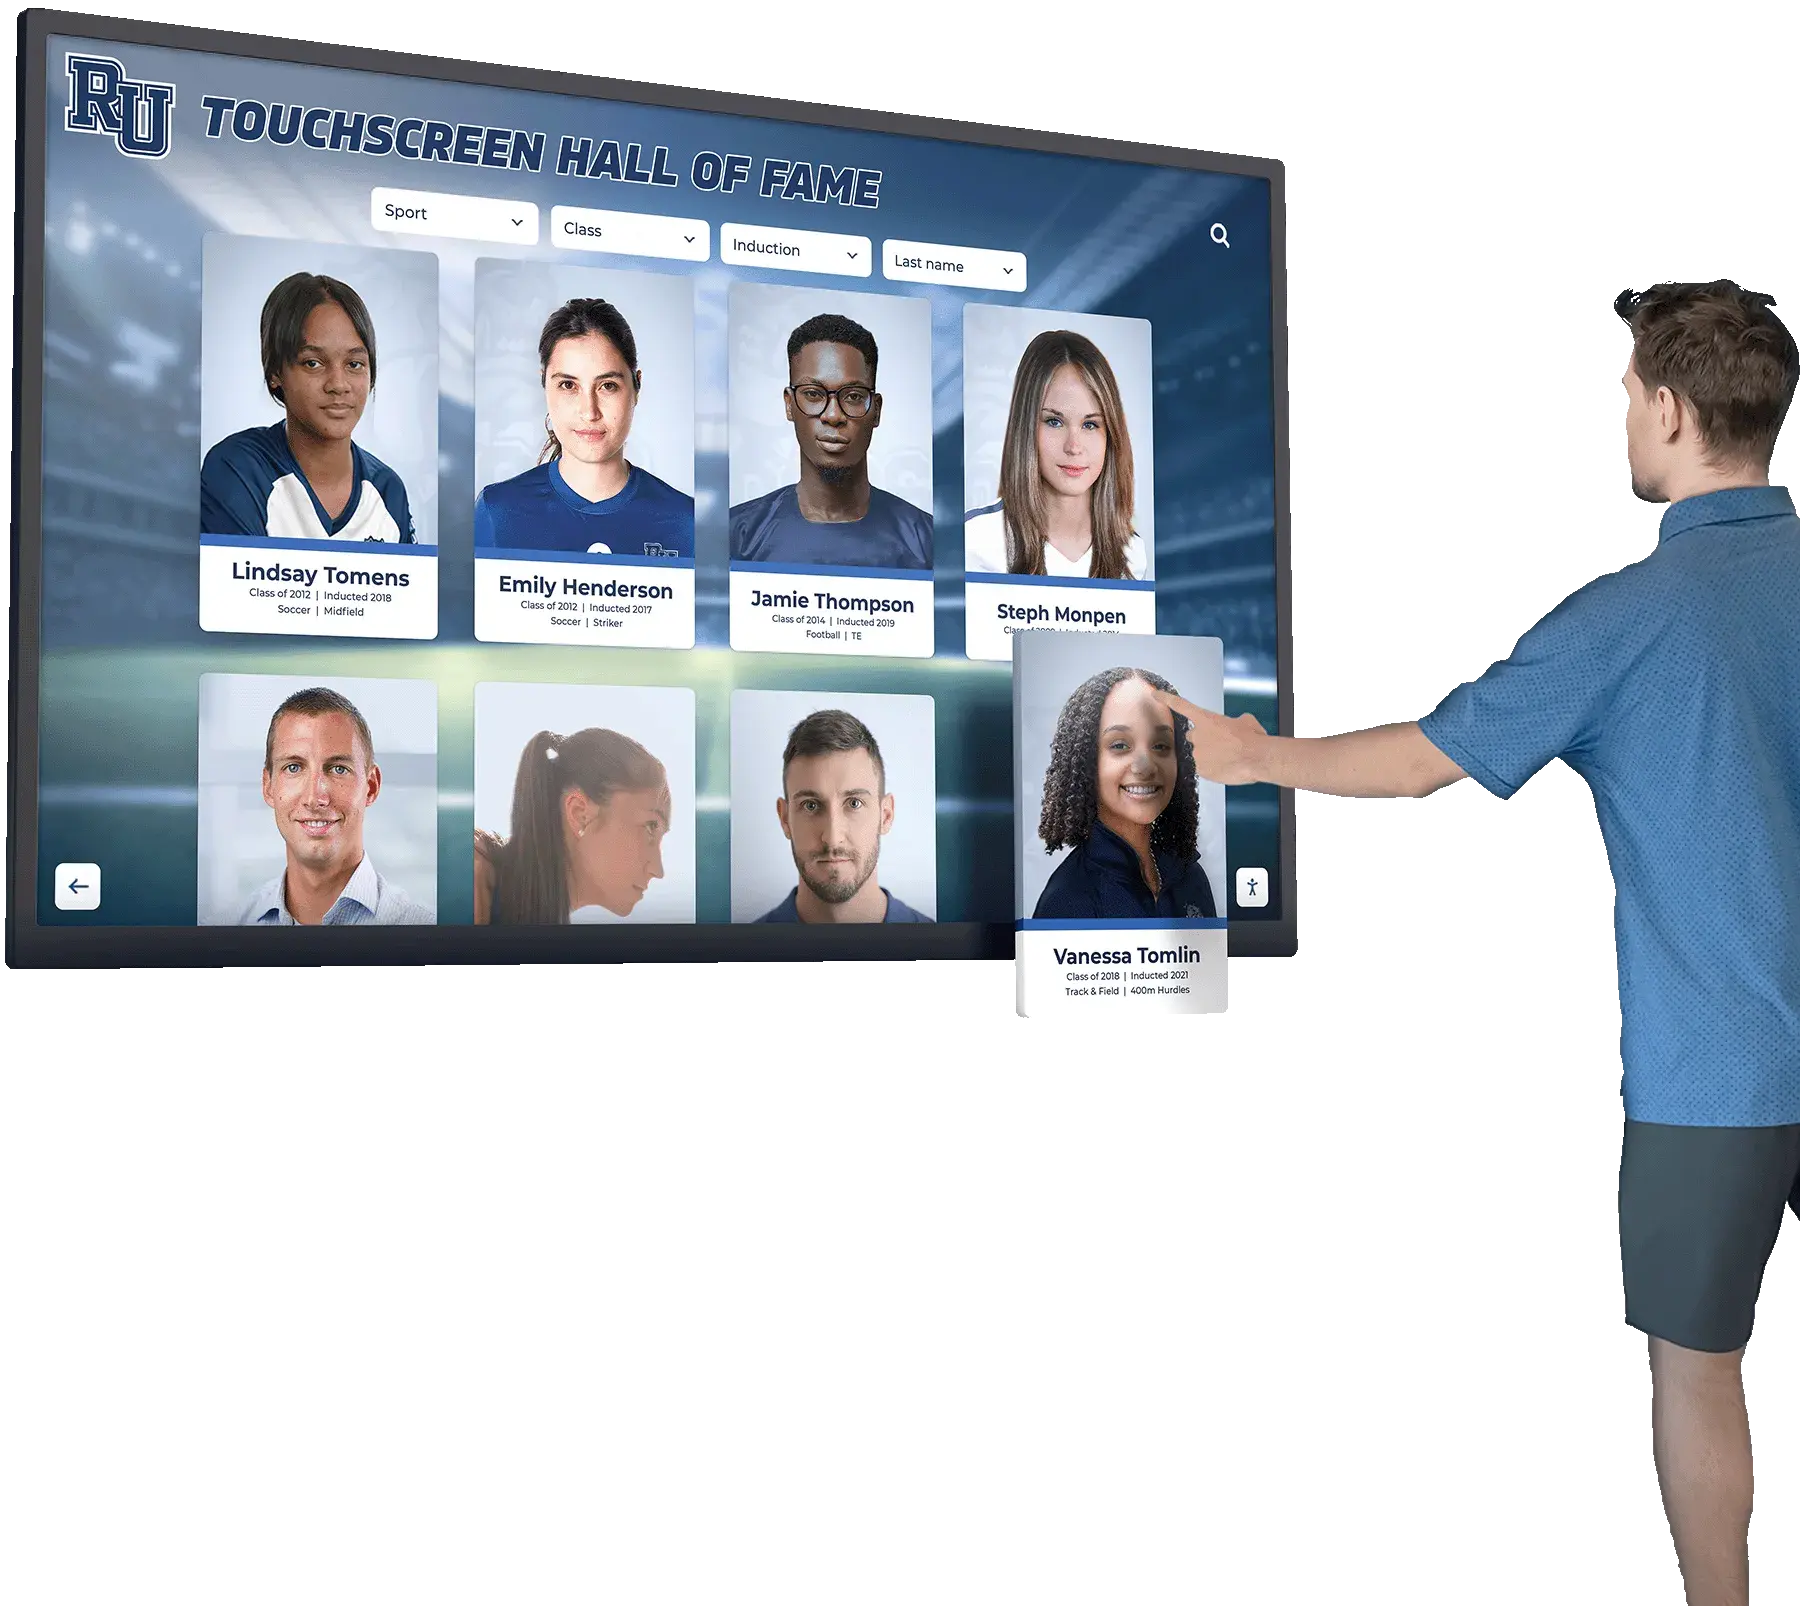
Athletic hall of fame and record board displays: Digital hall of fame displays that integrate video clips alongside athlete profiles, records, and statistics create a substantially richer recognition experience than static photos or plaques alone. A visitor browsing a hall of fame touchscreen can tap on a state championship athlete and watch a highlight clip from that game—a level of historical immediacy no physical display format matches.
Recognition events and end-of-year ceremonies: Digitized footage repurposed for senior recognition slideshows and shoutout videos creates richer, more personalized recognition content than still photography alone. Historic footage of predecessors competing in the same arena adds meaningful institutional context to individual recognition that no still image can replicate.
School history archives for community display: Planning how to display school memorabilia and historical content increasingly incorporates video alongside physical artifacts and still photographs—creating layered historical presentations that engage visitors across the full range of available documentation.
Curriculum and program support: Physical education programs, history classes, and school journalism programs can draw on digitized footage as primary source material. Footage of a school’s first gymnasium, earliest athletic facilities, or founding-era events is direct historical evidence unavailable in any other form.
End-of-year celebrations that honor students become significantly more memorable when they incorporate institutional video history that connects current students to the generations who came before them—a dimension that static photo slideshows cannot achieve.
Touchscreen Archive Systems and Video Integration
Interactive touchscreen archive systems designed for schools accommodate video content natively. Digitized game clips, ceremony footage, and event video load into the same content management system as photographs, achievement records, and hall of fame entries—allowing visitors to explore school history across all media types from a single interface.
The resulting experience is a searchable, navigable school history that current students can browse by year, sport, or event, and that returning alumni can use to locate specific games, ceremonies, or programs from their time at the school. When coordinated with broader archival documentation—including school yearbook archives and historical records—digitized video creates an institutional memory system that engages visitors across multiple dimensions of school history simultaneously.
Turn Your Digitized School Video Into an Interactive Archive
Once your VHS tapes, 8mm film, and game footage are converted to digital files, Rocket Alumni Solutions helps you take the next step: organizing that footage into searchable, interactive touchscreen displays that your entire school community can explore. From lobby installations to alumni portals, we make decades of school video history accessible and engaging for everyone who walks through your doors.
See How It WorksCommon Questions Schools Have About Video Digitization
How long does a video digitization project take?
Timeline depends almost entirely on collection size and format mix. A focused collection of 50 VHS tapes can be converted in-house in 4–6 weeks with consistent dedicated effort. A mixed-format collection of 300+ items including film formats typically requires 3–6 months through a professional service. Factor in time for inventory, quality review, metadata application, and file organization—not just the raw capture time.
What happens to game footage that was never labeled?
Unlabeled game footage is common in school collections. Research approaches include cross-referencing uniform numbers and equipment styles against yearbooks and athletic records from specific years, consulting long-tenured coaches who may recognize game situations or opponents, and sharing clips with alumni networks who may identify players, facilities, or events. Even partial identification—“basketball, approximately 1981–1984, appears to be a tournament game”—creates searchable metadata that did not exist before.
Can digitized video be used for recruiting materials?
For student athletes navigating the college recruitment process, high school game footage is useful context—but historical game tape converted from VHS at standard definition is generally not suitable as primary recruiting footage for current athletes. The primary value of digitized historical footage in this context is program documentation: establishing a school’s athletic tradition, conference history, and competitive record in ways that support a program’s reputation and heritage rather than individual athlete evaluation.
Should original tapes and film be discarded after digitization?
No. Preserve originals after digitization. Original physical media remains the highest-resolution, most archivally stable version of the content, and future conversion technologies may extract substantially better results than current methods allow. Original game film analyzed by a future high-resolution film scanner may yield significantly better image quality than a scan produced today.
What Schools Lose If They Wait

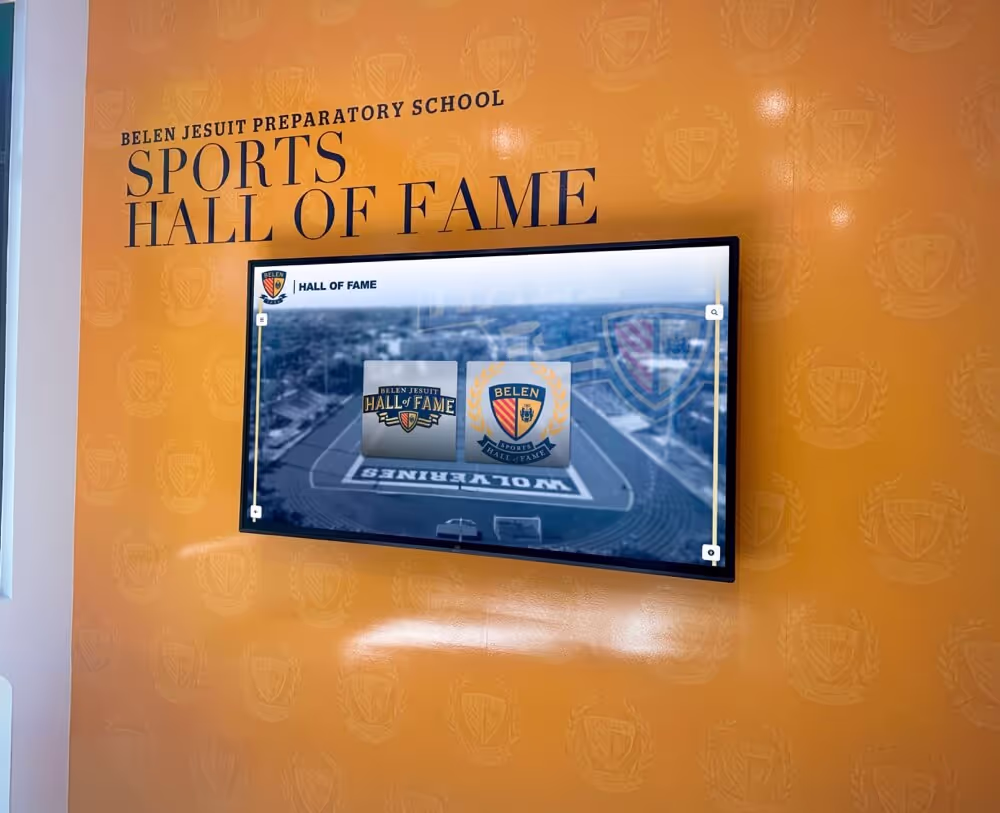
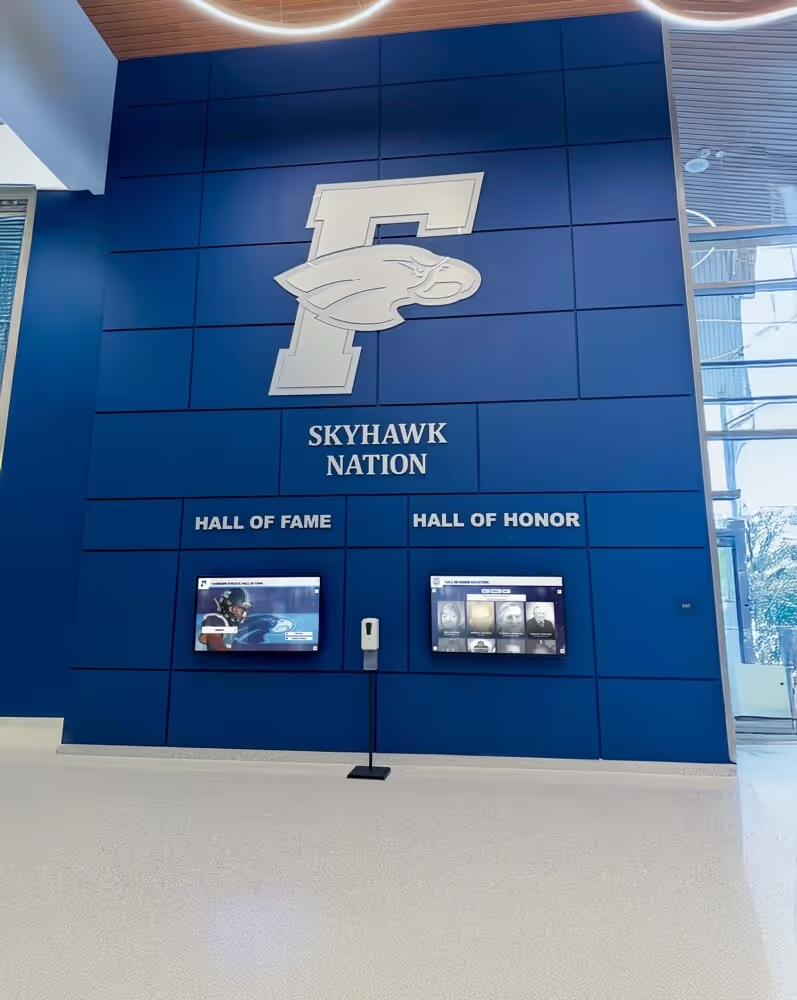
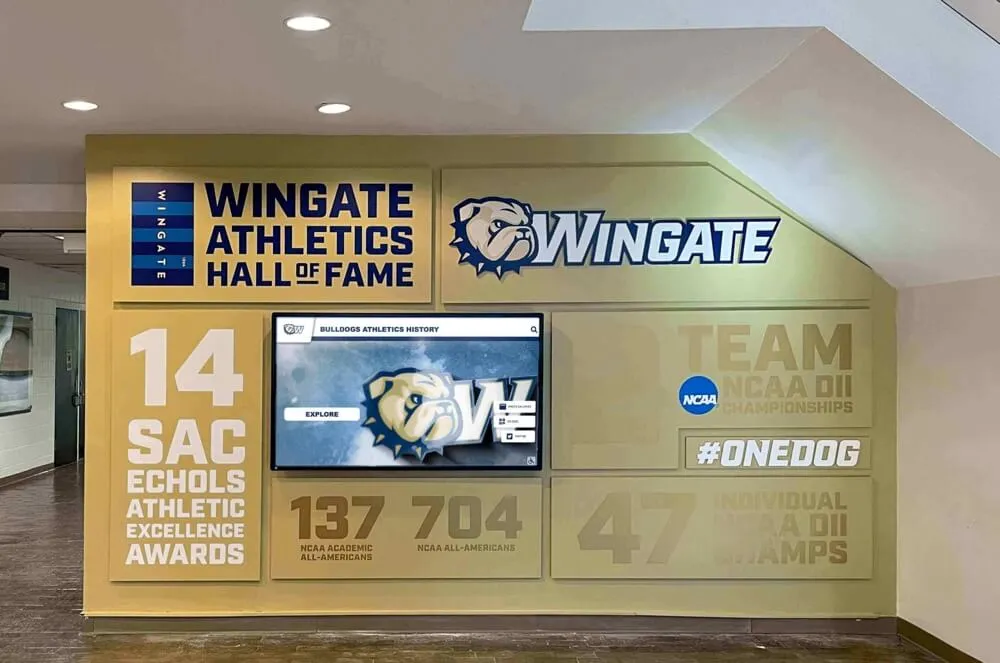
Hall of fame displays representing decades of school history are significantly enriched when a digitized video archive provides motion footage alongside the records and portraits
The practical consequence of delaying video digitization is permanent, irreversible loss of content that no other source can provide. No yearbook photograph shows what a state championship game looked like in motion. No written record conveys the atmosphere of a graduation ceremony from forty years ago the way footage from that day does.
When a VHS tape holding game footage from a school’s most successful athletic decade becomes unplayable—and many tapes held by schools right now are already at or past that threshold—the footage is simply gone. The institution’s most documented competitive era becomes a gap in the archive that no other preservation effort can fill.
For institutions building comprehensive historical records, video is the missing layer that still photographs and written records cannot substitute for. The motion record of institutional history is irreplaceable, and for most schools, it is actively deteriorating.
Starting Your School Video Digitization Project
The most common obstacle schools face is the same one that delays all large archival projects: the scope is overwhelming, and it is unclear where to begin. The right starting point for video digitization is always the most urgent materials—whichever tapes or reels are showing active deterioration—and the first item you convert.
That first conversion establishes your workflow, surfaces practical issues specific to your collection, and produces a tangible result. For video archives, a successfully digitized game tape or ceremony recording often generates genuine community excitement—suddenly stakeholders who saw “a box of old tapes” watch a championship game clearly for the first time in years.
Prioritize your deteriorating materials, establish a consistent capture and naming workflow, and build outward from there. For collections including film formats, contact professional services early: film digitization vendors commonly book out several months in advance, and starting the intake process before the project begins keeps the overall timeline realistic.

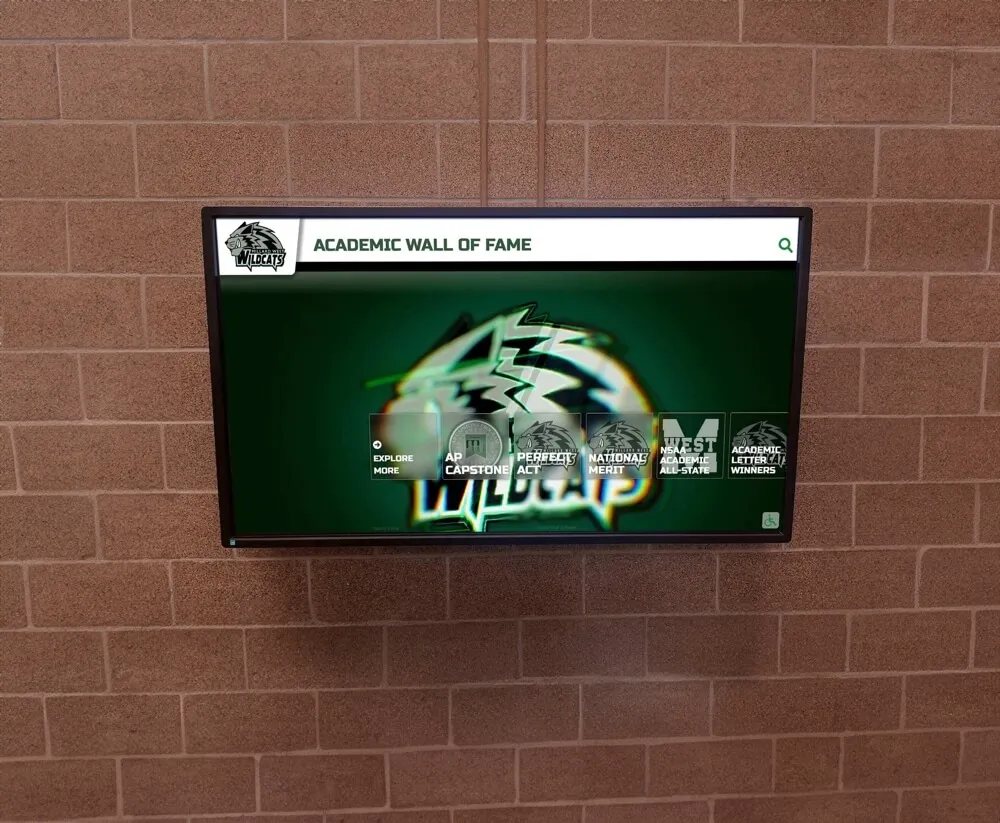
Interactive lobby displays that incorporate digitized video create a qualitatively different level of engagement than still-photo-only archives—the motion record of school history brings institutional memory to life
For schools approaching the display phase—where digitized footage is ready to be organized into interactive experiences for students, alumni, and visitors—Rocket Alumni Solutions builds touchscreen archive systems designed specifically to showcase the full range of school history, including video content alongside photographs, achievement records, and hall of fame entries. Our platform makes decades of school video history searchable, navigable, and genuinely engaging for everyone who walks through your doors.
Ready to bring your school’s video history out of storage and into an interactive archive? Request a free demo from Rocket Alumni Solutions and see how touchscreen archive displays transform decades of digitized game footage and school video into a living, searchable institutional memory that current students and returning alumni can explore together.