


Open a typical school’s filing cabinets, storage closets, or facilities office and you’re likely to find them: boxes of photographic film negatives from the 1960s through the early 2000s, some still in their original photo-lab sleeves, others loose and unlabeled. These strips and sheets of film hold visual records of championship teams, graduating classes, faculty portraits, and school events that no yearbook fully captured. They are irreplaceable primary sources—and right now, every year they remain in storage, heat, humidity, and film chemistry are steadily destroying them.
Knowing how to digitize school photo negatives is the essential prerequisite for any online archive project. Once negatives are converted to properly formatted digital files with descriptive metadata, those images can be searched, shared, published to an alumni portal, and displayed on modern touchscreen archive systems. Before any of that happens, however, the negatives have to come out of the filing cabinet, get identified, and pass through a systematic digitization workflow.
This guide walks you through every stage of that process: understanding what you have, selecting the right equipment, establishing quality standards, organizing the resulting files, storing them securely, and publishing them in a format your school community can actually use.
Digitizing school photo negatives is a preservation project with a clear urgency that most print-photo projects lack. Properly stored negatives can last 100 years, but improperly stored negatives—the norm for most schools—may already show vinegar syndrome, color shifts, or physical scratching. Starting the digitization process before deterioration progresses further is the single most important decision a school archivist or administrator can make.

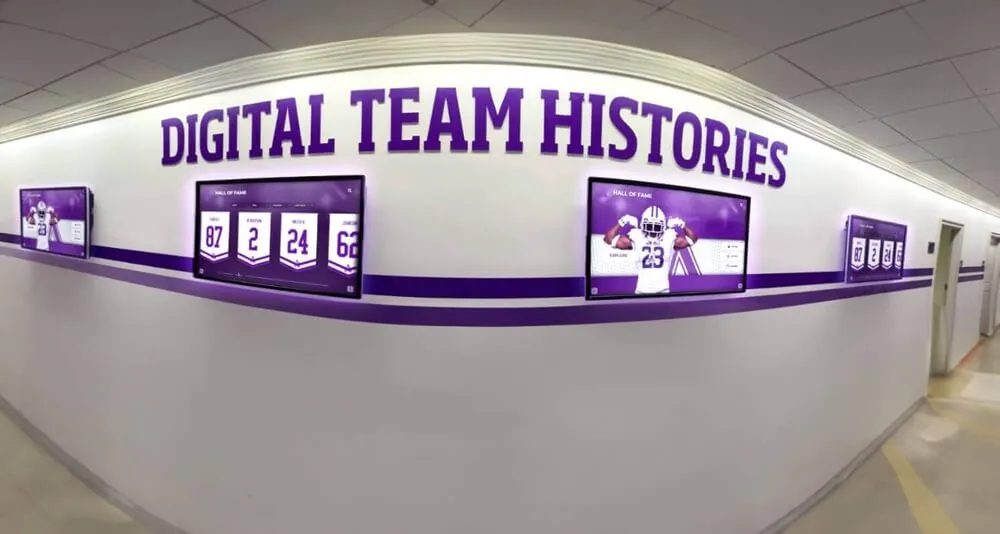
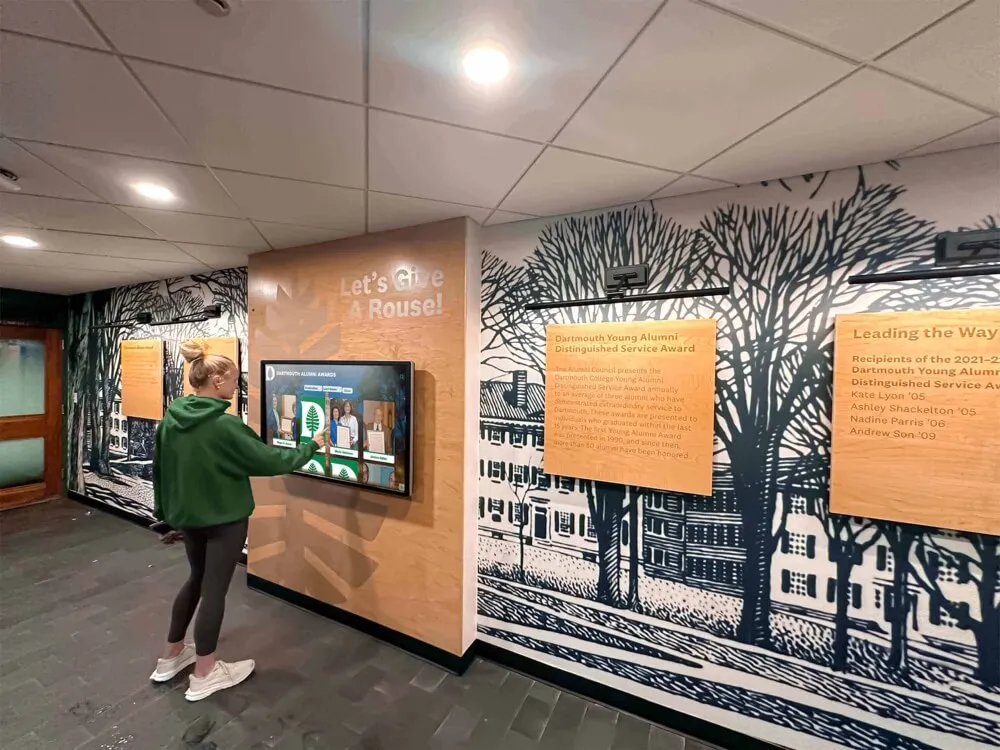
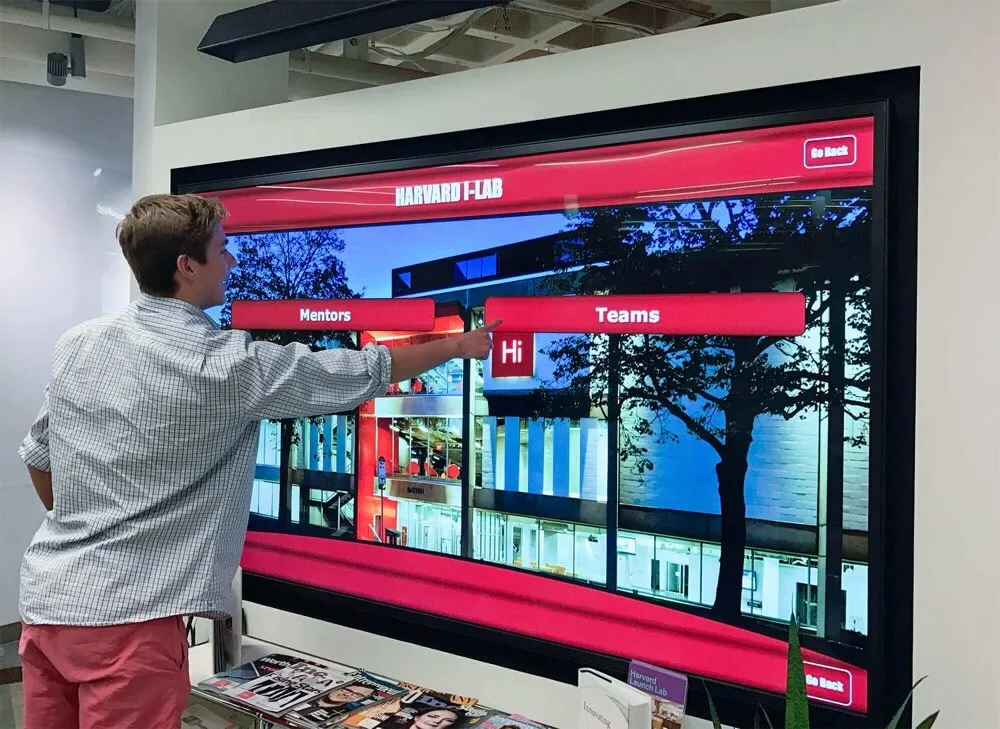
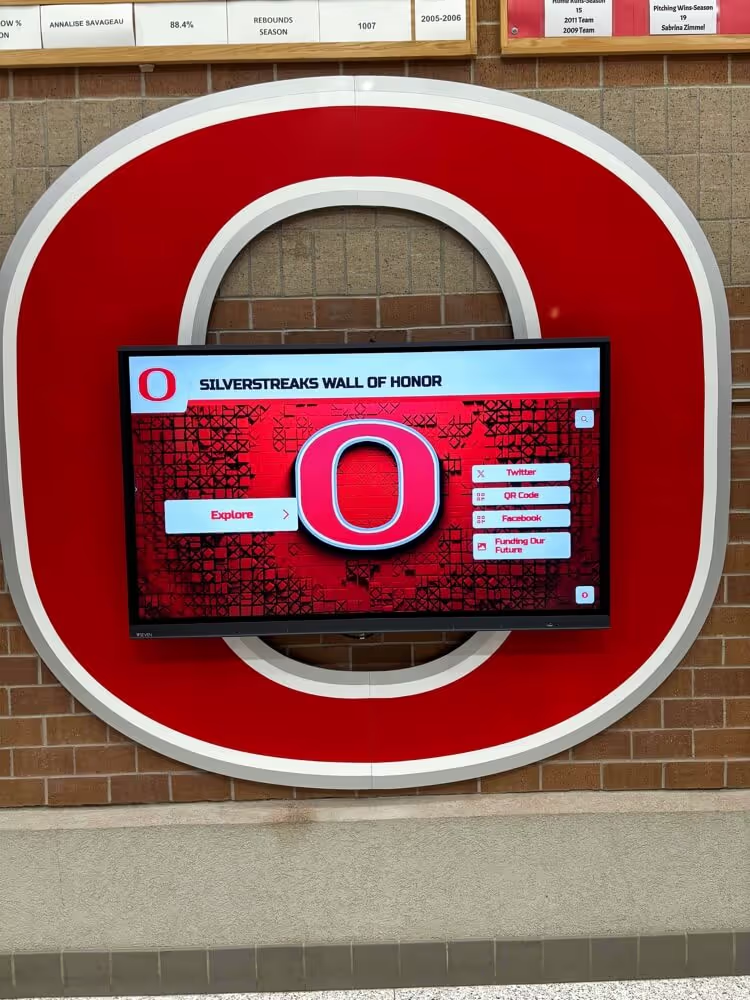
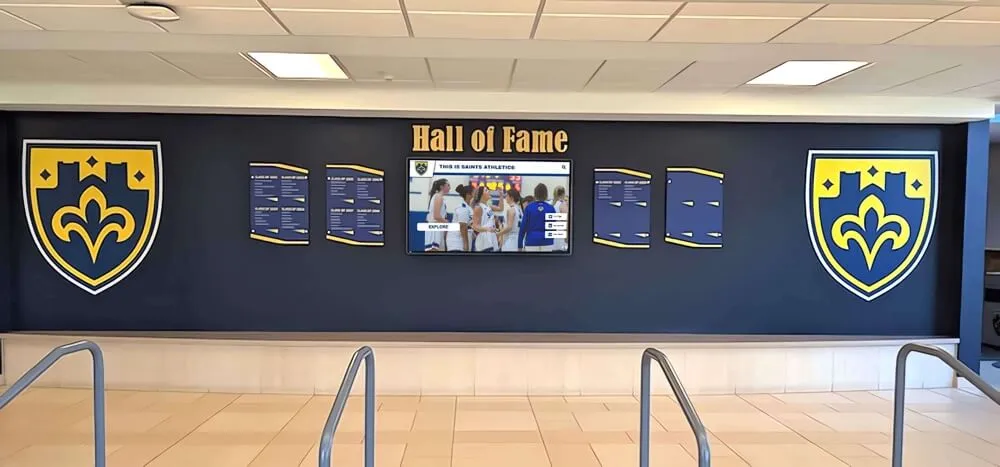
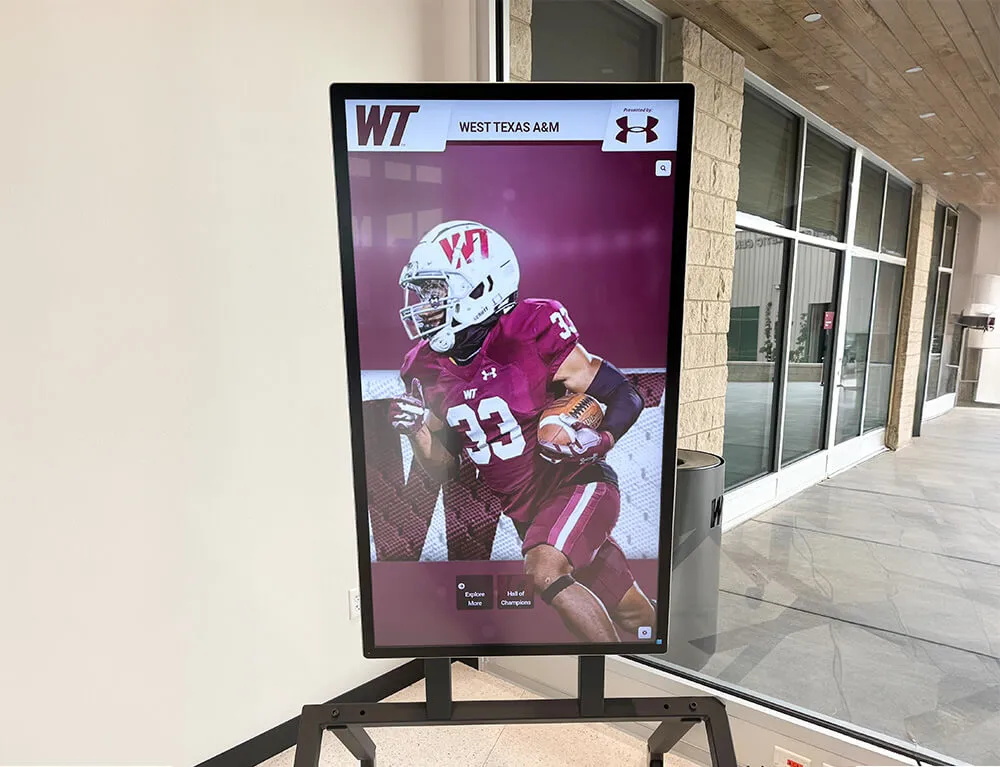
Every display of institutional history shown on modern screens started with a physical original—negatives, prints, or documents that someone digitized and organized
Understanding What Negatives Your School Actually Has
Before ordering a scanner or calling a digitization service, spend a day doing an audit. Schools rarely know exactly what film they hold or in what condition, and the audit results determine almost every subsequent decision.
Film Formats Common in School Archives
School archives typically contain several distinct film types, each requiring different handling:
35mm Film Strips
The most common format in school archives from roughly 1960 to 2000. Comes in rolls or cut strips of four to six frames, typically stored in plastic sleeves. Standard school photographers used 35mm for candid events, sports action, and individual portraits. Most flatbed film scanners and all dedicated film scanners handle 35mm without additional accessories.
Medium Format Film (120/220 Roll Film)
Used by professional school photographers for formal portraits and group shots through the 1990s. Creates larger negatives—typically 6×6 cm or 6×7 cm—which means higher inherent image quality and easier identification of subjects. Requires medium format film holders, which most consumer film scanners include as accessories.
4×5 and 8×10 Sheet Film
Large-format sheets used for formal class composites, architectural shots of school buildings, and high-quality portrait sessions. Less common than roll film but present in archives of schools that contracted professional photographers for formal documentation. Requires a flatbed scanner with a transparency adapter large enough to accommodate the sheet, or a dedicated large-format drum scanner for the highest quality results.
Glass Plate Negatives
Found in archives predating roughly 1940, glass plates are fragile and heavy. Schools with historic buildings or long-established programs occasionally discover crates of plates documenting events from the early twentieth century. These require white-glove handling, specialized support frames during scanning, and careful environmental transition before any digitization work begins.
APS Cartridge Film
A short-lived format from the late 1990s used by some school photographers before digital cameras replaced film entirely. APS cartridges remain sealed; opening them exposes unprocessed film. If you find APS cartridges labeled as unprocessed, a professional lab will need to develop them before scanning can occur.
Condition Assessment Before Scanning
Condition determines priority. Before scanning begins, sort negatives into three categories:
Priority 1 — Active Deterioration: Negatives showing a vinegar smell (acetic acid off-gassing indicates acetate film breakdown), red or magenta color cast in color film, physical delamination, or mold growth. These should be digitized first, before deterioration accelerates further. Isolate them from other materials, as vinegar syndrome is autocatalytic and spreads to adjacent negatives.
Priority 2 — Stable but Fragile: Clean negatives with no active deterioration but showing age—slight silver mirroring on black-and-white film, minor scratching, or dried-out emulsion. These are stable enough to approach systematically but shouldn’t be deferred indefinitely.
Priority 3 — Good Condition: Negatives stored in appropriate sleeves in temperature-controlled spaces with minimal surface issues. Still valuable to digitize, but less urgent than the previous two categories.
A digital archives guide for schools and universities covers the full scope of what a comprehensive institutional archive should include—negatives are typically the highest-value and highest-urgency component because no digital equivalent yet exists to replace them.
Equipment Options for Digitizing School Photo Negatives
Three main paths exist for digitizing film negatives, each with distinct cost, quality, and time trade-offs.
Path 1: Flatbed Scanner with Film Adapter
The most practical option for most schools attempting in-house digitization. Flatbed scanners with a transparency adapter illuminate film from above and below simultaneously, producing high-quality scans without requiring specialist skills.
What to look for in a flatbed scanner for film:
- Optical resolution of at least 1200 ppi (pixels per inch) for 35mm; 4000 ppi or higher for maximum archival quality
- Built-in transparency adapter covering at least 8×10 inches
- Multi-format film holders supporting 35mm strips, 120/220 roll film, and 4×5 sheet film
- ICE (Image Correction and Enhancement) or equivalent dust and scratch reduction—critical for negatives that cannot be perfectly cleaned without risking damage
- Dynamic range of 3.4 Dmax or higher for preserving detail in dense areas of film
Realistic throughput expectations:
At archival quality settings, a skilled operator scanning 35mm negatives can process approximately 30–60 individual frames per hour, including cleaning, framing, scanning, reviewing, and basic file organization. A collection of 5,000 negatives represents roughly 85–165 hours of scanning work—a realistic estimate to share with administrators before committing to an in-house project.
Path 2: Dedicated Film Scanner
Dedicated film scanners handle only film—not prints or documents—but do so faster and at higher resolution than flatbed scanners for small-format film. For schools with large 35mm collections and budget for a dedicated device, these offer faster throughput and superior resolution.
Dedicated scanners are less versatile than flatbeds. If your archive includes mixed formats, a flatbed handles the full range while a dedicated scanner may require a separate device for larger format materials.
Path 3: Professional Digitization Services
For large collections (over 2,000 negatives), time-constrained projects, or negatives in fragile condition, professional digitization services offer the most practical path. Professional yearbook scanning services that handle large institutional collections use drum scanners or high-end flatbeds with trained operators who can manage fragile materials safely.
Professional services typically deliver:
- Higher resolution than most flatbed scanners—drum scans routinely exceed 3000 ppi
- Consistent color profiling calibrated to specific film stock types
- Bulk pricing that becomes cost-effective above certain volume thresholds
- Proper handling protocols for delicate materials
- Delivered files with basic metadata already applied
The primary trade-off is loss of in-house control and a turnaround window that can range from weeks to months depending on collection size and service capacity.

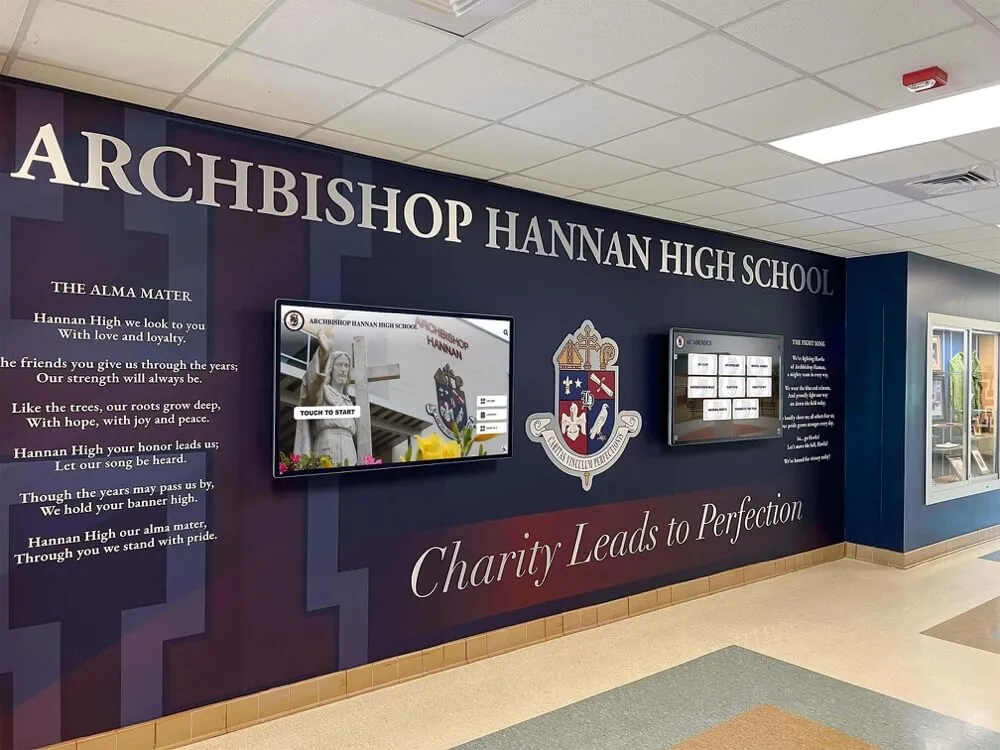
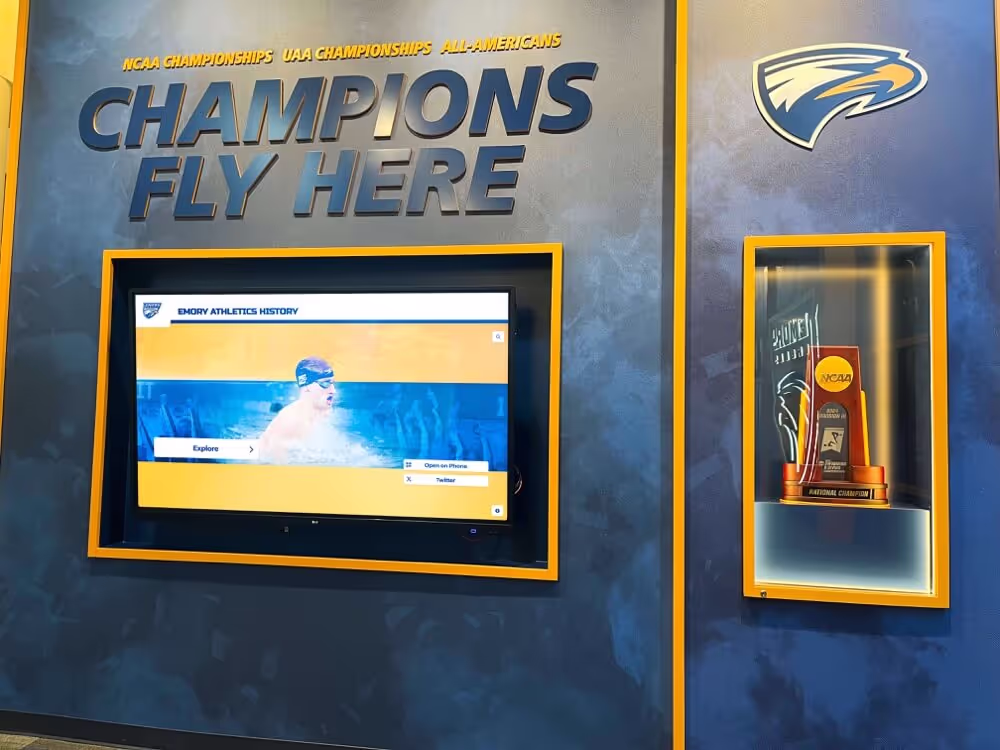
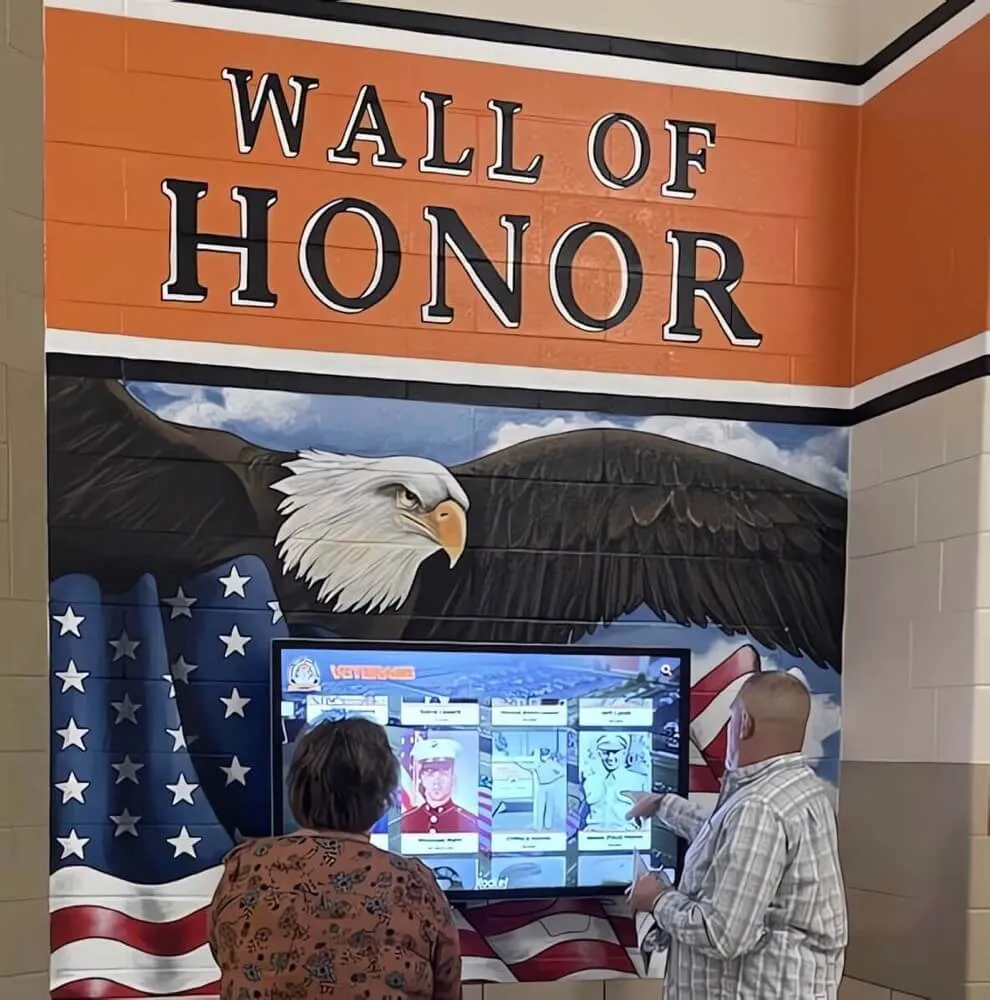
Capturing school history for future generations requires a systematic workflow, whether through video documentation or the careful scanning of decades of photographic negatives
File Format and Quality Standards for Archival Scans
The format you choose at scan time determines what’s possible with those files for the rest of their existence. Decisions made to save storage space today will limit what future display technologies and institutional needs can do with those images.
Recommended Archival Standards
Master files: TIFF at native optical resolution
TIFF (Tagged Image File Format) is the archival standard for a reason: it’s lossless, widely supported, and produces files that remain fully editable without degradation through any number of processing cycles. Every negative scan should produce a master TIFF file saved at the scanner’s native optical resolution without upscaling.
For 35mm negatives scanned at 2400 ppi, a single color frame produces a TIFF in the range of 150–200 MB. Storage costs money, but master files should never be compressed or downsampled. Storage is cheaper than rescanning.
Color mode: 48-bit for color negatives, 16-bit for black-and-white
Scanning in 48-bit color (or 16-bit grayscale) preserves significantly more tonal information than the 24-bit images that display on standard monitors. This expanded data matters when performing color correction on degraded negatives or when printing large-format reproductions from historical images.
Derivative files: JPEG for access and display
After creating TIFF masters, generate JPEG derivatives at 80–90% quality for practical uses: online archive display, sharing with alumni, loading into touchscreen archive systems, and email delivery. JPEG files in the range of 1–3 MB per image are the working files for day-to-day purposes. Never edit the JPEG—always return to the master TIFF for any corrections.
Naming convention: structured and sortable
A naming convention that encodes the most important metadata directly in the filename prevents organizational chaos as collections grow. A standard format like SCHOOLCODE_YEAR_CATEGORY_SEQUENCE (example: MADISON_1978_FOOTBALL_0042.tif) allows files to sort correctly, survive moves between storage systems, and be understood by anyone who encounters them without consulting a separate reference document.
Color Negative vs. Black-and-White Negative Handling
Color and black-and-white film require different scanning profiles:
Color negatives carry an orange mask that scanners must correct. Most scanner software handles this automatically when you select “color negative” as the film type, but results vary significantly between software packages. Evaluate color accuracy against any existing prints from the same rolls to verify the scanner’s profile is producing accurate results.
Black-and-white negatives often benefit from scanning in color mode rather than grayscale mode, counterintuitively. Scanning in color mode and converting to grayscale in post-processing preserves more tonal information and gives you more control over the final result—particularly for orthochromatic films from the pre-1960s era that render certain colors differently than modern panchromatic films.

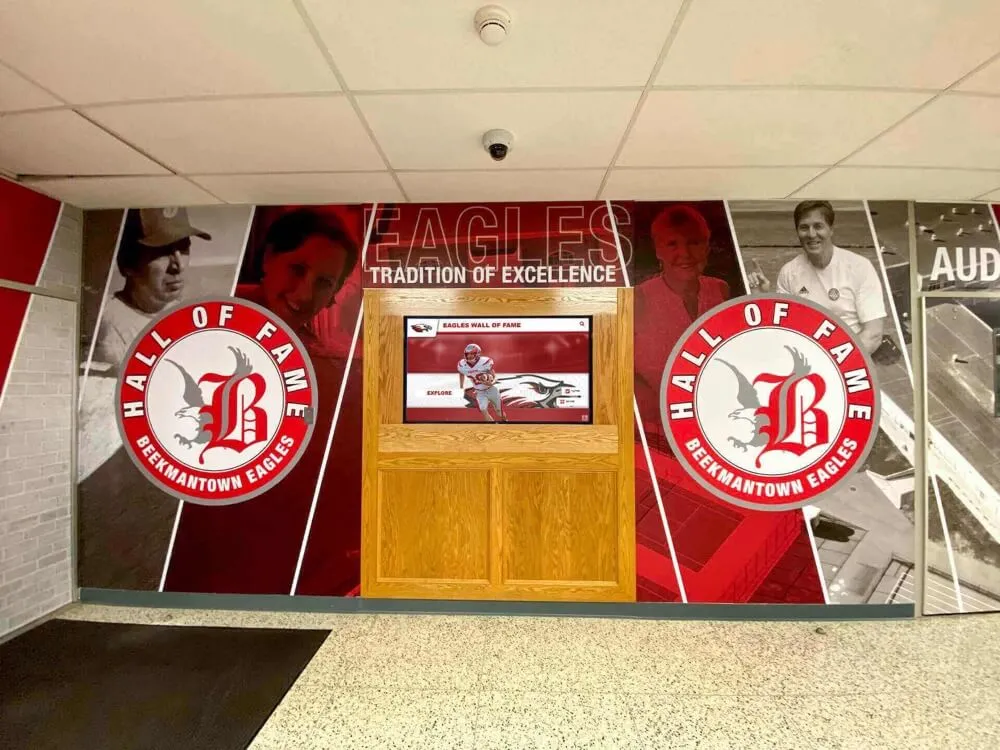
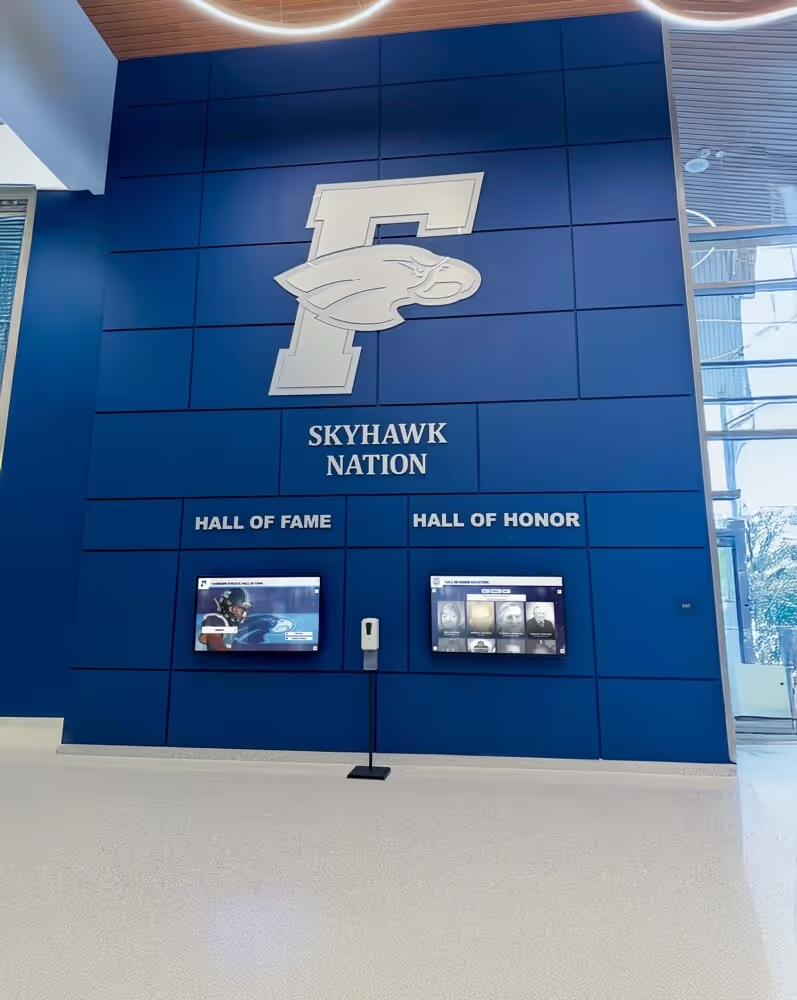
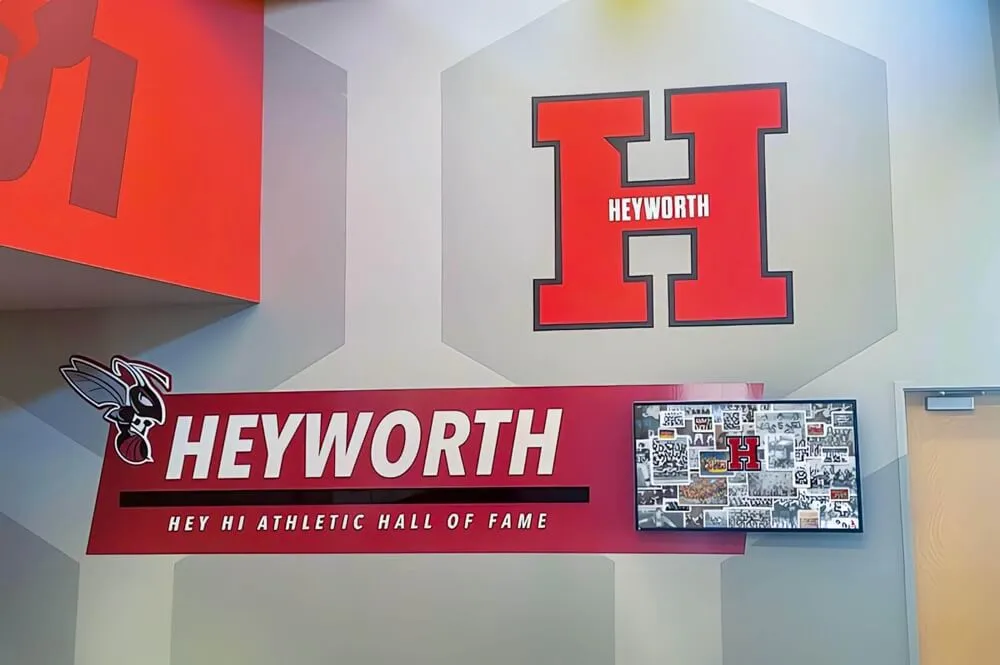
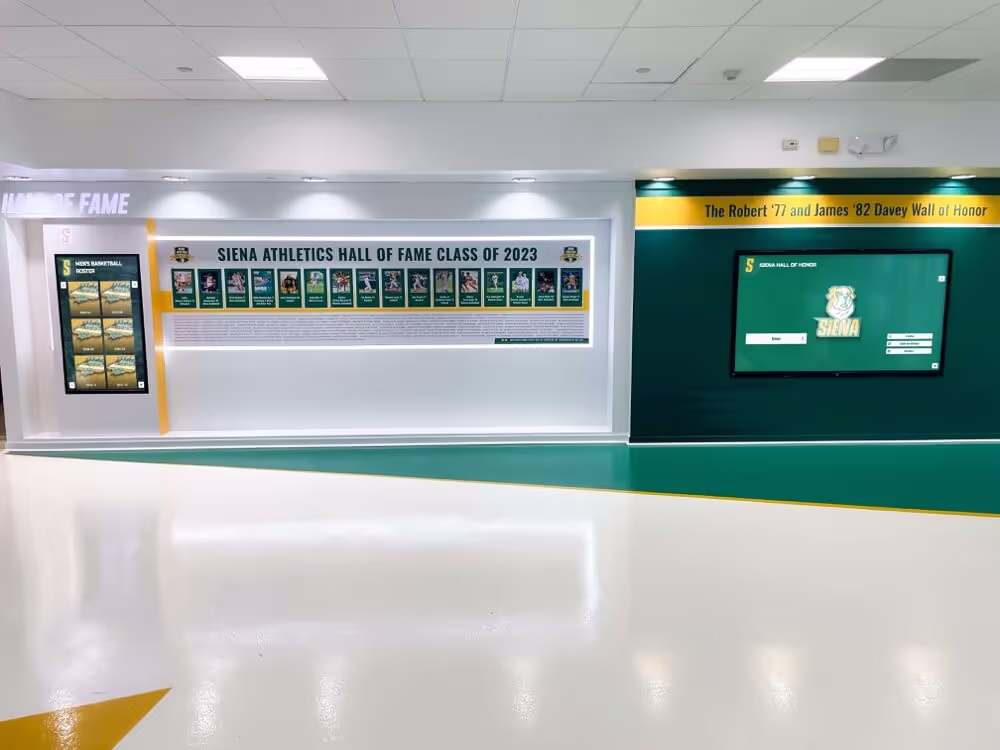
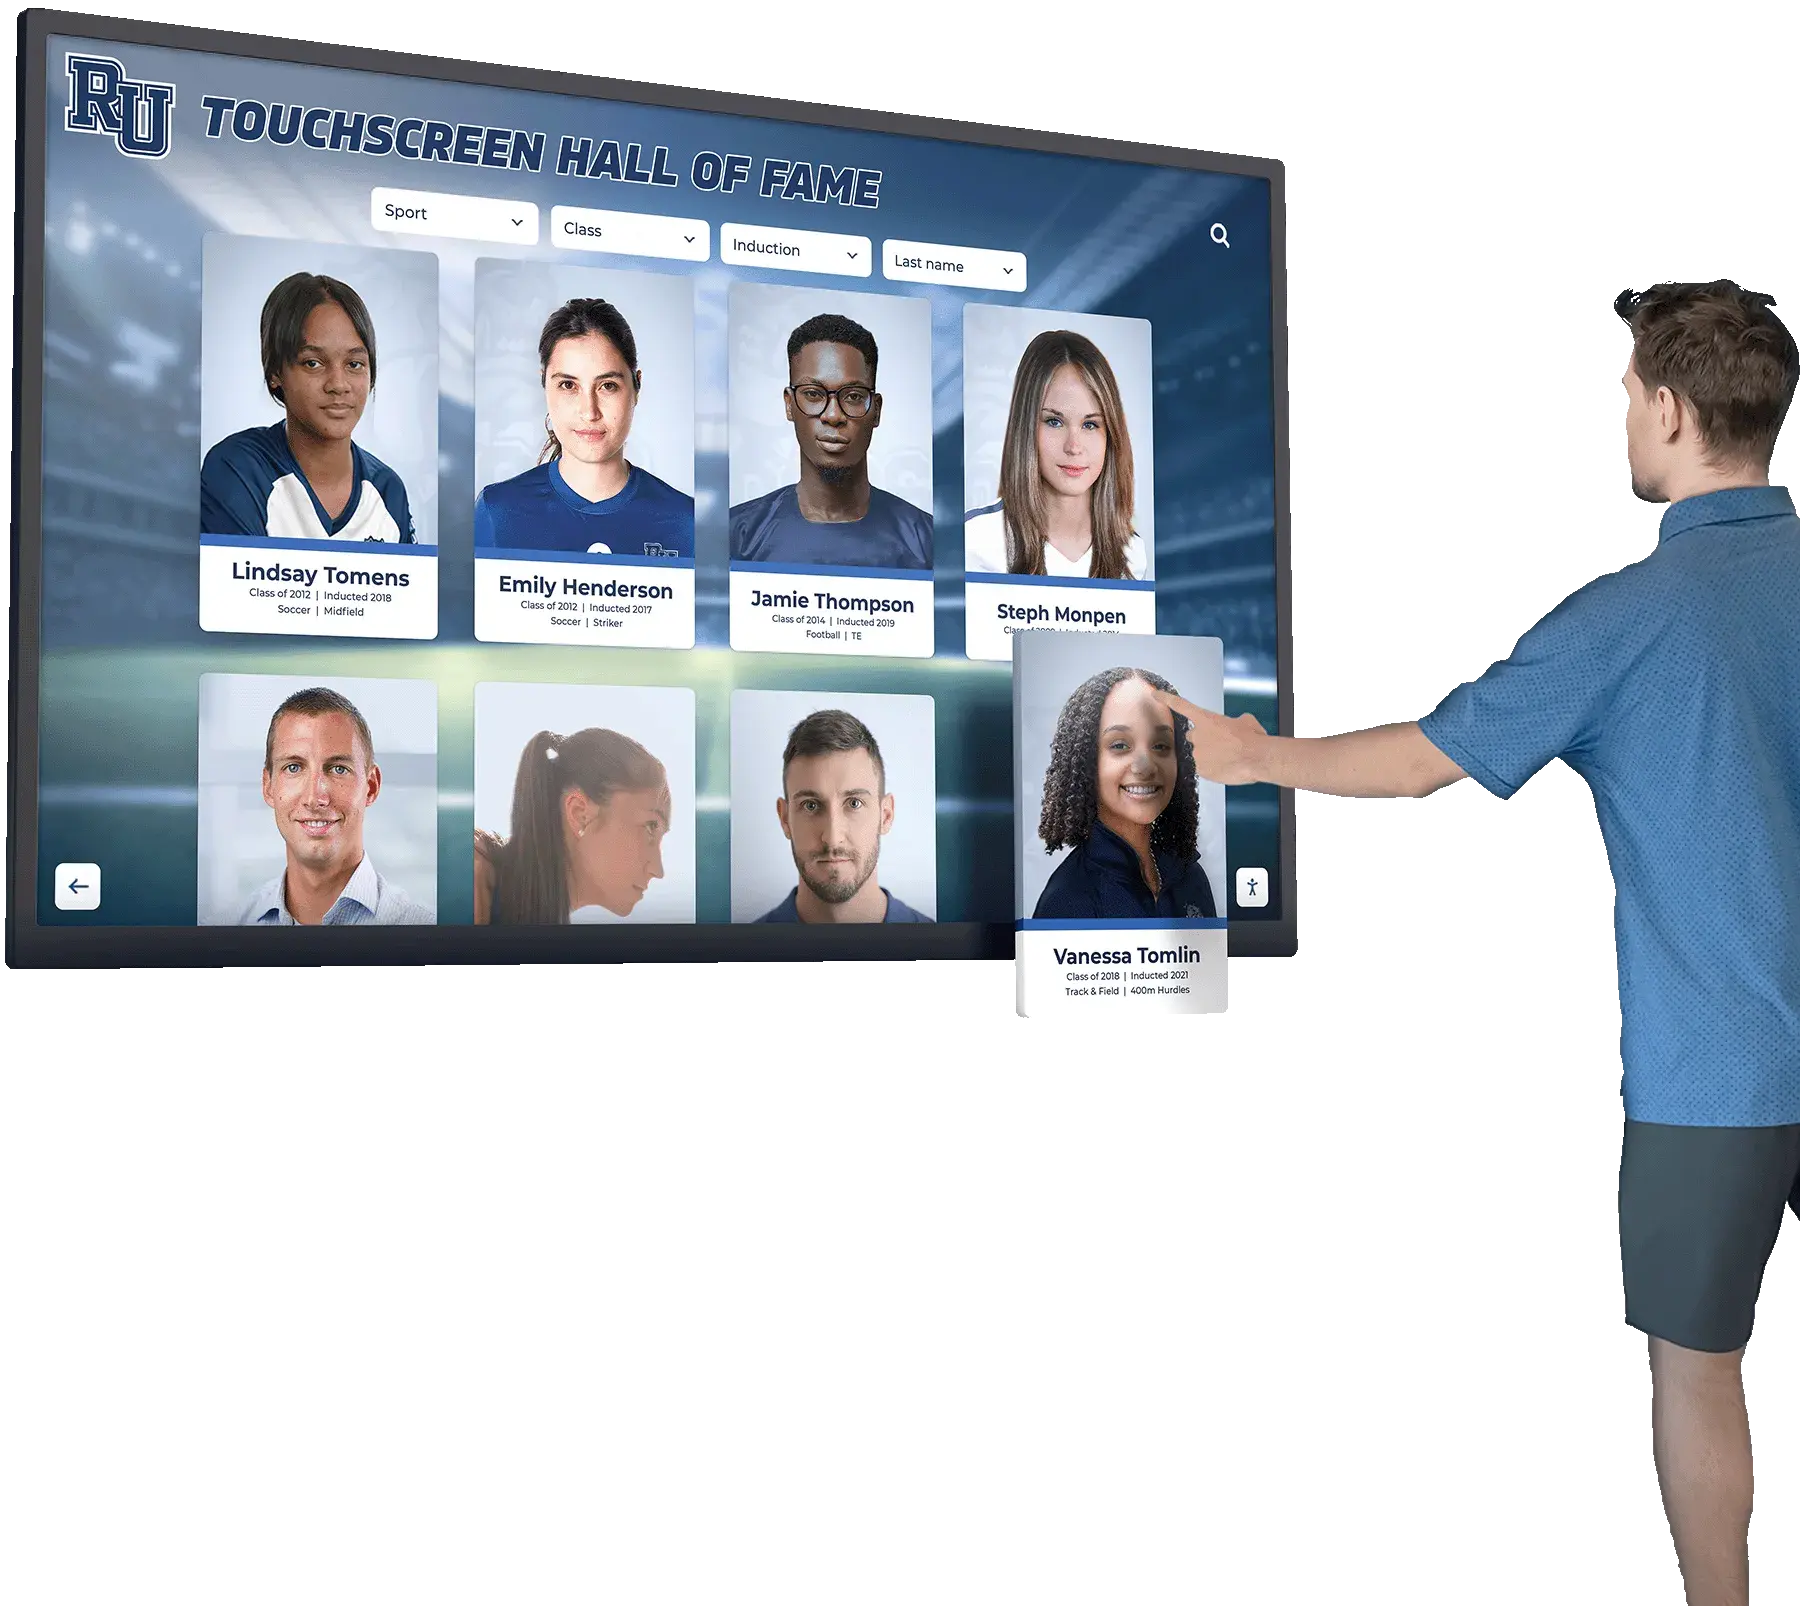
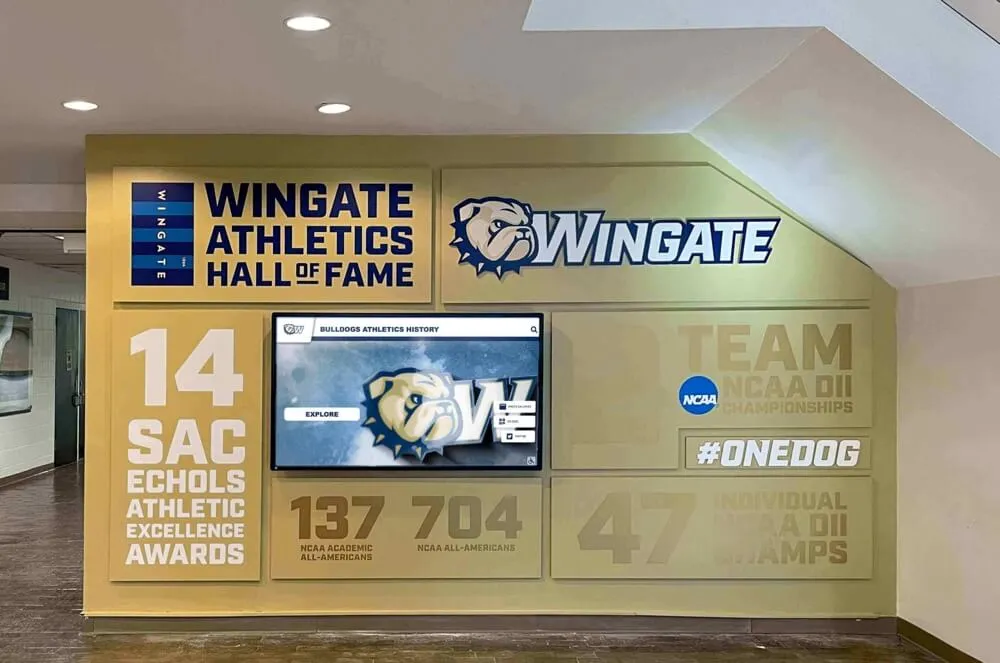
The end goal of digitizing school photo negatives: organized, searchable archives that power recognition displays celebrating decades of institutional history
Cataloging and Metadata: Making Digital Files Findable
A collection of properly scanned TIFF files with no metadata is barely better than the filing cabinet you started with. Metadata transforms raw image files into a searchable, navigable archive that people can actually use.
Essential Metadata Fields for School Photo Archives
Apply metadata at the point of scanning—not afterward—using your scanner software’s batch tagging features or a dedicated digital asset management tool.
Minimum required fields for each negative:
- Date or approximate date: Even decade-level accuracy (“1970s”) dramatically improves findability. Check yearbooks, event programs, and administrative records to pin down dates as precisely as possible.
- Subject description: What’s depicted—“Varsity football team portrait, 1974” or “Junior class assembly, main gymnasium.” Write descriptions that would make sense to someone with no prior knowledge of the image.
- People identified: Any individuals whose names you can verify from accompanying records. Never guess at identification; mark uncertain identifications clearly as tentative.
- Location: Where the photograph was taken, particularly important for architectural photos documenting facilities that have since changed or been demolished.
- Photographer or source: If known, record who took the photograph or which professional studio created it.
- Physical condition at time of scan: Note any damage, deterioration, or anomalies present when the negative was scanned.
- Collection or series: Which broader group this negative belongs to—“Athletic Department 1970–1979” or “Formal Portrait Sessions 1965–1985.”
Best software for education records digitization covers the specific platforms schools use to manage metadata-rich digital archives at scale, including how to handle large collections with mixed formats and undated materials.
Embedding vs. Sidecar Metadata
TIFF files support embedded metadata in XMP and IPTC fields, meaning descriptive information travels with the image file rather than existing only in an external database. This matters for long-term preservation: if the database disappears or the file management system changes, embedded metadata survives as part of the file itself.
Use both embedded metadata and an external catalog (spreadsheet or database) as redundant systems. The external catalog enables batch editing, reporting, and cross-referencing that embedded metadata alone does not support.
Identifying Unknown Subjects and Dates
Many school negatives arrive with no documentation—no labels, no envelopes, no context. Standard research approaches include:
- Comparing uniforms, jersey numbers, or athletic equipment to yearbooks from specific years
- Cross-referencing facility photographs with architectural records of when specific building features were added or changed
- Consulting long-tenured faculty, coaches, or alumni who may recognize faces or event contexts
- Checking local newspaper archives for coverage of events that match images in the collection
Even partial identification is valuable. A negative dated only to the 1982–1985 range with the subject identified as “basketball team, likely district championship” is infinitely more usable than an unidentified negative sitting unlabeled in a sleeve.
Storage, Backup, and Long-Term Preservation
Digitized files have different failure modes than physical negatives, but they’re no less vulnerable to permanent loss without deliberate protection strategies.
The 3-2-1 Backup Rule for School Archives
The standard archival backup practice: maintain 3 copies of every master file, on 2 different storage media types, with 1 copy stored offsite (or in cloud storage geographically separate from your primary systems).
A practical implementation for a school archive:
- Primary copy: High-capacity NAS (Network Attached Storage) or external hard drives on school servers, accessible to the archive team
- Secondary copy: Separate external hard drives stored in a different building or fireproof safe
- Offsite/cloud copy: Institutional cloud storage through Google Workspace for Education, Microsoft OneDrive, or a dedicated archive service like Backblaze B2 or Amazon S3 Glacier
Run backup verification checks periodically—not just to confirm files were copied, but to verify that copied files open correctly and haven’t suffered bit rot, which is silent data corruption that can occur over time even on storage media that appears functional.
File Integrity Monitoring
Generate checksums (MD5 or SHA-256 hashes) for master TIFF files at the time of creation. Checksums create a unique fingerprint for each file; periodic re-verification confirms that files haven’t changed unexpectedly. Tools like HashMyFiles (Windows) or md5deep (cross-platform) automate this process for large collections.
Online high school digital archives examines how schools integrate digitized collections into searchable web-based systems—the stage after scanning where files need to be organized, hosted, and made accessible to appropriate audiences.
Physical Negative Preservation After Digitization
Digitization doesn’t eliminate the value of original negatives. Properly preserved originals remain the highest-resolution, most archivally stable versions of those images for the foreseeable future. After digitization:
- Rehouse negatives in acid-free, archivally stable polyester or polypropylene sleeves (never PVC, which off-gasses chemicals that accelerate deterioration)
- Store in acid-free boxes in a climate-controlled environment targeting 65°F and 35–40% relative humidity
- Label each sleeve with the corresponding digital filename for traceability between physical and digital collections
- Segregate any actively deteriorating negatives from stable materials
- Store away from light, and away from food and chemical storage areas
The goal is to make digital access primary while maintaining the physical originals as backup and ultimate source material.

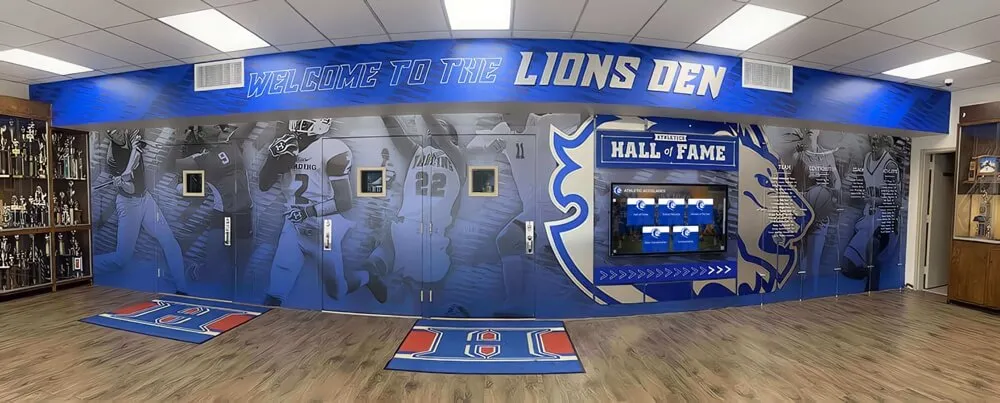
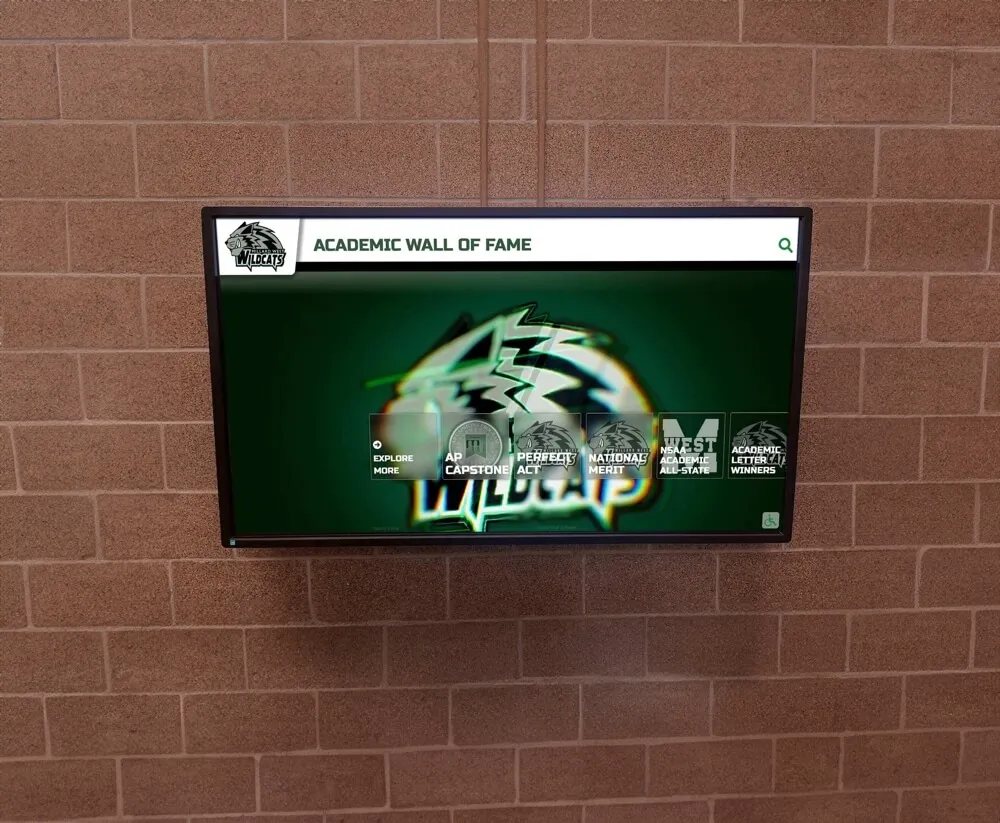
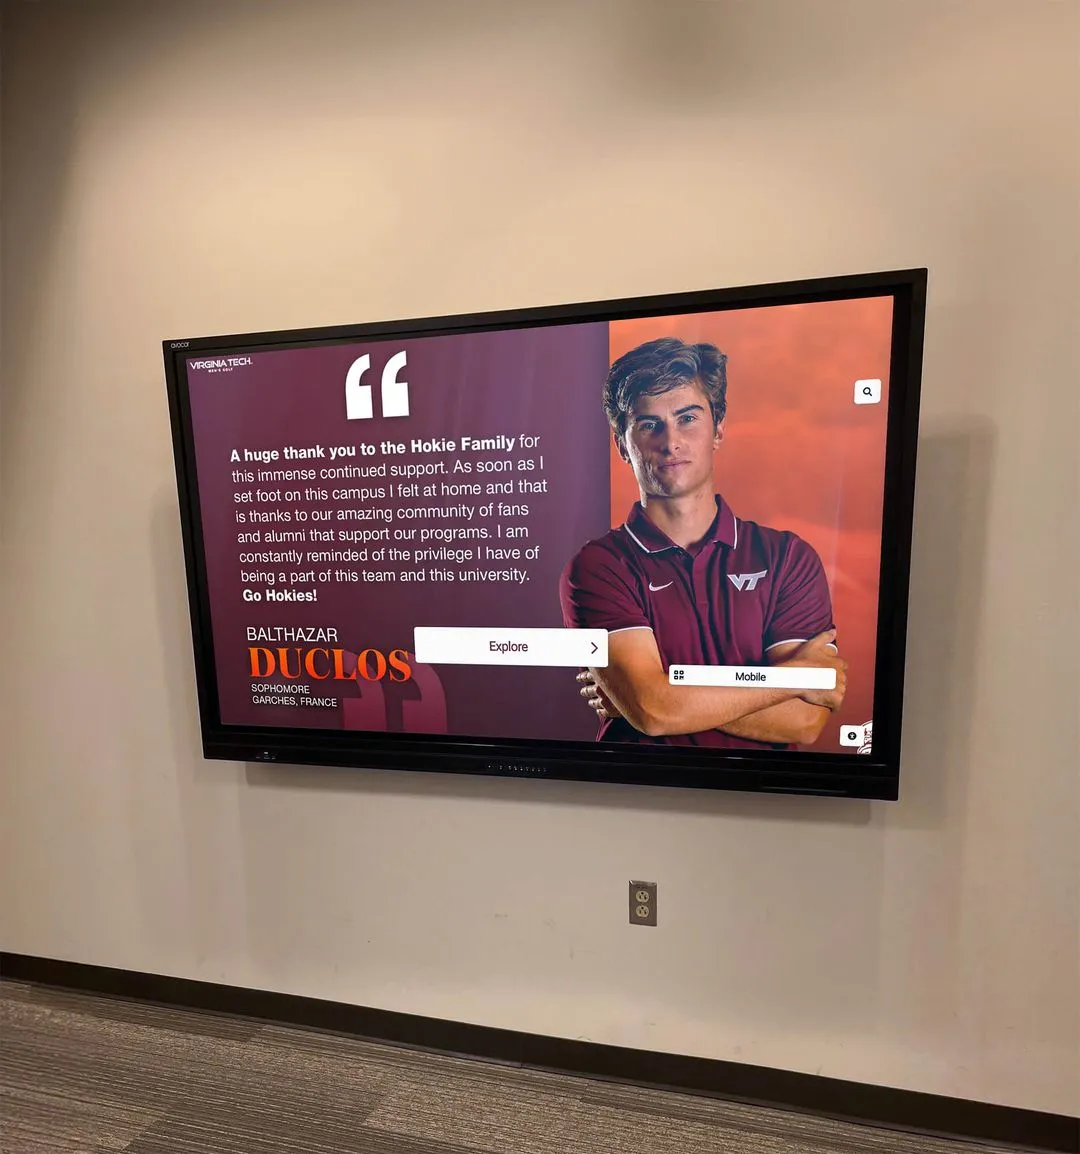
Once negatives are scanned and organized, the content can power responsive websites and digital archives accessible to alumni from any device, anywhere
Building the Online Archive: From Files to Published Collection
Scanned and organized files need to be published in a format that your school community—current students, alumni, faculty, and community members—can actually access and explore. This is the step where the technical work of digitization becomes a visible, valued resource.
Choosing an Online Archive Format
Dedicated digital archive platforms like Omeka (open-source, widely used in educational institutions), CONTENTdm, or ArchivesSpace allow schools to host searchable collections with rich metadata, controlled access, and cataloging features built for archival use. These platforms handle large collections well and produce sustainable long-term archives that meet institutional and professional archival standards.
Integrated school website archives are simpler to implement but have less robust search and cataloging functionality. A gallery plugin on an existing school website can make digitized photographs accessible to the public, but searching for specific subjects, dates, or events becomes difficult as the collection grows beyond a few hundred images.
Touchscreen archive systems offer a specific use case distinct from web-based archives: physical interactive displays installed in school lobbies, libraries, gyms, and hallways that allow visitors to browse, search, and explore the digitized collection in person. These systems work particularly well for schools that want to celebrate institutional history at the point of community gathering—during events, open houses, alumni weekends, and daily student traffic. Tools to build a community showcase covers the range of display options from simple screens to fully interactive kiosk systems that visitors can navigate by year, sport, or individual name.
Access and Privacy Considerations
Not all historical photographs should be publicly accessible. Standard considerations:
FERPA and student privacy: Photographs of students who were minors at the time of the photograph require consideration under FERPA when published in identifiable formats. For photographs from the 1970s–1990s, consult your institution’s legal counsel on current practice—policies vary and continue to evolve. Many schools publish historical group photographs (team photos, class composites) while applying more caution to individual portraits.
Alumni consent: When publishing photographs that identify specific individuals by name, a lightweight consent process—reaching out through alumni networks and providing opt-out options—reduces risk and builds goodwill with the community your archive is meant to serve.
Tiered access: Many schools implement public access for photographs more than 25–30 years old while requiring login credentials for more recent materials. This balances historical transparency with current privacy expectations.
A complete digital history archive guide covers how schools at different levels approach access management for historical archives, including practical frameworks for determining what to publish openly versus behind authentication.
Integrating Negative Archives with Broader School History
Photo negatives rarely tell the full story of a school’s history in isolation. Maximum archival value comes when digitized negatives connect to other institutional records:
- Yearbook pages from the same years, providing captions and context for faces in the photographs
- Athletic records and hall of fame documentation linking performance data to the images
- Administrative documents and event programs that provide dates and official context
- Oral history recordings and alumni interview collections that put personal voices alongside visual evidence
School event galleries and history profiles explores how schools organize multiple archive types into coherent narratives that engage current students alongside alumni, creating bridges between institutional past and present that neither collection could form on its own.
Transform Your Digitized Archive into an Interactive Display
Once your school's photo negatives are scanned and organized, Rocket Alumni Solutions helps you take the next step: turning those digital files into searchable, interactive touchscreen archive displays that your whole school community can explore. From lobby installations to online alumni portals, we make decades of school history accessible, navigable, and genuinely engaging for everyone who walks through your doors.
See How It WorksFrom Negatives to Touchscreen Display: The Full Workflow
Most schools undertaking a negative digitization project have an end goal beyond the archive itself—typically some form of displayed historical presentation that connects current students and returning alumni to institutional history.
What a Complete Project Looks Like
Phase 1: Audit and Triage (1–2 weeks) Survey all storage locations, identify film formats, assess condition, and establish scanning priority order. This phase also clarifies project scope and allows realistic timeline and budget estimates before any scanning begins.
Phase 2: Scanning (weeks to months depending on collection size) Scan negatives in priority order following your established quality standards. Generate TIFF master files and JPEG derivatives simultaneously. Apply minimum metadata at the time of each scan so nothing falls through the cracks.
Phase 3: Metadata Enrichment (overlapping with scanning, ongoing) Research dates, subjects, and context for scanned images. Engage alumni, faculty, and department records to fill gaps. This phase often surfaces the most interesting archival discoveries—and generates the most enthusiasm from the community.
Phase 4: Organization and Backup (ongoing throughout) Maintain the 3-2-1 backup protocol from the first day of scanning. Organize files into a logical folder structure that matches your catalog system and can be understood by future staff without your personal context.
Phase 5: Publishing (1–4 weeks after scanning complete) Deploy files to your chosen platform—online archive, web gallery, or touchscreen display system. Review access and privacy settings before making content publicly available.

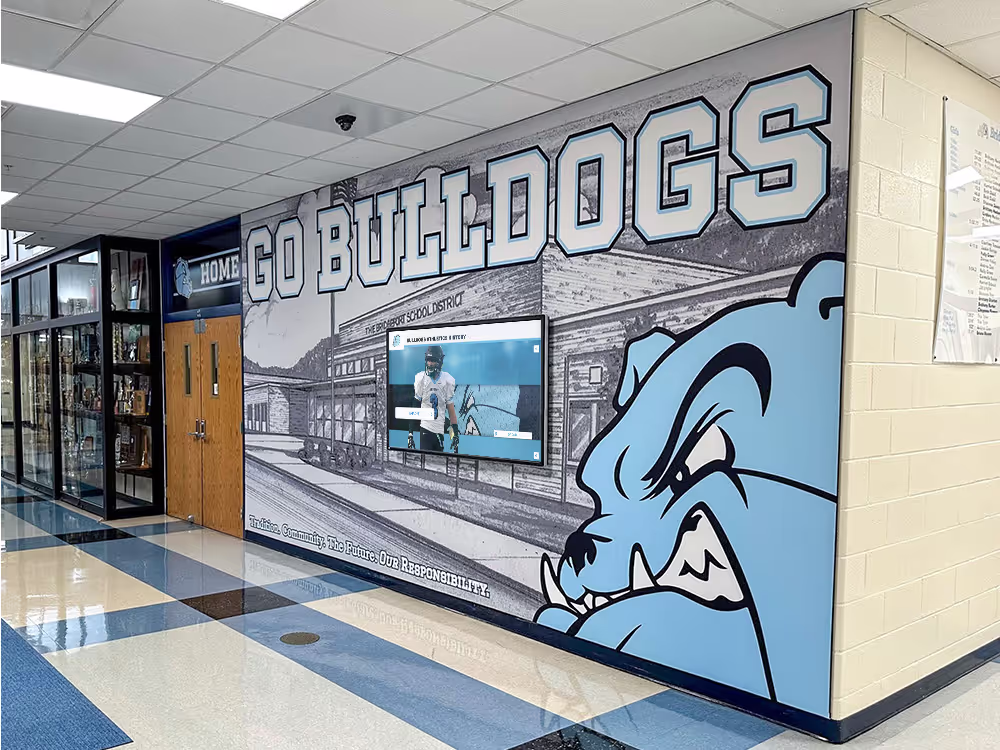
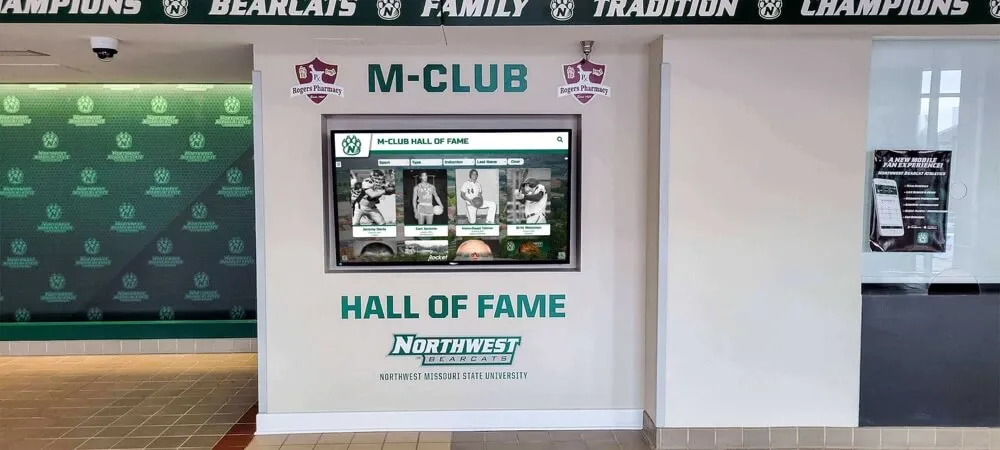
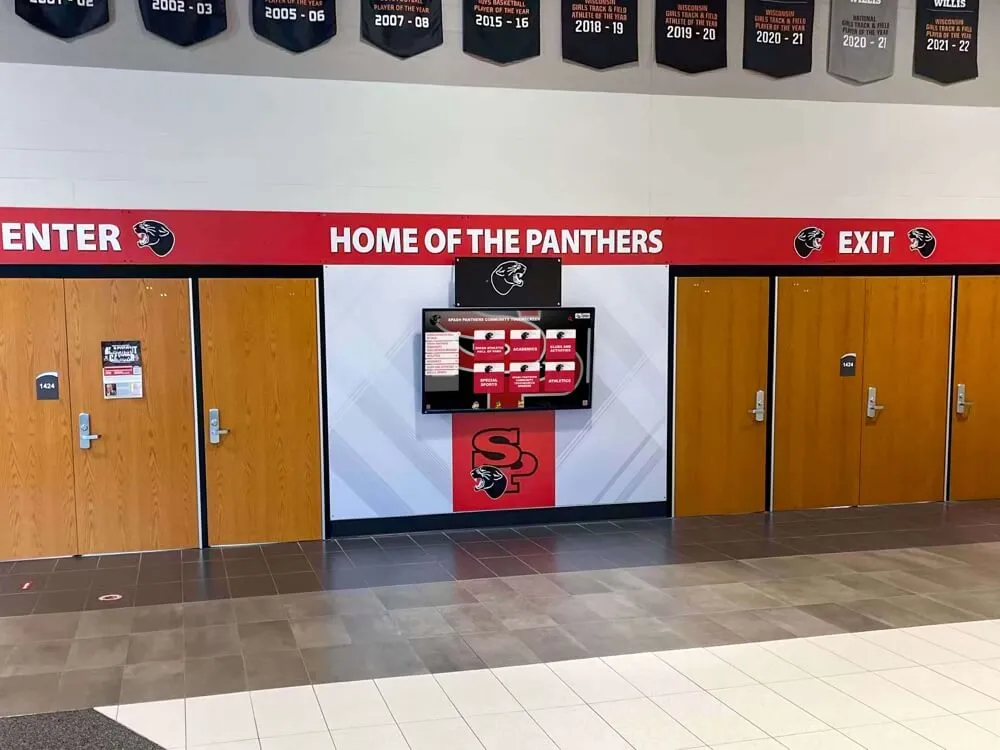
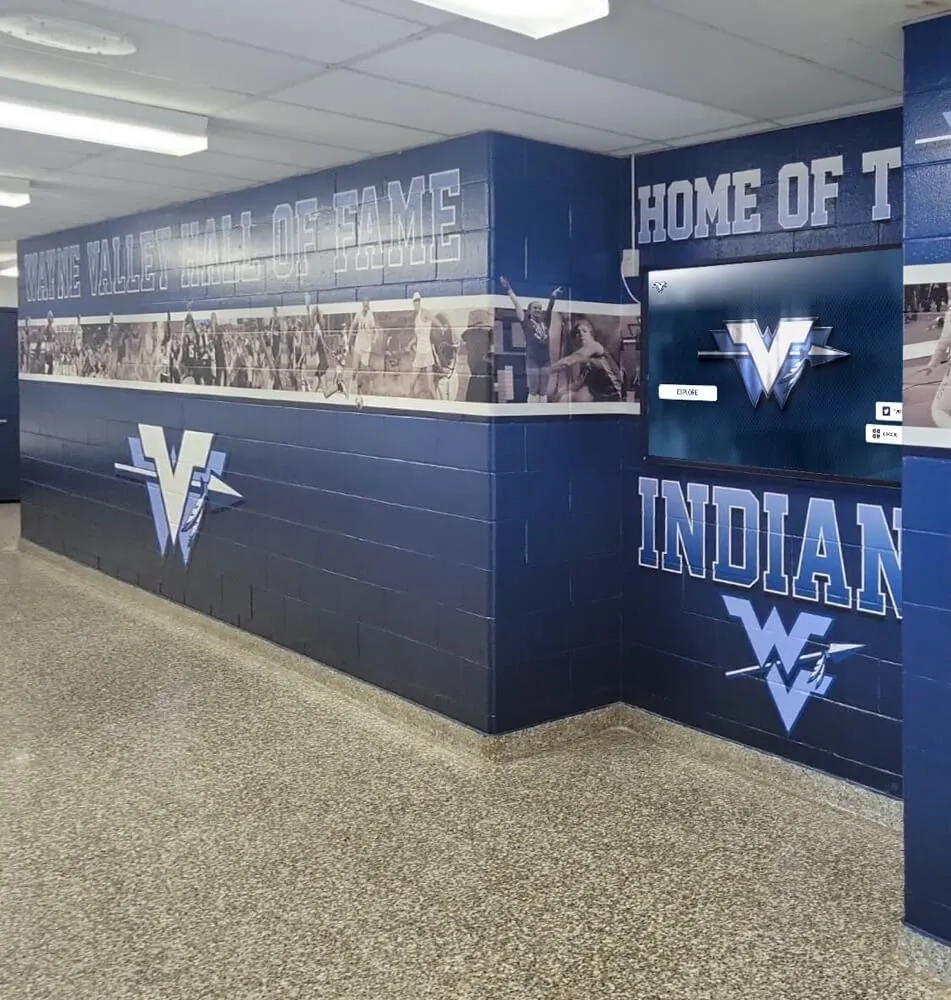
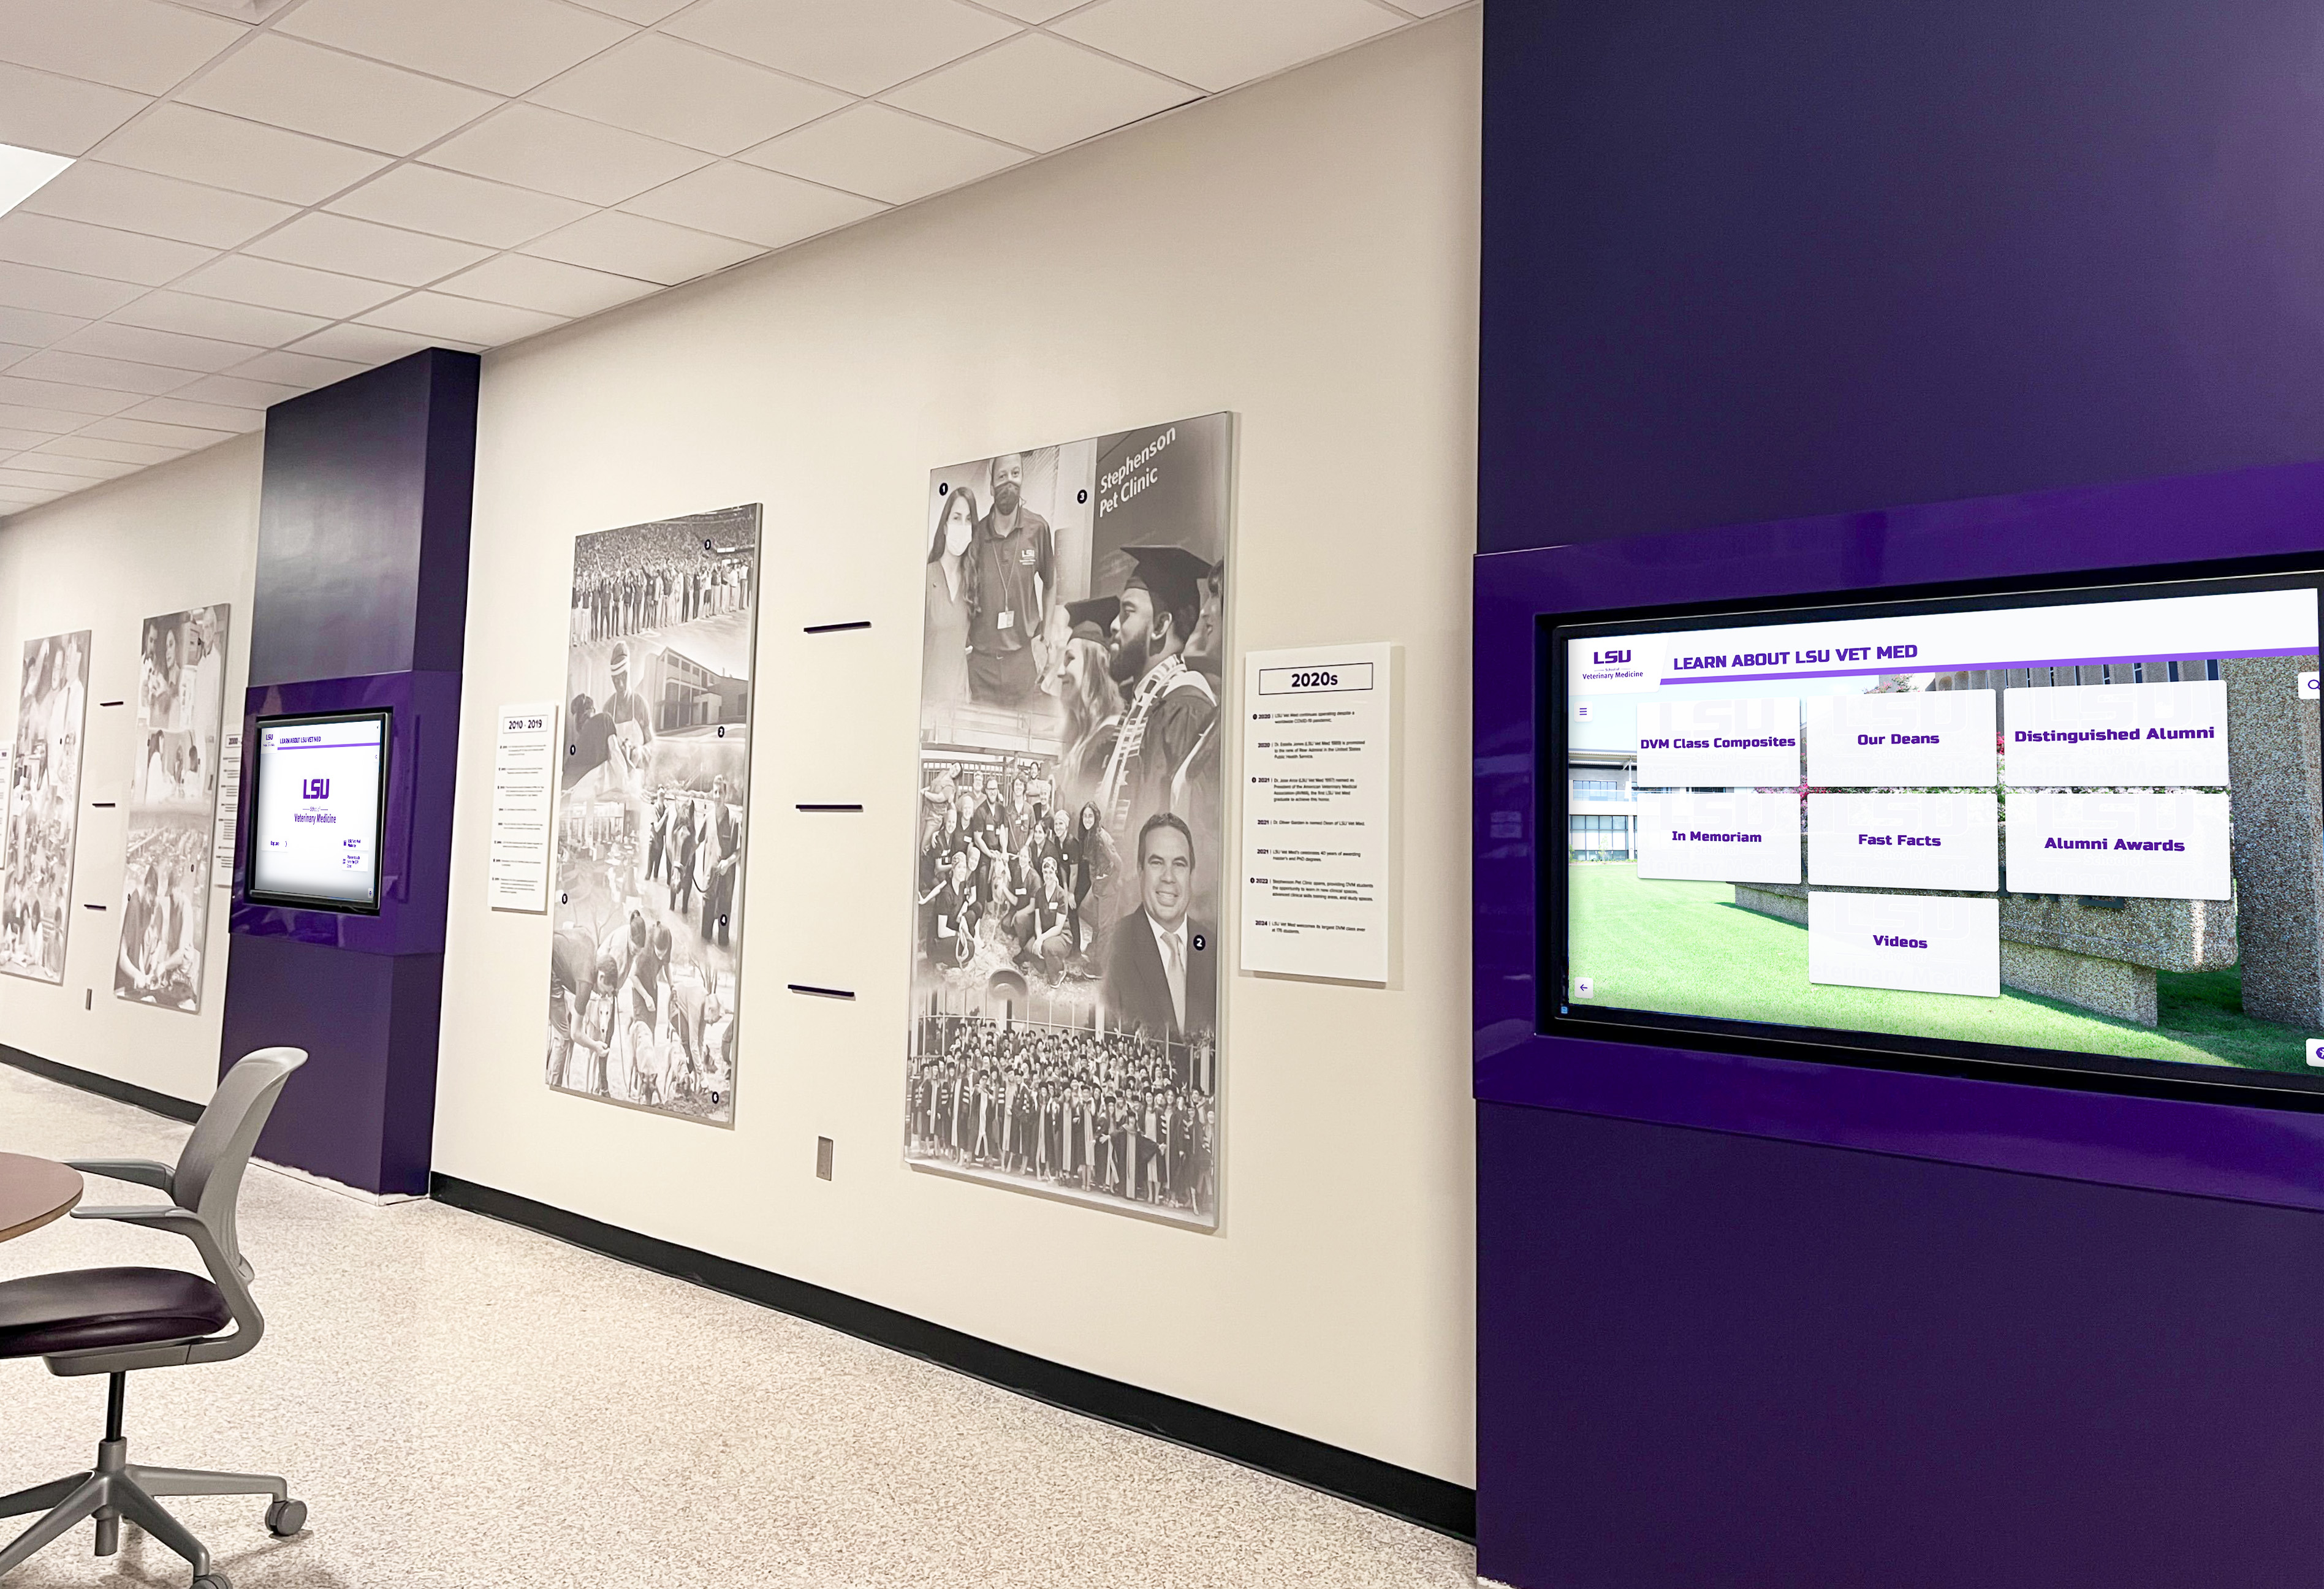
Digitized historical photos from negatives feed directly into hallway and lobby display systems that make institutional history part of the daily school environment
Digital composites wall guide shows how class composite photographs—often among the most valuable materials in a school’s negative collection—translate into interactive digital displays that alumni can search and explore by name, year, or activity.
Common Obstacles and How to Handle Them
Finding that some negatives were already discarded: Some schools discover their collection is incomplete—certain years, sports, or events simply weren’t photographed or weren’t retained. When originals don’t exist, seek out community sources: alumni personal print collections, local newspaper archives, and community historical societies sometimes hold school photographs not present in the institutional archive.
Negatives with no contextual documentation: Common with older collections. Build in dedicated research time as a formal project phase rather than treating identification as a secondary task. The investment pays compounding returns as identified subjects generate leads to other identifications across the collection.
Budget limitations: Phase the project rather than abandoning it. Prioritize the most deteriorated and historically significant negatives first, digitize those, and seek grant funding or alumni partnership for subsequent phases. Many schools find that a visibly launched archive project attracts alumni support for continuing phases. Future trends in digital recognition walls points to growing alumni investment in digital history projects as institutions demonstrate tangible results from archival work.
Staff bandwidth: If full-time staff cannot absorb the workload, consider trained volunteers—retired faculty, alumni association members, or library science students from a local university—for supervised scanning and metadata tasks. The technical standards require consistent oversight but not specialist credentials for most aspects of the work.
After the Negatives: Building a Living Archive
A digitized negative collection is a foundation, not a finished product. Schools that get the most value from digitization projects treat their digital archive as a living resource that grows with new contributions, new research, and new display technologies.
As your digitized collection matures:
- Current athletic and event photography flows into the same archive system, building a continuous visual record from historical negatives through present-day documentation
- Alumni contributions of personal photographs fill gaps in the institutional collection that no school filing cabinet ever contained
- Annotations and memories attached to specific images by people who were present create oral history layers alongside the visual record
- Touchscreen displays update as new materials are added, keeping the archive relevant for current students who may not have a personal connection to historical photographs
The digital hall of fame touchscreen guide shows how schools structure these displays to serve both historical documentation and current recognition simultaneously—the negative archive becomes part of a broader institutional memory system rather than a standalone historical project.

Interactive digital archive displays invite visitors to explore institutional history in ways that filing cabinets of photo negatives never could
Starting Your Negative Digitization Project
The most common obstacle schools face isn’t equipment or expertise—it’s paralysis in front of a collection that feels overwhelming. The right starting point is always the same: open one box, identify what’s in it, and scan one negative properly.
That first scan establishes your workflow, reveals practical issues you didn’t anticipate, and produces a tangible result. From there, the project builds systematically. Large collections get digitized one frame at a time, and every frame you scan is a piece of institutional history rescued from deterioration and made accessible to the people it belongs to.
Start with your Priority 1 negatives—the ones showing active deterioration—and work outward from there. Set realistic daily targets based on your equipment’s throughput, build in time for metadata research, and connect with alumni early to get identification help. The historical knowledge that alumni carry in their memories is a non-renewable resource; every year that passes without engaging them is information permanently lost.
If your school is approaching the display phase—where digitized materials are ready to be organized into interactive experiences that current students and returning alumni can explore—Rocket Alumni Solutions builds touchscreen archive systems specifically designed for institutional history. Our platform makes decades of school history searchable, navigable, and genuinely engaging for everyone who walks through your doors.
Ready to take the next step from scanned files to interactive display? Request a free demo from Rocket Alumni Solutions and see how touchscreen archive displays transform a collection of digitized photo negatives into a living, searchable institutional memory that current students and returning alumni can explore together.