


Athletic programs accumulate precious artifacts over the years—championship jerseys that secured state titles, signed baseballs from perfect games, medals from record-breaking performances, photos capturing historic moments, and memorabilia that define program legacy. These items deserve proper display that protects them while honoring the athletes and achievements they represent, yet many athletic directors and alumni coordinators struggle with how to showcase these treasures effectively without breaking limited budgets.
Shadow boxes offer an elegant, customizable solution for preserving and displaying school memorabilia. Unlike standard frames, shadow boxes provide depth to accommodate three-dimensional objects like jerseys, medals, and equipment while protecting artifacts from dust, moisture, and handling damage. Creating custom shadow boxes allows schools to design displays that tell complete stories—combining jerseys with game photos, championship medals with newspaper clippings, and signed gear with athlete profiles.
This comprehensive guide walks athletic directors, booster club members, alumni coordinators, and dedicated supporters through the complete process of making shadow boxes for school memorabilia. Whether you’re preserving a single championship jersey or creating a coordinated series of displays for your athletic hall of fame, you’ll discover practical techniques, material recommendations, design strategies, and preservation tips that ensure your shadow boxes protect memorabilia properly while creating compelling visual presentations.
Shadow box creation combines craftsmanship, design sensibility, and archival knowledge to transform loose memorabilia into professional-quality displays that enhance school facilities and preserve program history. The skills and techniques in this guide apply equally to individual projects and larger-scale recognition programs.

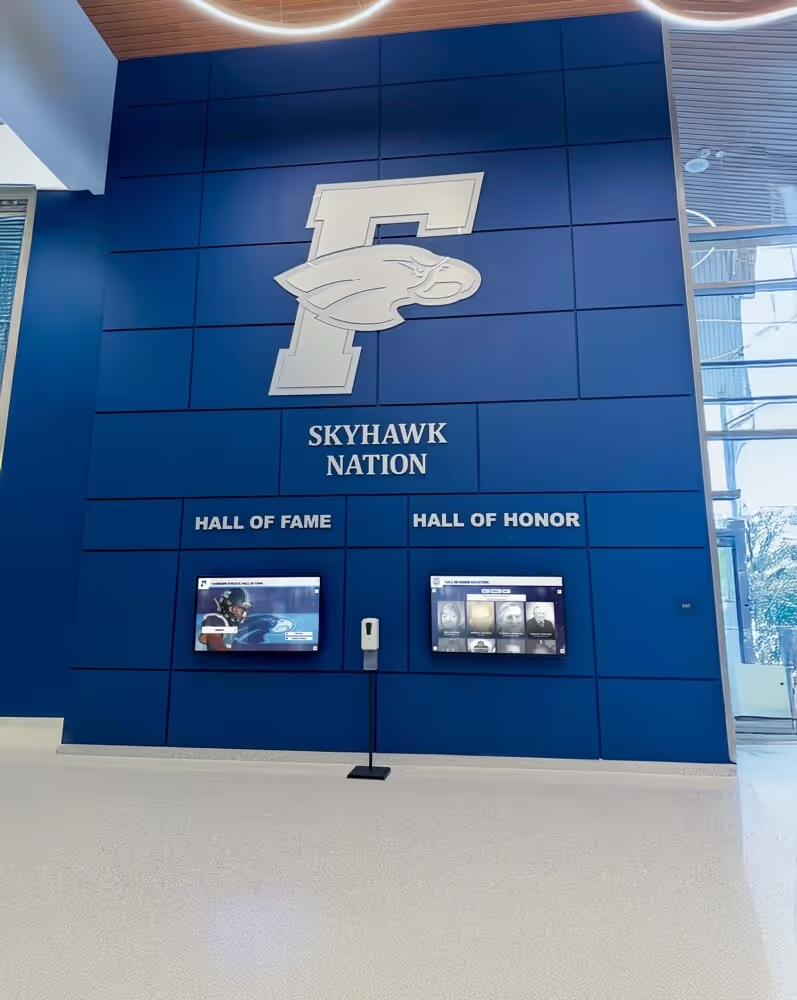
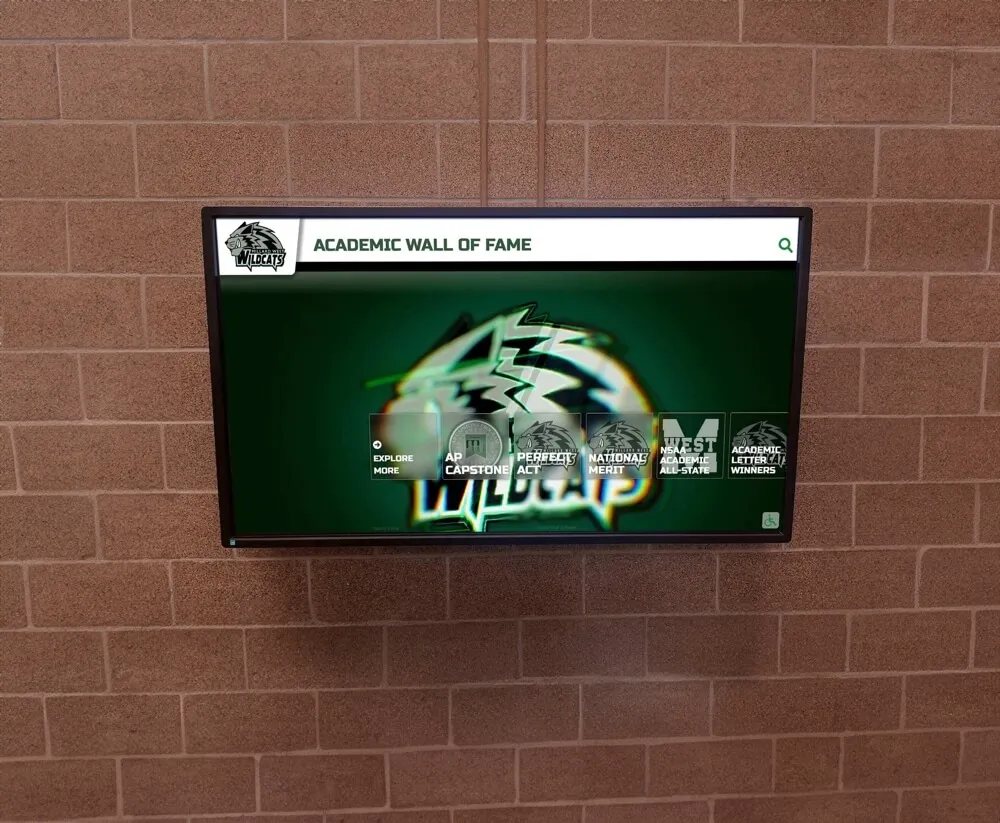
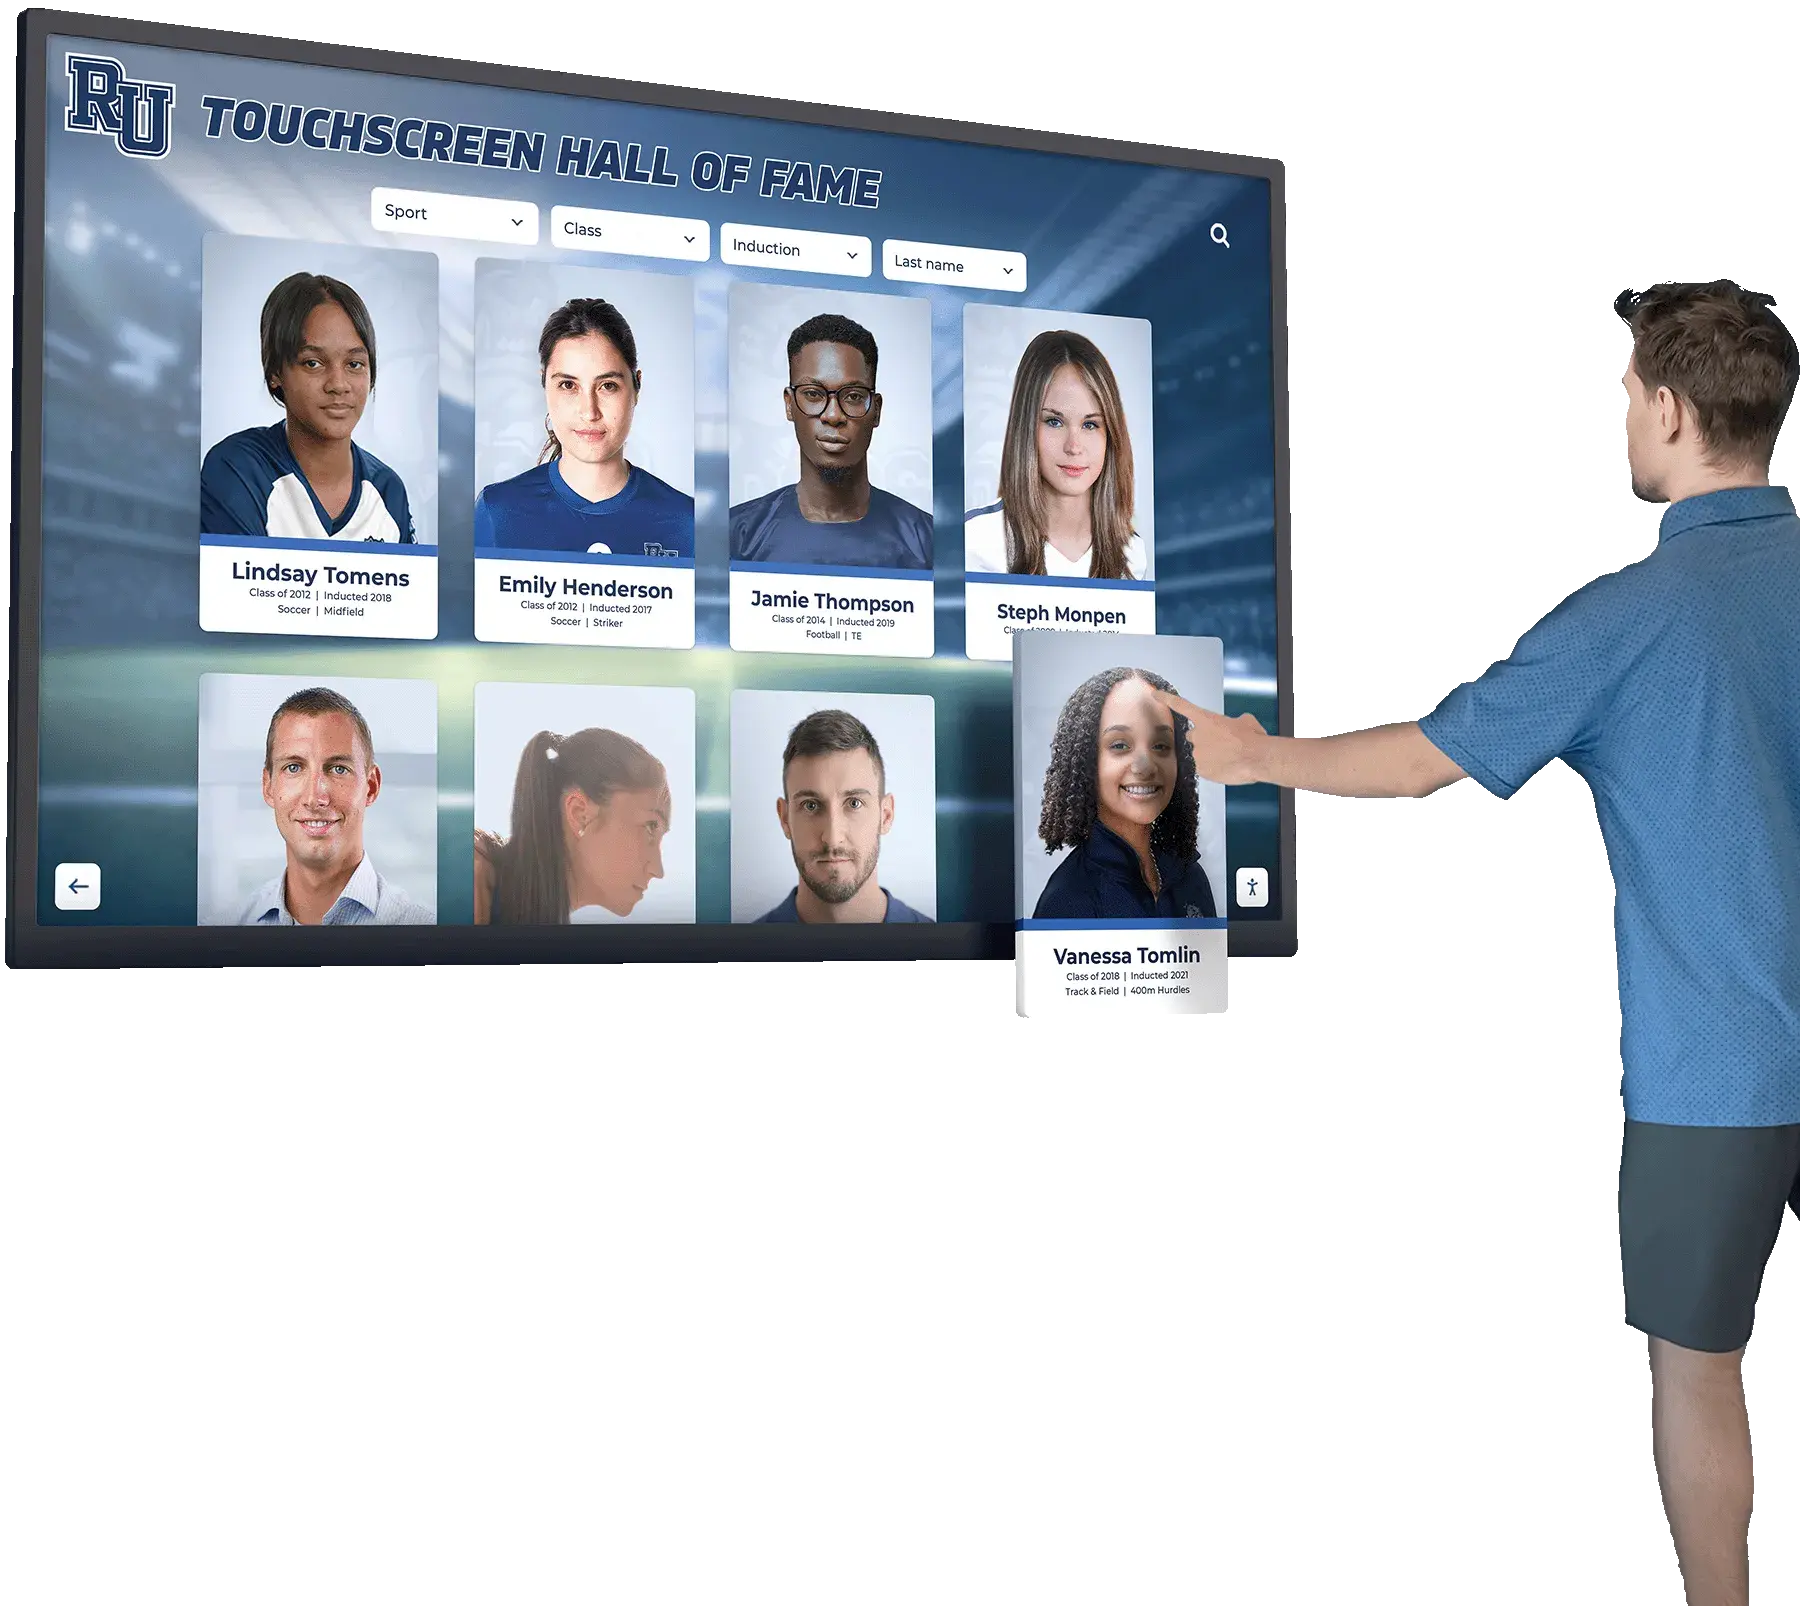
Shadow boxes and display systems work together to preserve athletic achievements and create inspiring spaces celebrating program history
Understanding Shadow Box Fundamentals for School Memorabilia
Before beginning construction, understanding shadow box basics ensures you select appropriate approaches for the specific memorabilia you’re displaying.
What Makes Shadow Boxes Ideal for School Memorabilia
Shadow boxes differ significantly from standard picture frames in ways particularly suited to school artifacts:
Three-Dimensional Display Capacity
Standard frames accommodate only flat items:
- Photographs, certificates, and documents lie against backing
- No depth for three-dimensional objects
- Limited creative arrangement options
- Cannot display jerseys, medals, or equipment
- Restricted to two-dimensional presentations
Shadow boxes provide depth ranging from 2-8 inches:
- Accommodate folded jerseys and uniforms
- Display medals, pins, and patches
- Showcase small equipment (baseballs, game pucks, batons)
- Allow layered arrangements creating visual interest
- Support creative positioning of multiple items
This depth capacity makes shadow boxes essential for athletic memorabilia that extends beyond flat photographs.
Protection and Preservation
Shadow boxes offer superior artifact protection:
- Enclosed cases preventing dust accumulation
- Glass or acrylic fronts blocking moisture and humidity
- Sealed environments reducing oxidation and fading
- Barrier against casual handling and fingerprints
- UV-protective glazing options for light-sensitive items
Proper shadow box construction preserves memorabilia for decades, maintaining artifact condition far better than open displays or storage in boxes where items deteriorate unseen.
Storytelling Through Arrangement
Shadow boxes create narrative presentations:
- Combine multiple related items in single display
- Arrange elements showing relationships and context
- Include photos, text, and objects together
- Create focal points highlighting key items
- Design layouts guiding viewer attention intentionally
This storytelling capacity makes shadow boxes particularly effective for recognizing athletic achievements in ways that engage viewers emotionally and provide context for artifacts being honored.
Types of School Memorabilia Suitable for Shadow Boxes
Different artifacts require different shadow box approaches:
Jersey and Uniform Displays
Championship jerseys and uniforms create powerful visual displays:
- Folded jersey presentations: Show jersey front with number and name visible, depth requirement 3-4 inches
- Full jersey displays: Stretch jersey to show complete design, require 4-6 inch depth and larger dimensions
- Jersey with equipment: Combine jersey with helmet, ball, or accessories, need 6-8 inch depth
- Team uniform collection: Display matching jersey and pants/shorts, require custom large boxes
Jerseys represent the most common and impactful shadow box subject for athletic programs, as they immediately communicate sport and achievement while creating bold visual statements in hallways and trophy areas.
Medal and Award Collections
Individual medals or comprehensive collections work beautifully in shadow boxes:
- Single championship medals: Display with ribbon fully visible, include photos and details
- Season medal sets: Arrange multiple medals from tournament progression or entire season
- Career collections: Honor individual athlete’s complete medal collection across years
- Team awards: Display plaques, trophies, and awards that don’t fit traditional cases
Medal displays benefit from careful arrangement planning, as the repetitive shapes require intentional layout to avoid monotonous appearance.
Game-Used Equipment
Equipment tells specific stories about particular moments:
- Signed baseballs: Display with details about perfect games, championship wins, or milestone victories
- Hockey pucks: Showcase game-winning pucks from championship matches
- Game balls: Football, basketball, or soccer balls from significant victories
- Small equipment: Batons from relay records, starter pistols from track championships, tennis balls from historic matches
Schools implementing comprehensive trophy display strategies often use shadow boxes for game-used equipment alongside traditional cases for trophies and larger awards.
Photographic and Document Combinations
Combining photos with memorabilia provides context:
- Championship moment photos: Action shots from title-winning games paired with medals or equipment
- Team photos with signatures: Group photos alongside signed items or awards
- Newspaper coverage: Historic clippings documenting achievements paired with artifacts
- Programs and tickets: Game programs and ticket stubs from significant events
- Letters and certificates: Recruiting letters, all-conference certificates, scholarship notices
These combination displays tell richer stories than artifacts alone, helping viewers understand significance and context.
Coach and Alumni Recognition
Honor individuals through personalized shadow boxes:
- Coaching milestone displays: Whistle, playbook pages, photos spanning career highlights
- Retired numbers: Jersey retirement displays with career statistics and achievements
- Alumni accomplishment showcases: Combine high school memorabilia with professional or college achievements
- Hall of fame inductions: Display induction materials, plaques, and career highlights
Personalized shadow boxes create meaningful recognition pieces often presented during ceremonies before permanent installation in facilities.

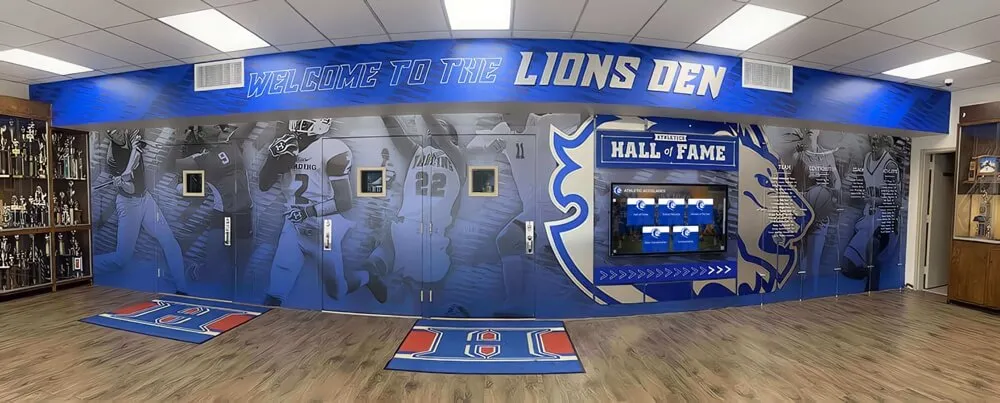
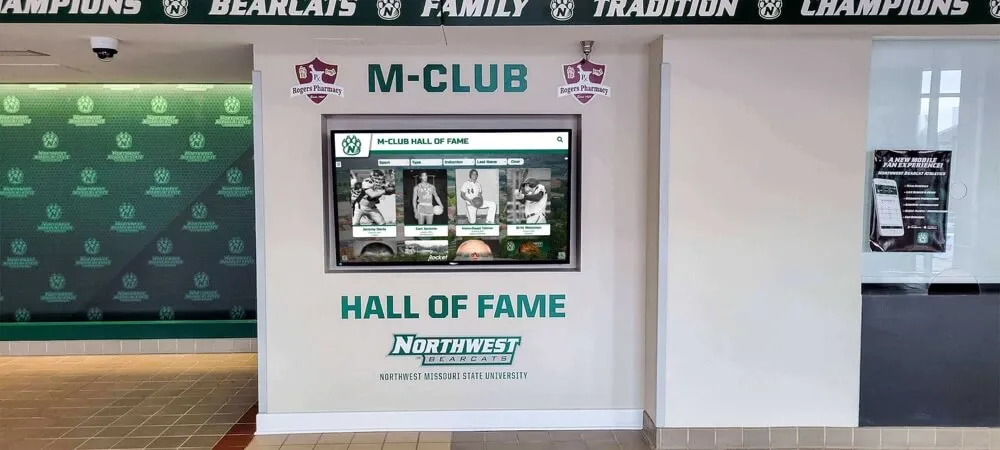
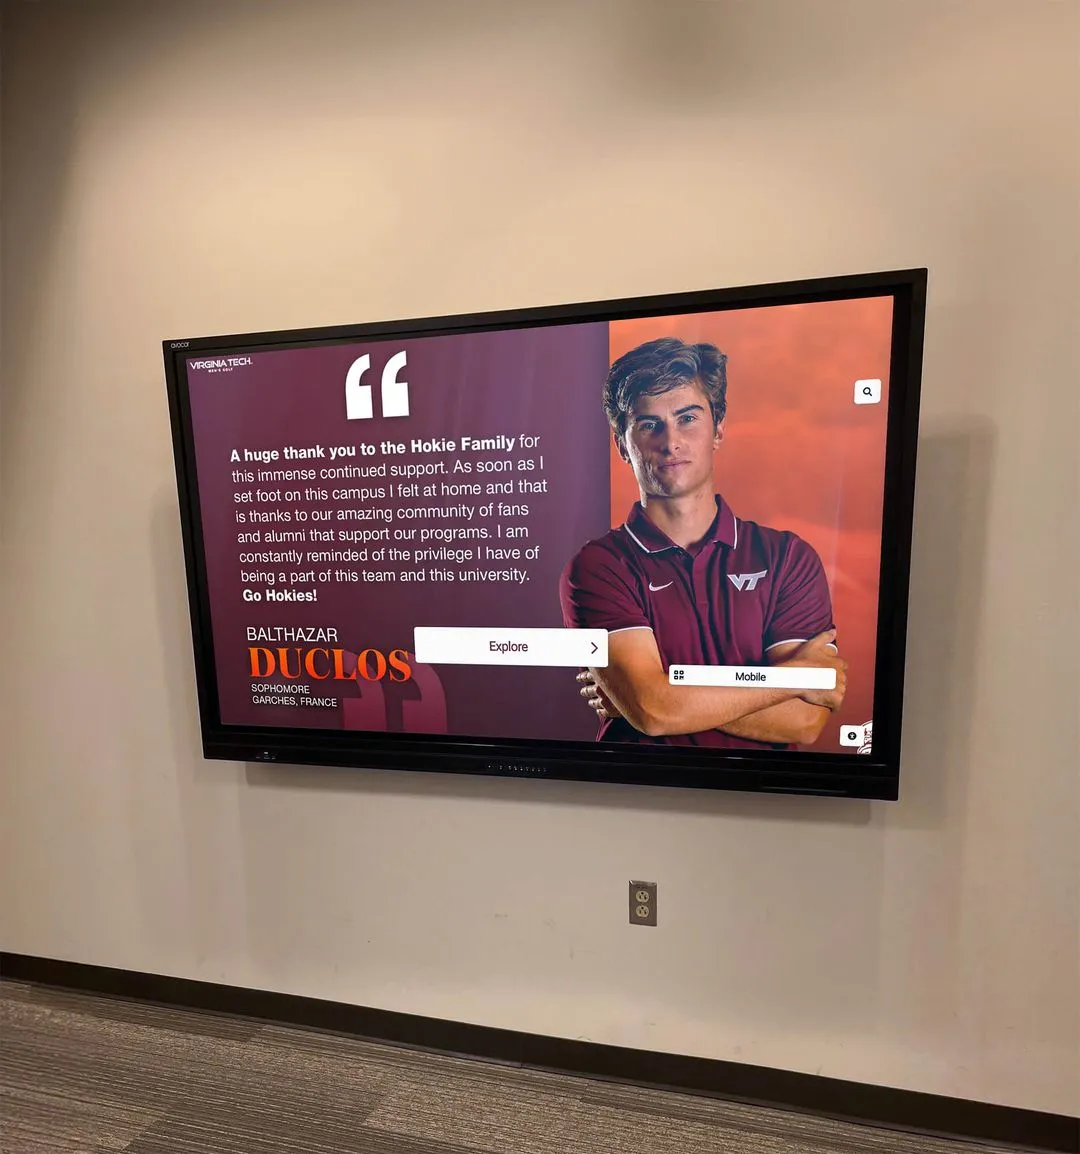
Shadow boxes complement larger recognition programs by providing detailed displays honoring specific achievements and individuals
Materials and Tools Required for Shadow Box Construction
Proper materials ensure shadow boxes protect memorabilia adequately while maintaining professional appearance.
Essential Materials
Gathering quality materials before beginning construction prevents mid-project delays:
Shadow Box Frame Options
You have three primary approaches for obtaining frames:
Pre-Made Shadow Box Frames
Purchase ready-made frames from craft stores or online:
- Advantages: No woodworking required, consistent quality, immediate availability, various sizes available
- Disadvantages: Limited size options, standardized depths, potentially higher cost per unit
- Best for: Individual projects, smaller displays, situations where woodworking isn’t feasible
- Typical costs: $30-150 depending on size and quality
- Where to buy: Michaels, Hobby Lobby, Amazon, specialty framing shops
Custom Frames from Frame Shops
Commission local frame shops to build custom boxes:
- Advantages: Exact specifications, professional construction, material selection, archival options
- Disadvantages: Highest cost, longer lead times, less hands-on control
- Best for: High-value memorabilia, permanent installations, situations demanding perfect sizing
- Typical costs: $150-500+ depending on size, materials, and complexity
- Considerations: Communicate archival requirements, UV protection needs, mounting specifications
DIY Frame Construction
Build frames yourself from lumber:
- Advantages: Complete customization, lower material costs, ability to match existing decor
- Disadvantages: Requires woodworking skills and tools, time-intensive, learning curve
- Best for: Multiple boxes with consistent specifications, budget constraints, skilled hobbyists
- Typical costs: $20-75 per box in materials
- Required skills: Basic carpentry, ability to make precise miter cuts, understanding of frame construction
For athletic directors overseeing multiple displays, combining approaches often works best—use pre-made frames for standard applications and custom construction for unusual sizes or special presentations.
Backing and Mounting Materials
Quality backing materials provide structure and appearance:
Backing Board Options
- Foam board: Lightweight, easy to cut, inexpensive; suitable for temporary displays or lightweight items
- Masonite/hardboard: Durable, rigid, moisture-resistant; ideal for permanent installations
- Mat board: Archival quality options available; best for valuable memorabilia requiring preservation
- Cork board: Allows pin mounting; useful for easy item changes
- Plywood: Very sturdy; necessary for heavy items but adds significant weight
Choose backing appropriate to memorabilia value and weight—championship jersey displays warrant archival mat board, while recreating vintage displays might use standard foam core.
Fabric Covering for Backing
Fabric creates professional backgrounds:
- Felt: Classic choice, available in school colors, provides rich appearance
- Velvet: Premium look, excellent for high-visibility displays
- Burlap: Rustic appearance, suitable for vintage or heritage displays
- Team fabric: Actual team colors or patterns creating coordinated look
- Specialty fabrics: Metallic, textured, or patterned options for unique designs
Fabric color significantly impacts display appearance—school colors create immediate recognition, while neutral tones emphasize memorabilia rather than background.
Adhesives and Fasteners
Proper mounting prevents damage while securing items:
Reversible Mounting Options (preserving artifact condition):
- Museum putty: Removable, repositionable, no damage; ideal for awards and small items
- Hook-and-loop strips: Velcro-style fasteners; excellent for jerseys that may need removal
- Sewing methods: Stitching items to fabric backing; traditional archival approach
- Fishing line: Nearly invisible support for suspended items
- Wire and small hooks: Traditional mounting for medals and ribbons
Permanent Mounting Options (when reversibility isn’t critical):
- Hot glue: Quick, strong bond; acceptable for items without significant value
- E6000 adhesive: Industrial strength, flexible bond; suitable for various materials
- Double-sided tape: Convenient, moderate strength; works for lightweight flat items
- Spray adhesive: Fabric mounting, even coverage; necessary for backing fabric application
Schools creating athletic display programs should prioritize reversible mounting methods preserving artifact integrity, especially for championship memorabilia that may eventually move to upgraded displays or museum-quality installations.
Glass or Acrylic Front Panels
Front glazing protects memorabilia while allowing visibility:
Glass Options
- Regular glass: Clear, scratch-resistant, affordable; adequate for basic protection
- UV-protective glass: Blocks 97-99% UV rays; essential for preventing fading
- Museum glass: Anti-reflective, UV-blocking; premium option for high-value displays
- Typical costs: $10-80 depending on size and type
Acrylic (Plexiglass) Options
- Standard acrylic: Lightweight, shatter-resistant; good for high-traffic areas
- UV-protective acrylic: Blocks 95-98% UV rays; balances protection and cost
- Anti-reflective acrylic: Reduces glare; improves visibility
- Typical costs: $8-60 depending on size and type
For permanent athletic displays in school hallways where safety concerns exist, UV-protective acrylic provides excellent protection without glass breakage risks. Reserve museum-grade glass for particularly valuable items in supervised locations.
Required Tools
Having proper tools makes construction significantly easier:
Basic Tool Requirements
- Measuring tools: Tape measure, ruler, T-square for accurate dimensions
- Cutting tools: Utility knife, scissors, fabric scissors for various materials
- Fastening tools: Staple gun, hammer, screwdriver for assembly
- Marking tools: Pencil, chalk, marker for layout planning
- Adhesive application: Glue gun, brush for adhesives, roller for fabric
Optional But Helpful Tools
- Mat cutter: Creating custom matting and backing boards
- Drill: Installing hanging hardware, creating mounting points
- Miter saw: Cutting frame molding at precise angles (if building frames)
- Heat gun: Shrinking materials, removing stubborn adhesives
- Level: Ensuring proper alignment during layout and installation
Schools embarking on multiple shadow box projects might consider investing in a dedicated tool kit stored with athletic department supplies, ensuring consistent availability for ongoing preservation projects.

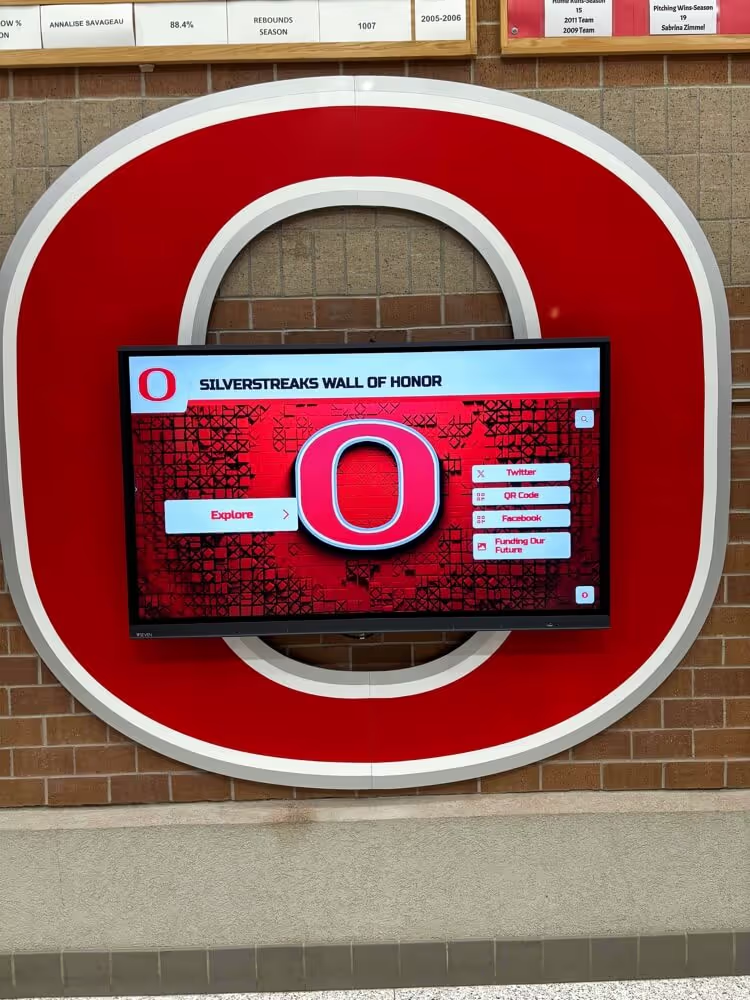
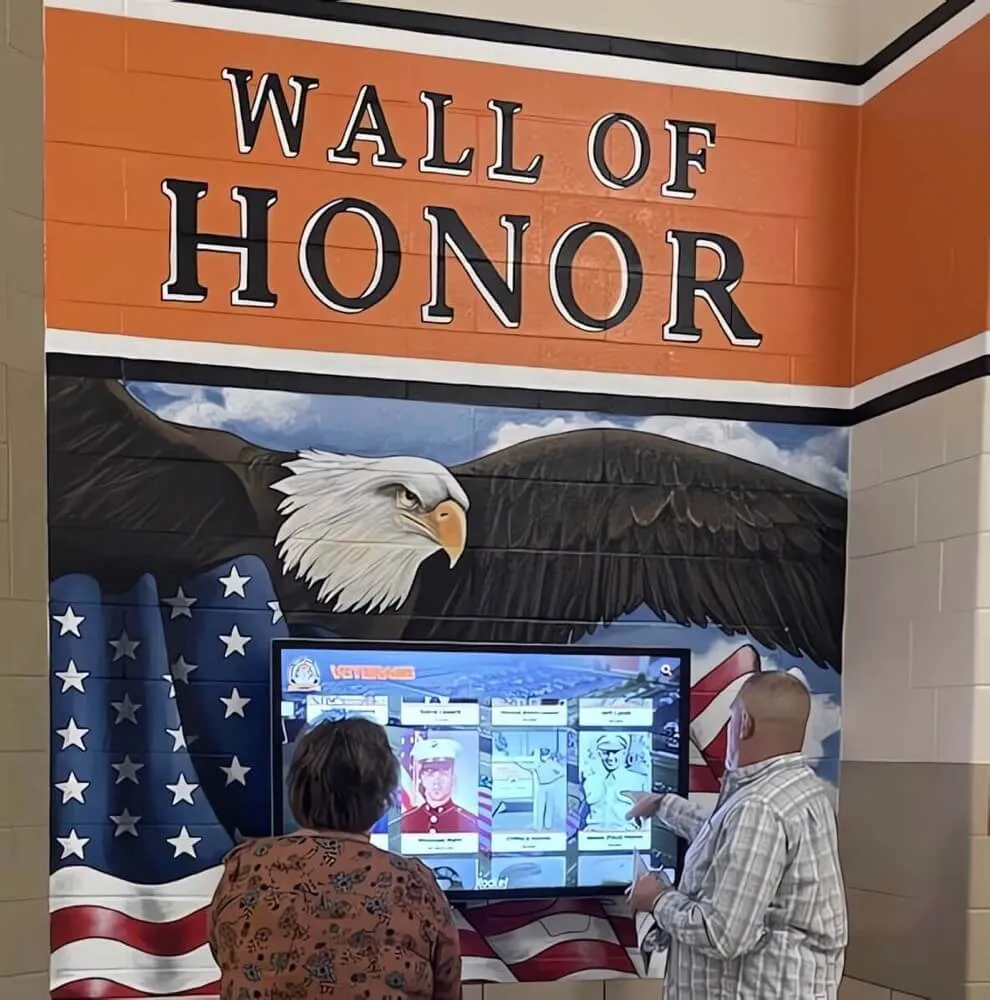
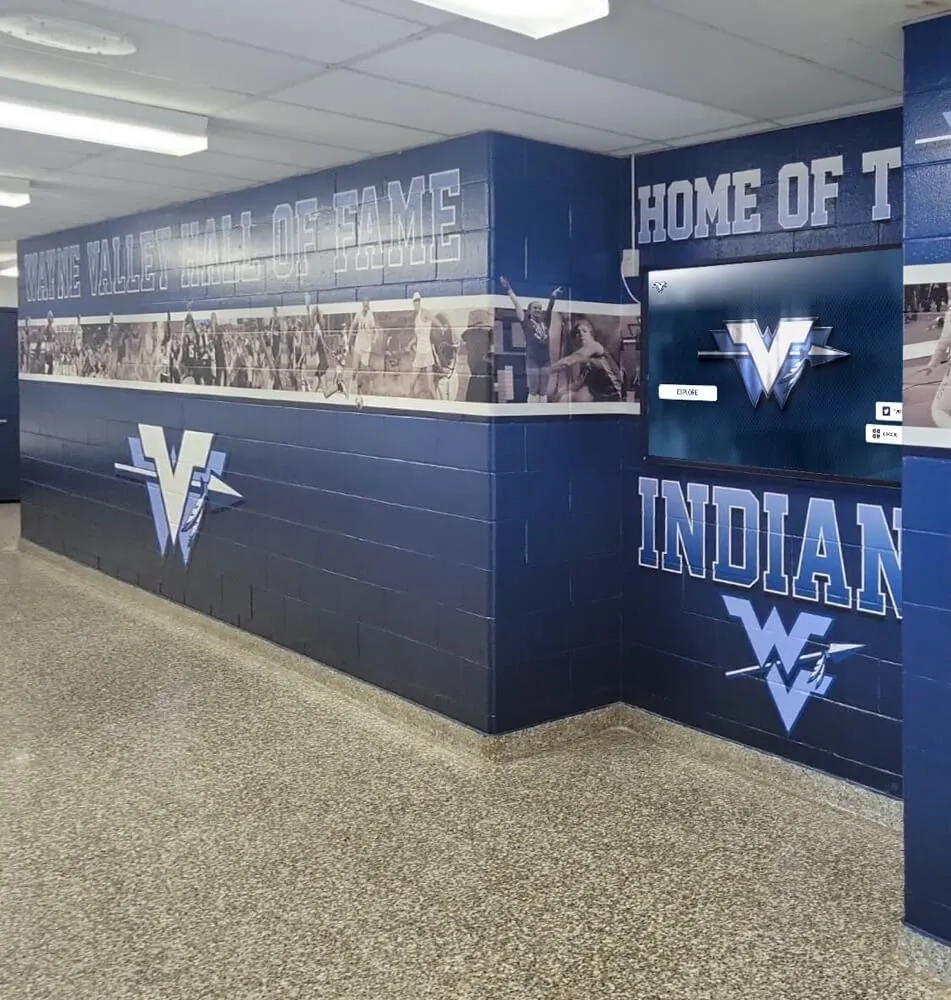
Modern recognition combines traditional shadow box displays with [digital systems](https://halloffame-online.com/blog/display-school-history-complete-guide/?utm_source=organic&utm_medium=seo-auto&utm_content=toucharchives&utm_campaign=how-to-make-a-shadow-box&utm_term=seo) creating comprehensive programs celebrating athletic achievements
Step-by-Step Shadow Box Construction Process
Follow this systematic approach to create professional-quality shadow boxes for school memorabilia.
Step 1: Planning Your Display
Thorough planning prevents common mistakes and ensures successful outcomes:
Inventory Your Memorabilia
Begin by gathering all items you plan to display:
- Photograph items from multiple angles
- Measure each item’s dimensions (length, width, thickness)
- Note any special mounting requirements
- Identify fragile areas requiring careful handling
- Consider which items are most important visually
This inventory helps determine necessary shadow box dimensions and depth requirements.
Determine Shadow Box Size and Depth
Calculate dimensions based on memorabilia:
Size Calculations
- Measure your largest item
- Add 3-4 inches minimum border on all sides
- Consider standard frame sizes (8x10, 11x14, 16x20, 18x24, 24x36 inches)
- Account for multiple items if creating grouped displays
- Allow extra space for text, labels, or photos
Depth Requirements
- 2-3 inches: Medals, pins, patches, folded small items
- 3-4 inches: Folded jerseys, multiple medals, small equipment
- 4-6 inches: Full jerseys, larger equipment combinations
- 6-8 inches: Jerseys with padding, helmets with other items
Choosing slightly deeper boxes than minimally necessary provides assembly flexibility and prevents overly cramped appearances.
Sketch Your Design Layout
Create multiple layout options before committing:
- Draw box outline to scale on paper
- Cut paper shapes representing each item
- Arrange shapes trying different configurations
- Photograph arrangements for comparison
- Consider visual balance, focal points, and flow
Common layout approaches include:
- Centered symmetrical: Main item centered with supporting elements symmetrically arranged
- Asymmetrical balance: Items offset but visually balanced through size and placement
- Grid arrangement: Multiple items in organized rows (effective for medal collections)
- Diagonal emphasis: Items arranged along diagonal lines creating dynamic energy
- Layered depth: Items at different depths creating dimensional interest
Taking time with layout planning prevents disappointing results after permanent mounting.
Select Background and Color Scheme
Background choices significantly impact appearance:
- School colors: Immediate recognition, shows team pride
- Neutral backgrounds: Focus attention on memorabilia itself
- Contrasting colors: Make items stand out boldly
- Coordinated schemes: Match existing facility decor
- Vintage treatments: Aged or distressed appearances for historical displays
Test fabric samples against memorabilia before purchasing full amounts, as colors appear different in various lighting conditions.
Step 2: Preparing Your Shadow Box Frame
Whether using pre-made or custom frames, proper preparation ensures success:
Disassemble Pre-Made Frames
If using purchased shadow boxes:
- Carefully remove all components
- Clean glass/acrylic thoroughly with appropriate cleaner
- Check for damage or defects
- Organize hardware for reassembly
- Note assembly method for later reconstruction
Build Custom Frames (If Applicable)
For DIY frame construction:
Frame Building Steps
- Cut frame molding to length with precise 45-degree miter cuts
- Test fit all corners before gluing
- Apply wood glue to mitered corners
- Clamp corners square while glue dries
- Reinforce with corner brackets or V-nails
- Sand joints smooth
- Paint or stain as desired
- Allow finish to dry completely
- Install glass retainer strips or rabbets
Frame construction requires precision—even small angle errors compound across four corners creating gaps or misalignment.
Prepare Backing Board
Create the foundation for memorabilia mounting:
- Cut backing board to fit frame interior precisely
- Sand edges smooth to prevent fabric snags
- Clean surface of dust and debris
- Cut fabric covering 3-4 inches oversized on all sides
- Apply spray adhesive to backing board surface
- Carefully position fabric avoiding wrinkles
- Smooth fabric from center outward eliminating bubbles
- Wrap edges to back, pulling fabric taut
- Secure wrapped edges with staples or glue
- Trim excess fabric cleanly
A smooth, wrinkle-free fabric surface provides professional appearance while proper tension prevents sagging over time.
Step 3: Mounting Your Memorabilia
Careful mounting preserves artifacts while creating secure displays:
Position Items Using Your Layout Plan
Transfer your planned arrangement to the actual backing:
- Place backing board flat on work surface
- Position all items without fastening
- Make minor adjustments for optimal appearance
- Mark positions lightly with pencil
- Photograph final arrangement for reference
- Remove items in reverse order of mounting
Mount Items Securely and Safely
Use appropriate techniques for different memorabilia types:
Mounting Jerseys
For folded jersey presentations:
- Fold jersey to show name and number prominently
- Press folds flat with low-heat iron if necessary
- Position on backing per layout plan
- Sew jersey to backing fabric using invisible stitches at multiple points
- Alternative: Use hook-and-loop fasteners sewn to jersey back and attached to backing
- Ensure jersey lies flat without bunching
For stretched jersey displays:
- Consider using jersey mounting board insert maintaining shape
- Stretch jersey over mounting board
- Secure edges to board back with staples or pins
- Mount entire assembly to shadow box backing
- Ensure number and lettering display without distortion
Mounting Medals and Awards
For medals with ribbons:
- Determine if ribbons hang or attach flat
- For hanging display: Install small hooks or pins at appropriate height
- For flat display: Pin or stitch ribbons to backing
- Arrange multiple medals evenly spaced or in meaningful patterns
- Ensure medals don’t overlap awkwardly
For plaques and flat awards:
- Apply museum putty to back corners
- Press firmly to backing in marked position
- Check adhesion strength by testing gently
- Alternative: Install small screws through backing into award mounting holes
Mounting Equipment and Three-Dimensional Items
For balls, pucks, and rounded items:
- Consider displaying on small stands or mounts
- Secure stand to backing with strong adhesive
- Place item in stand ensuring stability
- Alternative: Create custom holder from rigid wire
- Position to show signatures or relevant details
For irregularly shaped items:
- Use museum putty for secure adhesion
- Install small shelves or platforms if items are heavy
- Consider fishing line supports from top of box
- Test stability before final assembly
- Ensure items won’t shift during handling or installation
Adding Photos and Printed Materials
Incorporate supporting visual elements:
- Print photos in appropriate sizes
- Mat photos with acid-free matting if displaying valuable originals
- Mount photos with photo corners, mounting squares, or adhesive
- Position to complement rather than compete with primary memorabilia
- Ensure photos don’t obscure important elements
Include Descriptive Labels and Text
Add context through text elements:
- Printed labels: Use acid-free cardstock for archival quality
- Engraved plates: Professional appearance for permanent displays
- Vinyl lettering: Direct application to glass or backing
- Key information: Names, dates, achievements, scores, significance
- Placement: Position labels where they’re readable without dominating display
Labels transform shadow boxes from simple displays into educational presentations that tell complete stories, similar to how schools use digital recognition systems to provide context and narrative for athletic achievements.
Step 4: Final Assembly
Complete shadow box construction with careful attention to details:
Install Spacers or Depth Components
Create necessary depth between backing and glass:
- Use wooden strips, purchased spacers, or mat board stacks
- Attach spacers to frame interior edges
- Ensure spacers are invisible from front view
- Verify depth accommodates all memorabilia without touching glass
- Test with deepest items before final assembly
Glass touching memorabilia can cause condensation damage or compress items over time.
Clean All Surfaces Thoroughly
Final cleaning before sealing:
- Clean glass/acrylic both sides with appropriate cleaner
- Remove all fingerprints, dust, and debris
- Use compressed air to blow dust from memorabilia
- Wipe frame exterior clean
- Check for any lint or particles that would be visible
Particles sealed inside shadow boxes remain visible indefinitely—thorough cleaning prevents permanent appearance flaws.
Secure Glass or Acrylic Front
Install front panel properly:
- Place glass/acrylic in frame from front
- Insert glazier points or install retainer strips
- Space fasteners every 4-6 inches around perimeter
- Don’t overtighten risking glass breakage
- Ensure panel is secure but removable if needed for future access
Some frames use backing plates that slide into channels, others employ point fasteners—follow method appropriate to your frame construction.
Seal Shadow Box Completely
Protect contents from environmental factors:
- Apply framers tape along all joints between backing and frame
- Cover any small gaps where dust could enter
- Don’t seal so completely that no air exchange occurs (can trap moisture)
- Consider leaving small ventilation if humidity is concern
- Ensure sealing doesn’t prevent future access if memorabilia needs servicing
Install Hanging Hardware
Prepare for secure wall mounting:
- Use D-rings or sawtooth hangers rated for shadow box weight
- Install hardware at appropriate height (typically one-third down from top)
- Use two hanging points for wider boxes preventing tilting
- Ensure hardware is very secure—shadow boxes are substantially heavier than pictures
- Consider professional installation for particularly heavy or valuable displays
Shadow boxes typically weigh 10-25 pounds depending on size, depth, and memorabilia—proper wall anchoring is essential.

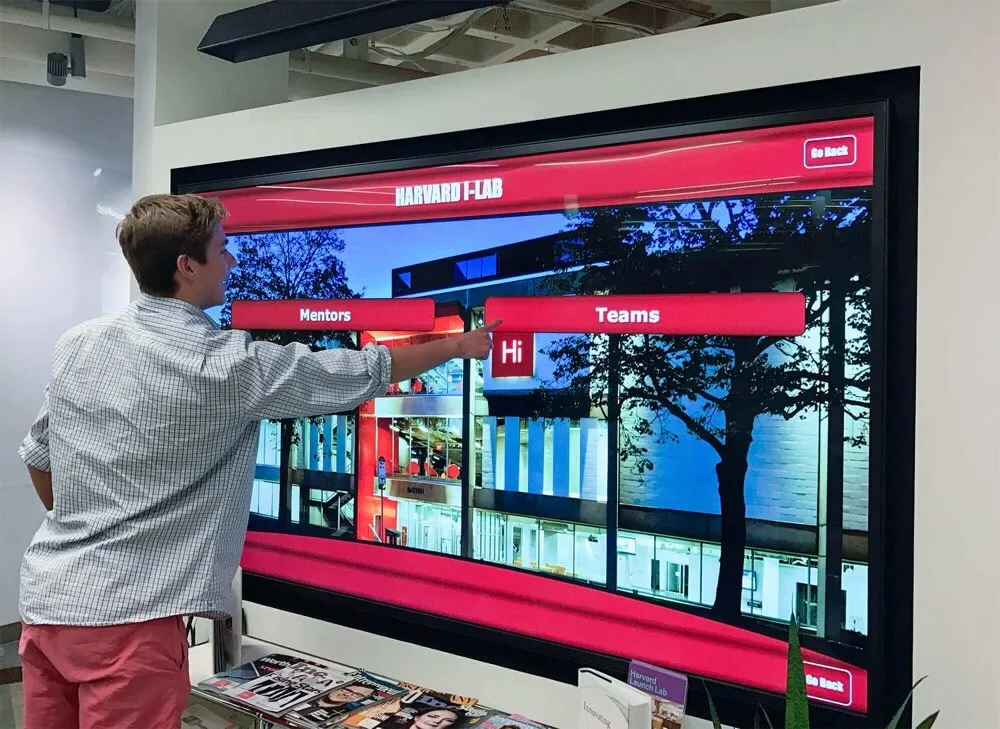
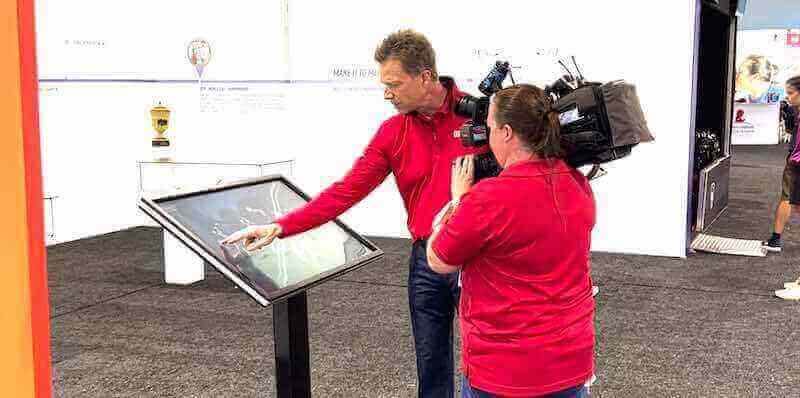
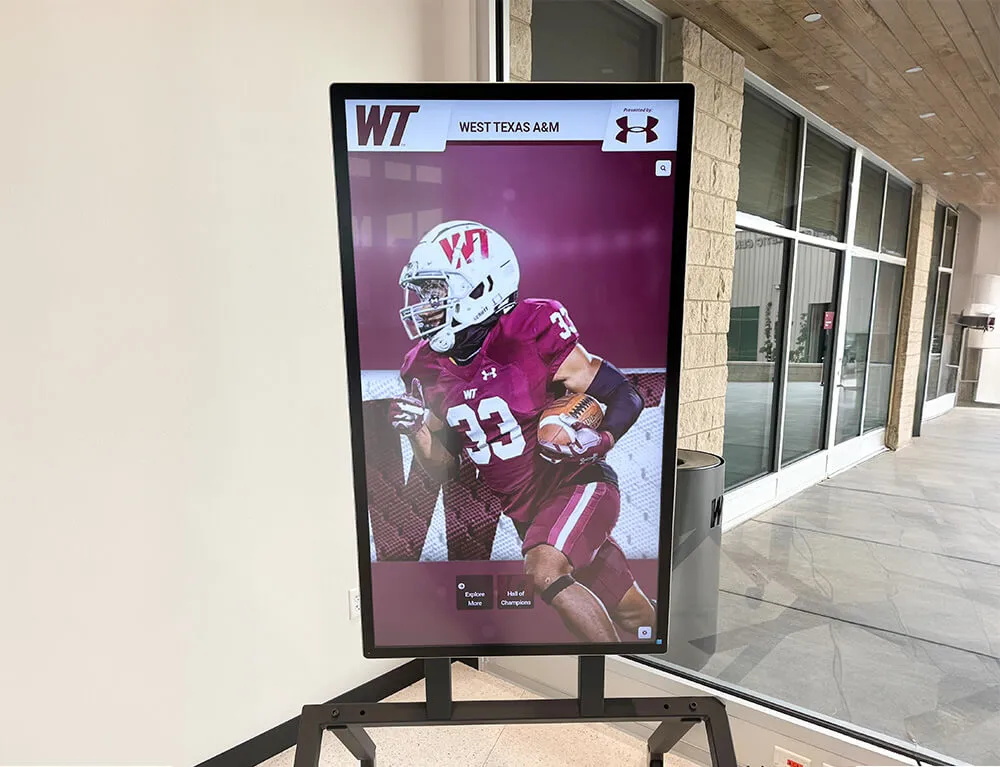
Schools increasingly combine shadow box displays with [interactive digital systems](https://touchhalloffame.us/blog/design-engaging-touchscreen-experience/?utm_source=organic&utm_medium=seo-auto&utm_content=toucharchives&utm_campaign=how-to-make-a-shadow-box&utm_term=seo) providing deeper athlete stories and program history
Design Tips for Professional-Looking Shadow Boxes
Applying design principles elevates amateur projects to professional quality:
Creating Visual Balance and Focal Points
Intentional design prevents random, cluttered appearances:
Establish a Clear Focal Point
Every shadow box needs a primary element drawing immediate attention:
- Position most important item (jersey, championship medal, main photo) prominently
- Use size, position, or color contrast to emphasize focal item
- Arrange supporting elements to guide eye toward focal point
- Avoid competing focal points dividing attention
- Use one-third rule positioning focal items slightly off-center
Viewers should immediately see what’s most important without confusing visual competition.
Balance Visual Weight
Create stability through balanced arrangement:
- Symmetrical balance: Mirror elements on left and right (formal, traditional feel)
- Asymmetrical balance: Offset large items with multiple smaller items opposite side
- Radial balance: Arrange elements around central focal point
- Visual weight factors: Size, color, texture, position all affect perceived weight
Heavy visual concentration in one area makes displays feel unbalanced and uncomfortable to view.
Use Odd Numbers
Groupings of odd numbers (3, 5, 7) create more interesting, dynamic compositions:
- Display three medals rather than two or four
- Arrange five photos rather than four or six
- Use odd numbers within reason—eleven photos becomes cluttered
This principle from visual design applies across many display types including trophy arrangements and recognition layouts.
Color and Contrast Considerations
Strategic color use dramatically impacts display effectiveness:
Maximize Color Contrast
Items must stand out clearly against backgrounds:
- Light memorabilia displays best on dark backgrounds
- Dark items (navy jerseys, black equipment) need lighter backgrounds
- Test contrast by photographing arrangements in black and white
- Consider how lighting affects contrast
- Avoid low-contrast combinations causing items to disappear visually
School colors work beautifully when they provide adequate contrast with memorabilia being displayed.
Coordinate Without Overwhelming
Balance color impact:
- Use school colors strategically without overwhelming display
- Consider two-tone backgrounds (matting in complementary colors)
- Let memorabilia provide primary color rather than competing with busy backgrounds
- Neutral backgrounds often highlight memorabilia more effectively than bold colors
- Test how colors interact with glass/acrylic—reflections can alter appearance
Consider Long-Term Color Stability
Choose materials that won’t fade:
- Use UV-resistant fabrics for backing
- Install UV-protective glass or acrylic
- Avoid direct sunlight even with UV protection
- Test fabric samples for colorfastness
- Choose quality materials designed for archival use
Displays losing color vibrancy over 5-10 years diminish recognition value and require eventual replacement.
Typography and Label Design
Text elements communicate essential information:
Choose Readable Fonts and Sizes
Labels must be legible from viewing distance:
- Minimum text size: 18-24 point for labels readable from 4-5 feet
- Use clean, simple fonts avoiding decorative styles
- Ensure adequate contrast between text and background
- Test readability at actual viewing distance before finalizing
- Consider larger text for high-mounted displays viewed from distance
Format Information Consistently
Establish clear information hierarchy:
- Primary information: Athlete name, championship title (largest, boldest text)
- Secondary information: Date, achievement details, scores
- Supporting information: Additional context, statistics
- Use consistent formatting across multiple shadow boxes for unified appearance
- Align text elements deliberately (left, right, center) rather than randomly
Limit Text Amount
Avoid text-heavy displays:
- Include only essential information
- Use bullet points for multiple details
- Let memorabilia tell story visually
- Save extended narratives for accompanying plaques or digital displays providing unlimited space
- Remember viewers won’t read lengthy text blocks
Shadow boxes excel at visual storytelling—excessive text defeats their purpose.
Creating Series and Collections
Multiple shadow boxes benefit from coordinated design:
Maintain Consistent Specifications
Unified collections require standardization:
- Use identical frame style, size, and finish across all boxes
- Apply same background color/fabric throughout series
- Employ consistent layout principles
- Use matching typography and label formats
- Create templates ensuring each box follows same structure
Athletic programs honoring multiple championships or retired numbers create most impactful displays when all shadow boxes clearly belong to cohesive collection.
Vary Content While Maintaining Format
Balance consistency with necessary differences:
- Different memorabilia naturally creates variation
- Maintain same focal point position across all boxes
- Use same mounting techniques throughout
- Keep label positions consistent
- Allow content differences while preserving format unity
Plan Wall Arrangement
Consider how multiple boxes display together:
- Grid arrangements work for uniform-sized boxes
- Gallery walls accommodate varying sizes with careful planning
- Chronological arrangements tell program history
- Grouping by sport or achievement type provides organization
- Leave appropriate spacing between boxes (3-6 inches typically)
Planning complete wall arrangements before construction ensures individual boxes work both independently and as part of larger presentation.

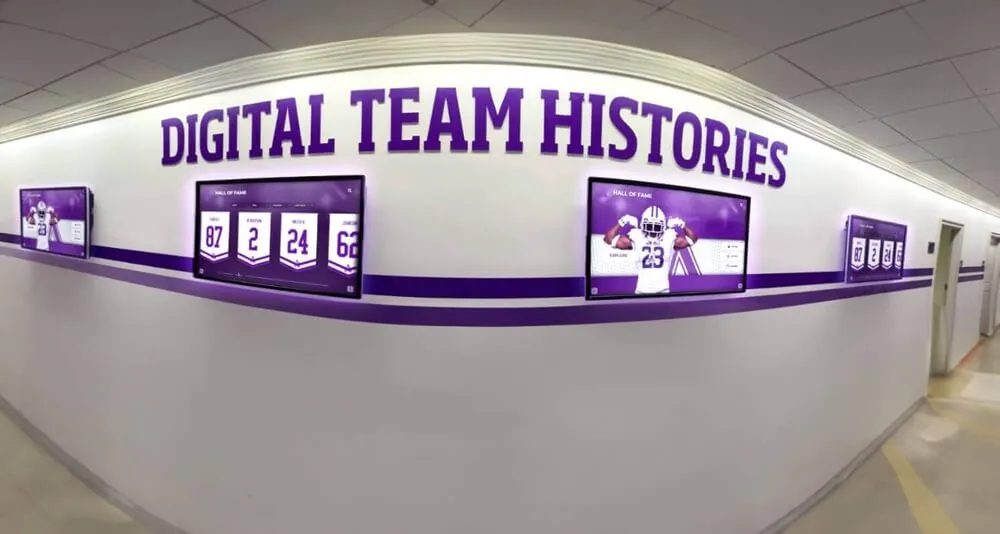
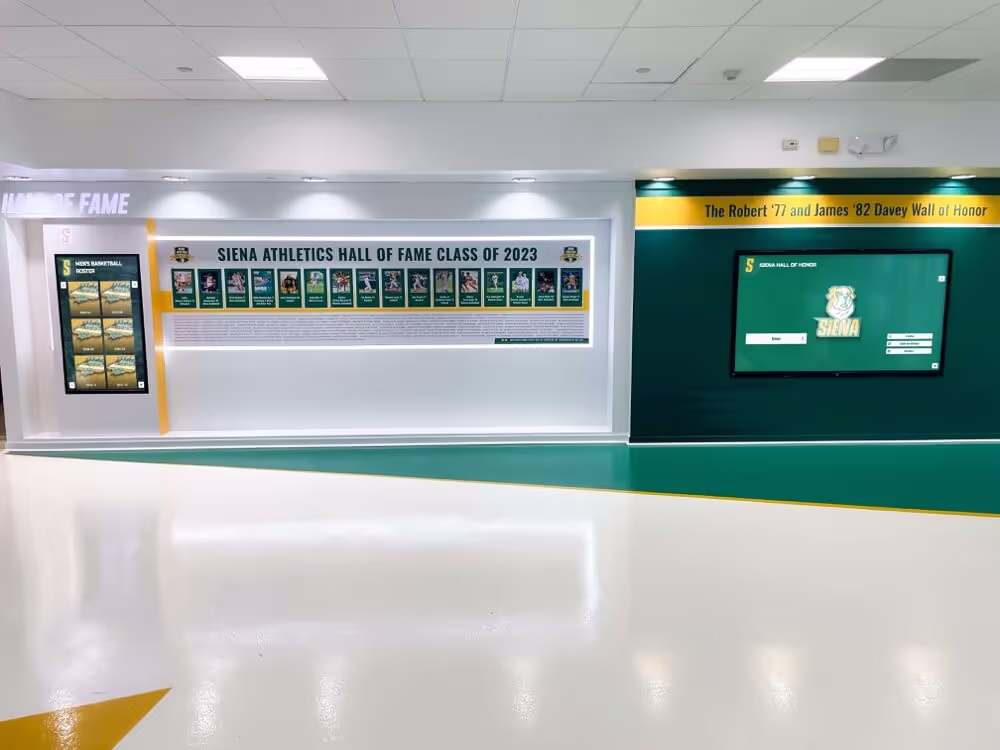
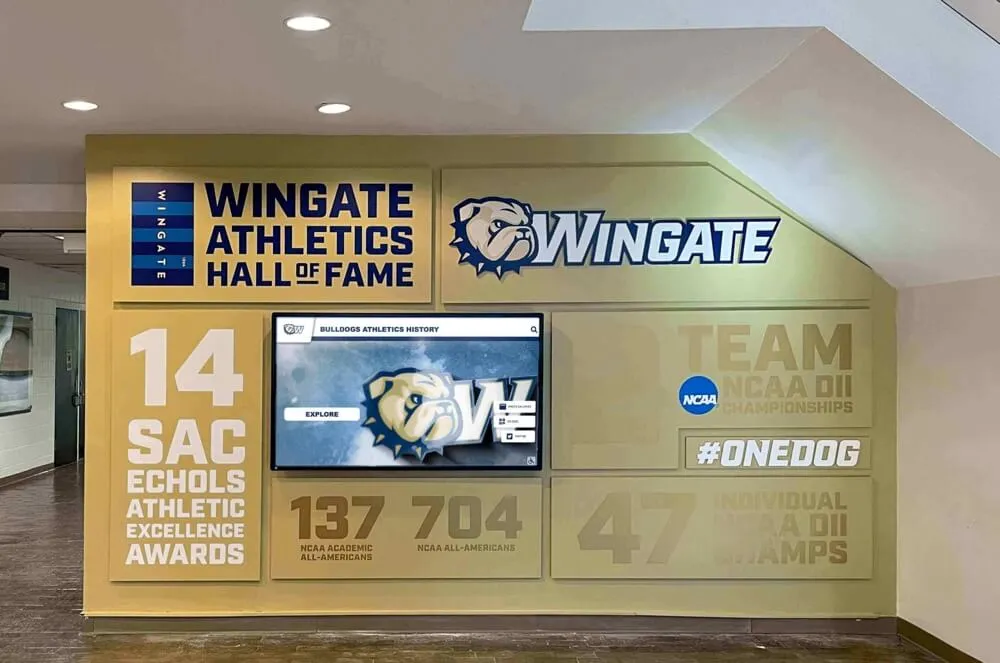
Comprehensive recognition programs integrate shadow boxes, traditional displays, and [digital touchscreen systems](https://digitalrecordboard.com/blog/basketball-hall-of-fames/?utm_source=organic&utm_medium=seo-auto&utm_content=toucharchives&utm_campaign=how-to-make-a-shadow-box&utm_term=seo) celebrating athletic achievements
Preservation Best Practices for Long-Term Display
Proper techniques ensure shadow boxes protect memorabilia for decades:
Archival-Quality Materials
Using appropriate materials prevents deterioration:
Acid-Free Requirements
Acidic materials damage artifacts over time:
- Use acid-free mat board for backing and mounting
- Select acid-free adhesives when permanent mounting is necessary
- Choose archival-quality fabric or paper for backgrounds
- Avoid direct contact between memorabilia and acidic materials
- Test materials with acid-free testing pen if uncertain
Acid damage often takes years to become visible, but prevention costs little compared to restoration or replacement.
UV Protection Implementation
Ultraviolet light causes irreversible fading:
- Invest in UV-protective glass or acrylic for all permanent displays
- Position shadow boxes away from direct sunlight
- Consider window films or blinds for naturally-lit hallways
- Replace standard lighting with LED options producing less UV
- Monitor memorabilia for early signs of fading
Even indoor lighting without sun exposure causes gradual fading over years—UV protection is essential for color preservation.
Climate Control Considerations
Environmental stability prevents deterioration:
- Maintain consistent temperature (65-72°F ideal)
- Control humidity levels (40-50% relative humidity)
- Avoid locations near heating/cooling vents
- Don’t install above radiators or in direct heat
- Consider silica gel packets inside boxes in humid climates
Extreme temperature and humidity fluctuations cause expansion/contraction cycles damaging fabrics and accelerating deterioration.
Reversible Mounting Techniques
Preserving the ability to remove items protects future options:
Why Reversibility Matters
Permanent mounting limits future possibilities:
- Memorabilia might eventually need professional conservation
- Items may transition to museum-quality displays
- Athletic programs might relocate or renovate facilities
- Families might wish to reclaim personal items eventually
- Mounting damage decreases memorabilia value
Championship artifacts especially warrant reversible mounting preserving maximum flexibility.
Reversible Mounting Methods
Several techniques allow item removal:
- Sewing with removable stitches: Traditional for textiles, completely reversible
- Museum-quality putty: Holds firmly but peels away cleanly
- Hook-and-loop fasteners: Industrial-strength velcro sewn to fabric items
- Fishing line suspension: Nearly invisible, easily removable
- Mechanical fasteners: Small clips or brackets holding items in place
Reversible mounting typically requires more time and thought than simply gluing items down, but preserves artifact integrity.
Maintenance and Periodic Inspection
Regular attention prevents problems:
Establish Maintenance Schedule
Systematic care extends shadow box lifespan:
Annual Inspection Tasks
- Check seals for deterioration or gaps allowing dust entry
- Inspect memorabilia for any signs of fading, deterioration, or damage
- Clean glass/acrylic exterior with appropriate cleaner
- Verify mounting security—ensure items haven’t loosened
- Test hanging hardware for continued security
- Photograph displays documenting current condition
As-Needed Maintenance
- Replace damaged glass or acrylic promptly
- Re-secure loosened mountings immediately
- Address moisture or condensation issues quickly
- Refresh background fabric showing wear or fading
- Update labels with corrected or additional information
Document Display Specifications
Record construction details for future reference:
- Photograph all displays from multiple angles
- Document materials used (specific fabrics, adhesives, frame sources)
- Note mounting techniques employed
- Record installation locations and dates
- Keep copies of design layouts and measurements
- Store information where successors can access it
Athletic directors and facilities managers change over time—documentation ensures continuity in maintaining displays properly.
Handling Delicate or Valuable Items
Special memorabilia requires extra care:
Professional Assessment for High-Value Items
Certain artifacts warrant expert consultation:
- Historic items over 50 years old
- Extremely valuable signed memorabilia
- Fragile textiles showing deterioration
- Items with significant monetary or sentimental value
- Artifacts that can’t be replaced if damaged
Professional conservators assess condition, recommend handling, and suggest appropriate display methods protecting irreplaceable items.
Insurance Considerations
Valuable displays may require documentation:
- Photograph all items individually before mounting
- Document provenance and authenticity
- Obtain appraisals for particularly valuable items
- Notify school insurance carrier about high-value displays
- Consider additional coverage for irreplaceable memorabilia
Schools occasionally lose memorabilia to theft, fire, or other disasters—proper documentation and insurance ensure appropriate protection.
Budget-Friendly Approaches and Cost-Saving Strategies
Creating quality shadow boxes doesn’t require unlimited budgets:
Economical Material Sources
Strategic shopping reduces costs significantly:
Discount Retailers and Sales
Major craft stores regularly offer coupons and sales:
- Sign up for email lists receiving 40-50% off coupons
- Shop major sales (Memorial Day, Black Friday, post-Christmas)
- Join loyalty programs earning points toward future purchases
- Buy frame molding in bulk when available
- Purchase backing materials in large sheets cutting to size
Patience and planning can reduce material costs by half compared to paying full retail prices.
Online Marketplace Options
Internet shopping provides additional savings:
- Compare prices across multiple online retailers
- Consider Amazon, Walmart, and specialty frame suppliers
- Purchase in quantity for multi-box projects capturing volume discounts
- Watch for free shipping thresholds
- Read reviews ensuring quality before purchasing
Community Resources and Donations
Leverage local connections:
- Ask local frame shops for discarded mat board scraps (often given free)
- Request fabric donations from boosters in school colors
- Seek volunteer labor from parents with woodworking skills
- Solicit material donations from local businesses
- Partner with art departments sharing supplies and tools
Community involvement often reduces costs while building engagement and ownership.
DIY vs. Professional Services
Balancing budget with capability:
When DIY Makes Sense
Build shadow boxes yourself when:
- You have basic crafting skills and appropriate tools
- Budget constraints are significant
- Timeline is flexible allowing for learning curve
- You’re creating multiple boxes justifying skill development
- Memorabilia isn’t extremely valuable or irreplaceable
- You enjoy hands-on projects and creative work
DIY approaches typically cost 30-50% less than professional framing while providing satisfaction and customization.
When to Hire Professionals
Engage frame shops or conservators when:
- Memorabilia is extremely valuable or irreplaceable
- You lack necessary skills, tools, or time
- Display requires specialized techniques beyond your ability
- Professional appearance is critical for high-visibility location
- Archival conservation standards are essential
- Complex custom sizing makes DIY impractical
Professional services typically cost $150-500+ per shadow box depending on size and complexity—significant but worthwhile for appropriate applications.
Phased Implementation for Large Projects
Spread costs over time:
Priority-Based Phases
Athletic programs with limited budgets can implement displays incrementally:
Phase 1 Priorities (Year 1)
- Most recent championship memorabilia
- Hall of fame inductees currently active as alumni
- Retired numbers and major milestones
- High-visibility entry and lobby displays
Phase 2 Additions (Year 2)
- Historic championship memorabilia
- Coach milestone recognition
- Sport-specific achievement displays
- Secondary hallway locations
Phase 3 Completion (Year 3+)
- Comprehensive team history displays
- Individual achievement recognition
- Special collections and themes
- Rotation displays allowing periodic changes
Phased approaches allow budgets to spread costs across multiple fiscal years while maintaining project momentum and visibility.
Volunteer and Booster Club Involvement
Engage community supporters:
Organized Work Sessions
Coordinate group construction efforts:
- Schedule shadow box building workshops with booster club volunteers
- Provide materials and templates for consistent results
- Assign specific boxes to different volunteers
- Designate experienced person supervising quality control
- Create social atmosphere making work enjoyable
- Recognize volunteers’ contributions publicly
Group projects often work more efficiently than individual efforts while building community connections.
Fundraising for Materials
Generate specific funding:
- Launch targeted campaigns for recognition displays
- Offer sponsorships where businesses fund specific shadow boxes
- Host craft sales or fundraising events supporting project
- Apply for grants from alumni associations or foundations
- Solicit major donors interested in legacy preservation
Donors often respond enthusiastically to tangible projects with visible, permanent results like shadow box displays.
![]()
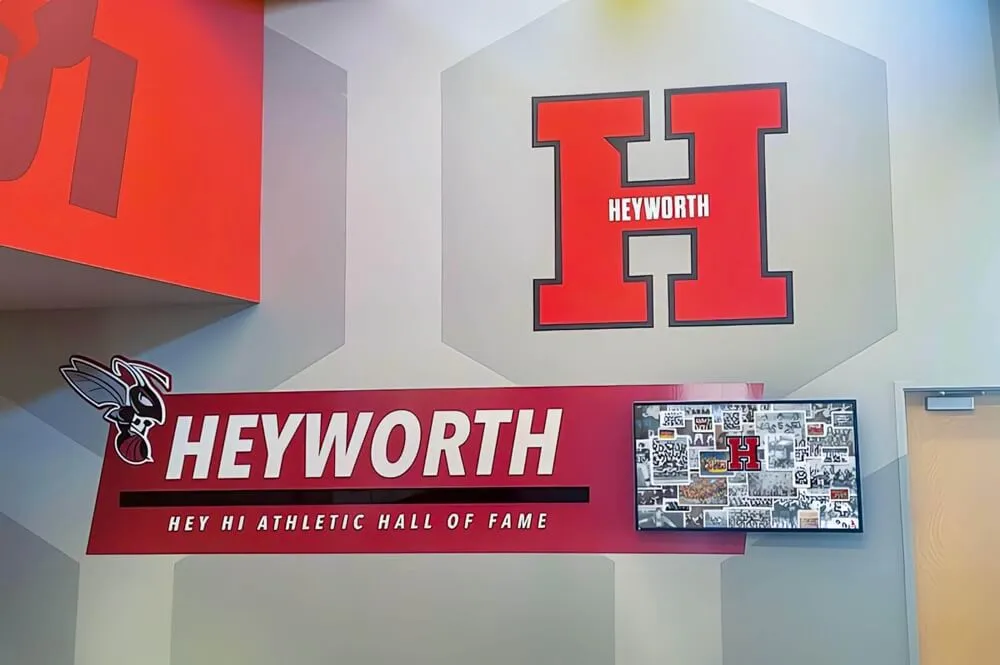
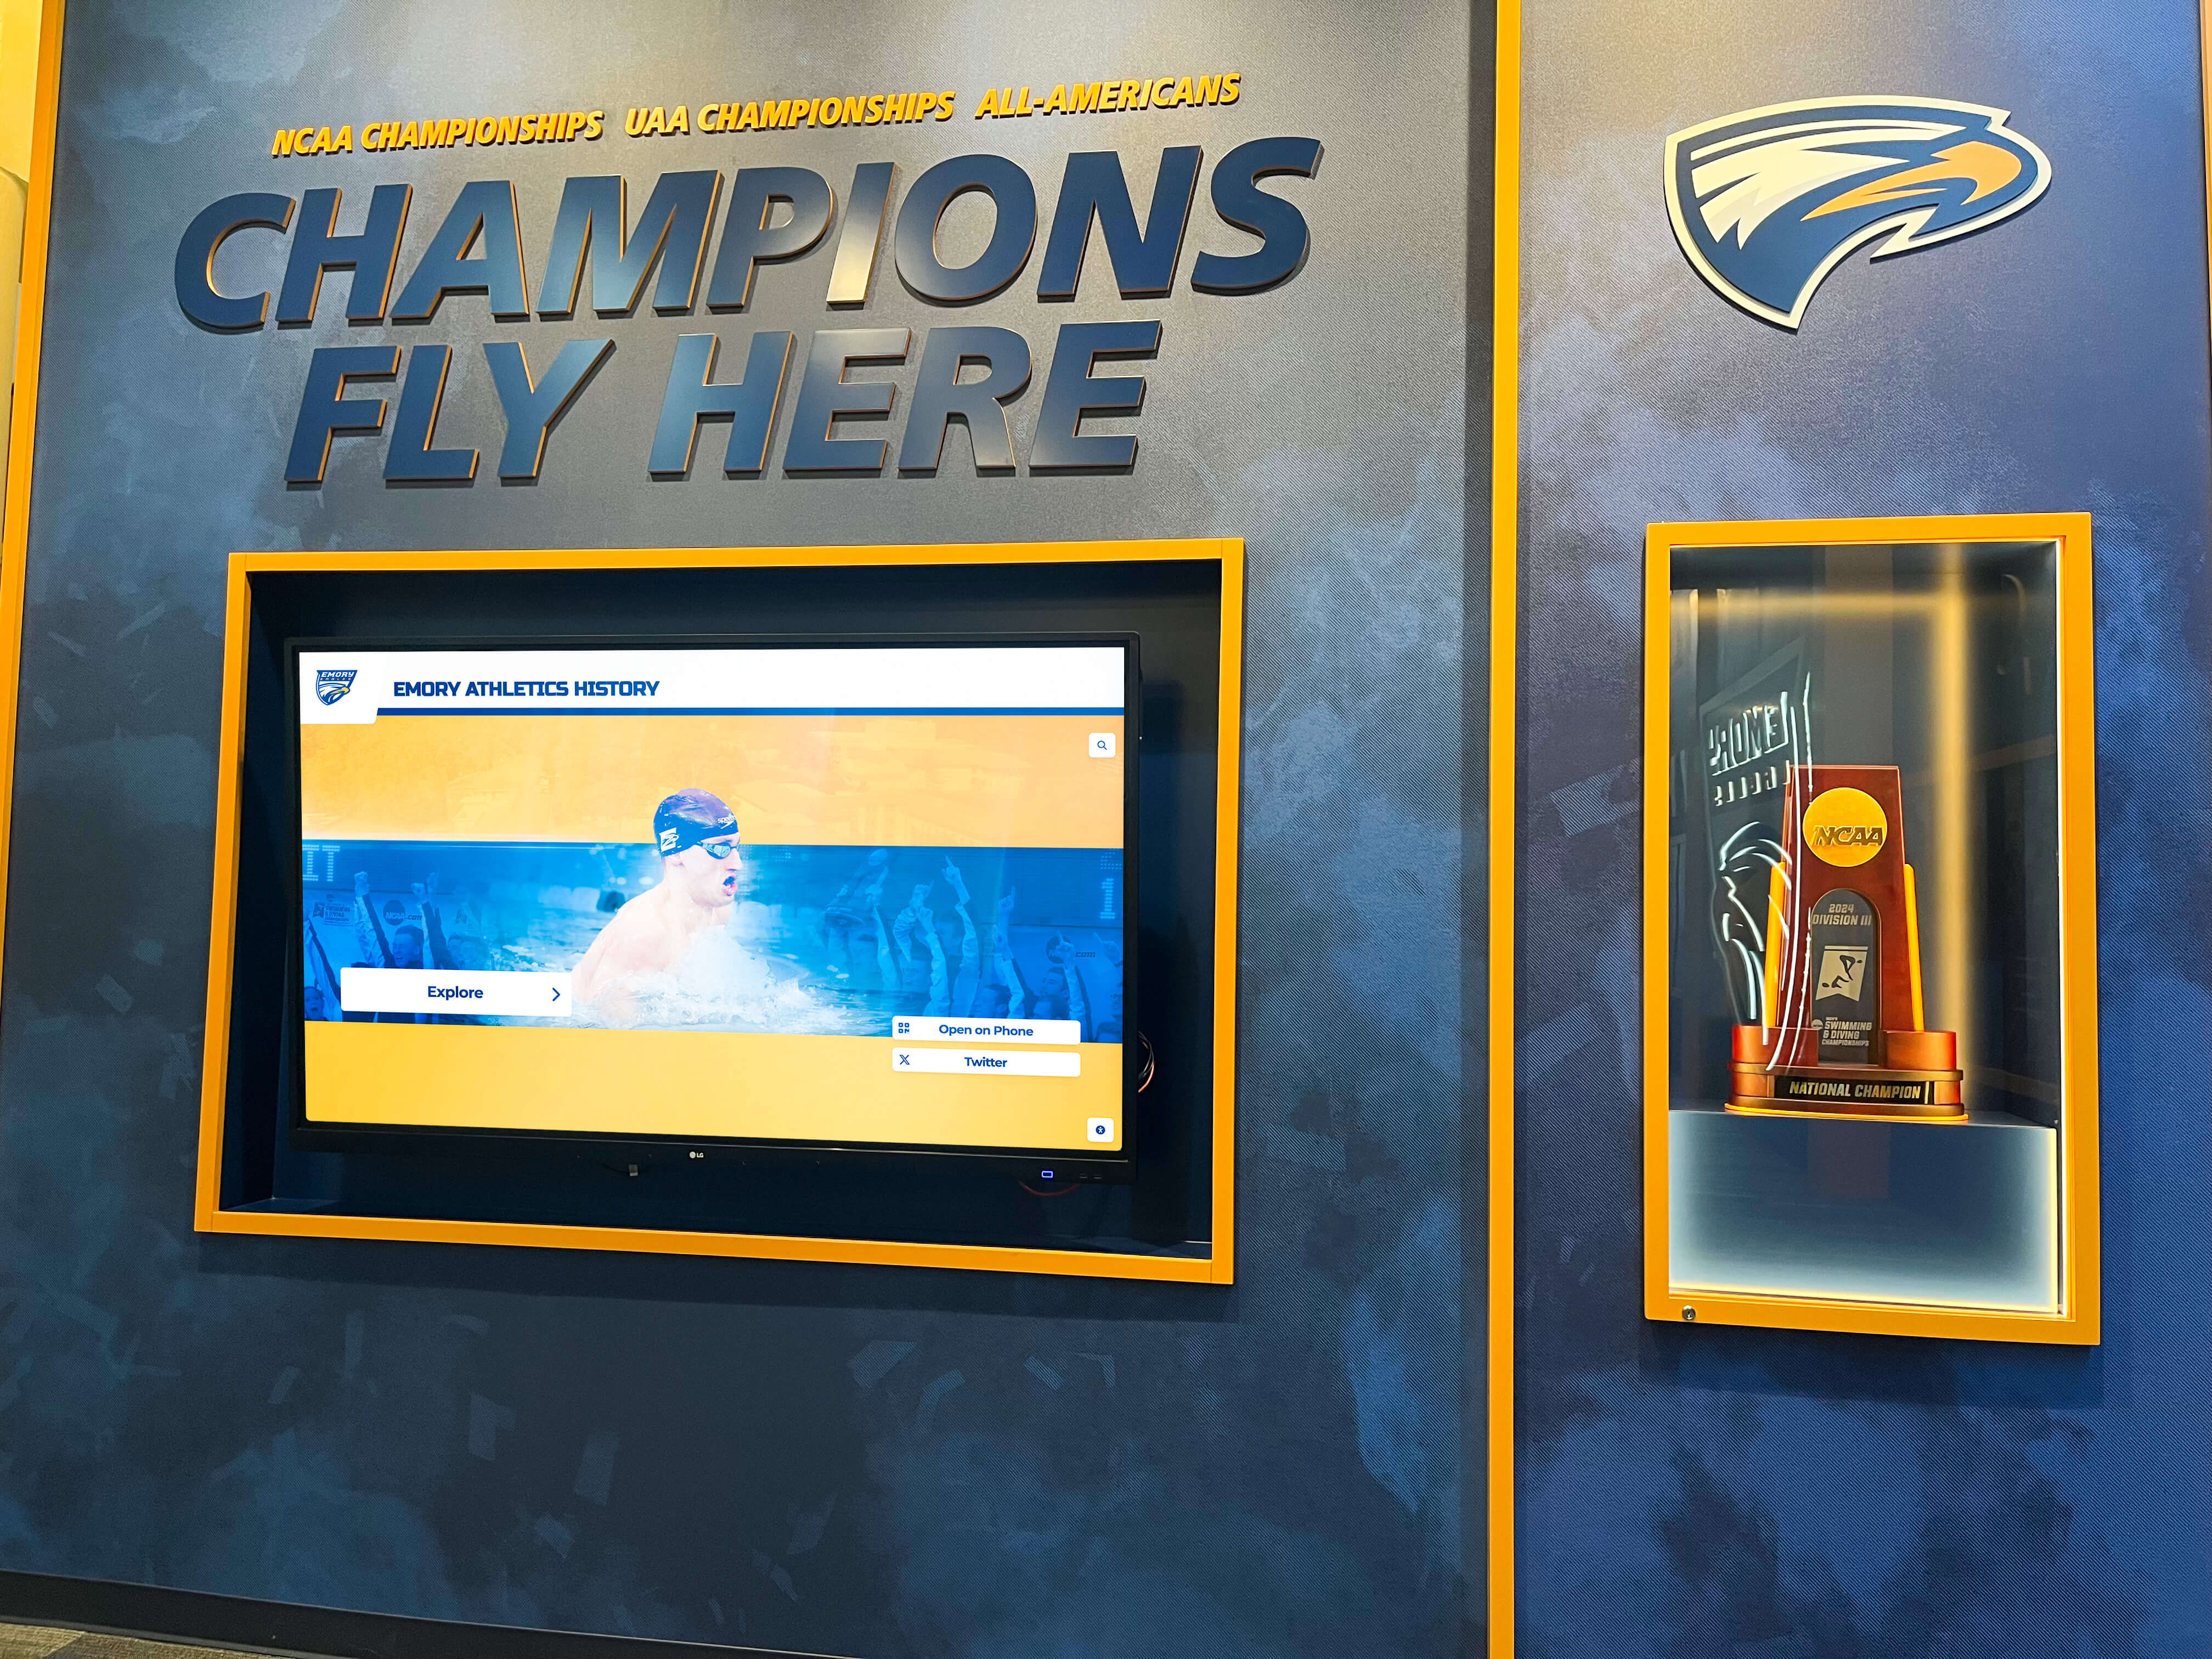
Modern programs blend traditional shadow boxes with [digital touchscreen displays](https://touchhalloffame.us/blog/football-high-school-hall-of-fame-complete-guide/?utm_source=organic&utm_medium=seo-auto&utm_content=toucharchives&utm_campaign=how-to-make-a-shadow-box&utm_term=seo) creating comprehensive recognition celebrating all achievements
Installation and Display Strategies
Proper installation ensures shadow boxes remain secure while creating maximum impact:
Selecting Optimal Locations
Placement significantly affects visibility and engagement:
High-Traffic Areas
Position shadow boxes where they’ll be seen:
- Main entrances and lobbies where visitors naturally pause
- Hallways connecting athletic facilities to main buildings
- Cafeteria and common areas with extended dwell time
- Gymnasium and arena entrances where athletes and spectators gather
- Stairwell landings where traffic slows naturally
Research shows displays in high-traffic areas receive 3-5 times more viewing attention than identical displays in side hallways or corners.
Appropriate Viewing Heights
Install at eye level for target audience:
- Standard adult eye level: 57-65 inches to center
- Student populations: Consider slightly lower (52-60 inches)
- Multiple boxes: Align centers consistently regardless of individual sizes
- Very large boxes: Position slightly lower preventing neck strain
- Consider accessibility guidelines ensuring wheelchair users can view comfortably
Lighting Considerations
Illumination dramatically affects appearance:
- Install track lighting or picture lights for featured displays
- Position to eliminate glare on glass surfaces
- Use LED lighting avoiding heat and UV output
- Ensure even illumination without hot spots or shadows
- Test lighting at different times checking consistent appearance
- Consider motion-activated lighting for energy efficiency
Well-lit shadow boxes appear dramatically more impressive than identically-constructed displays in poor lighting.
Secure Wall Mounting
Shadow boxes require proper anchoring:
Wall Type Considerations
Different walls require specific approaches:
Drywall Installation
- Always anchor into wall studs when possible
- Use heavy-duty picture hangers rated for weight if studs aren’t positioned properly
- Install drywall anchors rated for 2x shadow box weight
- Consider toggle bolts or molly bolts for maximum security
- Never rely on simple nails in drywall alone
Concrete or Brick Walls
- Use masonry anchors and appropriate drill bits
- Consider professional installation for permanence
- Plan carefully as mounting holes are permanent
- Use wall plates distributing weight if necessary
Creating Gallery Walls
Multiple shadow boxes require careful planning:
- Create full-size paper templates of all boxes
- Arrange templates on wall with painter’s tape testing layouts
- Mark hanging points while templates remain in place
- Install all hanging hardware before mounting boxes
- Use level ensuring consistent alignment
- Consider professional installation for large collections
Athletic programs creating comprehensive recognition displays often benefit from professional installation ensuring proper alignment and security.
Signage and Context
Help viewers understand display significance:
Complementary Wall Text
Shadow boxes become more meaningful with context:
- Install descriptive plaques explaining achievement significance
- Create timeline graphics showing program history
- Add introductory text for gallery collections
- Include QR codes linking to digital content with extended stories
- Position explanatory text near but not competing with displays
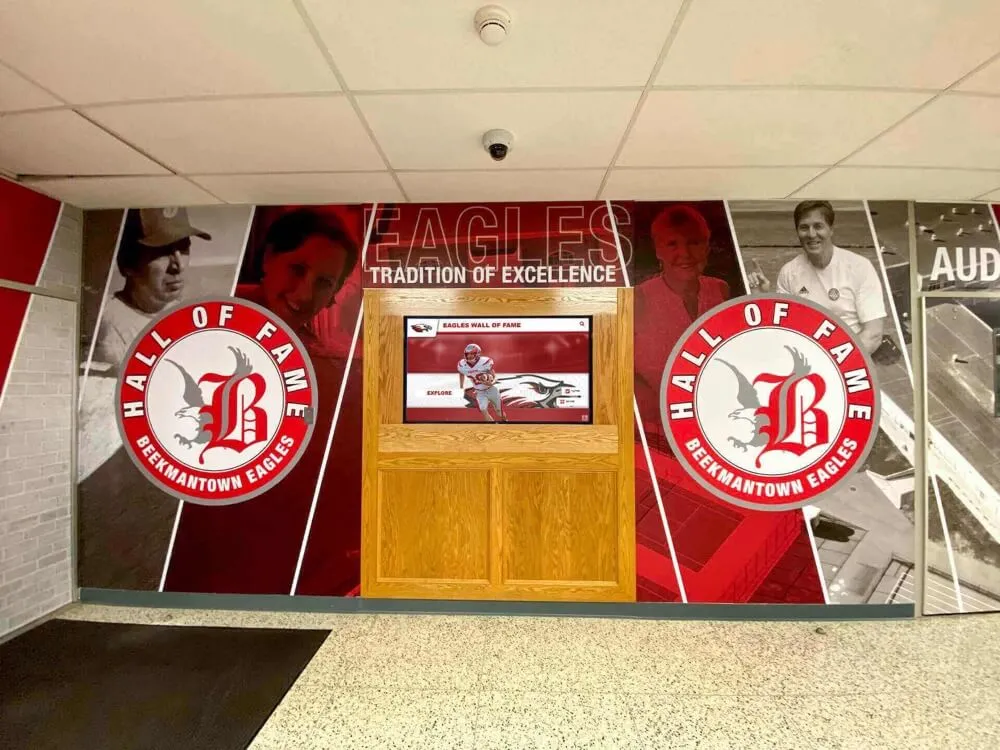
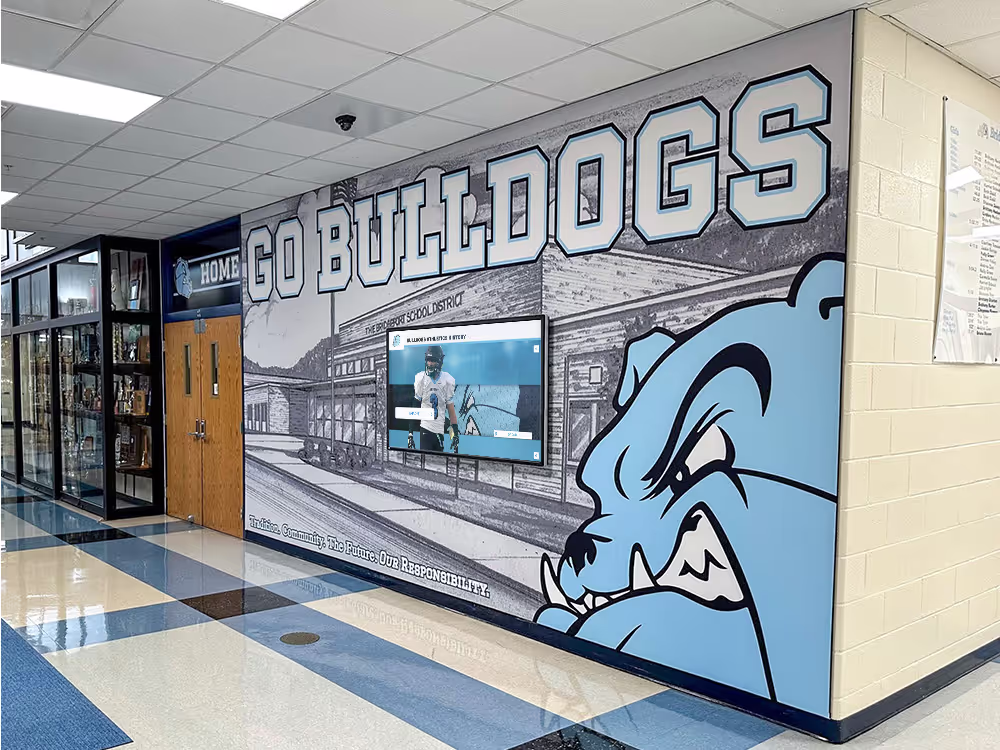
Integration with Broader Recognition
Shadow boxes work best within comprehensive programs:
- Coordinate with existing trophy cases and awards displays
- Create consistent visual language across all recognition
- Consider how shadow boxes relate to digital display systems
- Plan recognition areas holistically rather than piecemeal
- Develop long-term vision guiding incremental additions
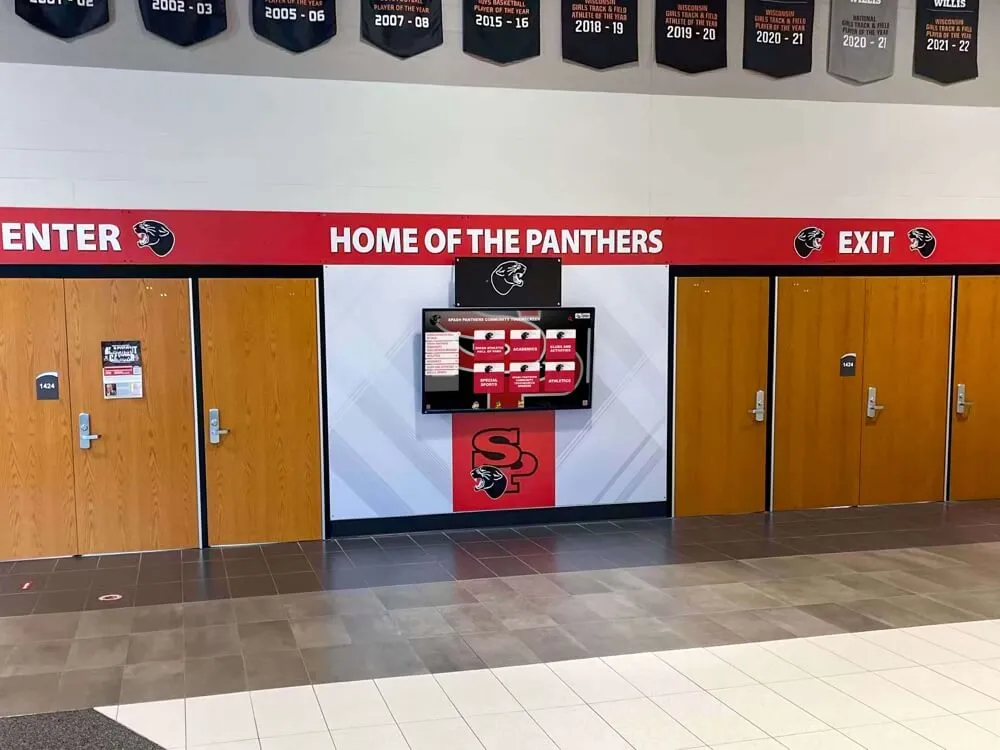
The most effective athletic recognition combines multiple approaches—shadow boxes for specific artifacts, traditional trophy cases for awards, and digital systems for comprehensive program history.
Addressing Common Shadow Box Challenges
Understanding frequent problems and solutions prevents frustration:
Items Not Lying Flat
Three-dimensional items often won’t cooperate:
Problem: Jerseys, fabric items, or papers curl, bunch, or refuse to stay flat
Solutions:
- Press fabric items with steam iron before mounting (test on inconspicuous area first)
- Use more mounting points distributed across item
- Install hidden pins or stitches in multiple locations
- Consider stiffening fabric items with lightweight interfacing
- Use acid-free paper backing behind documents preventing curling
- Allow longer acclimation time in mounting environment before final assembly
Rushing mounting often leads to items shifting or bunching after assembly when they relax into natural positions.
Glass Fogging or Condensation
Moisture issues damage displays:
Problem: Condensation forms inside shadow box, fogging glass or creating moisture on memorabilia
Solutions:
- Ensure shadow box isn’t completely sealed—allow minimal air exchange
- Add small silica gel packets inside box absorbing moisture
- Avoid installing in locations with significant temperature fluctuations
- Don’t install above heat sources or in direct cold
- Consider installing in climate-controlled areas
- Allow items to reach room temperature before sealing if stored in different conditions
Condensation indicates environmental problems requiring attention to prevent long-term damage.
Memorabilia Too Heavy for Mounting
Weight creates mounting challenges:
Problem: Heavy items pull away from mounting, sag, or fall within shadow box
Solutions:
- Use mechanical mounting (screws, brackets) rather than adhesive alone
- Install hidden shelves or platforms supporting heavy items from below
- Distribute weight across multiple mounting points
- Use industrial-strength adhesives rather than craft glue
- Consider whether item is appropriate for shadow box or needs different display method
- Reinforce backing board with plywood if standard backing flexes under weight
Very heavy items may require freestanding display cases rather than shadow boxes.
Achieving Professional-Looking Results
Appearance doesn’t meet expectations:
Problem: Finished shadow box looks amateurish or messy despite effort
Common Causes and Solutions:
Inadequate Planning
- Symptom: Awkward spacing, poor balance, no clear focal point
- Solution: Spend more time on layout planning and test multiple arrangements
Poor Material Quality
- Symptom: Wrinkled fabric, visible glue, cheap-looking frame
- Solution: Invest in better materials for components that show—quality fabric, good frame
Visible Mounting Methods
- Symptom: Glue blobs, visible stitches, obvious fasteners
- Solution: Use invisible mounting techniques, hide fasteners behind items, test adhesive amounts
Lack of Attention to Details
- Symptom: Dust inside box, crooked labels, misaligned elements
- Solution: Final quality check before sealing, thorough cleaning, precise alignment
Inconsistent Execution Across Multiple Boxes
- Symptom: Series lacks unified appearance
- Solution: Create templates and specifications used for all boxes, batch similar tasks
Professional appearance comes from hundreds of small decisions executed carefully—rushing produces disappointing results.
Alternatives and Complementary Approaches
Shadow boxes represent one option among several recognition methods:
When Shadow Boxes Aren’t the Best Choice
Certain situations call for different approaches:
Space Limitations
Athletic programs with dozens or hundreds of items deserving recognition quickly exhaust available wall space with physical shadow boxes. Each box requires 300-800 square inches of wall space depending on size—displaying 50 championship jerseys would require 200+ linear feet of wall space, which many schools simply don’t have.
Ongoing Recognition Needs
Shadow box creation requires significant time and expense per display. Programs generating multiple championship teams annually struggle to keep shadow box creation current—building 5-10 new displays each year becomes unsustainable burden on staff time and booster club volunteers.
Limited Memorabilia Access
Schools often lack original jerseys, medals, or equipment for older achievements. Creating shadow boxes for historic championships without actual artifacts feels hollow and provides less impact than alternative approaches that can incorporate historical photos, newspaper clippings, and documented achievements.
Budget Constraints
Quality shadow box construction costs $50-300+ per display depending on size, materials, and labor approach. Programs needing to recognize dozens of achievements face thousands of dollars in costs—potentially more than available budget allows.
Maintenance Concerns
Physical displays require ongoing maintenance—cleaning, repair, occasional refurbishment. Schools with limited facilities staff capacity struggle maintaining large collections of shadow boxes properly over time.
Digital Recognition as Modern Alternative
Many athletic programs now complement or replace physical shadow boxes with digital touchscreen displays that address limitations while providing expanded capabilities:
Unlimited Recognition Capacity
Digital systems display infinite content without physical space constraints:
- Recognize every athlete, team, and achievement without choosing favorites
- Include comprehensive program history spanning decades or centuries
- Add new achievements immediately without construction projects
- Display detailed information that wouldn’t fit in physical shadow boxes
- Organize content through searchable databases rather than fixed arrangements
Schools implementing digital recognition systems report ability to honor 10-100 times more individuals than physical space allowed previously.
Rich Multimedia Storytelling
Digital platforms incorporate content types impossible in shadow boxes:
- Video highlights showing actual championship moments
- Complete photo galleries instead of single images
- Athlete interviews and personal reflections
- Season statistics and detailed records
- Game summaries and play-by-play descriptions
- Links to related achievements and teammates
This multimedia capacity creates engaging experiences that hold visitor attention far longer than static physical displays.
Easy Updates and Maintenance
Digital content updates remotely without physical access:
- Athletic staff add new achievements from office computers
- No construction, frame building, or mounting required
- Updates appear immediately across all displays
- Correct errors or add information easily
- No cleaning, no glass replacement, no deteriorating materials
This ease of maintenance makes digital systems particularly attractive to schools with limited facilities staff capacity.
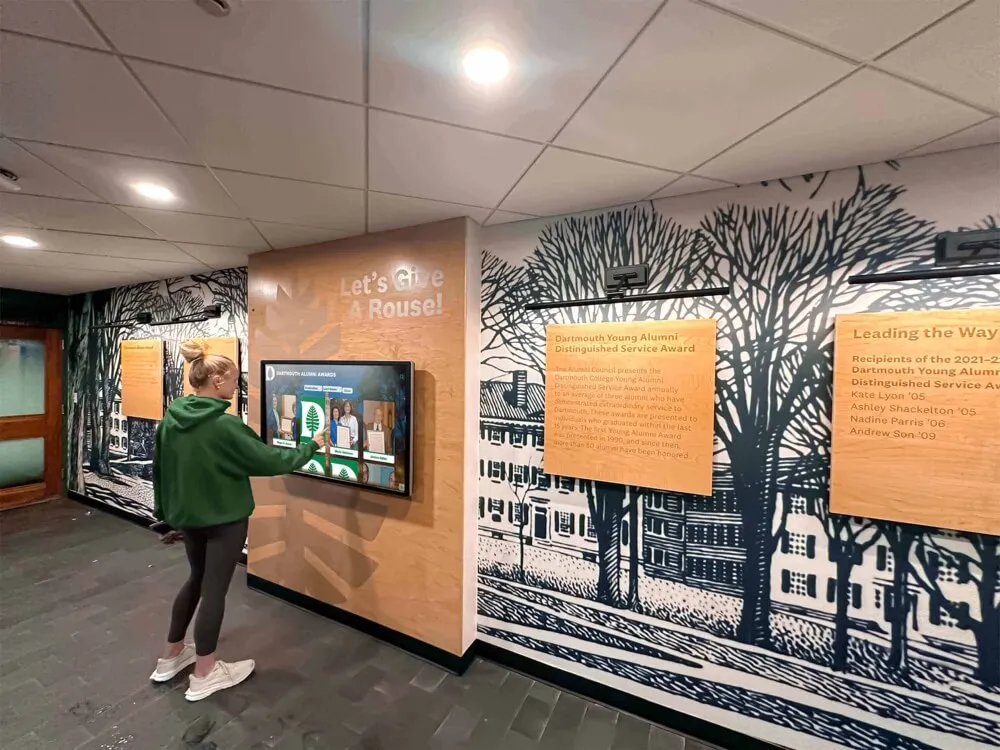
Interactive Engagement
Touchscreen interfaces let visitors explore actively:
- Search for specific athletes, teams, or years
- Browse championships by sport or decade
- View related achievements and connections
- Share favorites via social media or email
- Return repeatedly discovering new content
Interactive engagement creates experiences traditional static displays can’t match, particularly appealing to students accustomed to digital interaction.
Cost Effectiveness for Large-Scale Recognition
Digital systems require upfront investment but provide superior long-term value:
- Single touchscreen display recognizes unlimited achievements
- No per-display construction cost
- Minimal ongoing maintenance expenses
- Remote updates eliminating staff labor requirements
- Revenue opportunities through sponsorships and advertising
Schools comparing costs of creating 50 shadow boxes ($5,000-15,000+) versus implementing comprehensive digital recognition systems often find digital approaches more economical while providing superior capacity and functionality.
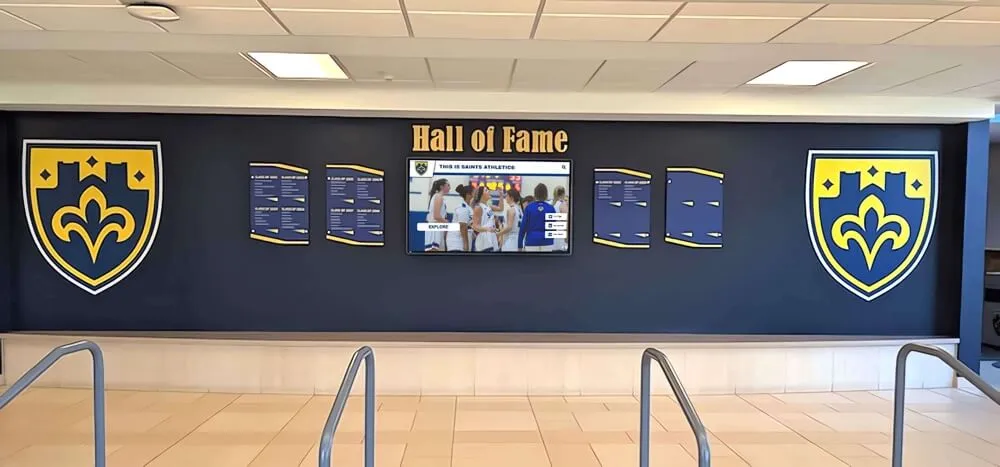
Hybrid Approaches Combining Physical and Digital
The most effective recognition programs strategically combine shadow boxes and digital displays:
Physical Shadow Boxes for Featured Achievements
Reserve shadow boxes for truly exceptional items:
- Most recent championship memorabilia deserving prime recognition
- Historic items with particular significance to program identity
- Artifacts with intrinsic value visitors want to see in person
- Retired numbers and major milestone recognitions
- Hall of fame inductees meriting individual physical displays
Limited, curated physical displays maintain impact and specialness while remaining manageable in scope.
Digital Systems for Comprehensive Coverage
Use touchscreen displays for broader recognition:
- Complete rosters for all teams across all sports
- Individual athlete profiles with photos and achievements
- Season-by-season records and results
- Historical program timelines and evolution
- Alumni career progressions showing post-graduation success
Digital capacity ensures no worthy achievement goes unrecognized due to space limitations.
Connected Experiences
Link physical and digital displays enhancing both:
- QR codes on shadow boxes connecting to extended digital content
- Digital displays providing context for nearby physical memorabilia
- Cross-references helping visitors discover related achievements
- Coordinated visual design unifying physical and digital elements
These connections create richer experiences than either format alone provides, helping visitors understand relationships between specific artifacts and broader program stories.
Planning Your School’s Shadow Box Recognition Program
Implementing shadow box displays strategically ensures maximum impact and sustainability:
Establishing Recognition Criteria
Determine which achievements merit shadow box recognition:
Championship and Major Achievements
Common criteria include:
- State championships in any sport
- Conference or league championships
- Tournament victories of particular significance
- Record-breaking individual or team performances
- Perfect seasons or historic winning streaks
- National recognition or rankings
Clearly defined criteria prevent debates about which achievements deserve recognition while ensuring consistency across sports and decades.
Individual Honor Considerations
Recognize extraordinary individual contributions:
- Hall of fame inductees
- Retired numbers honoring exceptional athletes
- Coaching milestone achievements (wins, tenure, championships)
- Alumni achieving professional or Olympic success
- Recipients of prestigious national awards
- Record holders whose marks stand for decades
Balancing Recognition Equity
Ensure fair treatment across program:
- Apply same standards regardless of sport
- Recognize both high-profile and less-visible programs equally
- Consider team achievements alongside individual honors
- Acknowledge various contribution types (athletic, academic, character, leadership)
- Avoid gender bias in recognition decisions
Athletic directors report that transparent, consistently-applied criteria prevent conflicts and complaints about recognition decisions.
Developing Implementation Timeline
Systematic rollout prevents overwhelming staff and budgets:
Phase 1: Planning and Design (Months 1-2)
- Form committee of athletic staff, booster representatives, facilities managers
- Inventory existing memorabilia and determine what needs recognition
- Establish recognition criteria and selection process
- Determine locations for shadow box displays
- Create design standards ensuring consistent appearance
- Develop budget and identify funding sources
Phase 2: Priority Construction (Months 3-6)
- Build shadow boxes for most recent championships
- Create hall of fame inductee displays
- Construct featured displays for high-visibility locations
- Unveil completed displays generating excitement and momentum
Phase 3: Historical Recognition (Months 7-12)
- Create displays for historic championships
- Build coach milestone recognition
- Develop sport-specific achievement collections
- Fill secondary hallway locations
Phase 4: Ongoing Maintenance and Additions (Ongoing)
- Add new achievement displays annually as they occur
- Perform regular maintenance on existing displays
- Refresh or upgrade displays showing age
- Document processes for continuity as personnel change
Creating Sustainability Plan
Ensure recognition program continues successfully:
Assign Clear Responsibilities
Define who handles various aspects:
- Overall program oversight and decision-making
- Shadow box construction and maintenance
- Memorabilia collection and curation
- Budget management and fundraising
- Communication with athletes, families, and boosters
Programs fail when responsibilities aren’t clearly assigned and accountability doesn’t exist.
Establish Annual Processes
Create repeatable systems:
- Annual selection of achievements deserving new shadow boxes
- Scheduled construction periods (summer when facilities are accessible)
- Regular maintenance inspection schedule
- Budget allocation in annual planning process
- Recognition ceremonies unveiling new displays
Document Standards and Procedures
Record decisions and methods for future reference:
- Recognition criteria and selection processes
- Shadow box construction specifications and templates
- Preferred materials and sources
- Installation requirements and procedures
- Maintenance protocols and schedules
Documentation ensures program continuity when personnel change, preventing loss of institutional knowledge.
Build Community Ownership
Engage supporters creating lasting investment:
- Involve booster club members in construction and fundraising
- Recognize volunteer contributions publicly
- Create donor opportunities for specific displays
- Celebrate completions and unveilings with ceremonies
- Share progress through social media and communications
Community ownership transforms recognition programs from administrative tasks into shared projects generating enthusiasm and ongoing support.
Conclusion: Preserving Athletic Legacy Through Shadow Box Displays
Shadow boxes offer athletic programs powerful tools for preserving and displaying the memorabilia that embodies program history, celebrates athlete achievements, and inspires current students. Through careful planning, quality construction, and thoughtful design, schools create recognition displays that honor the past while remaining accessible and meaningful to present and future generations.
The shadow box construction process—from initial planning through material selection, careful mounting, and final installation—represents more than craft project completion. Each display preserves irreplaceable artifacts, documents significant achievements, and creates tangible connections between current athletes and the champions who came before them. These physical representations of excellence remind students daily that great things are possible and that their school honors those who achieve them.
Whether your athletic program creates a single shadow box honoring this year’s state championship or develops comprehensive recognition galleries celebrating decades of achievements, the principles in this guide ensure your displays protect memorabilia properly while creating professional presentations worthy of the accomplishments they represent. Quality materials, reversible mounting techniques, proper preservation methods, and strategic design choices transform simple boxes into lasting tributes that enhance school pride and community identity.
As you plan your shadow box projects, remember to balance ambition with sustainability—start with achievable goals, build on early successes, and develop systems ensuring recognition programs continue thriving as personnel and circumstances change. Document your processes, engage community supporters, and create clear criteria ensuring consistent, equitable recognition across all sports and achievements.
For programs finding that physical space limitations, ongoing maintenance requirements, or sheer volume of deserving achievements make shadow boxes insufficient alone, consider how digital recognition systems complement traditional displays. The combination of carefully curated physical shadow boxes highlighting featured memorabilia alongside comprehensive digital platforms providing unlimited recognition capacity creates the most complete and engaging athletic recognition programs—honoring tradition while embracing modern tools that ensure every achievement receives the celebration it deserves.
Preserve Every Achievement Without Space Limitations
Discover how interactive touchscreen displays complement shadow box collections by providing unlimited digital recognition capacity for your entire athletic program. Honor championships, athletes, coaches, and alumni through engaging multimedia presentations that inspire current students while preserving program history permanently. Explore solutions designed specifically for schools and athletic programs seeking comprehensive recognition that goes beyond physical space constraints.
Explore Digital Recognition Solutions