


Every athletic department eventually faces the same problem: a school archive room full of decades worth of history with no clear organization system. Championship programs are stacked with dusty equipment catalogs. Roster sheets from 1994 share a shelf with last season’s banquet photos. Retired jerseys hang on hooks next to boxes of unidentified trophies. It is all there—decades of institutional memory—and none of it is ready to be digitized.
That is the core challenge this guide addresses. Before any scanning equipment arrives, before a single file is uploaded to a digital archive platform, your athletic department needs a physical organization workflow. The order matters: a disorganized archive produces disorganized digital files, broken metadata, and a display that is harder to navigate than the cluttered storage room it was meant to replace.
This step-by-step workflow covers how to inventory, triage, sort, label, and prepare athletic archive materials—jerseys, game programs, rosters, photographs, and awards—for a successful digitization project.
Athletic departments hold some of the most emotionally resonant records a school produces. Championship seasons, record-setting performances, decades of team photographs, and handwritten rosters that connect generations of student-athletes all live in the archive room. Getting this material organized is not just a logistics task—it is an act of institutional stewardship that determines how completely your history can be preserved and shared.

Athletic archive rooms hold decades of portraits, rosters, programs, and awards that form the foundation of a school's sporting legacy
Why Organization Must Come Before Digitization
The instinct when facing a disorganized archive room is to start scanning immediately—get something digital before more things deteriorate. This approach reliably creates a second problem: a disorganized digital archive that is just as hard to navigate as the physical one.
Digitization technology can copy what it is given, but it cannot supply the context your department already holds in institutional memory. The athletic director who can identify which season a jersey belongs to, the coach who recognizes which championship program matches which trophy, the office manager who knows which photo file contains the 1998 state meet—that knowledge needs to be captured in labels and inventory logs before items go through a scanner.
A well-organized physical archive produces:
- Accurate metadata for every scanned item from the start
- No duplicate scanning of the same item under different labels
- Faster digitization because items arrive at the scanner already sorted and identified
- A complete display because nothing gets lost in the shuffle between physical room and digital platform
The sports equipment storage strategies used by athletic gear rooms share a key principle with archival organization: categorize before you containerize. The same logic applies here—classify every item before it goes into a box or onto a scanner.
Step 1: Complete a Physical Inventory
Before sorting, labeling, or discarding anything, conduct a full physical inventory of the archive room. Walk every shelf, open every box, and document what exists. Many athletic departments discover items they did not know they had—and items they thought they had that are nowhere to be found.
Inventory Categories for Athletic Archives
Use these standard categories to structure your inventory log:
| Category | Examples | Notes |
|---|---|---|
| Jerseys and uniforms | Game jerseys, warmups, championship shirts | Note sport, approximate era, condition |
| Game programs | Home game programs, tournament brackets, playoff programs | Often contain rosters and records |
| Rosters and stat sheets | Season rosters, individual game stats, all-time records | Check if digital copies already exist |
| Photographs | Team photos, action shots, portraits, candid prints | Note format: print, negative, slide, digital |
| Awards and trophies | Championship trophies, individual plaques, certificates | Document engraved text before moving |
| Newspaper clippings | Local coverage, sports section features, milestones | Highly fragile—prioritize these |
| Video and audio media | VHS tapes, DVDs, cassettes, 8mm film | Identify format before handling |
| Equipment artifacts | Helmets, balls, bats, commemorative items | Usually displayed rather than scanned |
Create a simple spreadsheet with one row per item or box. Columns should include: item description, sport, estimated year or range, physical condition (good / fair / fragile), current location in the room, and any notes on provenance.
Do not attempt to reorganize during the inventory pass. Simply document what exists where. This snapshot becomes your baseline and prevents confusion when items move later in the workflow.
Assign Inventory Responsibilities
A single person cataloging an entire athletic archive can introduce inconsistencies—descriptions change over time, and fatigue affects detail. Assign two or three people to the inventory, ideally including at least one person with institutional memory (a long-serving coach, administrator, or alumni volunteer) and one person who can operate systematically without being distracted by nostalgia.
Break the room into zones and assign one zone per person per session. At the end of each session, review entries together to catch inconsistencies in how items are described.

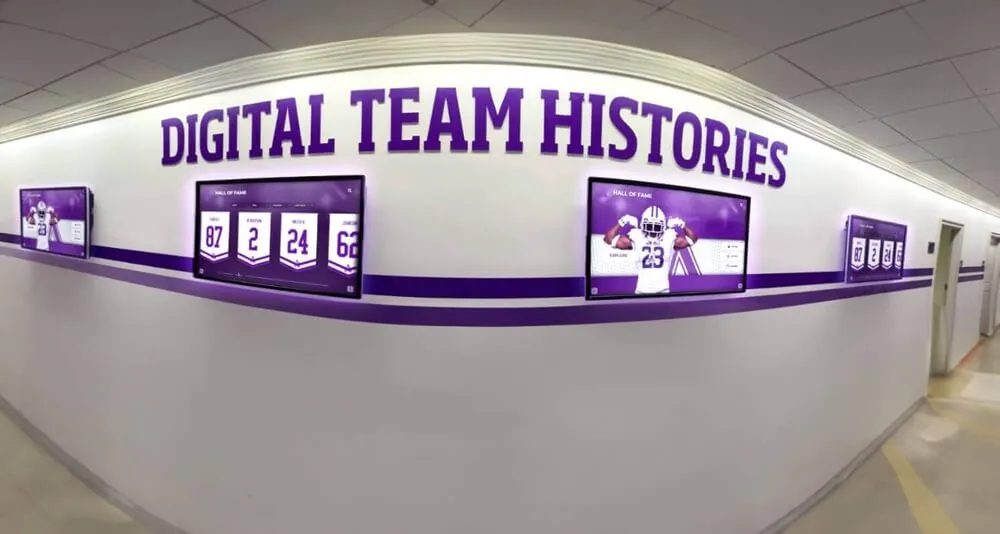
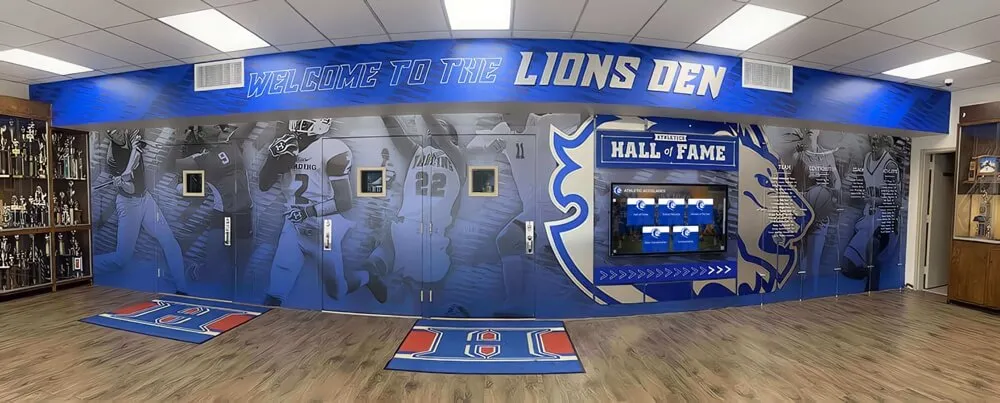
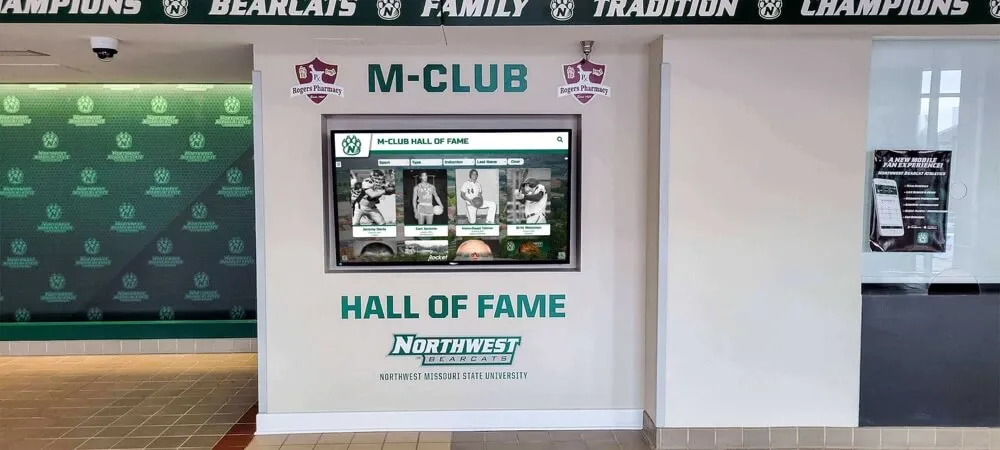
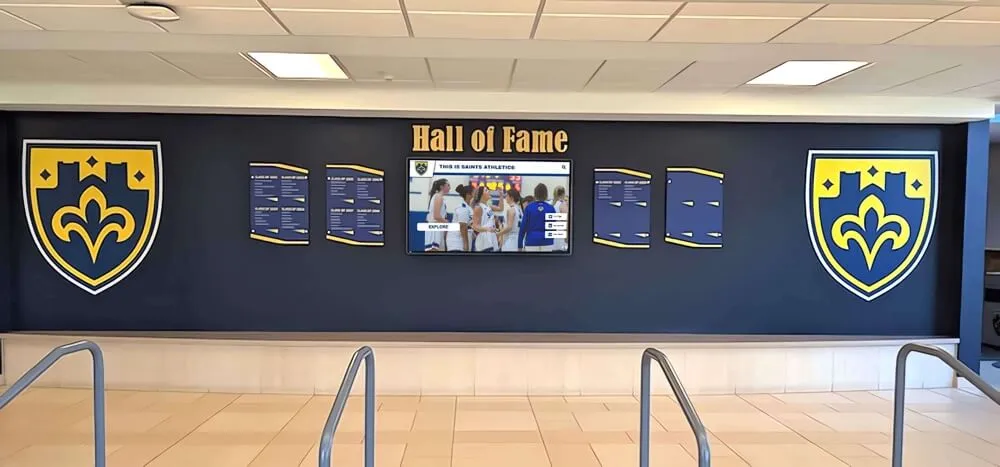
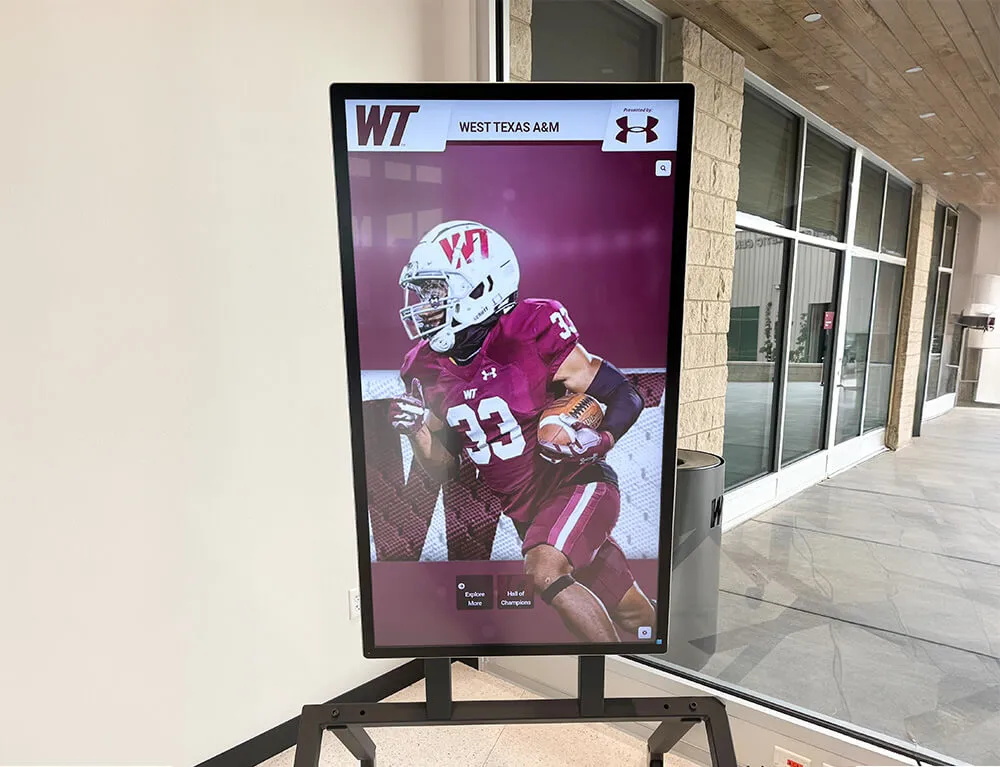
Organized archive materials feed richer, more complete digital hall of fame displays like this one
Step 2: Assess Condition and Fragility
Once you know what exists, evaluate the physical condition of each category. Condition determines both storage priority and digitization urgency—fragile items should be digitized first, even if they are not the most historically significant.
Condition Rating Framework
Use a simple three-tier condition rating:
Stable — Items in good condition that can be handled normally. Photographs with no fading or damage, programs with intact pages and clear print, trophies with legible engravings, jerseys with no significant deterioration. These can wait while more urgent items are addressed first.
Fair — Items showing early signs of deterioration: slight yellowing in paper, minor fading in photographs, some brittleness in newsprint. Handle with care but not emergency priority.
Fragile — Items at immediate risk: severely yellowed or brittle newsprint, photographs with cracking emulsion, mold or water damage, VHS tapes that are sticky or warped, anything that tears when handled normally. These should be digitized first and stabilized in proper archival housing immediately.
Apply your condition rating to each row in the inventory spreadsheet. This becomes the priority queue for digitization scheduling.
For historical photos in school archives, photograph condition is often the most time-sensitive variable—older emulsion-based prints and negatives can become irretrievable quickly once deterioration accelerates.
Step 3: Apply a Retention Priority Framework
Not every item in an athletic archive room needs to be preserved permanently or digitized at high resolution. Some materials are genuinely duplicative or redundant; others are irreplaceable. A retention priority framework prevents digitization projects from stalling because teams try to process everything at equal importance.
Retention Priority Table
| Item Type | Recommended Retention | Digitization Priority | Physical Disposition |
|---|---|---|---|
| Championship trophies and plaques | Permanent | High — photograph multiple angles | Retain in display or archival storage |
| Team photographs (each year) | Permanent | High — scan at 600 DPI minimum | Retain originals in archival sleeves |
| Signed game items (balls, jerseys) | Permanent | High — photograph and document | Retain with condition documentation |
| Season rosters (all sports) | Permanent | High — scan all pages | Retain in acid-free folders |
| Athletic records and stat sheets | Permanent | High — scan, transcribe key records | Retain originals |
| Home game programs (key seasons) | Permanent for championships; selective otherwise | Medium — scan covers and records pages | Retain selectively |
| Routine home programs | Selective (retain 1 per sport per season) | Low — scan one representative copy | Discard duplicates after scanning |
| Newspaper clippings | Selective | High for fragile items — scan before they deteriorate | May discard originals after scanning |
| Duplicate jerseys (non-retired) | Selective | Low — photograph one representative | Consider display or donation |
| Miscellaneous equipment | Situational | Low — photograph notable items | Donate, display, or discard |
| VHS game tapes (events not covered digitally) | Selective | High — transfer format before tape fails | Retain master tape; create digital copy |
| Administrative documents | Selective | Low for routine; High for historic milestones | Discard routine after retention period |
Apply the retention priority designation to each item in your inventory. Any item marked for permanent retention needs to be housed in appropriate archival storage—acid-free folders, polyester sleeves, or padded boxes—regardless of when it gets digitized.
Step 4: Sort and Label by Sport, Season, and Category
With inventory complete and retention decisions made, reorganize the physical archive into a logical structure. The sorting scheme you establish here maps directly to how materials will be organized in the digital system, so consistency matters.
Recommended Sorting Hierarchy
Organize materials in this order:
- By category (photographs, programs, trophies, jerseys, rosters, media)
- Within category, by sport (football, basketball, track, soccer, baseball, etc.)
- Within sport, by season or year (most recent to oldest, or oldest to most recent—pick one and stick to it)
This three-level hierarchy makes any specific item findable in the physical archive and produces a logical folder structure when digital files are named consistently.
Labeling Standards
Every box, folder, and sleeve needs a label before items move. Use printed labels on the outside of containers and soft graphite pencil (2B) directly on archival envelopes or folder tabs when necessary. Labels should follow a standard format:
[SPORT] – [CATEGORY] – [YEAR or YEAR RANGE]
Examples:
Football – Game Programs – 1998–2005Track & Field – Team Photographs – 2010–2019Basketball – Championship Trophy – 1987All Sports – Newspaper Clippings – 1970s
This format makes every box or folder self-describing. When a scanner operator or future archivist picks up any item, they know its sport, type, and era without opening it.
Athletic departments tracking track and field records and multi-sport athletic history find that consistent sport-level labeling is especially important when a single archive room covers dozens of sports spanning multiple generations.

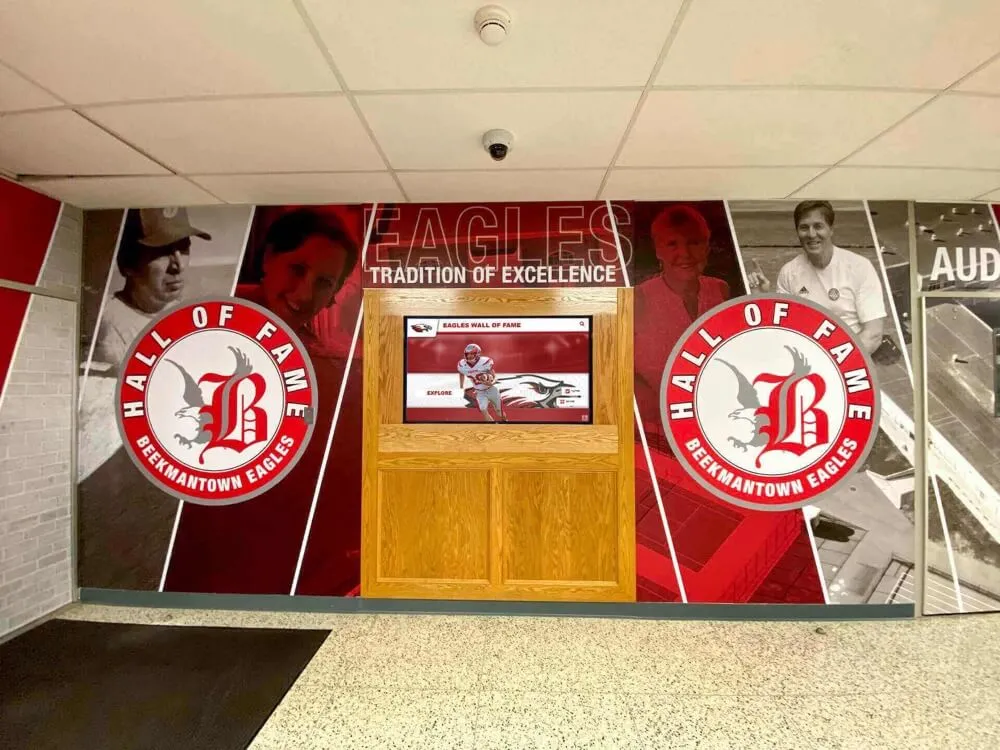
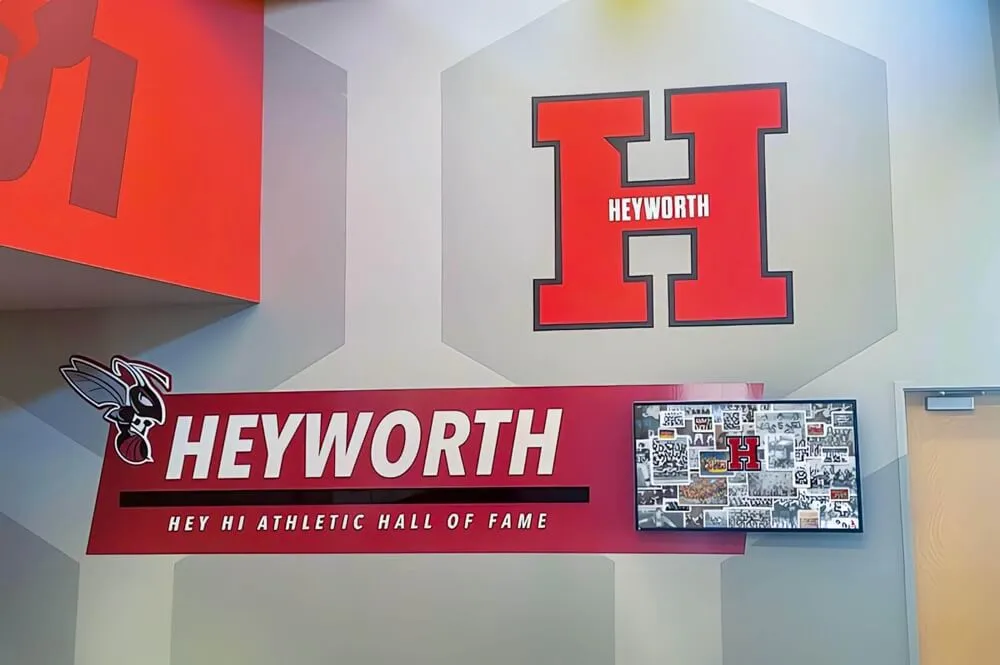
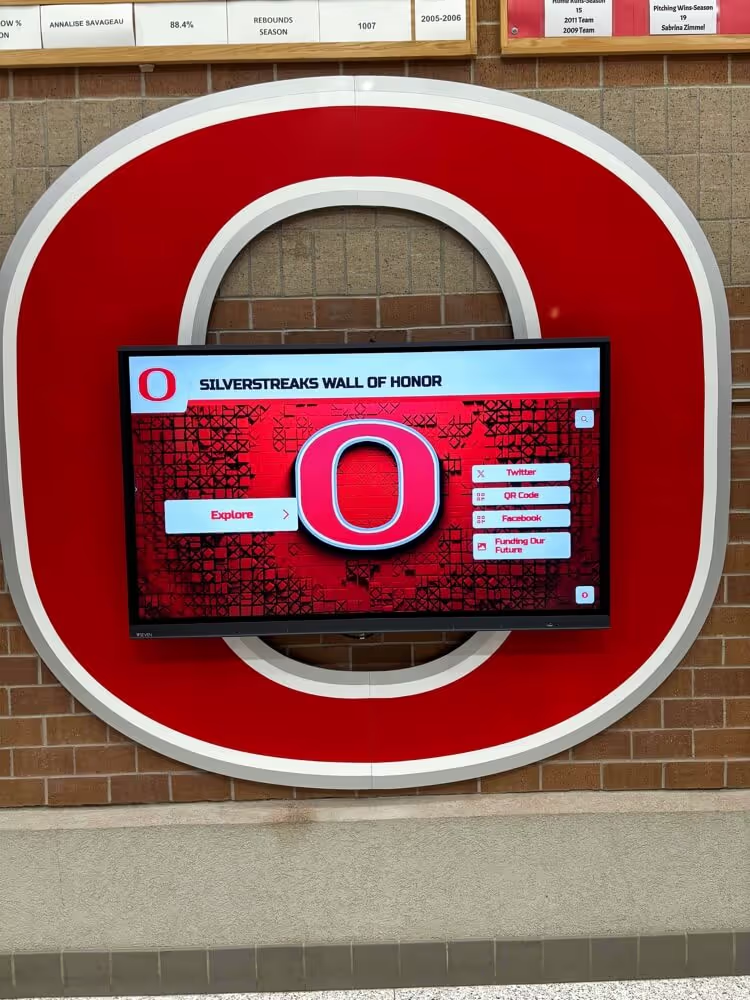
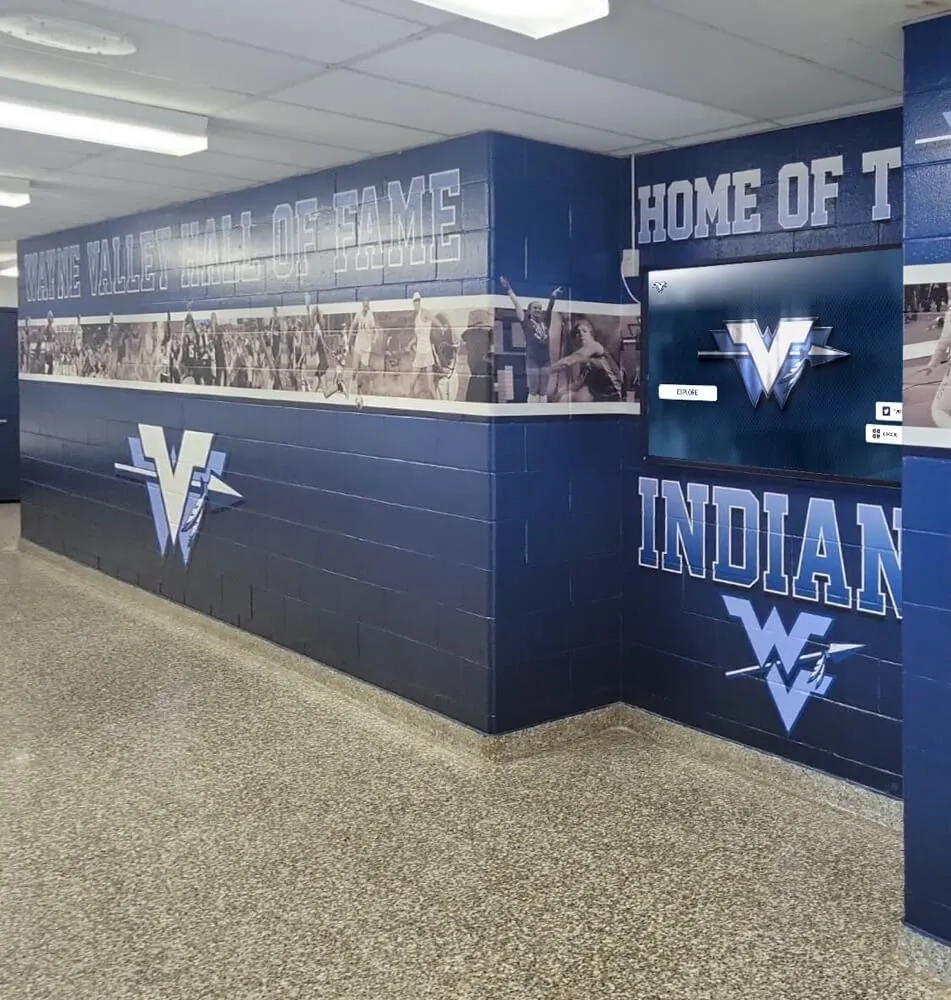
Well-organized archive materials can eventually become the foundation of permanent hallway displays that celebrate athletic program history
Step 5: Prepare Materials for Digitization
Once physical materials are inventoried, sorted, and labeled, the archive room is ready to support a digitization workflow. This step covers what to do immediately before scanning begins.
Pre-Digitization Checklist
Photographs and negatives
- Sort prints by sport and year, face-up in labeled polyester sleeves
- Remove prints from albums or frames only if the binding or frame is causing damage
- Dust prints gently with a soft anti-static brush immediately before scanning
- Wear cotton or nitrile gloves at all times—skin oils leave permanent fingerprints
- Set aside any prints showing mold, cracking emulsion, or sticking for conservator review before scanning
Game programs and paper documents
- Confirm each item is labeled and matches a row in the inventory spreadsheet
- Remove paperclips, rubber bands, or binder clips and replace with brass clips or archival folders
- Flag any pages that are torn, taped, or extremely brittle with a sticky note on the folder (not on the item)
- Group programs in batches of 10–20 for scanning efficiency
Rosters and stat sheets
- Check that handwritten documents are legible before scanning—if not, transcribe first
- Scan double-sided documents both sides at 400 DPI minimum
- Organize chronologically within each sport before scanning
Jerseys and textiles
- Photograph, do not scan—lay flat on a clean surface under diffused light
- Photograph the front, back, and any interior tags showing size, year, or other markings
- Note condition and any repairs in the inventory spreadsheet before photographing
- For retired jerseys with display value, consider a dedicated helmet and jersey display case as a complement to the digital archive
Trophies and three-dimensional awards
- Photograph each trophy from multiple angles under consistent lighting
- Capture engraved text in a separate close-up shot
- Transcribe engraved text into the inventory spreadsheet verbatim
- For game balls and commemorative items with display value, document signatures and inscriptions before any handling that might damage them
Video and audio media
- Identify format before handling (VHS, Betamax, 8mm, 16mm, DVD)
- Do not attempt to play tapes that appear sticky, warped, or moldy
- Flag all formats requiring specialized transfer equipment
- Contract with a professional transfer service for any nitrate or acetate film
File naming convention (establish before scanning begins)
Agree on a file naming convention before the first scan. A consistent structure prevents chaos in the digital archive:
[SPORT]_[CATEGORY]_[YEAR]_[SEQUENCE].tif
Example: Football_TeamPhoto_1994_001.tif
Apply the same convention to photographs taken of jerseys, trophies, and three-dimensional items. Every digital file should trace back to an inventory row, and every inventory row should have at least one associated digital file.
Archive Room Layout Best Practices
Organization is not just about labeling—it is also about how the physical room is arranged so that ongoing additions and future retrieval are practical.
Zone the room by material type. Photographs and negatives should occupy a separate shelf or cabinet from paper documents, which should be separate from textiles and three-dimensional items. Mixed storage leads to mixed retrieval.
Store paper items vertically where possible. File folders in labeled boxes stand upright; flat stacking causes lower items to bear the weight of the pile and can damage fragile materials over time.
Keep a current inventory list posted in the room. A printed copy of the master inventory spreadsheet (updated after each addition) allows anyone entering the room to find items without disturbing the organization.
Create an accession process for new materials. Every item added to the archive room after the initial organization should go through the same inventory, condition assessment, and labeling steps before it is shelved. Establish this as a standing procedure for the athletic department.

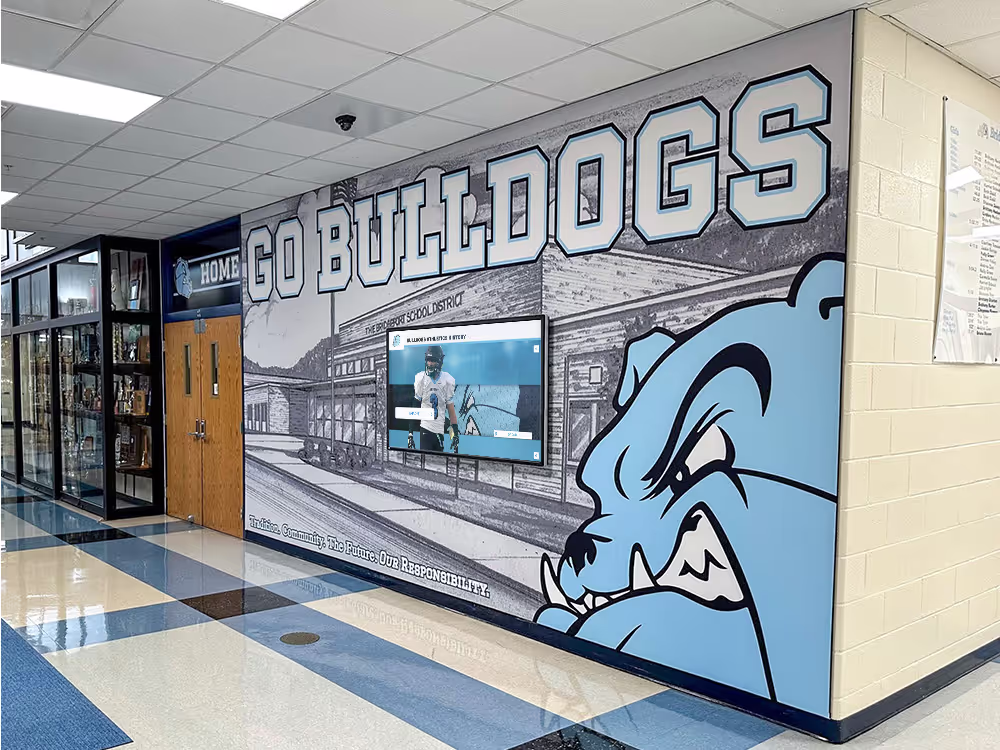
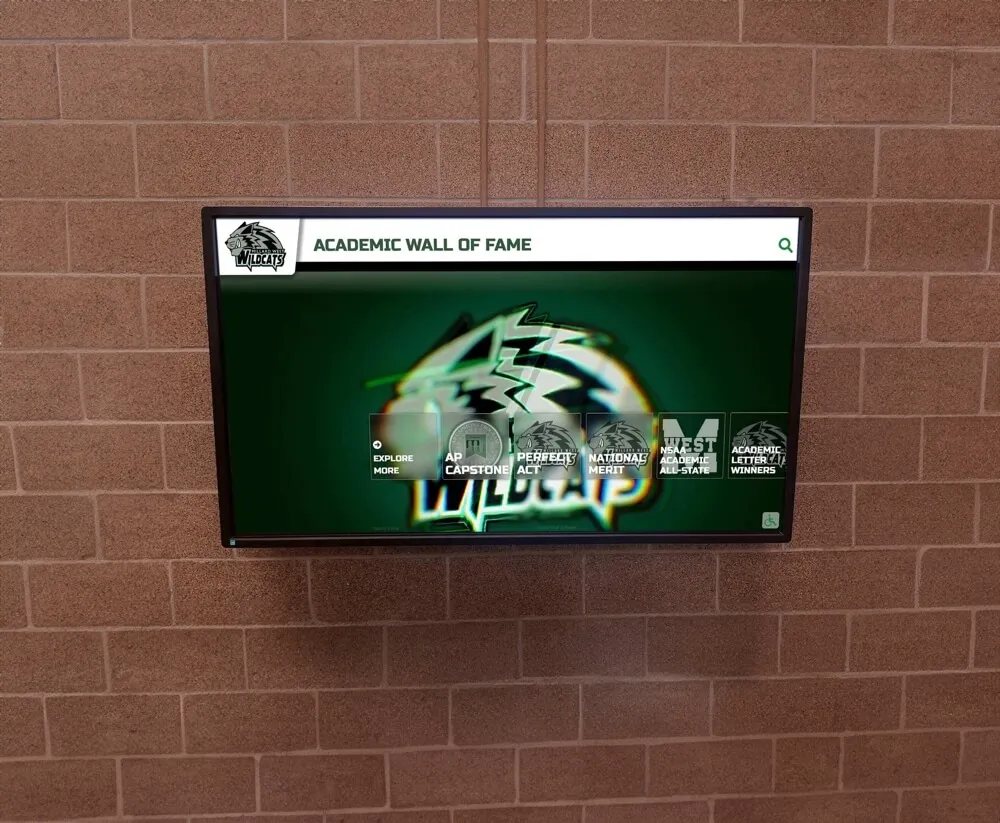
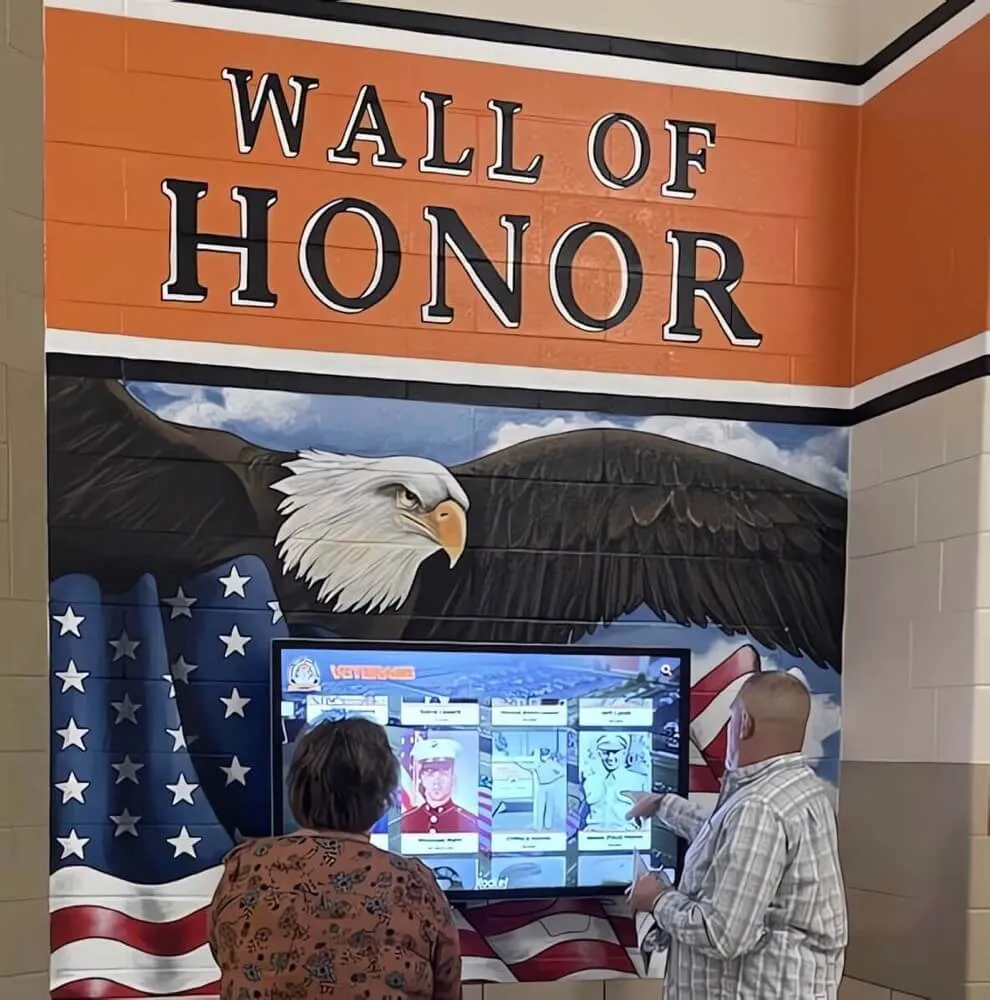
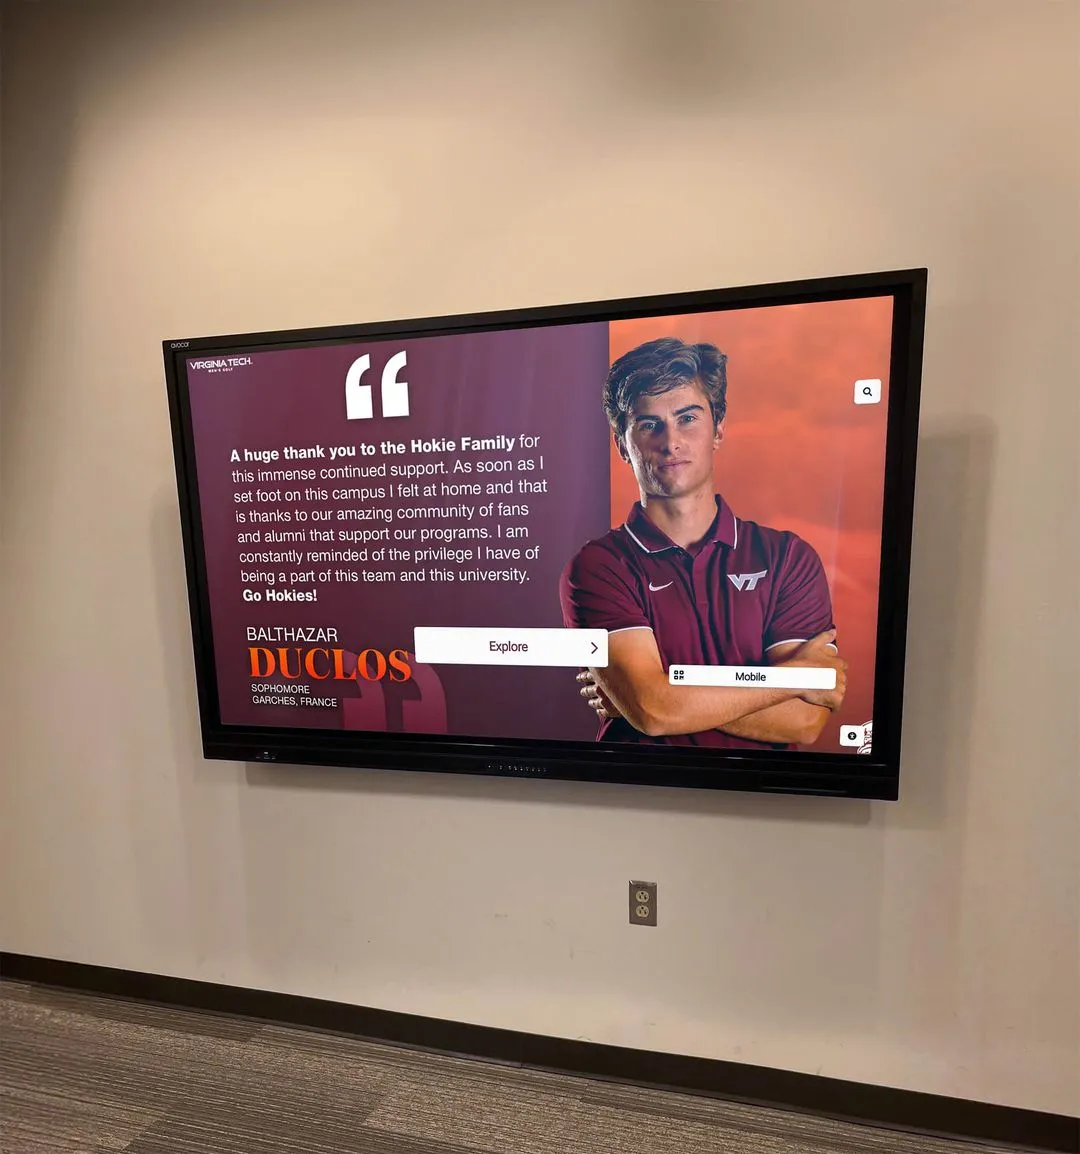
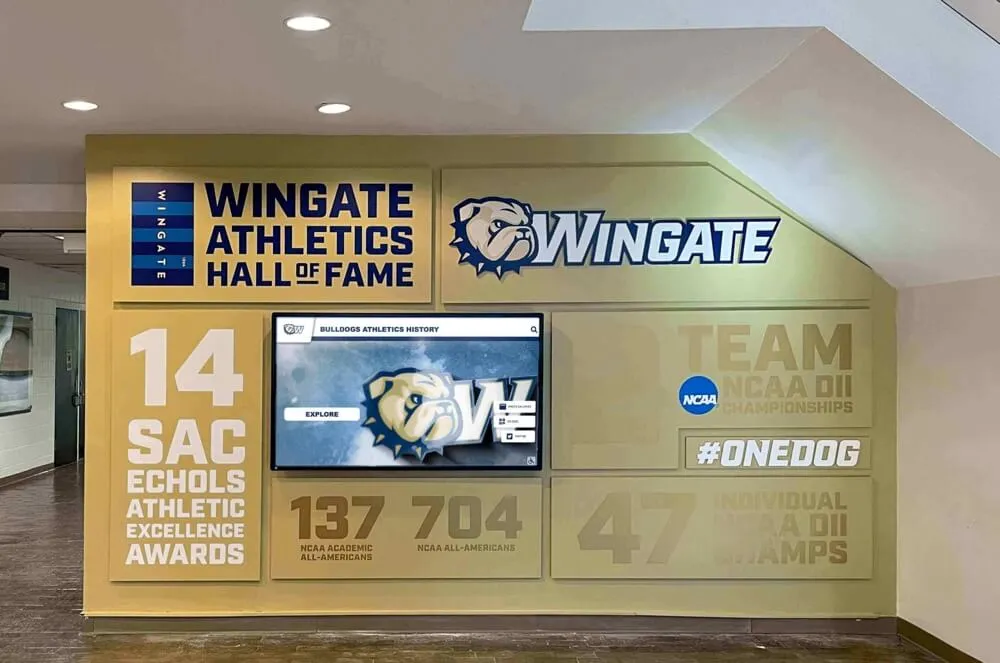
Once materials are organized and digitized, they can be surfaced in hallway displays that connect past achievements to current students
Connecting Your Organized Archive to a Digital Display
A well-organized school archive room does more than protect physical materials—it creates a direct pipeline to a digital recognition display that can reach students, alumni, families, and visitors every day.
When physical materials are properly inventoried and labeled before digitization, the metadata that describes each item is already complete before anyone touches a scanner. Sport, season, athlete names, achievement type—all of this context flows directly from the physical label into the digital record. The result is a searchable, navigable archive rather than a folder of scanned images with generic filenames.
Schools building permanent displays of athletic program history find that the depth and accuracy of a digital archive is almost entirely determined by how thoroughly the physical archive was organized before digitization. An athletic department that rushes to scan without organizing ends up with thousands of files and no way to surface them meaningfully in a display.
See How Your Archive Becomes an Interactive Display
Once your materials are organized and digitized, Rocket Alumni Solutions can transform them into a searchable touchscreen archive that students, alumni, and visitors explore in your lobby or athletic facility. Request a custom demo to see your school's history come to life.
Request a DemoWhat a Digital Athletic Archive Can Display
Once materials are digitized with accurate metadata, a touchscreen archive platform can surface:
- All-time records boards that pull automatically from roster and stat data
- Searchable team photo galleries organized by sport and season
- Championship timelines connecting trophy photographs to program history
- Retired jersey galleries with athlete profiles linked to statistics and achievements
- Award and recognition histories spanning decades of academic and athletic honors
For athletic departments planning school awards ceremonies and recognition programs, a well-organized archive also provides historical context for annual ceremonies—who won this award in 1987, what the record was before the current holder broke it, which graduating class started a tradition that continues today.

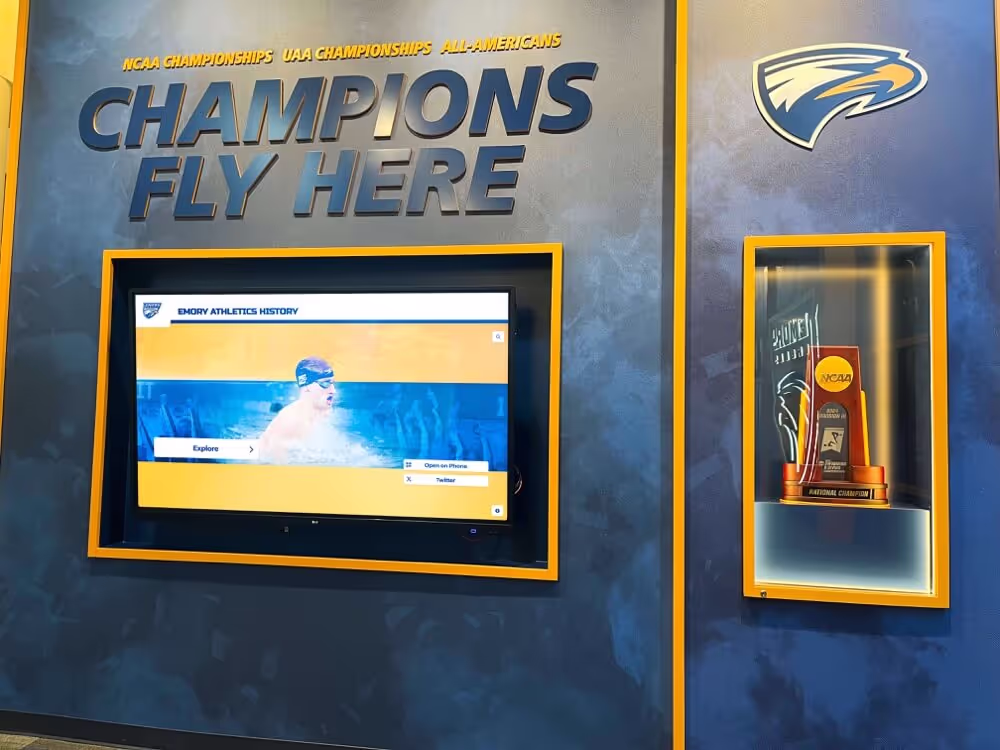
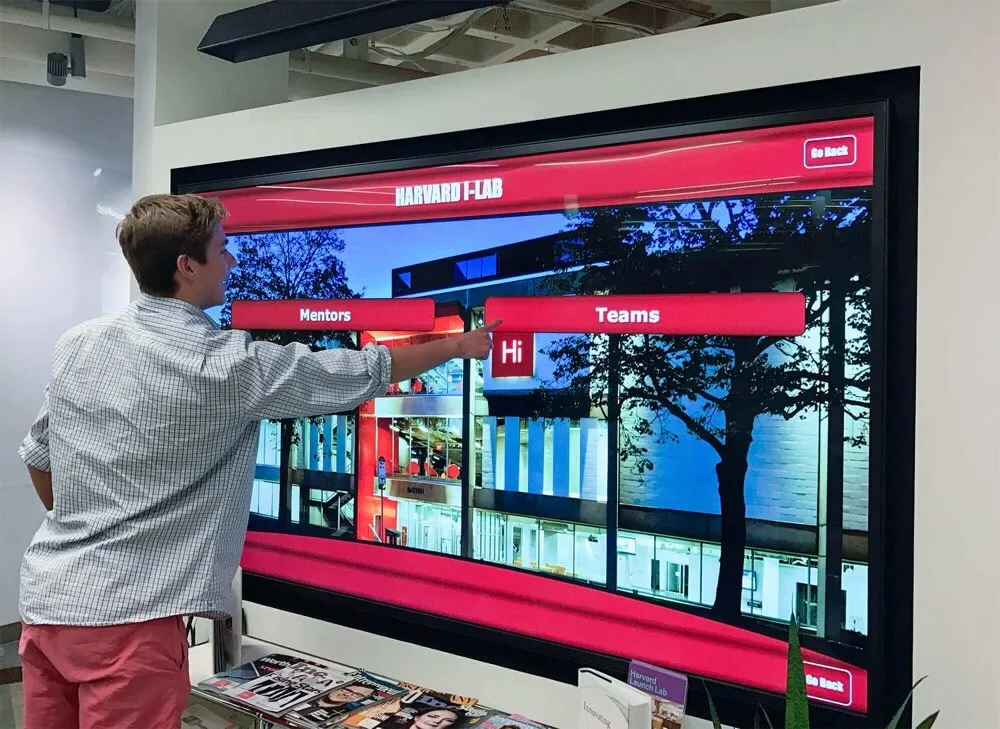
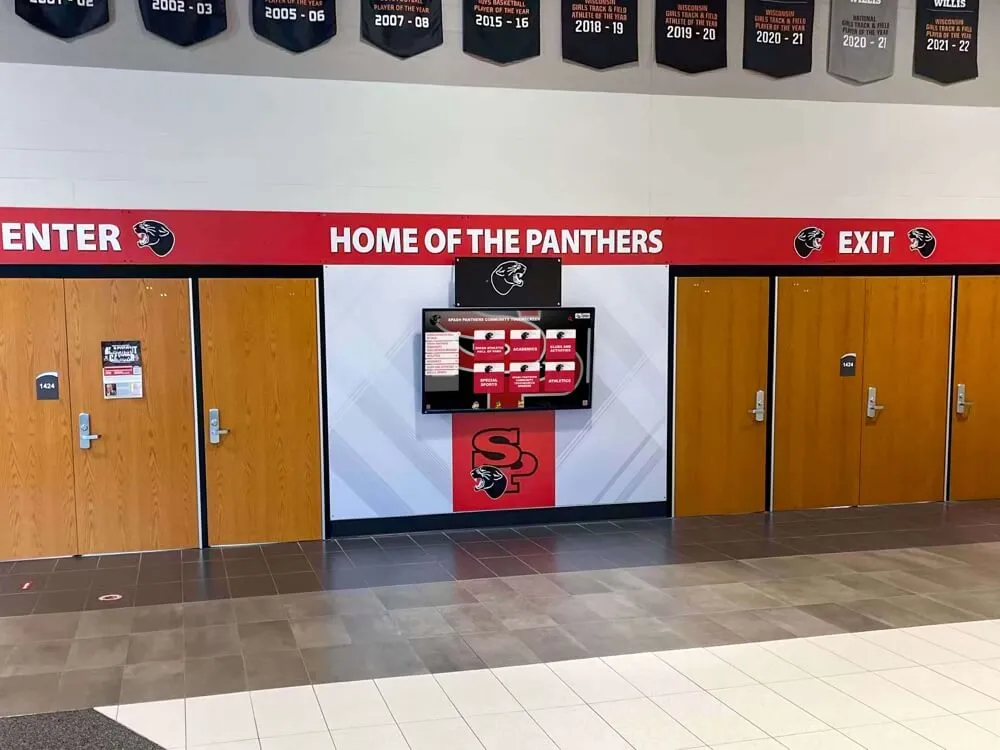
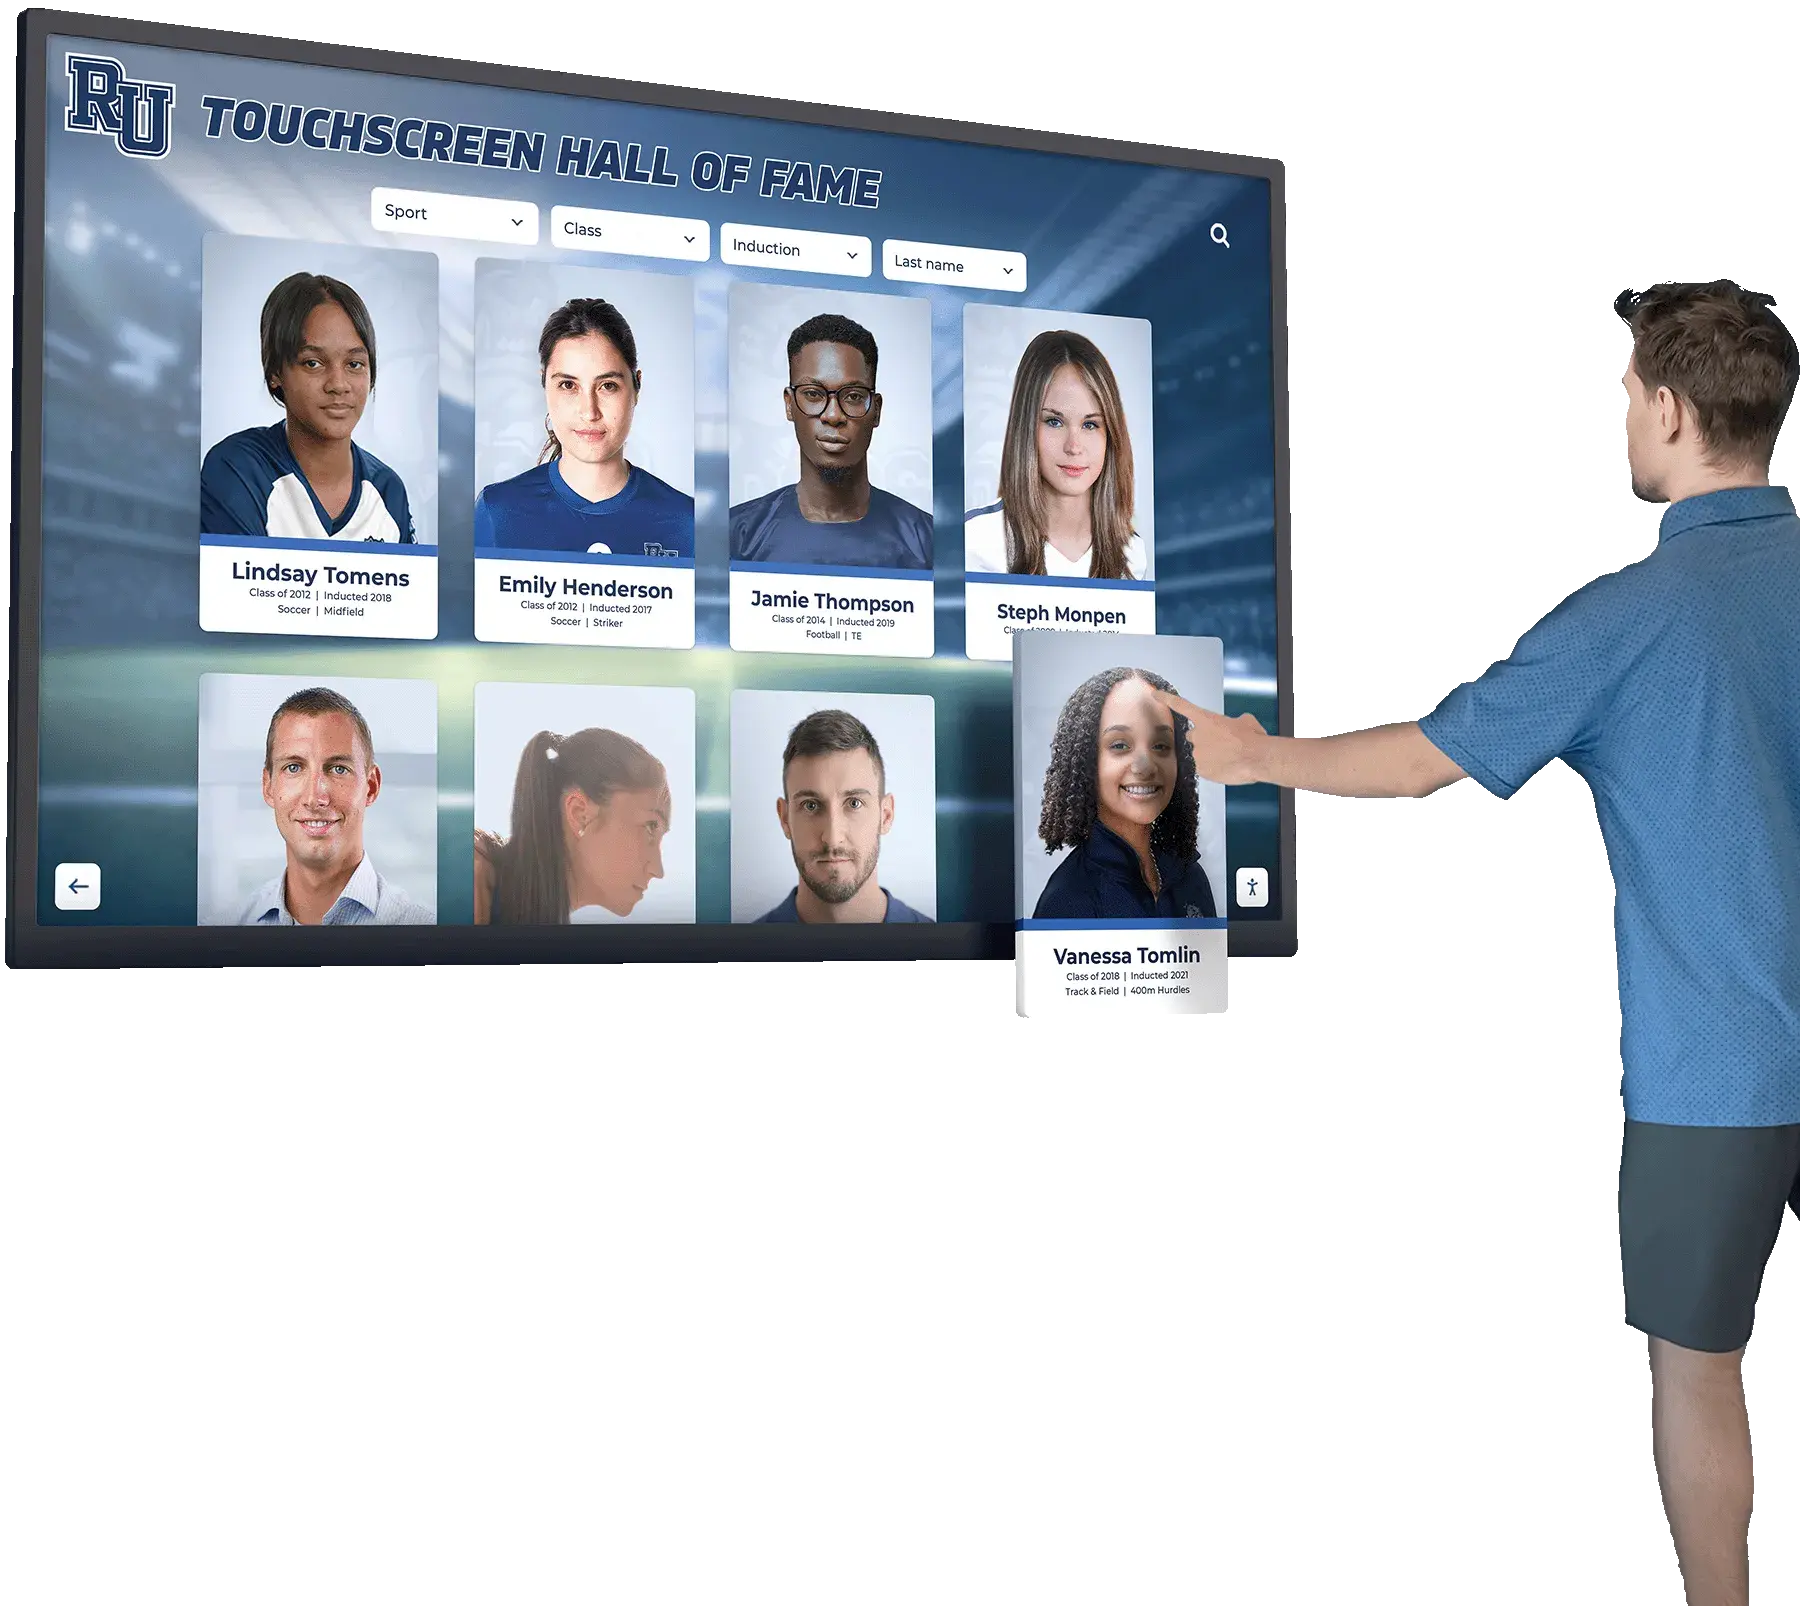
An organized archive enables interactive displays where visitors can browse decades of athletic history by sport, season, or individual athlete
Building Toward a Permanent Hall of Fame
Athletic directors who complete a full archive organization and digitization cycle often find that the resulting digital collection is ready to power a permanent hall of fame display with minimal additional effort. The hard work—identifying items, capturing metadata, organizing by sport and season—is already done.
Platforms like Rocket Alumni Solutions are designed to receive well-organized digital collections and surface them through searchable, touchscreen-enabled displays that fit into school lobbies, athletic hallways, and trophy room installations. The physical archive room does not disappear; it becomes the protected source collection behind a living digital display that any student or visitor can explore.
For athletic directors planning their athletic department’s summer organization calendar, the archive organization workflow described in this guide fits naturally into the offseason—before fall sports begin and while staff have dedicated project time.
Frequently Asked Questions
How long does it take to organize an athletic archive room? A mid-sized high school athletic archive covering 30–50 years of one-school history typically requires 40–80 hours of organized work before digitization can begin. Breaking the work into phases—inventory, triage, sorting, labeling, pre-scan prep—spreads the project across weeks or months without disrupting department operations.
Who should lead the archive organization project? The ideal team includes one person with institutional memory (a veteran coach, administrator, or trusted alumnus), one person with strong organizational skills who can enforce consistent labeling, and student or volunteer workers for labor-intensive sorting tasks. If no internal person has archival experience, consider engaging a local library or historical society for a brief consultation before beginning.
What should we do with items in extremely poor condition? Items that are too fragile to handle safely—severely deteriorated film, mold-damaged paper, stuck or warped video tapes—should be quarantined in a separate area of the archive room and prioritized for professional conservation or transfer services. Do not attempt to force-open stuck materials or clean mold without professional guidance.
Do we need to digitize everything before installing a display? No. Most schools launch a digital archive display with a partial collection—key championship seasons, all-time records, retired jersey galleries—and continue adding content over time. The platform can be updated remotely as additional digitization work is completed. Starting with high-priority materials allows the display to launch on schedule without waiting for a complete archive project.
How should we handle memorabilia donated by alumni? Donated athletic memorabilia and display items should enter the archive through the same accession process as any other item: inventory, condition assessment, labeling, and retention decision. Create a simple donation acknowledgment form that captures the donor’s name, the item’s history, and any conditions on its use. This documentation becomes part of the item’s permanent record.
Can we use our existing digital photos and documents instead of scanning? Yes. Born-digital files (photos taken on digital cameras, documents created in word processors) can be incorporated directly into the archive if they follow the same naming convention and metadata standard. Check that existing digital files are in a preservation-quality format (TIFF or high-quality JPEG for photos; PDF/A for documents) and rename them to match the archive naming convention before importing.
What is the best order to digitize materials once the room is organized? Prioritize by fragility first, significance second. Newspaper clippings, aged photographs, and deteriorating video tapes should be converted before stable items. Within stable materials, begin with championship records, team photographs, and all-time records that are most likely to appear in a digital display. Routine duplicates and redundant administrative documents can wait.
Conclusion
A school archive room full of decades of athletic history is an asset that most departments underutilize—not because the history does not matter, but because the materials are not organized in a way that makes them accessible. The workflow described in this guide—inventory, condition assessment, retention prioritization, sorting, labeling, and pre-digitization preparation—transforms that cluttered room into a structured collection ready for scanning and display.
The investment in organization before digitization pays off immediately: faster scanning, more accurate metadata, fewer do-overs, and a digital archive that reflects the full depth of your program’s history rather than a fraction of it. When the materials finally reach a touchscreen display in your lobby or athletic hallway, visitors will experience decades of achievement in a form that honors the people and seasons behind every item—because the work to identify and preserve that context was done before a single file was uploaded.
Ready to Turn Your Archive Into a Living Display?
Rocket Alumni Solutions helps athletic departments transform organized, digitized archives into searchable touchscreen displays—hall of fame walls, athletic record boards, team photo galleries, and retired jersey showcases. See what your school's history could look like in an interactive display.
Request a Free Demo